Jeff and I have recently been talking about doing a little downsizing. My idea of downsizing may be different than most…I want to downsize my square footage but UPSIZE my kitchen and that is where BlueStar Cooking has come in to help me in planning my Dream Kitchen! It might look Ok a little like this….
I visualize a smaller home on at least 10 acres with not only an indoor kitchen but an outdoor one as well with a fireplace. I know, that probably sounds like more upkeep, but when you love to get creative with food like Jeff and I both do, it makes perfect sense.
This range from BlueStar’s new Platinum Series would be a perfect addition to my indoor dream kitchen…(I might even consider adding one of these into my existing kitchen…Wow!)
It even comes in 750 colors! Oh, the visions of delight that are going through my head in just the idea of picking the exact color combination!
Imagine all the tasty bites I could create on that baby!
If it is good enough for Michael Symon, it is good enough for me! Check out his kitchen in this video….
What I love about BlueStar is the ability to go on to their site and customize their products right down to the knobs! It was a lot of fun playing around on this page, to say the least. Try it for yourself!
I hope my dream kitchen does become reality someday! If you could build your dream kitchen, what is on your wish list? I can’t wait to hear your ideas!
Sometimes, I think back to my time when I was just starting out and had my very first kitchen…in an apartment of course, and not gourmet by any means! There weren’t as many wonderful kitchen tools and gadgets to choose from like there are today so I started thinking about what kitchen items I couldn’t live without and would suggest for someone trying to build their own “kitchen essentials” list.
So here are my 5 Kitchen Essentials…..I wonder if some of them are yours, too?
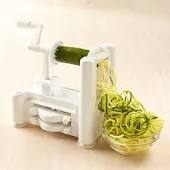
5. The Spiralizer
Now, this is a fairly new addition in my kitchen but one I now use often! It is perfect to create beautiful works of art on the plate by using everyday vegetables such as zucchini, squash, cucumbers, potatoes, and much more! It is compact, inexpensive and it has no limitations to make a variety of light recipes such as my Thai Shrimp with Zucchini Noodles…yummy!
Sure, regular whisks do the job but there is something about my favorite silicone coated flat whisk that always makes my gravy and sauces come out just a little smoother. It also gets into those corners of the pan where the good stuff tends to gather (which always makes those sauces just a little bit better). Try it next time you are making a roux for your gumbo!
3. Le Creuset Dutch Oven
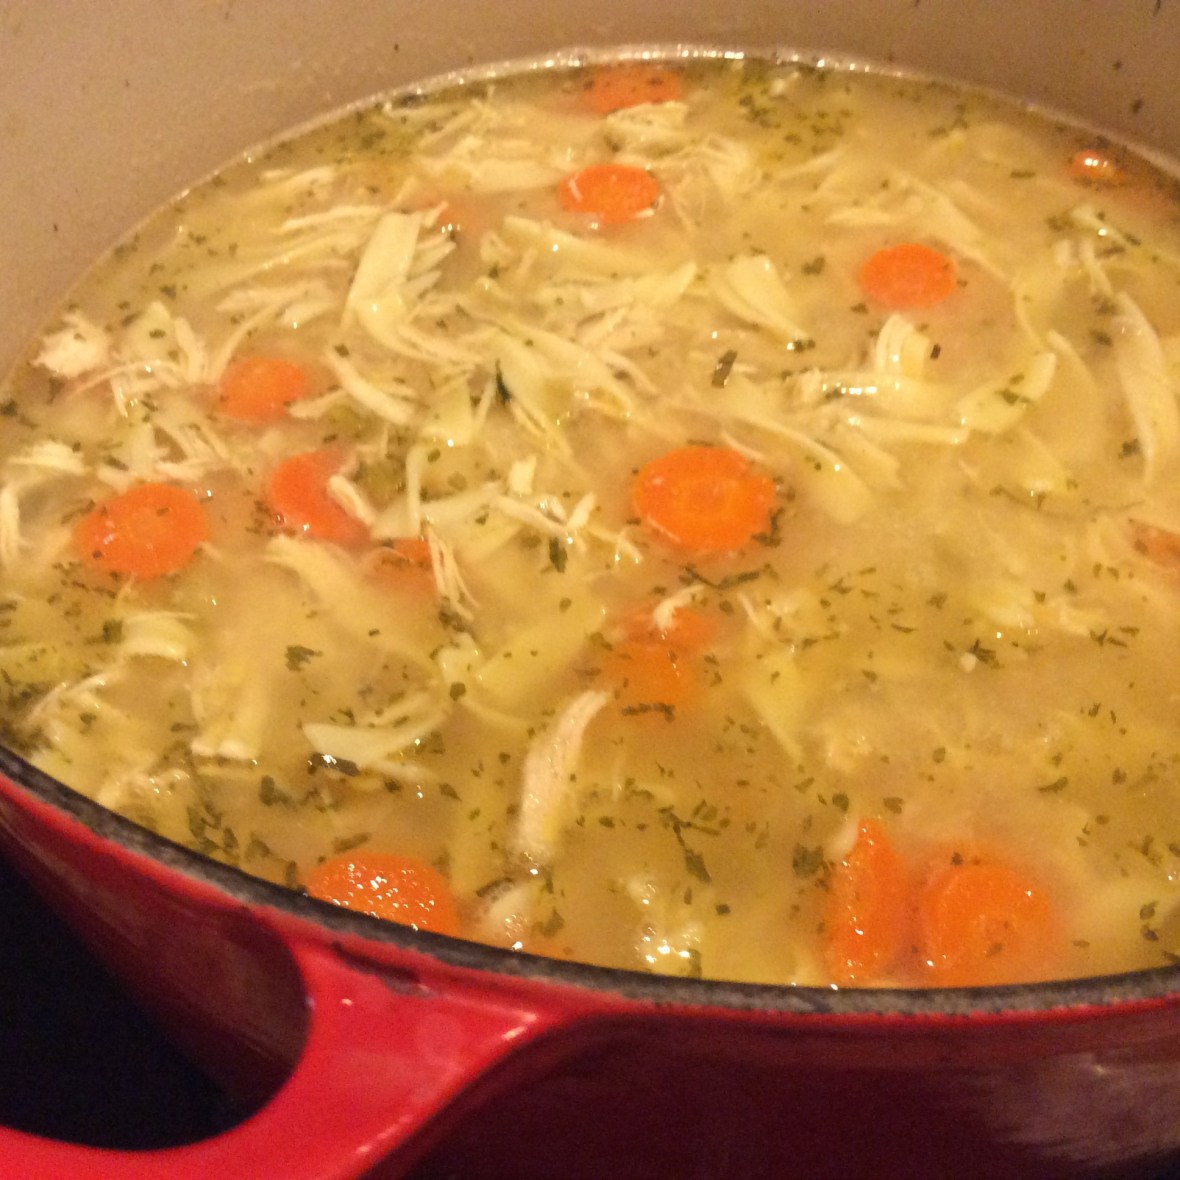
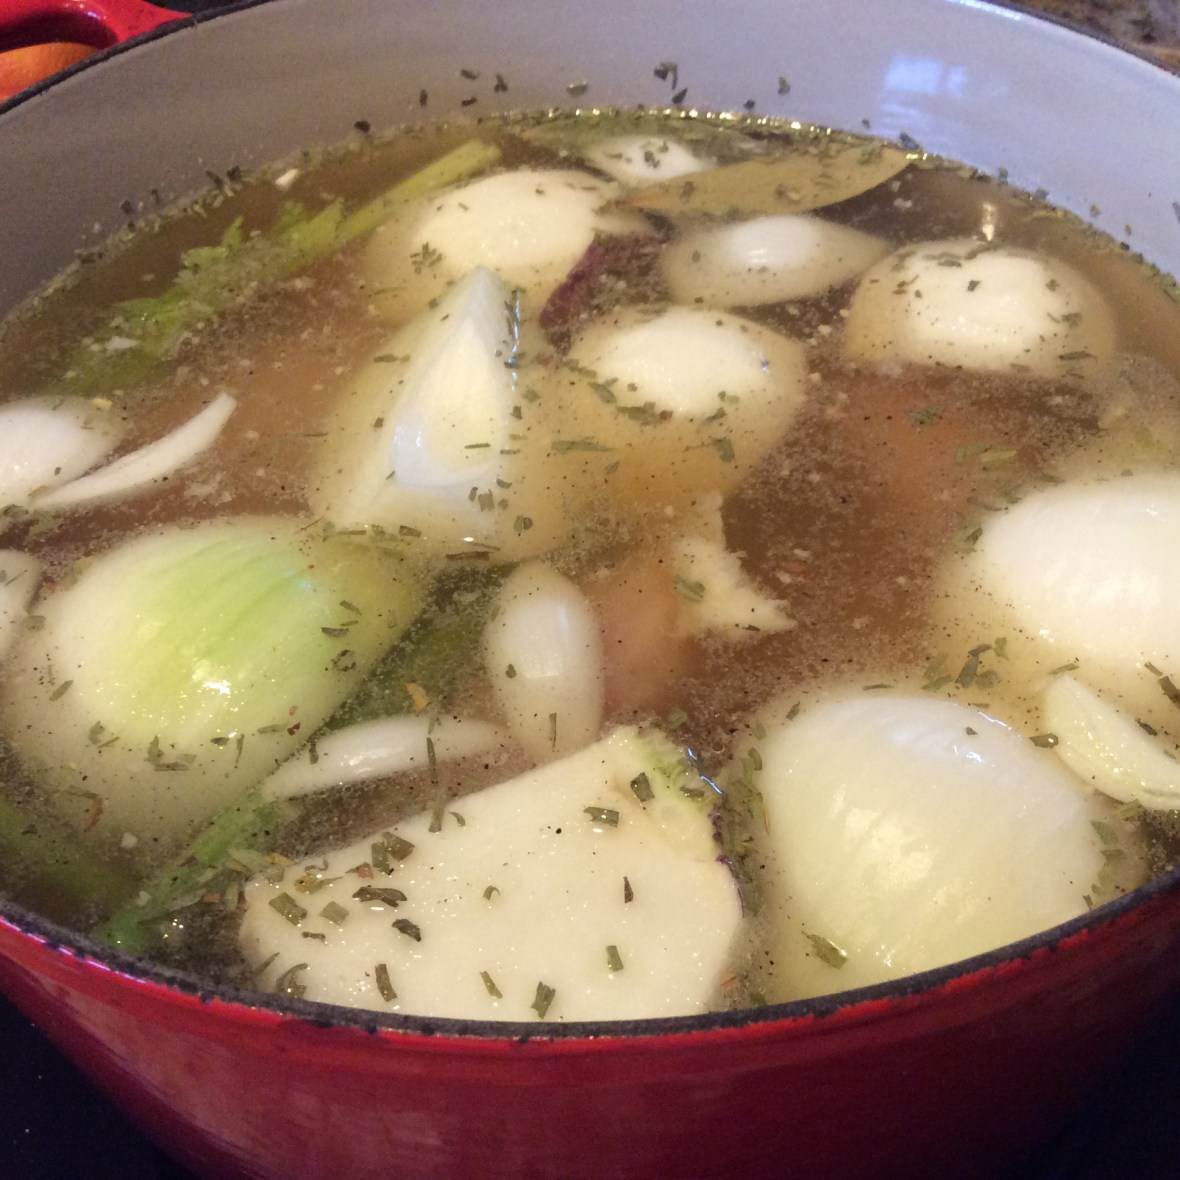
If you have been following my blog, you often see this big red pan in the pictures. It is my Le Creuset Dutch Oven and it is my favorite of all my Le Creuset cookwear (I love the whole line!). Of course, it is lovely to look at while on the stove (and comes in a variety of colors) but its interior enamel helps distribute the heat evenly when cooking and makes browning, simmering, and cleaning a snap! It also goes straight from stove top to oven up to 500 degrees (not sure I have ever cooked anything at that temperature!). I use it for braising short ribs, baking a pot roast, and making soups and stews like this recipe:
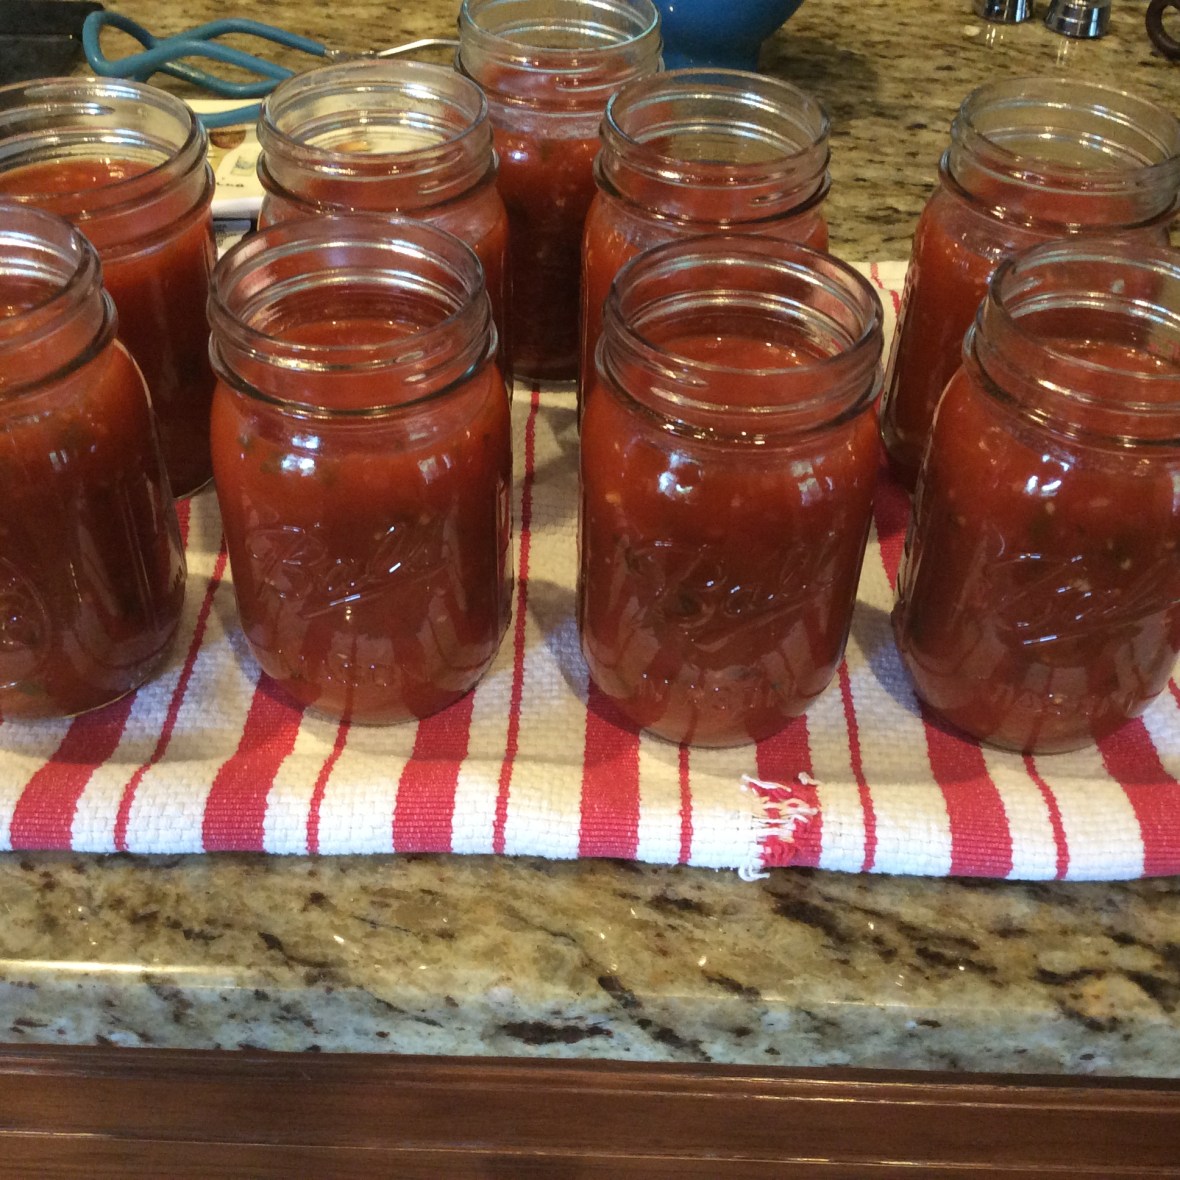
You may not have ever heard of a tomato knife and neither had I until a couple of years ago. My favorite vegetable is the tomato and my husband, Jeff, and I have long argued over whether or not use use a serrated knife to cut a tomato. I said yes…he said no. He was proven wrong one Christmas when I opened one of my gifts from him and it was a tomato knife….with a serrated edge, of course! Yes, I use this knife to slice tomatoes but as you may know, I process my own Italian Sauce every summer and this knife has a little tip that help pierce the tomato after blanching to help remove the skin before chopping. It’s also great to slice bread, meats, and cheese….and, since it’s so small it’s portable. Can you say PICNIC!
My Italian Sauce ready to process
1. Lodge Cast Iron Skillet
I saved the best for last! I use my cast iron skillet for everything from searing meat to making an incredible southern cornbread. I probably have 10 different shapes and sizes…I love it that much! My very first Cast Iron Skillet was given to me by “Grandmother” when I got married back in 1985. She was my husband’s grandmother but she became mine, too, and has always been an inspiration to me in the kitchen!
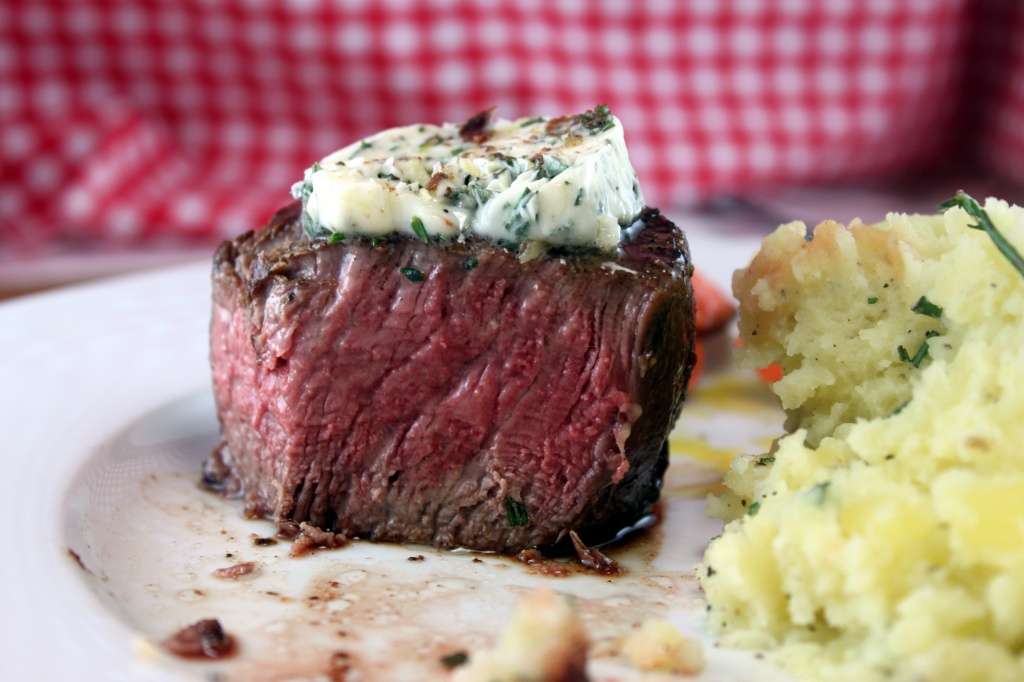
Valentine’s Day is coming up soon so here is one of my favorite recipes using the cast iron skillet:
That is my list of the “Kitchen Essentials”….what are some of yours and would you add anything on my list to your kitchen? I can’t wait to hear from you!
Coming tomorrow….My Dream Kitchen compliments of BlueStar Cooking!
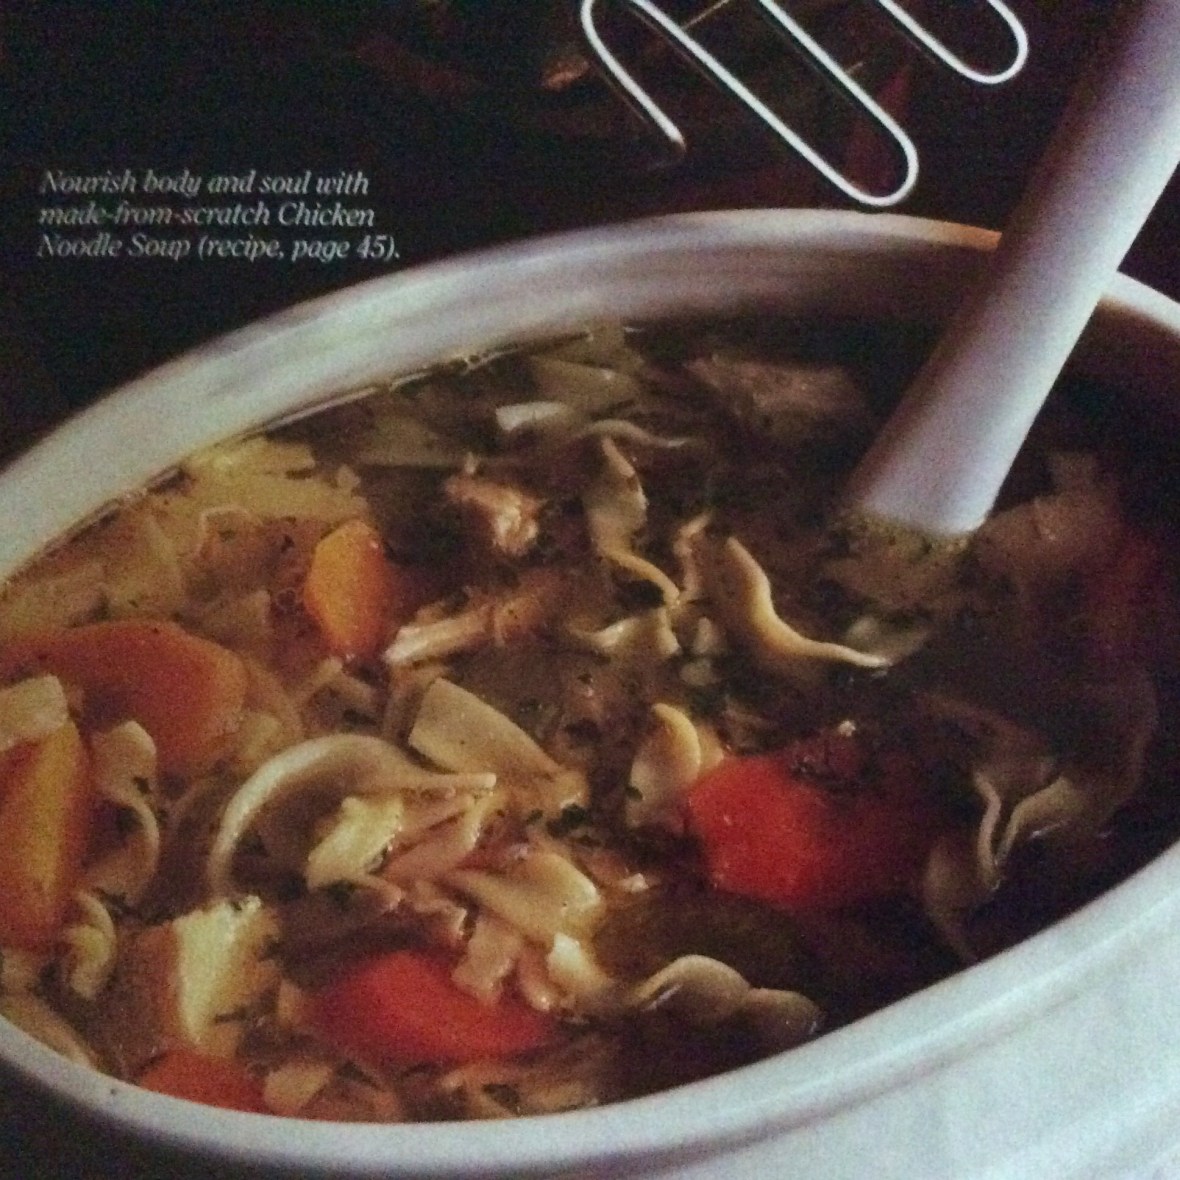
Chicken Noodle Soup….there is a reason there is a series of books called Chicken Soup for the Soul because that is what this soup is all about…reaching into your soul and providing comfort. It is known for curing colds and providing warmth and often many have a memory behind their favorite chicken soup. My recipe goes back to a 1995 issue of Southern Living Magazine and the most amazing picture of a tureen of chicken noodle soup that made my mouth water. Since my mother has given me the annual Southern Living Cookbook every year since I was still married, I do still have the picture that caught my eye!
Homemade Chicken Noodle Soup by Southern Living (1995)
Over the years, I have made this recipe many times and tweaked it along the way, so I thought I would share my updated version with you. It will come out perfect every time and go a long way in warming a lot of winter souls this season!
Ingredients:
1 3.5 to 4 lb. chicken cut up with bone and skin or 2 very large chicken breasts (if you are in a hurry)
2 stalks celery, quartered
1 large onion, peeled and quartered
2 carrots, peeled and quartered
1 turnip, peeled and quartered
2 gloves of garlic, minced
1 1/4 teaspoons salt
3/4 teaspoon pepper
1/4 teaspoon dried tarragon
5 cups water
5 cups chicken broth
6 oz. small egg noodles, parboiled
1 large onion, diced
2 stalks celery, diced
1 teaspoon of olive oil
3 carrots, peeled and sliced
1/2 teaspoon salt
1/2 teaspoon pepper
1/2 teaspoon of dried tarragon
1/2 teaspoon of dried parsley
1/2 teaspoon on onion powder
Directions:
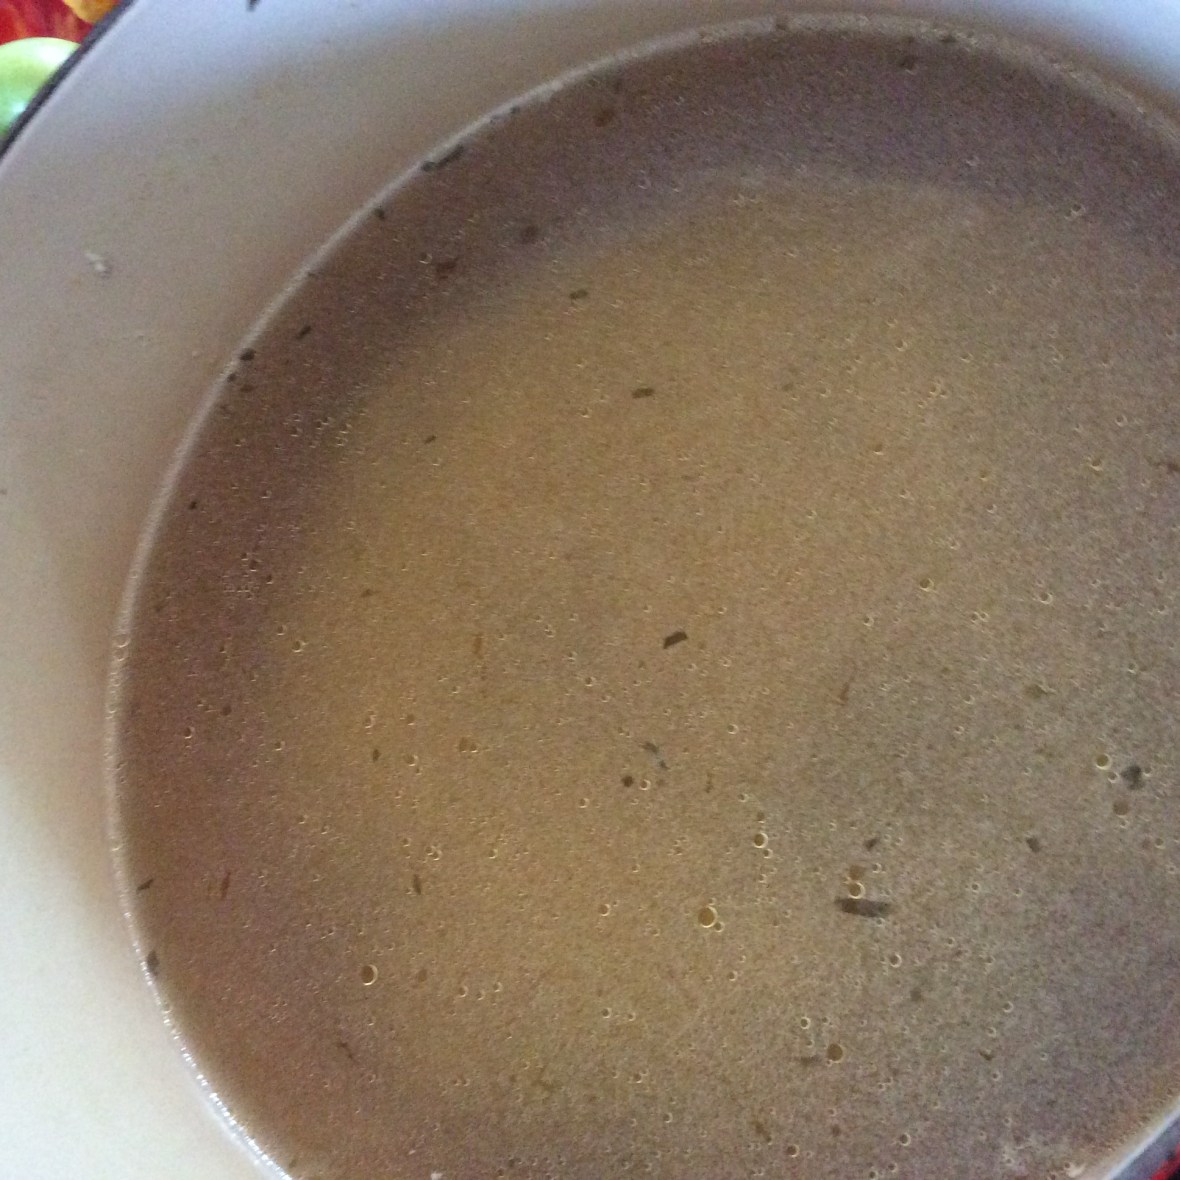
Combine first 11 ingredients in a large Dutch oven, and bring mixture to a boil over high heat. Reduce heat; cook 45 minutes or until chicken is tender.
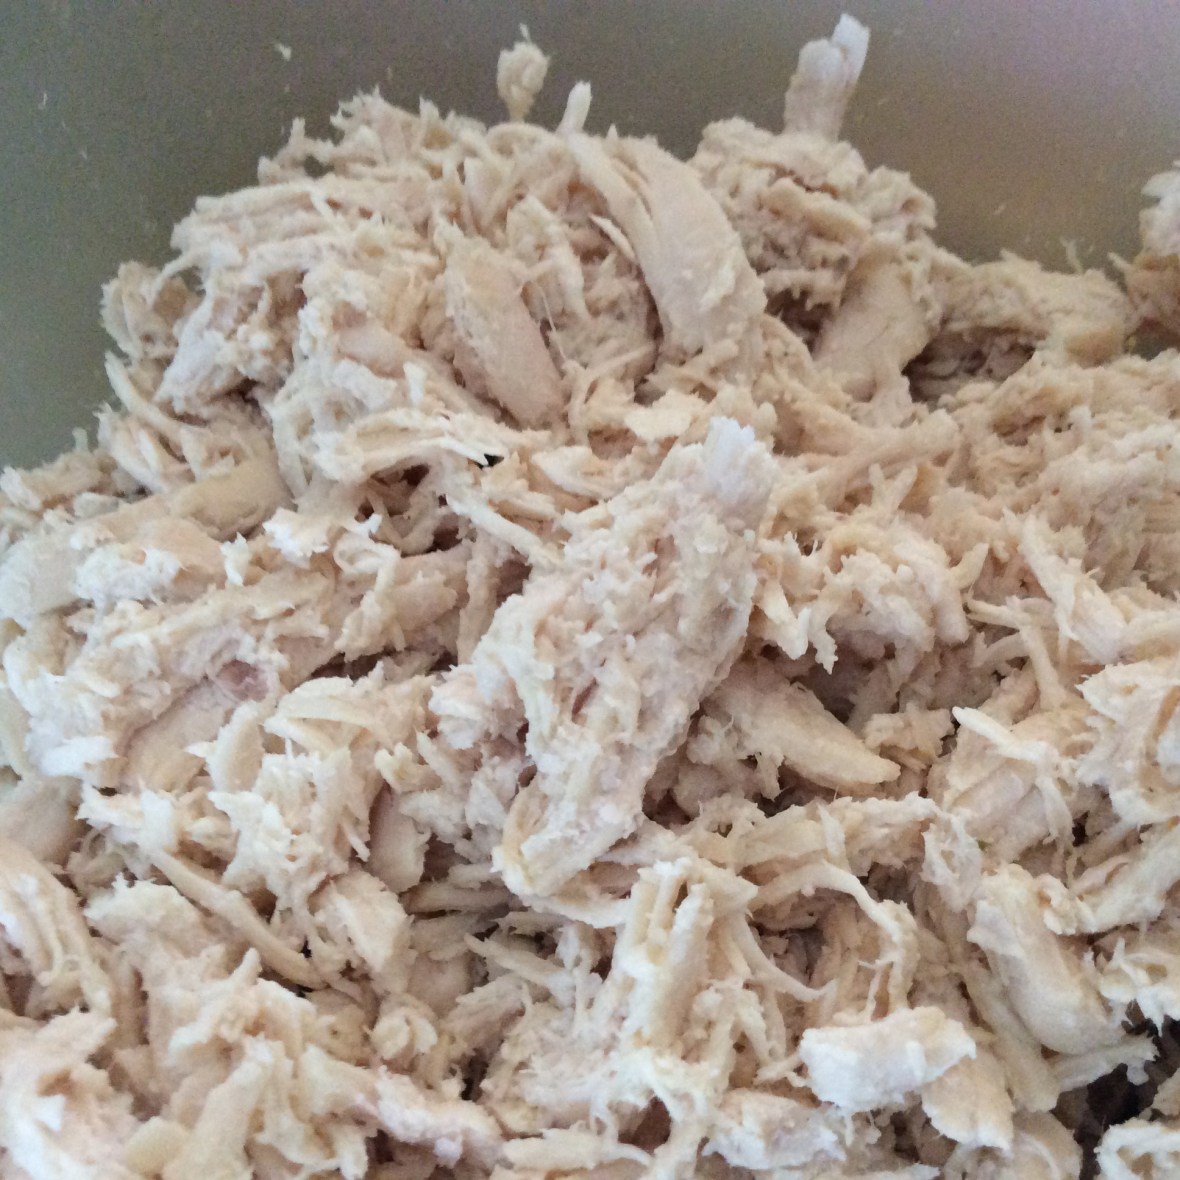
Remove chicken from broth, reserving broth; set chicken aside to cool slightly. Shred chicken
Pour broth through a wire-mesh strainer into a large bowl; discard cooked vegetables. Remove and discard fat from broth; return broth to Dutch oven. Simmer for at least an hour to truly bring out the flavors.
Parboil noodles (don’t fully cook) until they still have a bite to them…this keeps them from absorbing too much of the broth.
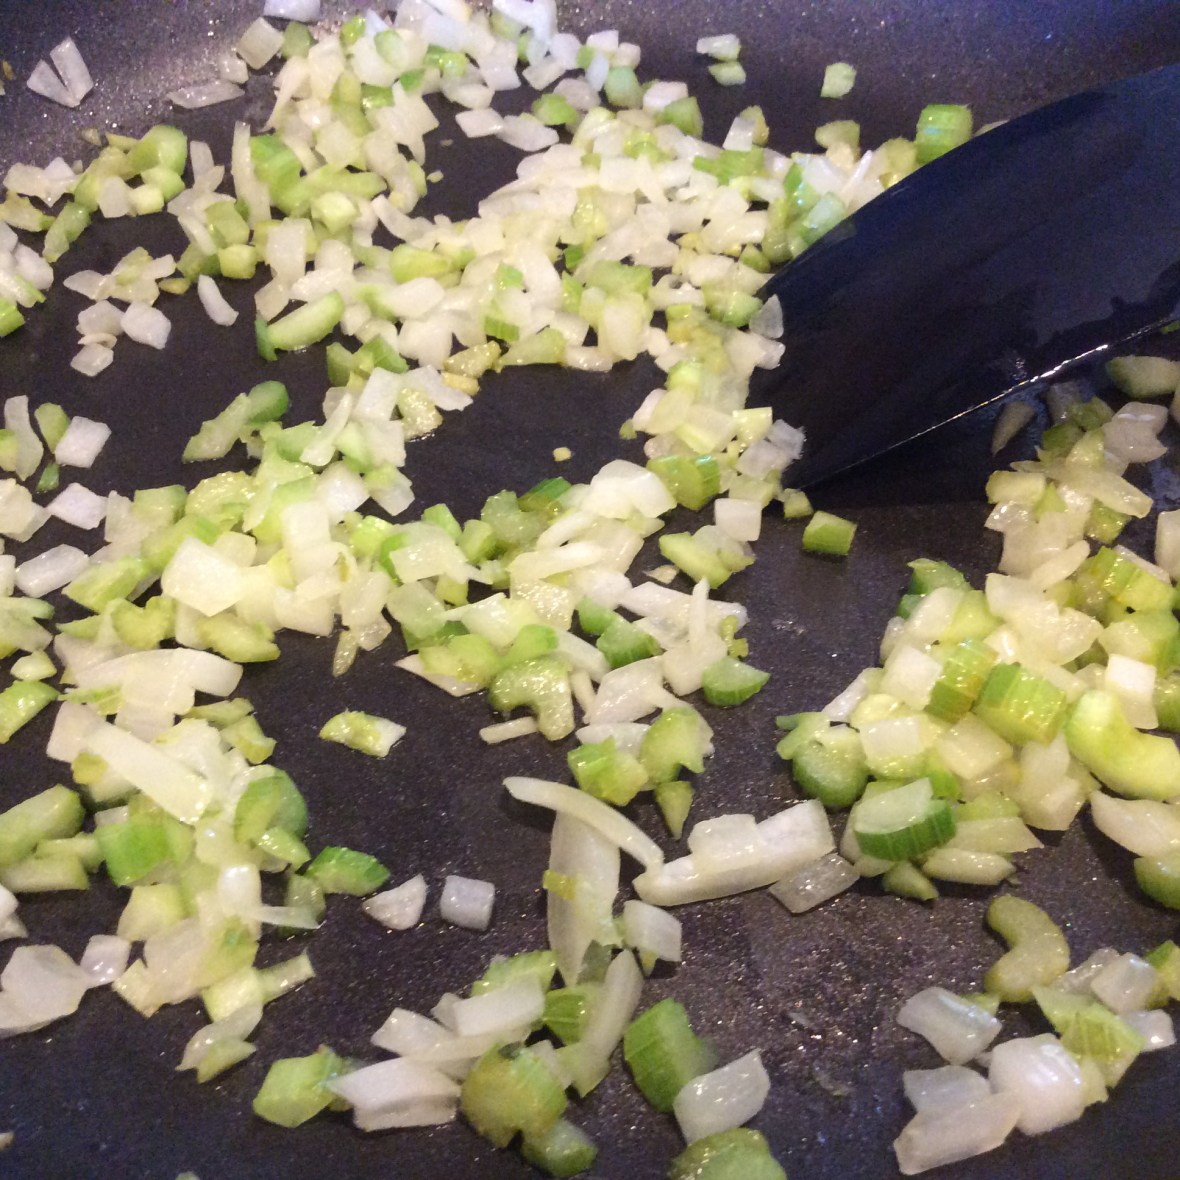
Saute onion and celery in olive oil until vegetables are tender. (I found this step adds so much more flavor than just dumping the raw vegetables in as the recipe states.)
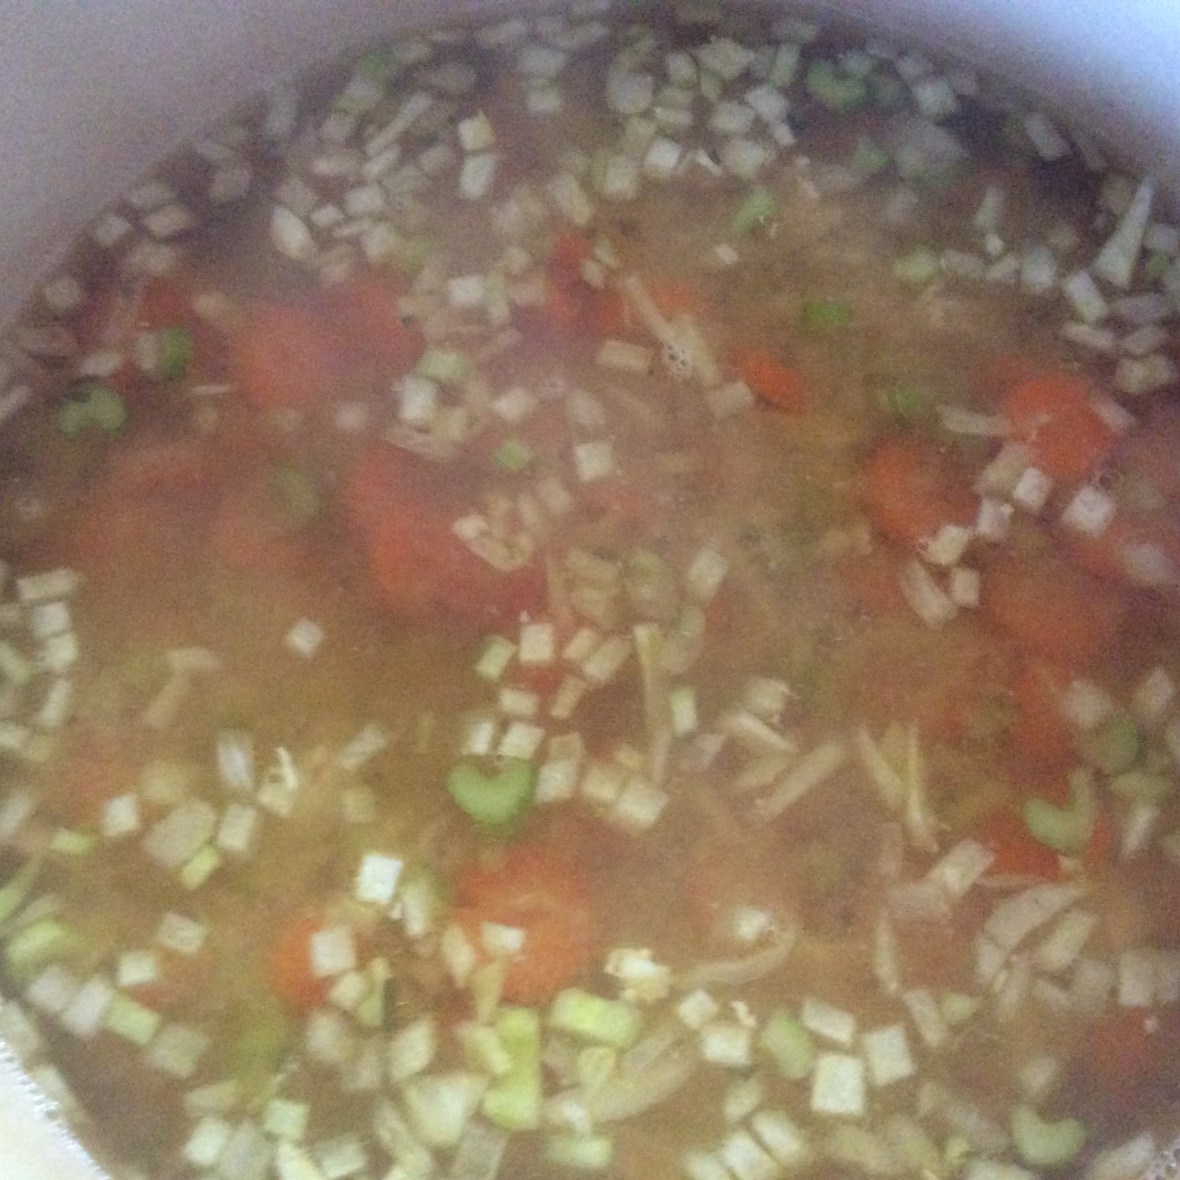
Add sauted celery and onion along with sliced carrot to chicken broth; bring to a boil over high heat. Reduce heat; simmer 30 minutes.
Stir in chopped chicken, noodles, and remaining seasonings.
Simmer for an additional 15-20 minutes (or until noodles are cooked through)
This version makes about 12 good size bowls of soup
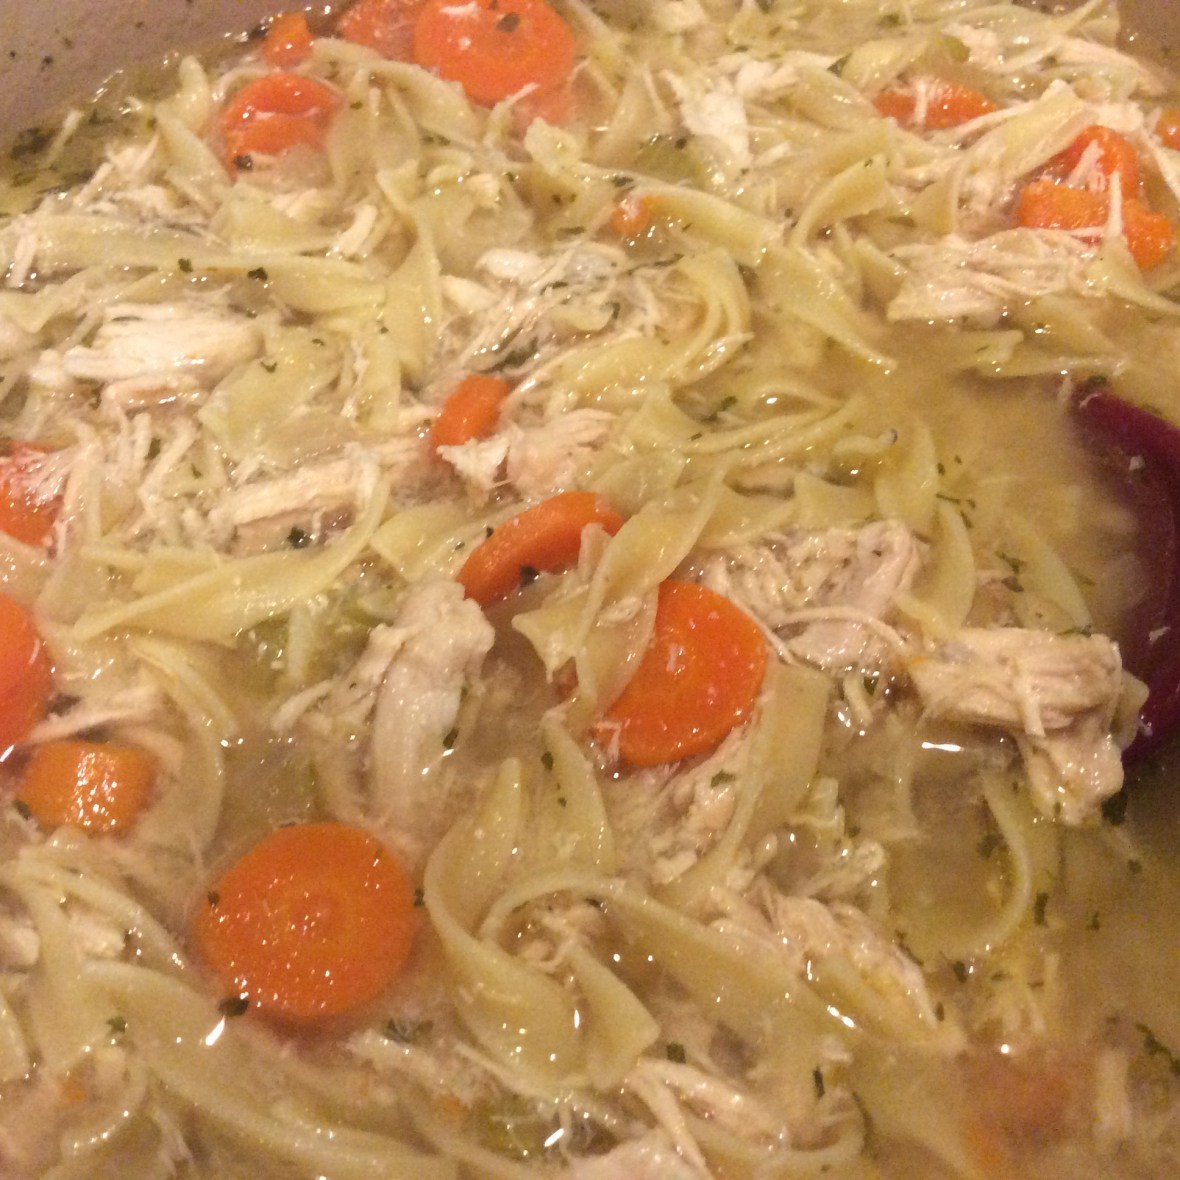
I don’t exactly have the photograpy staff that Southern Living does but this is one good looking bowl of soup!
Chef Frankie’s Homemade Chicken Noodle Soup
Bottom Line: My version does take a little longer but great things take time and you will love the smell of this soup simmering all day in your kitchen. If you like your soup more brothy, feel free to add equal parts of water and chicken broth and it will maintain its superb flavor! I can’t wait for this to become one of your family’s favorite recipes! I am Chef Frankie…always in the kitchen, having fun, and cooking with wild abandonment!
One of my favorite food nationalities is Mexican cuisine but traditionally it is landmine of calories and fat! Fortunately, one of my favorite chicken enchilada recipes is a pleasant change from the norm. Packed with fresh flavors and ingredients, my Veggies Stuffed Chicken Enchiladas fit the bill when it comes to healthy and tasty!
Ingredients
1 Tbsp minced garlic
2 Tbsp olive oil
1 cup thinly sliced zucchini, chopped
1 cup thinly sliced squash, chopped
1/2 Cup chopped onions
2 Cups shredded cooked chicken
1 package low sodium taco seasoning mix (mild)
1 tsp cumin
2 10 oz cans rotel
8 large or 16 small whole wheat
2 cups low fat Mexican blend cheese, shredded
1 15 oz can prepared enchilada sauce
Salt and pepper to taste
Directions
Preheat the oven to 350 degrees.
Spray the bottom of a heatproof dish with cooking spray.
Pour just enough enchilada sauce in the dish to lightly coat the bottom (about 1/4 cup).
In a large pan or wok, sauté the garlic and onion in olive oil until soft.
Add in the zucchini and squash; cook on medium heat for ten minutes, stirring frequently.
To complete the enchilada filling, add the chicken, taco seasoning mix, cumin, green chilies, and diced tomatoes. Let simmer at least 5 minutes (I prefer to let it simmer for about an hour to improve the flavor)
Now fill the tortillas. Use three tablespoons of filling per tortilla.
Top the filling mixture with some shredded cheese and roll up the tortilla.
Place the enchilada fold side down in the prepared dish.
Pour some of the enchilada sauce over the enchiladas over the top of the enchiladas and top with Remaining cheese.
Bake in the oven for fifteen minutes and serve immediately. Makes 8 large enchiladas.
Note:
You can make 2 smaller pans with 4 enchiladas each and freeze one for another day. Just tightly wrap the extra dish (do not cook) and freeze for future use. Take the dish straight from the freezer, replace the freezer wrap with foil, bake it in a 350 degree oven for ten minutes covered and an additional ten minutes uncovered.
Per serving: 1 large tortilla 266 calories
Bottom Line: I love this recipe and the filling can be used as to fill in lettuce ups for an even healthier version! Give it a try in your kitchen!
On Monday, January 18th, I will be back on Mornings with Fox 43 at 8:20 am making one of my favorite dishes…Veggie Stuffed Chicken Enchiladas! This dish is not only delicious but only has 266 calories per serving! Catch the show and then visit the blog Monday afternoon to get all this delicious recipe and tips! See you then!
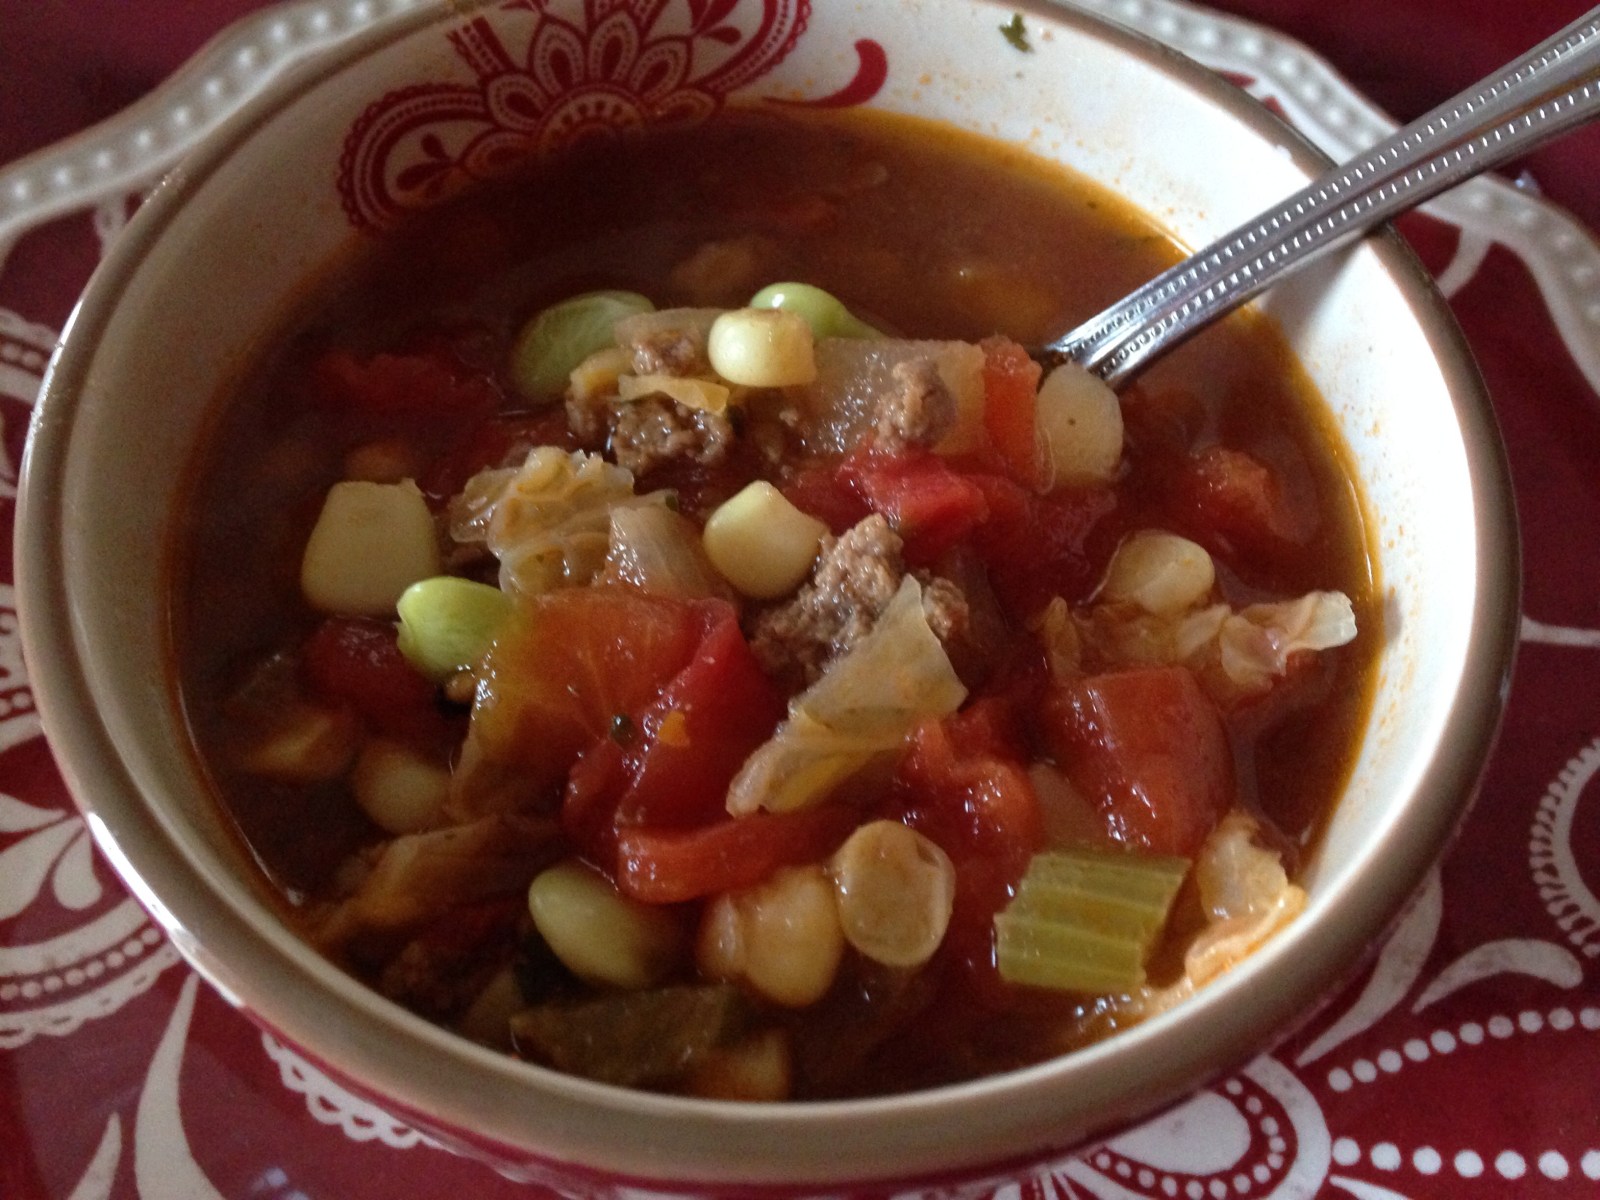
Yesterday, I made my favorite soup recipe but substituted venison that my husband provided for us after a recent hunting trip. It was much leaner and when he took it to work, no one knew it was deer! No matter what kind of protein you use, this recipe is a winner on these chilly winter days!
Everyone has their favorite soup recipe but with snowstorm Pax bearing down on us, I thought now would be a great time to share mine! Soup is one of the first things I learned how to make when I was young…probably because you can literally do anything with it and it is so versatile. Plus, a newbie cook always feels like they are doing something special when they are browning up onions and ground beef! (Love that smell!)
I eat this soup year round…as a matter of fact, if my husband is out of town, it is a must on my menu (except that I substitute one of his least favorite ingredients…ground turkey). Gourmet?…not this soup! Tasty?…very much so! I use lots of shortcuts so I can whip this up quickly and I definitely change it up from time to time so feel free to experiment with your favorite veggies…
As we complete one week into the New Year, many of us are focusing on eating healthier and making better food choices. A great way to incorporate more vegetables in your diet is by using one of my favorite gadgets in the kitchen…the Spiralizer! It takes ordinary vegetables and turn them in to delicious artsy curls and makes them more versatile so you can use them in so many different ways. They are great to use on all kinds of vegetables like squash, carrots, potatoes, cucumbers (I can’t wait to share my Tuna/Cucumber Salad with you!), and many more!
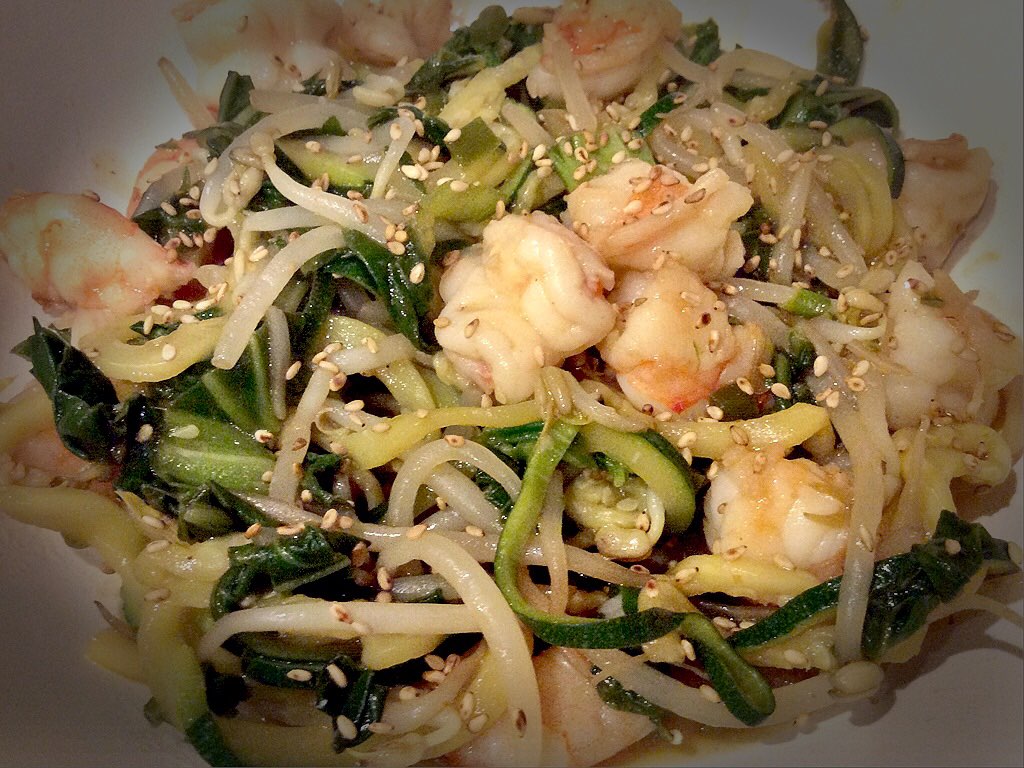
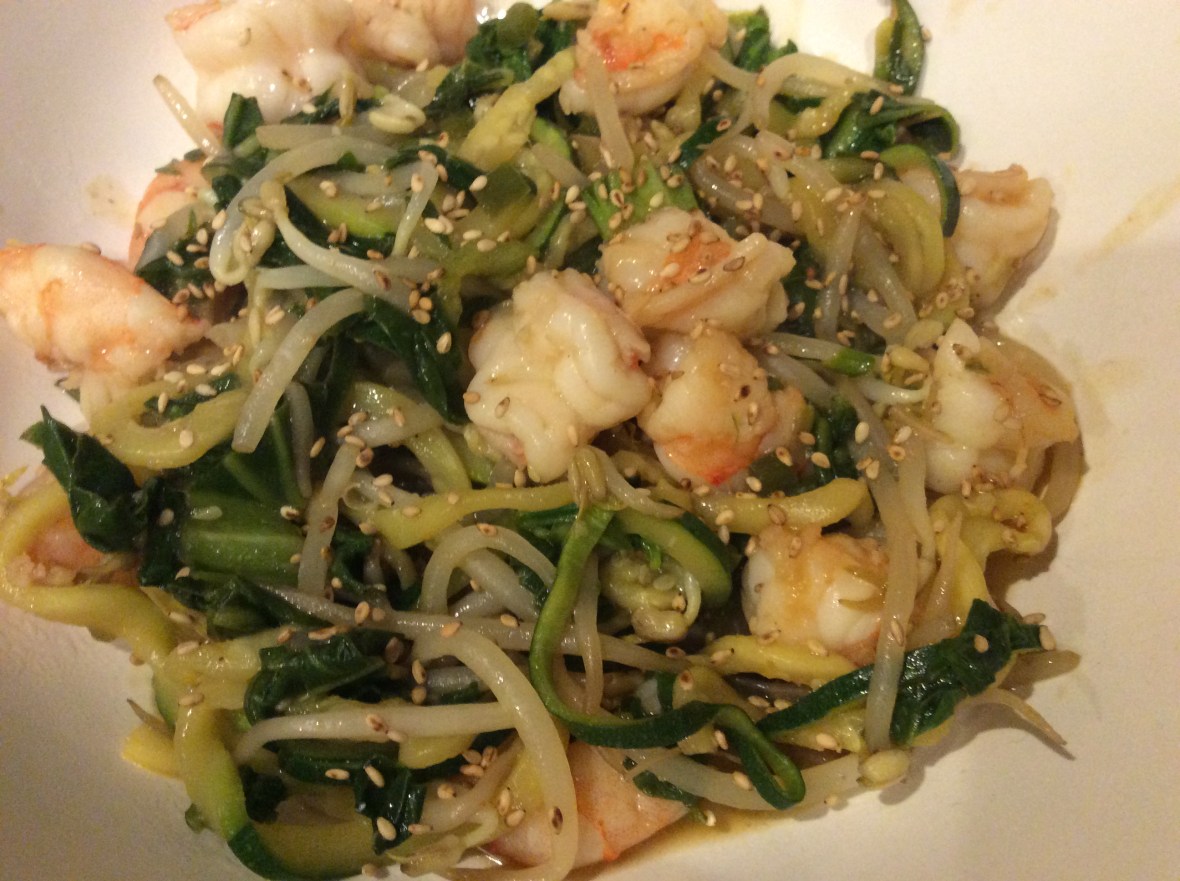
Today’s recipe is Thai Shrimp with Zucchini Noodles. It is a super easy weeknight meal that is not only healthy and incorporates lots of wonderful vegetables but is so yummy! It will become a family favorite instantly! I like to take this basic recipe and substitute different veggies like peppers and mushrooms and even use a different protein like chicken. It is so easy to make it your own!
Thai Shrimp with Zucchinni N
Ingredients:
1/2 cup chicken or vegetable broth
1/4 cup hoisin sauce
1 Tablespoon low sodium soy sauce
2 teaspoons cornstarch
3 Tablespoons olive oil, divided
1 Tablespoon minced garlic
1 teaspoon minced fresh ginger (sometimes I use the prepared squeeze kind found in your spice section in the grocery)
1 pound jumbo shrimp, shelled and deveined
12 oz. package bean sprouts
3 small bunches of baby bok choy
1 jalapeno pepper chopped
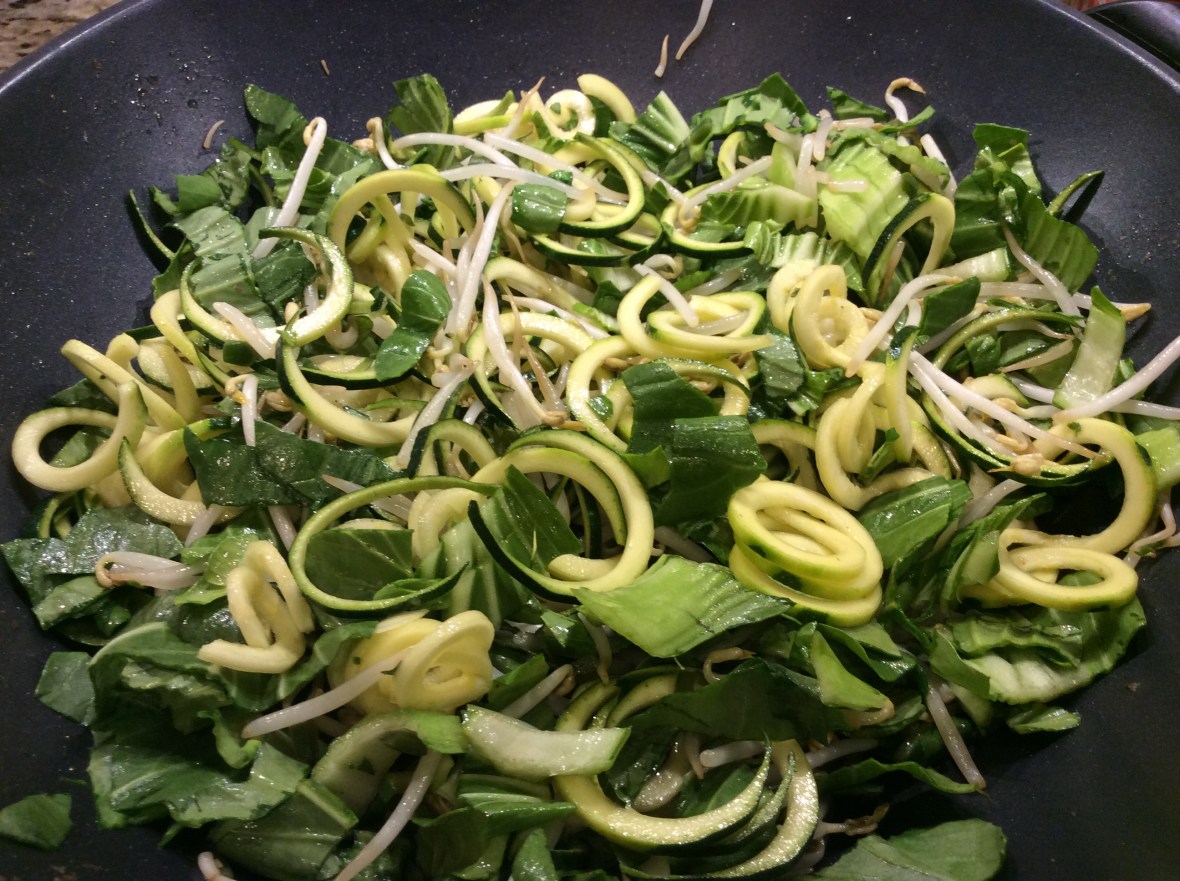
2 medium zucchini, cut into noodles
Toasted sesame seeds, for garnish
Directions:
In a small bowl, whisk together the vegetable broth, hoisin sauce, soy sauce and cornstarch. Set the mixture aside.
Place a large sauté pan or wok over medium-low heat. Add 2 tablespoons olive oil and and heat it for 1 minute. Add in the jalapeno and saute until tender (about 5 minutes) Add in the ginger and garlic and cook for an additional 2 minutes, stirring constantly. Remove from pan and set aside.
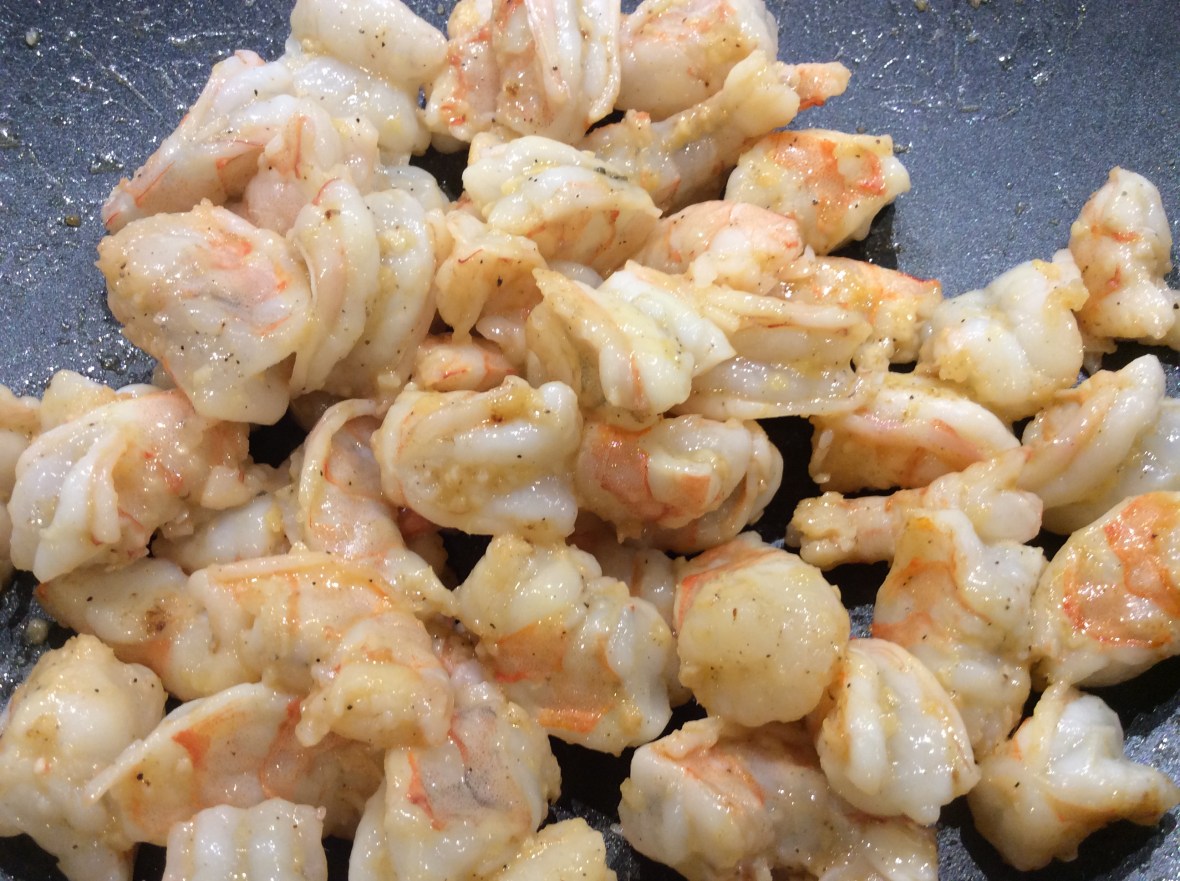
Add the shrimp to the pan and cook, stirring as needed, until the shrimp are cooked throughout and pink on all sides, about 3 minutes. Season the shrimp with salt and pepper and then transfer them to a bowl, leaving any liquid in the pan.
Increase the heat to medium. Add the remaining 1 Tablespoon of olive oil to the pan, then add the sprouts, bok choy, and the zucchini noodles and cook, stirring constantly, for 3 to 4 minutes until the vegetables are crisp but tender. Add the jalapeno/ginger mixture back in and cook an additional minute.
Add the prepared sauce and cook, stirring constantly, for 2 minutes until the sauce thickens slightly. Return the shrimp to the pan, stirring to combine, and cook, tossing to coat, for 1 minute.
Transfer the stir-fry to serving plates, garnish with toasted sesame seeds and serve immediately.
Bottom Line: This recipe is versatile, easy, and delicious and easily incorporates your favorite veggies. I like to serve it with some steamed shrimp dumplings on the side. If you don’t have a spiralizer, you could also use a mandolin or vegetable peeler. I got mine at Williams Sonoma and use it all the time so I will be sharing more recipes with you soon. I hope you try this recipe and share some of your veggie and protein substitutions with me! I am Chef Frankie…always in the kitchen, having fun and cooking with wild abandonment!
The holiday season is one of my favorite times of the year…the chill is in the air, the Christmas trees are going up, and the lights are twinkling….and of course, there is the food! My latest holiday food obsession is Sugared Cranberries. Not only are they so easy to make, but they are delicious and absolutely beautiful on the plate!
Sugared Cranberries
These little beauties have a wow factor on their own but can even make ordinary little cupcakes stand out even more by placing a few on top. I even like to throw a few in our champagne for some added flavor in sparkle! The recipe is actually so easy that the hardest part to it is to actually remembering to let the soak in the simple syrup mixture (I call this Sugar Water) overnight.
Sugared Cranberries
Ingredients
12 oz package fresh cranberries
2 cups sugar
2 cups water
1 – 1/2 2 cups of SUPERFINE Sugar (depending on how sugary you want them)
Wash and lace the cranberries in a medium bowl and set aside.
Make a simple syrup by bringing the water and 2 cups sugar just to a simmer in a medium saucepan. Let the syrup cool for a few minutes and then pour it over the cranberries. If the syrup is too hot the cranberries will burst. Cover and refrigerate overnight (or at least 6 hours). Drain for 30 minutes.
Place the cranberries on a baking sheet toss them with the Superfine Sugar until they are well coated. Allow to dry for a couple of hours. These can be stored in the refrigerator for up to 7 days.
A beautiful bowl of Sugared Cranberries ready to pop in your mouth!
These tiny bursts of sweet and tangy delight will be a hit with your whole family and if you can keep from eating them all, they are delicious in my next recipe…Sparking Cranberry Cups!
Sparking Cranberry Cups
Ingredients:
Sugared Cranberries
Mini Phyllo Shells
Brie Cheese Slices
Cranberry Jelly
Fresh Mint for Garnish
Directions:
Preheat oven to 350.
Place about 1 teaspoon of Brie in each of the Phyllo shells. Bake for 5 minutes or just until the cheese melts and fills the bottom of shell. Allow to cool slightly.
Place a small spoonful of the cranberry jelly on top of the Brie.
Arrange 3 sparkling cranberries on top with a mint leaf to garnish.
Sparkling Cranberry Cups
Serve immediately. A simple impressive appetizer that will wow everyone at your next holiday event!
Bottom Line: These two recipes are too easy and delicious to pass up and it will seem like you put hours of effort into making them. I won’t tell if you won’t! I am Chef Frankie…always in the kitchen, having fun and cooking with wild abandonment!
Since I am not much of a baker, I am always on the lookout for easy “sweet treats” to serve at tailgates or parties that don’t take too much time. Pinterest is always a great place to start and I found a recipe called Chocolate Coconut Chex Mix that looked really pretty and even better, something I could easily make!
I tried the recipe for the first time a few weeks ago just to test it. It only had a few ingredients and the only cooking required was microwaving and melting the chocolate. Easy Peasy! The chocolate melted beautifully but then the recipe called for adding Coconut Extract. I don’t know what kind of reaction happened but all of a sudden the chocolate became “gloppy” (not sure that is really a word but you get my meaning!). I continued on with the recipe but literally had to use my hands to get it to mix well. The end result was “ok” but I knew it could be better.
First, I didn’t really think the recipe needed the coconut extract since it called for actual shredded coconut later so I omitted that. I also decided to use Honey Chex Mix instead of the rice chex mix and I believe this little step took this recipe to another level! It was a hit at our tailgate party last weekend when my sister visited!
Since one of the main purposes of this blog is to test recipes for you, I present my updated version that several different people have told me is commonly known as “Puppy Chow”.
Chocolate Coconut Chex Mix
Ingredients:
9 cups Honey Chex cereal (I think the Cinammon would be great, too!)
3 cups chocolate chips (I have used both milk chocolate and semi-sweet)
2 cups shredded sweetened coconut
1/2 cup powdered sugar
Directions:
Pour the Chex cereal into a large bowl. Set aside.
In a medium microwavable bowl, melt the chocolate chips. Heat for 1 minute then stir. Heat for an additional 30 seconds and stir again. Continue with additional 30 seconds until completely melted and chocolate is smooth.
Pour the chocolate over the Chex cereal. Gently stir until cereal is well coated.
Stir in the shredded coconut until the cereal is evenly coated.Pour the cereal onto two or one really large baking sheets. Sprinkle cereal with powdered sugar until well coated. Let the Chocolate Coconut Chex Mix sit until chocolate is dry, about 30 minutes.
Note-you can store the Chocolate Coconut Chex Mix in an air tight container for 3-4 days.
Bottom Line: You know you have success when someone wants the recipe. This is for you, Christy Hughes! I am Chef Frankie…Always in the kitchen, having fun, and cooking with wild abandonment!
Usually my blog posts contain a recipe that I want to share with you but this one is a little different. My former colleague and dear friend, Karen Holst, has taken on a new roll this year with the University of Tennessee as a Coordinator for University Assisted Community Schools and she recently shared with me a campaign that I knew I had to help with in any way I could.
I am asking my blog followers to help out with just $10 for the University of Tennessee’s Monthly Meals with a Mission for Pond Gap Elementary which “provides the opportunity for hard working parents to sit with their children and learn more about the programs and lessons their child participates in every day. It also allows for their parents to meet fellow community members and connect them with support services.” They need $1000 to get the project launched but much more is needed to continue it.
Visit this site to find out more about this initiative and see the promotional video that Karen has done:
Being a former educator, I know the importance for children and families to get support from the community and what better way to do that than over a great meal! Please join me in supporting this important cause!