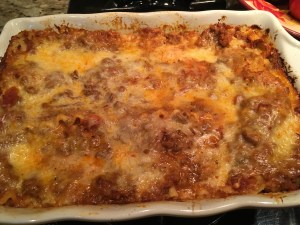
About 2 years, I blogged about a lasagna recipe that I discovered in Cooking Light magazine.  Not being a huge lasagna fan, this was one I truly loved and I have spent the past 2 years improving on an already great recipe!  The typical lasagna has 600+ calories and this version only has 378 per serving!  It is delicious, health”ier”, and it is now my go to recipe for lasagna.  I hope you like my changes and let me know what you think!

Health”ier” Lasagna by Chef Frankie

Ingredients

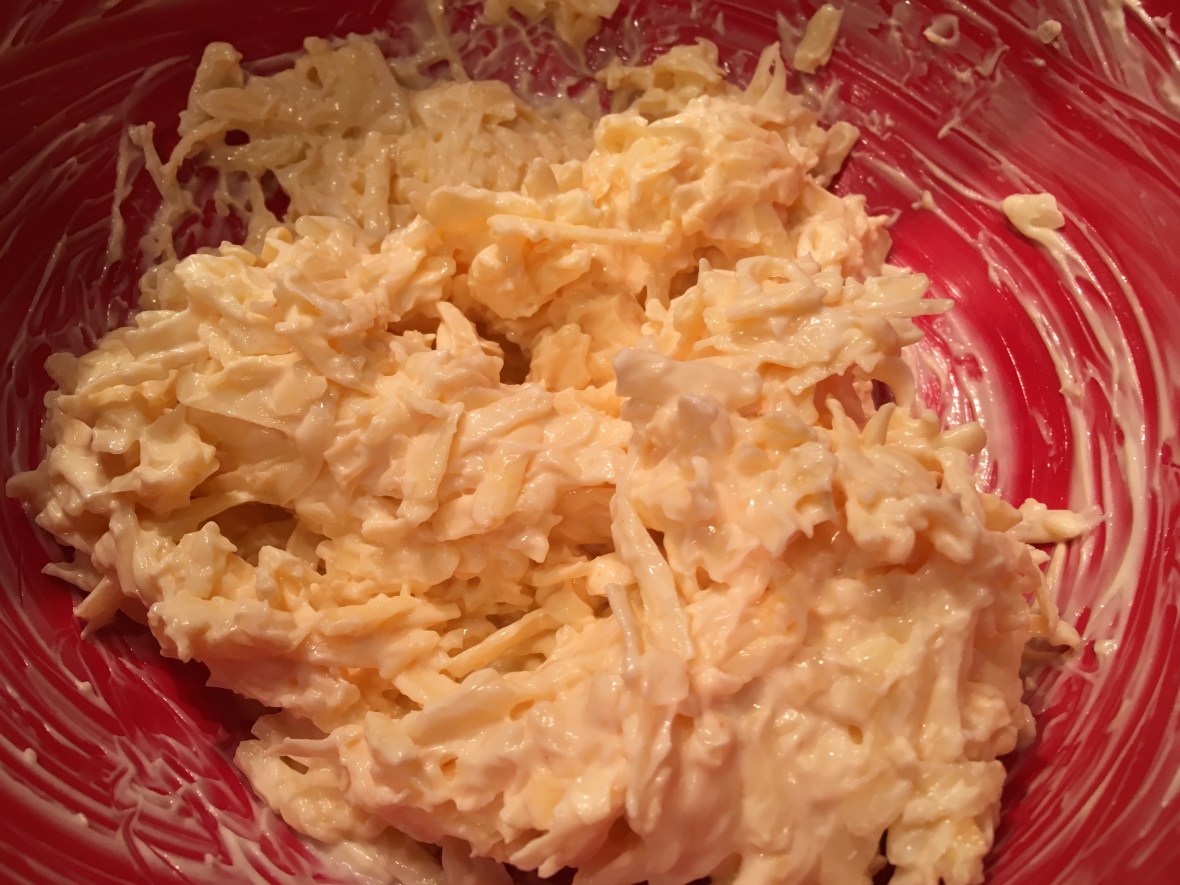
  • 1 cup fat-free ricotta cheese
  • 2 cups fat-free cottage cheese
  • 8 ounces part-skim mozzarella cheese, shredded (about 1 1/2 cups)
  • 1 tablespoon finely chopped fresh oregano
  • 1 tablespoon finely chopped chives
  • 1 tablespoon of chopped parsley
  • 2 teaspoons of minced garlic
  • 1 large egg, lightly beaten
  • 1 lb extra-lean ground beef (93% lean)
  • 1/2 teaspoon freshly ground black pepper
  • 1/4 teaspoon crushed red pepper
  • 1 (25-ounce) jar of your favorite marinara
  • Cooking spray
  • 9 lasagna noodles, cooked
  • 1/3 cup grated parmesan cheese

Directions

1. Preheat oven to 375°.

2. Combine first 8 ingredients and set aside
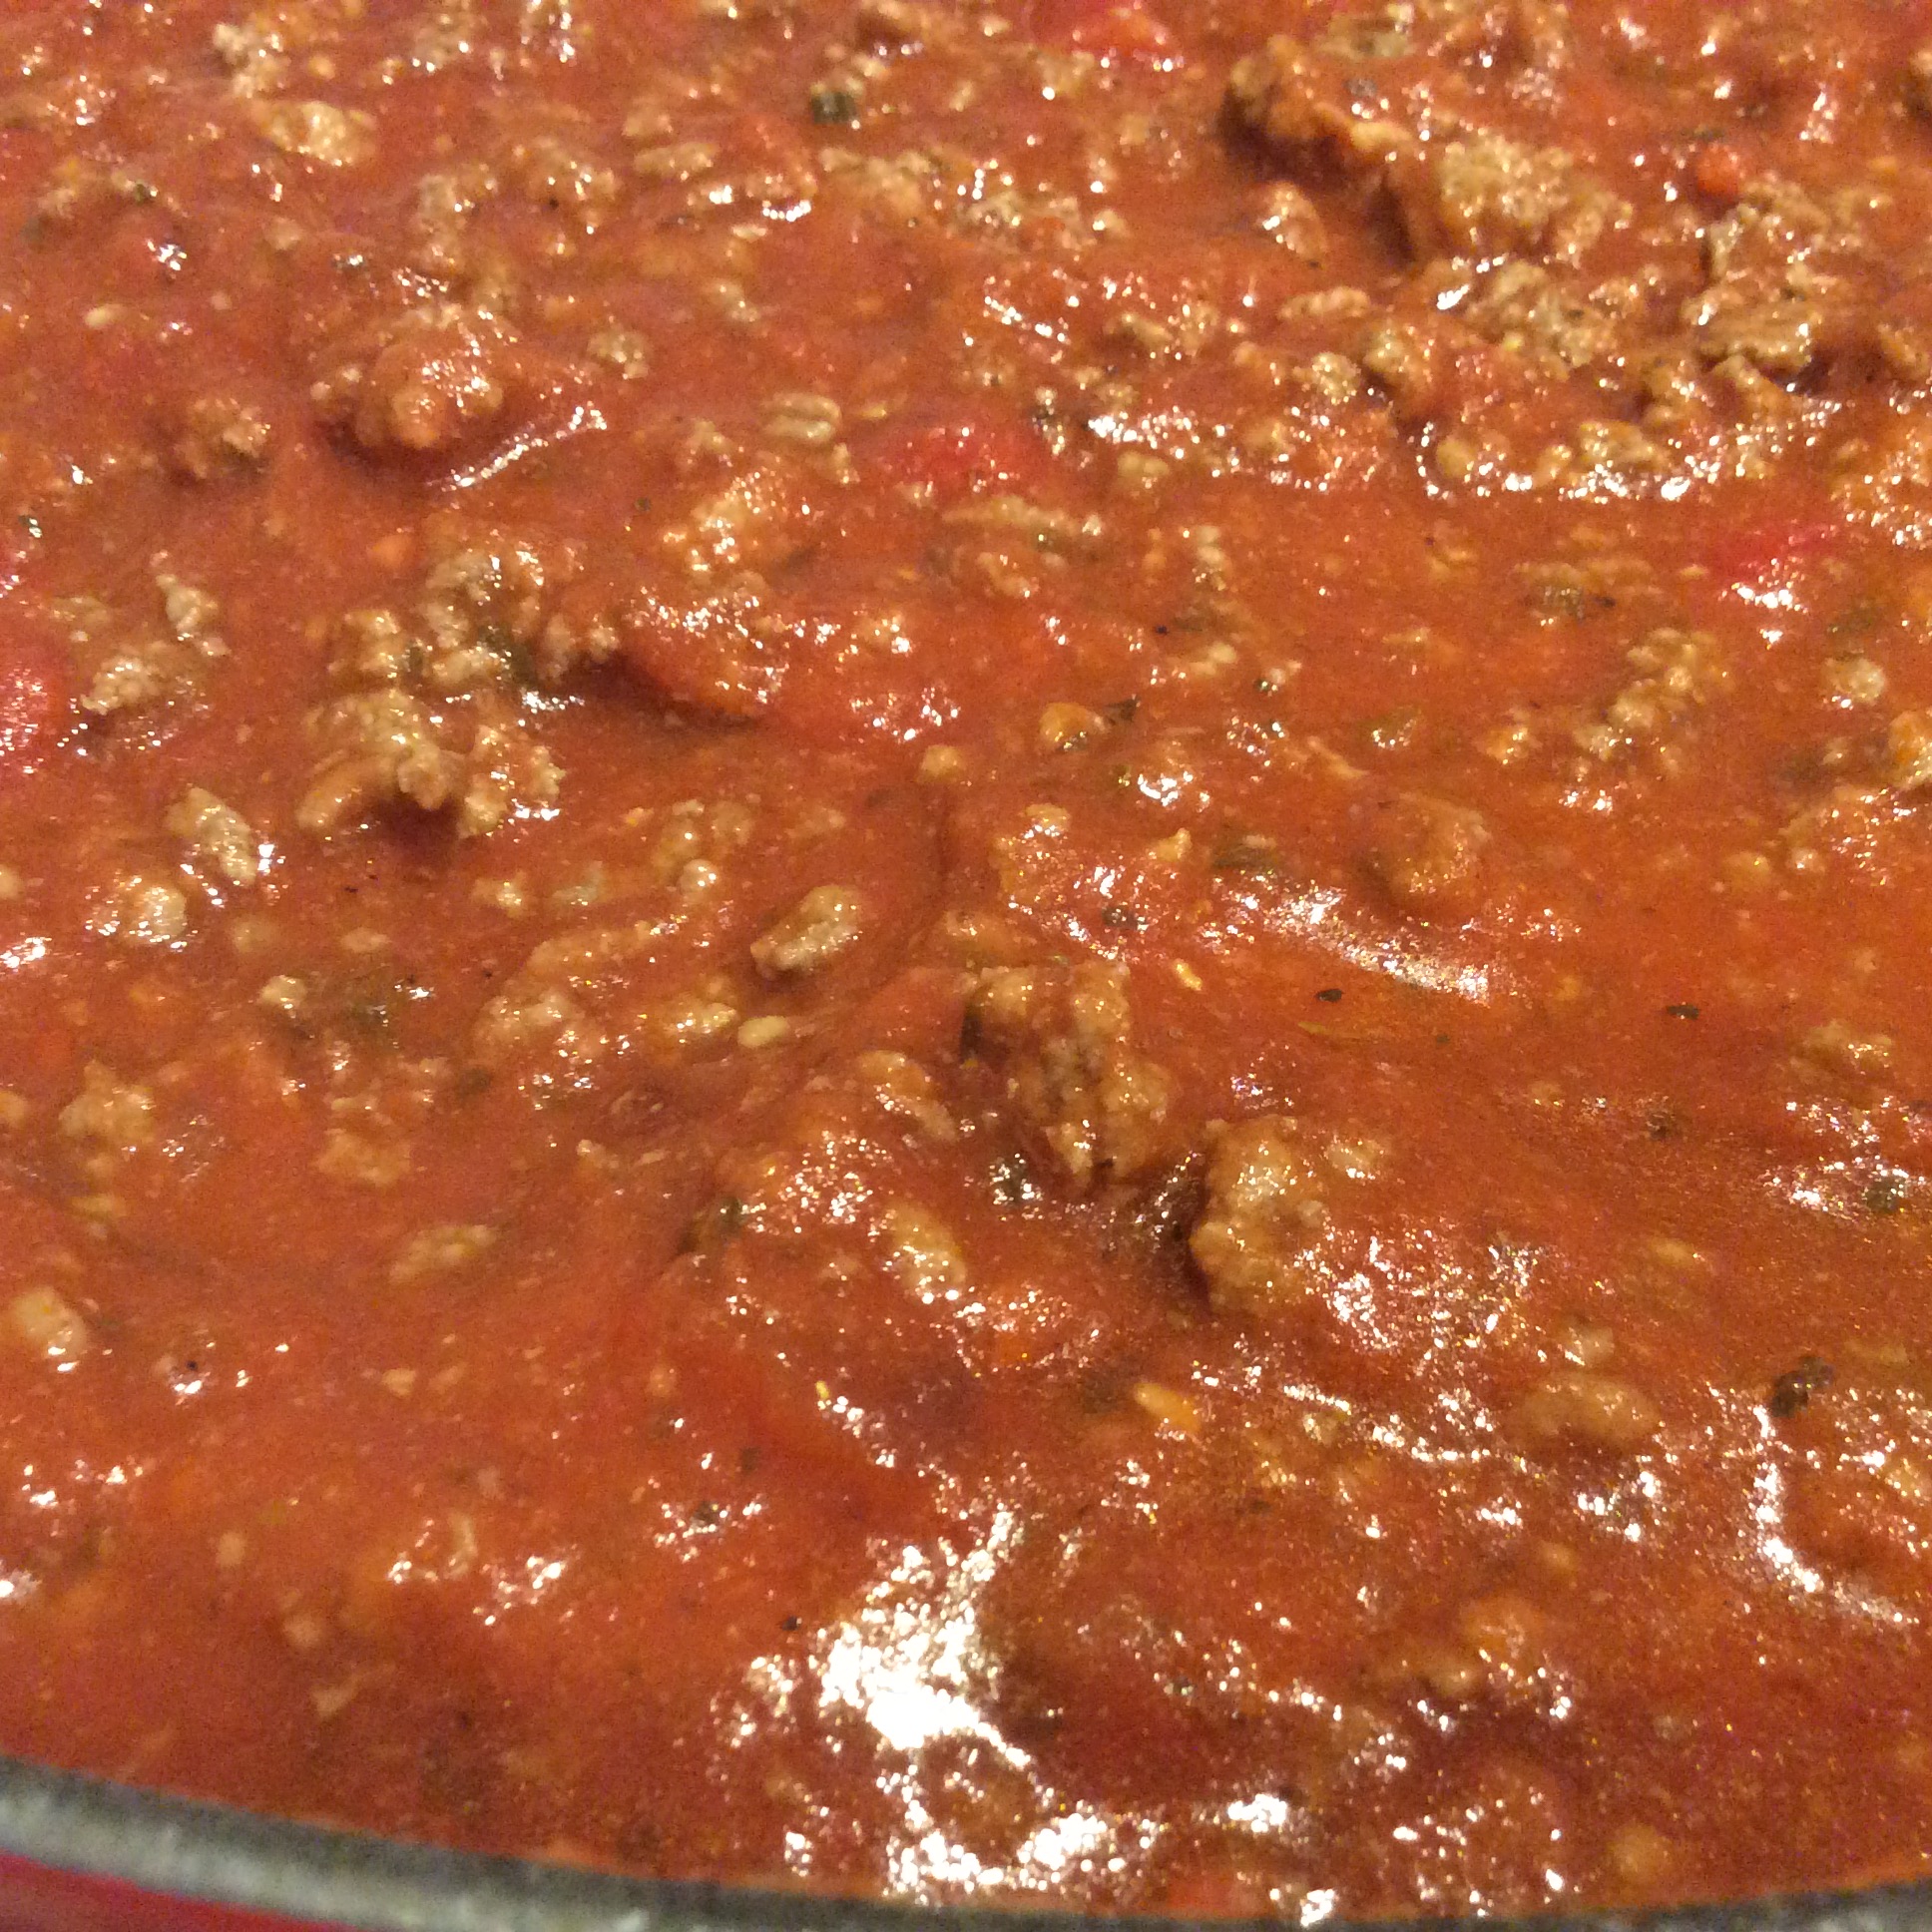
Ricotta Mixture

3. Place ground beef in a large non­stick skillet over medium-high heat; sprinkle with peppers and remaining 4 garlic cloves. Cook for 9 minutes or until beef is browned, stirring to crumble; drain. Return beef mixture to pan; stir in marinara sauce, and let simmer until heated through.

Meat Sauce

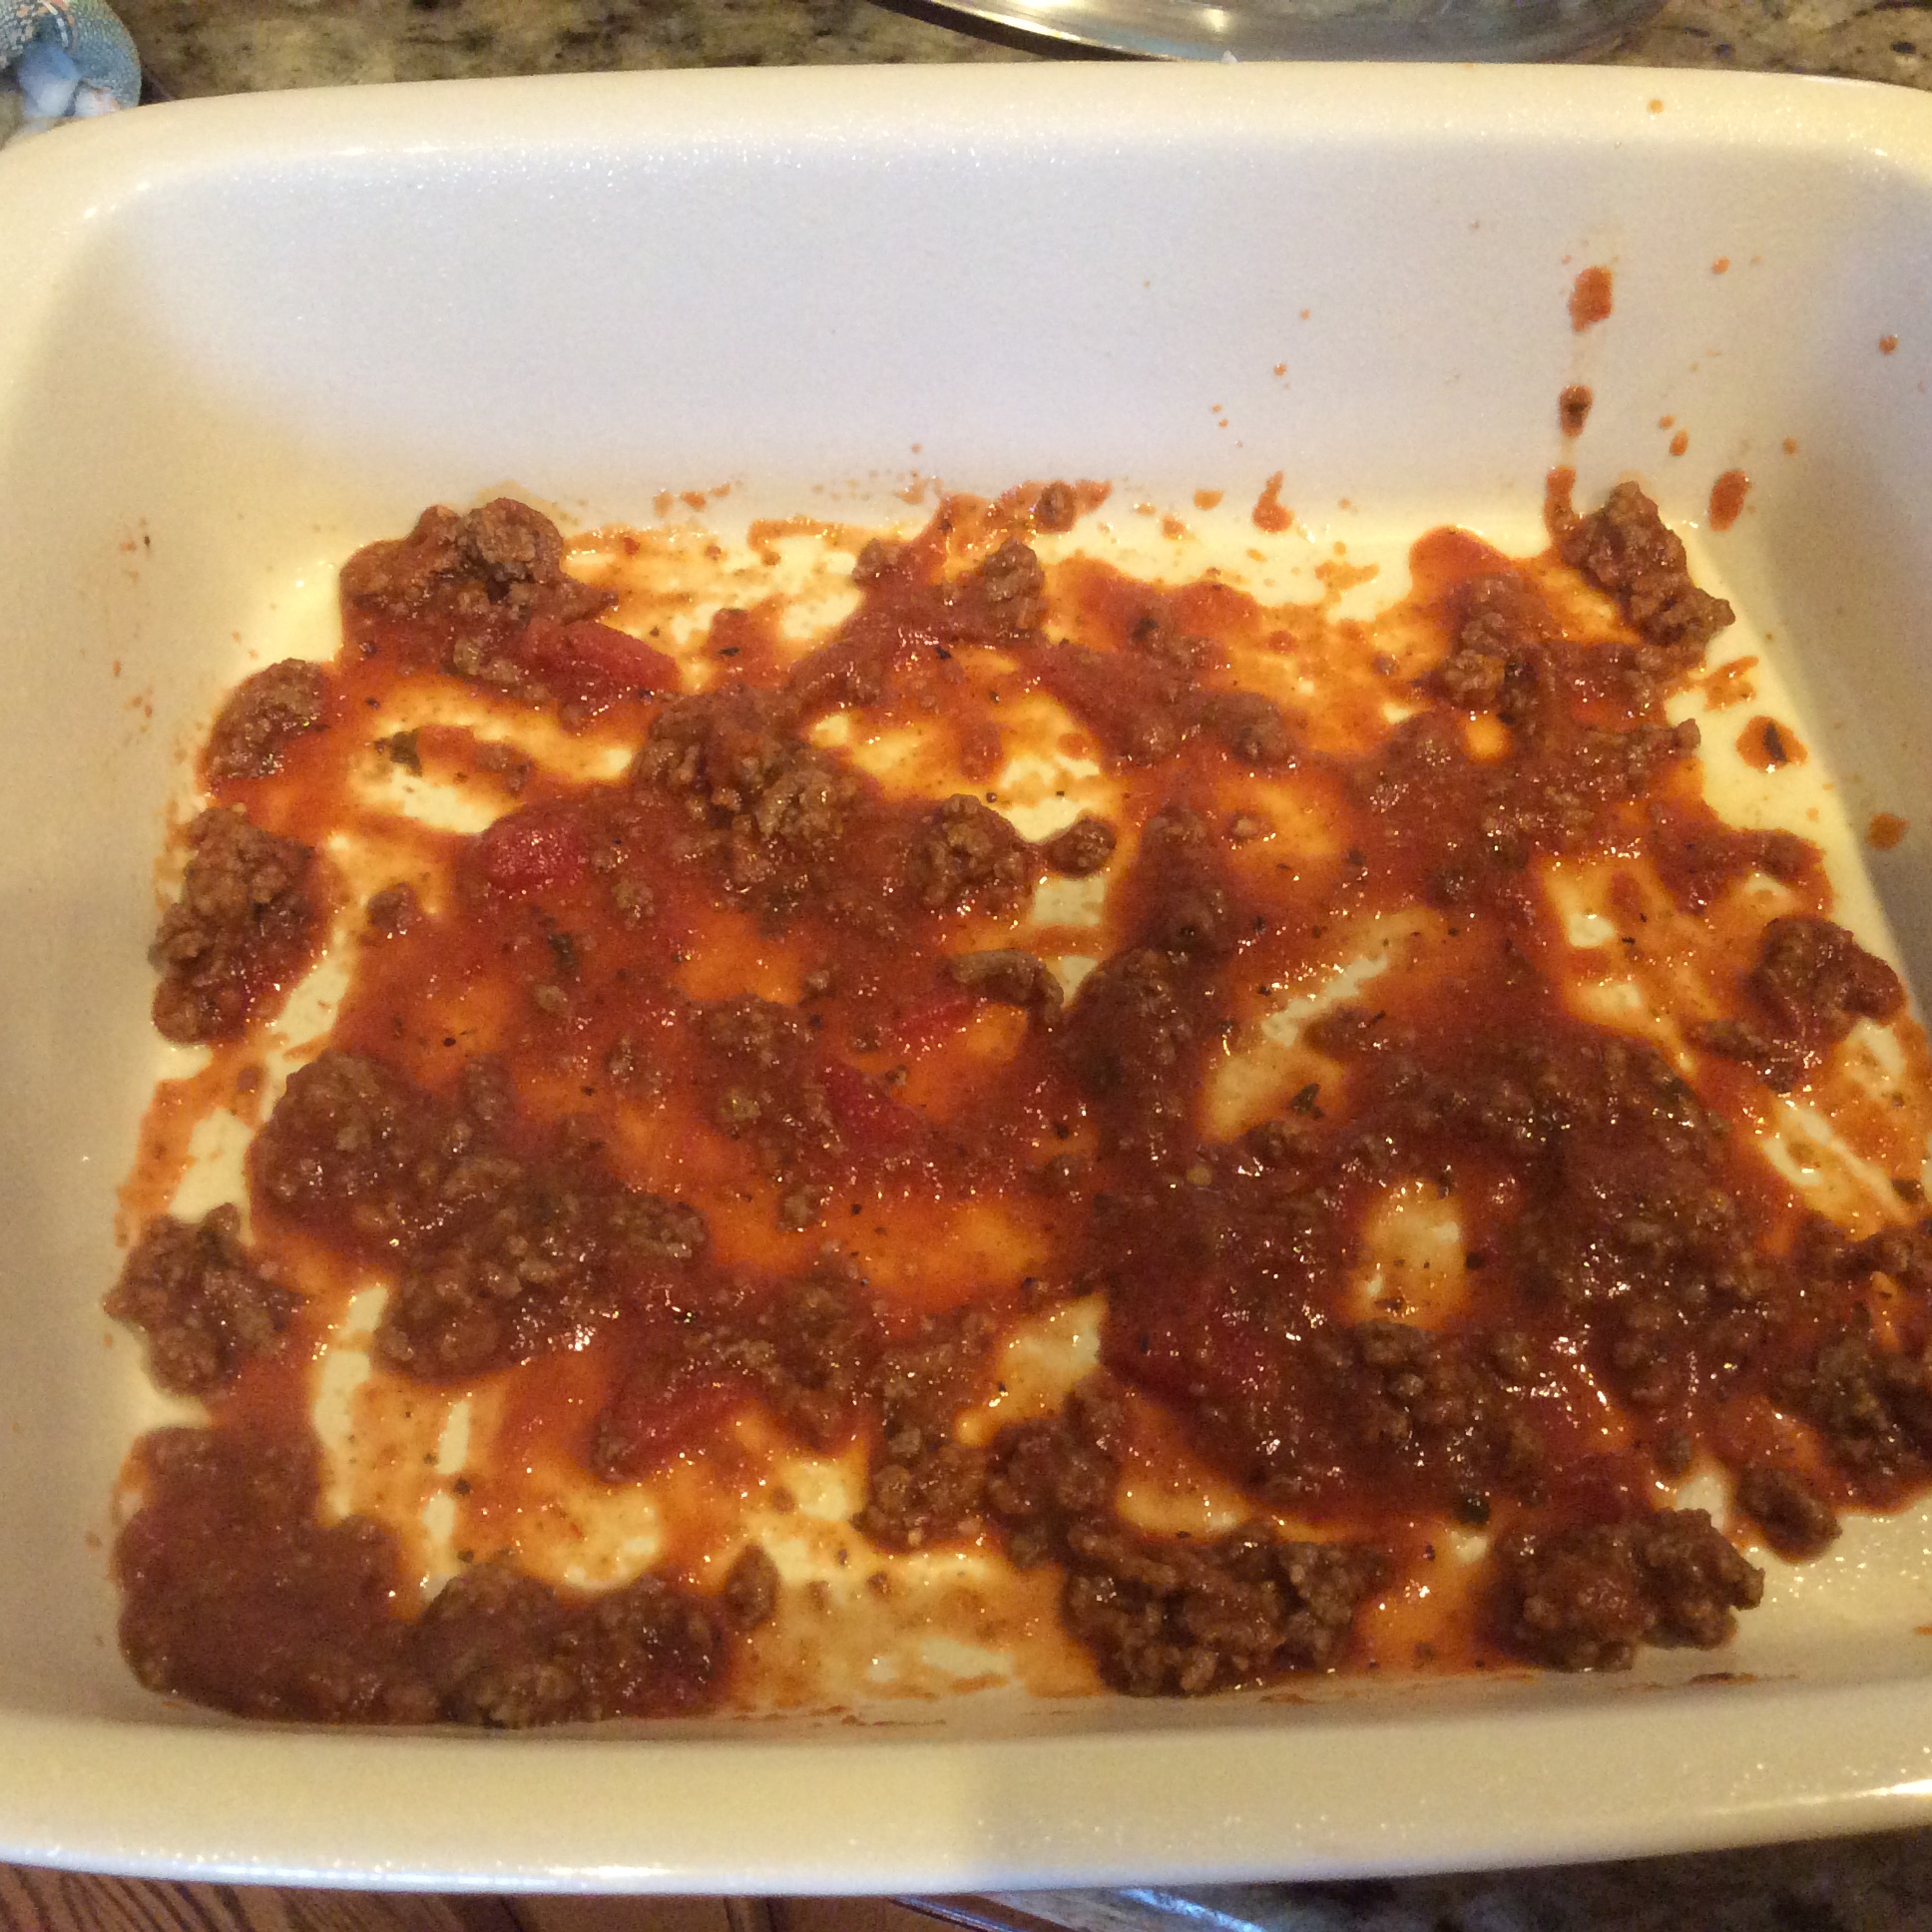
4. Spread 1/2 cup meat sauce in bottom of a broiler-safe 2.5 glass or ceramic baking dish coated with cooking spray.

Meat Sauce in the bottom of baking dish

Place 3 noodles on top of meat sauce and cover noodles with another 1 cup meat sauce.

IMG_1961

Top with 1/2 of the ricotta mixture.

Second layer of noodles and ricotta mixture

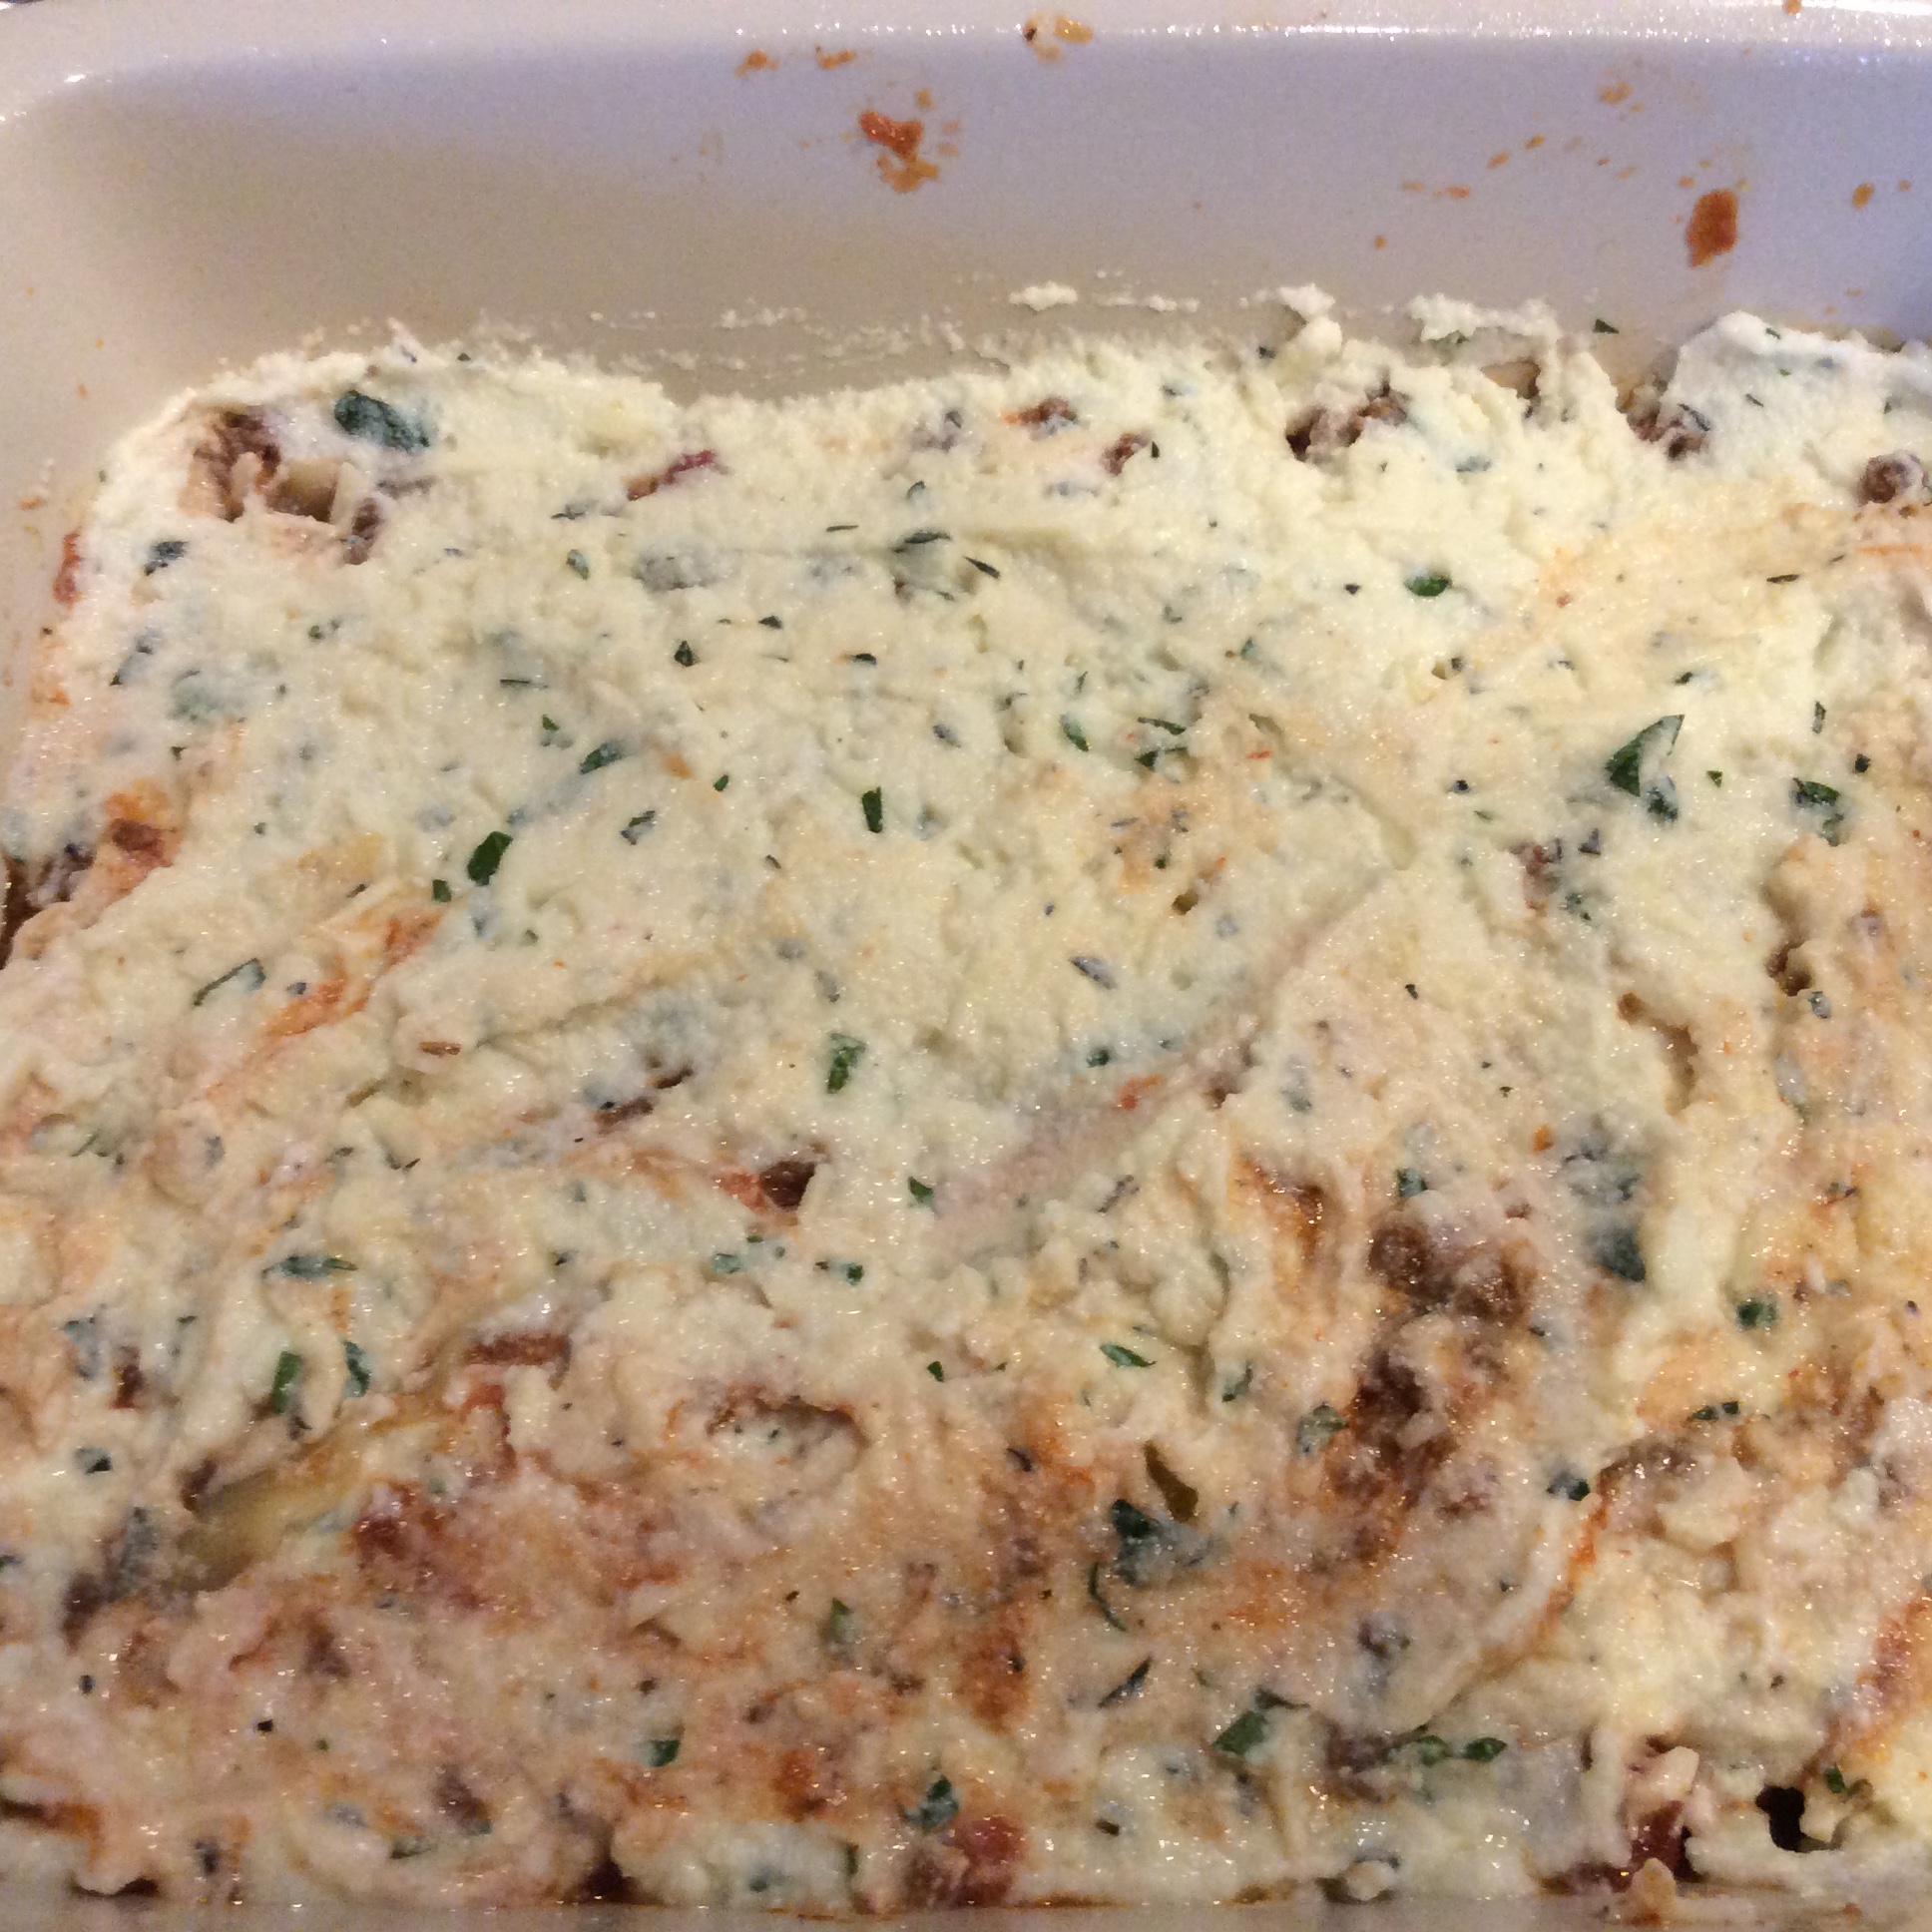
Repeat this step layering 3 more noodles, 1 more cup of meat sauce, and remaining ricotta.

Finally, add the remaining 3 noodles. Spread remaining meat sauce over top noodles.

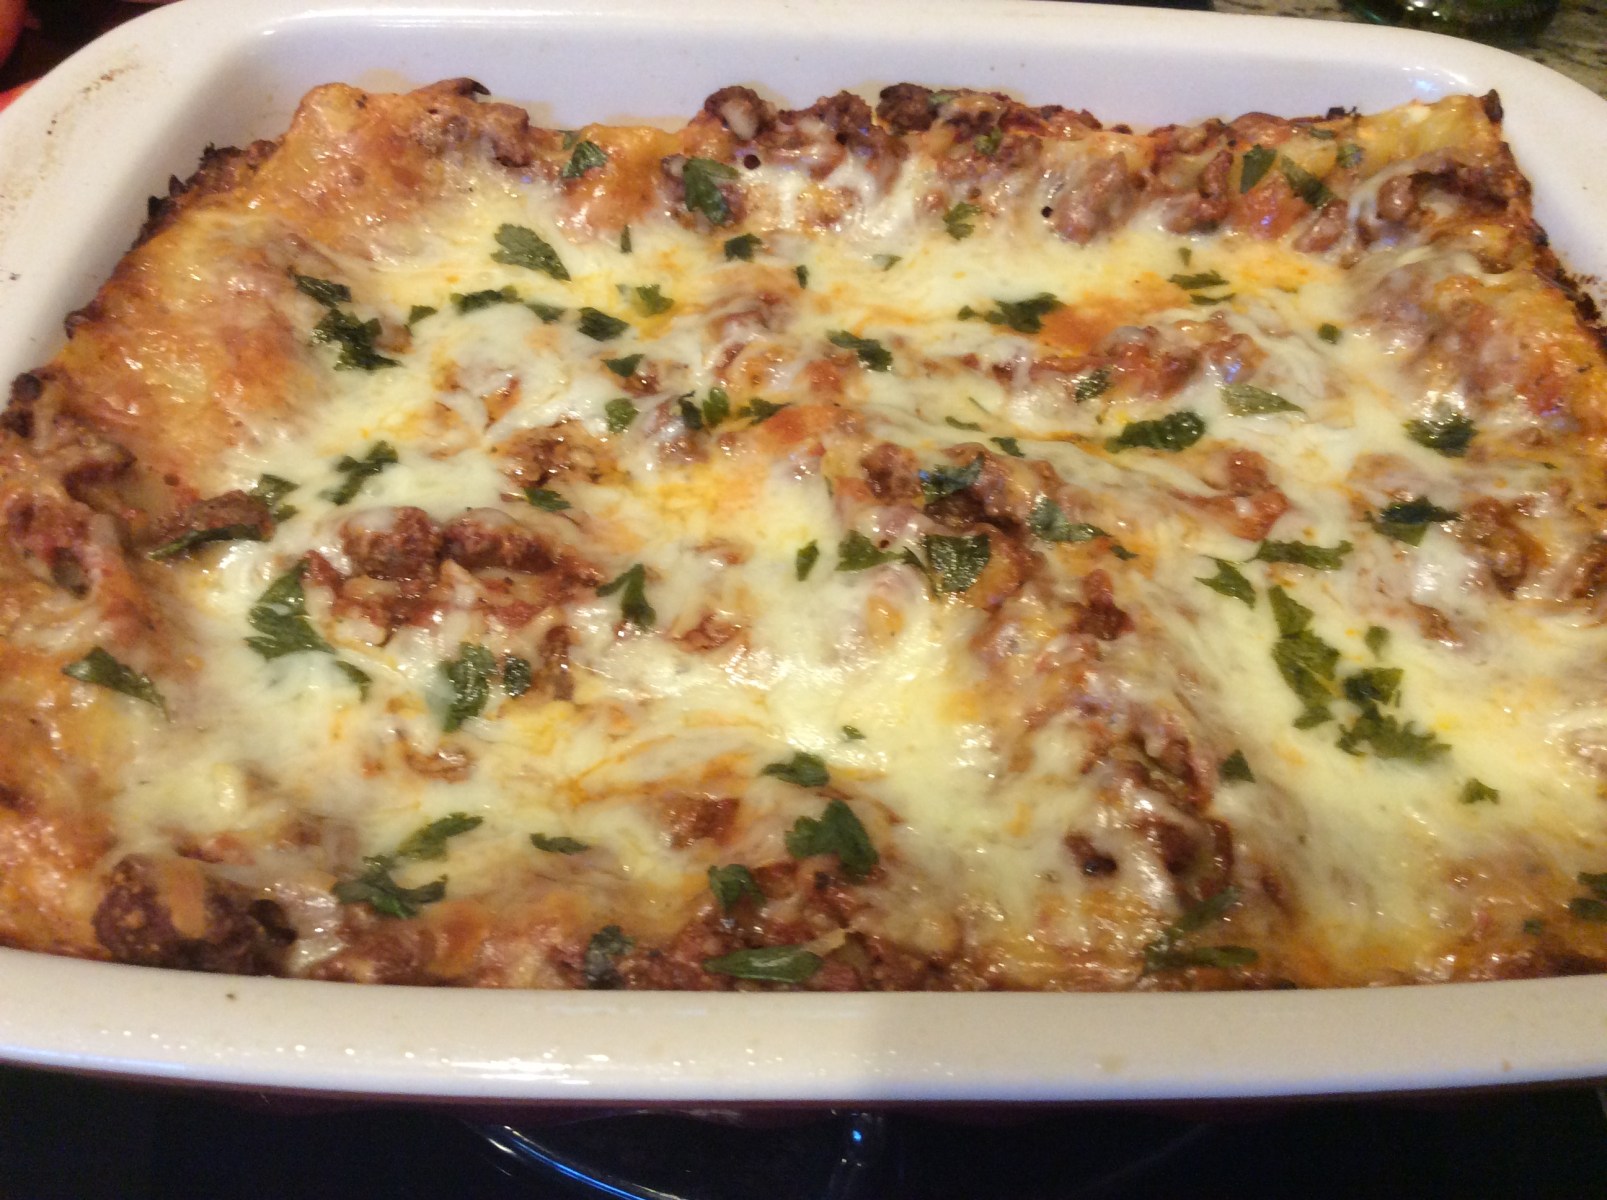
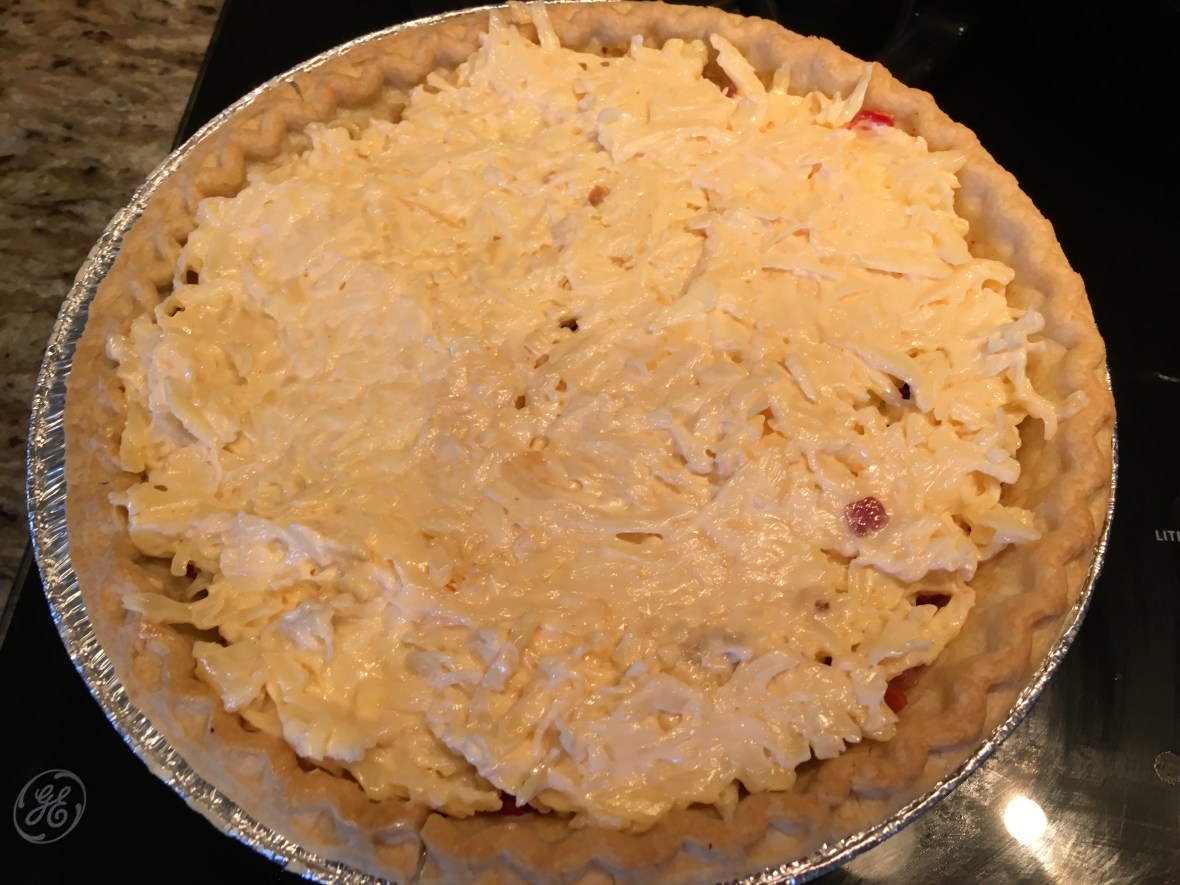
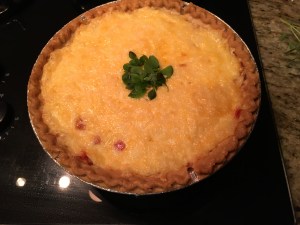
Sprinkle evenly with remaining mozzarella cheese and parmesan cheese. Top with fresh parsley, if desired!

image


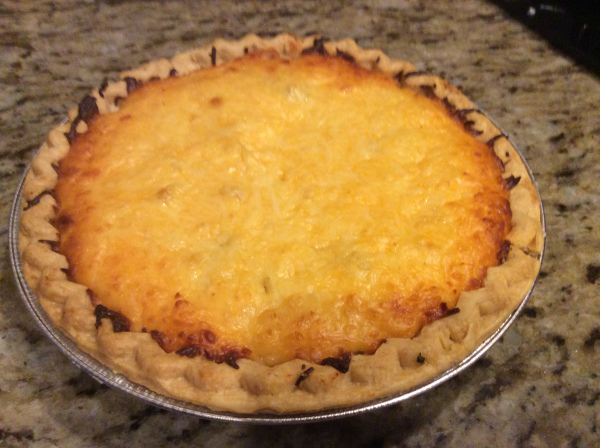
Cover with foil and bake for 40-45 minutes.  Uncover and bake an additional 10 minutes. (I like to take a paper towel and slightly dab off any extra grease from the cheese between steps to keep it a little lighter)

image

If additional browning of the cheese is needed, put the broiler on high for about 2 minutes until cheese is slightly browned.  Remove from oven and allow to to sit for 10 minutes to set before cutting.  Dinner is Served!

image


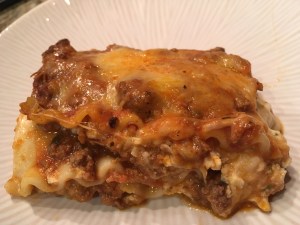
Bottom Line:  I love this recipe!  Cooking Light was the inspiration and i believe my few changes took it to the next level.  This is one of my most requested recipes and I know it will be come a family favorite in your house.  They will never know that it is a little health”ier” than most lasagnas!  I am Chef Frankie, Always in the Kitchen, Having Fun, and Cooking with Wild Abandonment!

For my original post on the Cooking Light Magazine recipe, please visit:  https://reciperealities.net/2014/10/15/classic-lasagna-with-meat-sauce-from-cooking-light/


The kitchen is my playground and I love creating new recipes!  One of my most popular creations is my “Smokey” Jalapeno Poppers.  They are so good that I never can seem to make enough of them.  Last week, at our “Baby Q” we had for my future granddaughter, Hadley Grace Pitt, I made 260 of them and they were gone in 30 minutes!  The problem is that I get so tired of making them so I needed to come up with a recipe for this football season that my fellow tailgaters will still love and I think I did it!

I tried several different versions on my husband before I got the perfect combination but we knew immediately this was going to be a winner!  Introducing my newest creation:

Cheesy Jalapeno Stuffed Shrimp Poppers with Red Pepper Jelly Sauce

image


Ingredients

For the Shrimp Poppers

  • 1 lb. large shrimp, peeled, deveined, and butterflied (21-25 pieces per pound)
  • 2 Tbsp of Cajun Seasoning (I prefer Old Bay’s)
  • 1 cup of Cream Cheese (I use the one with green onions and chives)
  • 2-3 jalepenos, seeded and cut into thin strips
  • 8 slices of bacon (cut into thirds)
  • 1/8 cup of brown sugar
  • 21-25 toothpicks
  • Cooking Spray

For the Hot Pepper Jelly Sauce

  • 10 oz. jar of Hot Pepper Jelly
  • 2-3 Tbsp of Spicy Mustard
  • 2 Tbsp of Champagne Vinegar (you can also substitute Apple Cider Vinegar)
  • 2 Tbsp of Olive Oil
  • 1 Tbsp of Onion Powder
  • 2 Tbsp of Chives, finely chopped

Directions

Shrimp Poppers

Preheat oven to 375 degrees.

In a small bowl, season shrimp evenly with the Cajun Seasoning.  (I lean towards “more is better” so feel free to use as much as you like.)

image

Spread approximately one teaspoon of cream cheese onto the inside of the butterflied shrimp.

image

Place a jalapeno strip on top of the cream cheese and press down.

image

Take a piece of the bacon and wrap around the shrimp. Secure with a toothpick.  (Hint:  You only want the bacon to overlap enough to secure it with toothpick, otherwise the bacon won’t cook through).

image

Place poppers on a baking sheet.  For easy clean up, line a baking sheet with foil and spray with cooking spray. (I prefer to put a rack on my baking sheet to allow the grease to slip through to the bottom for crispier bacon, but this is completely optional.)

image

Sprinkle brown sugar evenly over shrimp poppers.  DON’T skip this step…it creates the perfect crispiness to your bacon!

image

Place the shrimp in the preheated oven bake for approximately 20 minutes or until bacon is crispy and shrimp is cooked through.

image

Hot Pepper Jelly Sauce

While your Shrimp Poppers are baking, make your sauce.  (The sauce can be made a couple of days ahead and reheated if necessary).

In a small sauce pan, whisk together the jelly, mustard, vinegar, onion powder, and olive oil. Heat slowly on low.

image

Add in Chives and remove from heat.

image

Transfer heated sauce to a serving bowl.

image

To serve, place your poppers on a platter alongside the hot sauce.  Use the toothpick to dip your popper and ENJOY!

image

Bottom Line:  Although the true results won’t be known until Thursday night at the University of Tennessee’s vs Appalachian State tailgate, I think I have a hit on my hands.  Based on the reactions from the Anchors at Mornings with Fox43, Abby Ham and Brandon Bates, I think they will agree!  Try them in your kitchen and let me know what you think!  I am Chef Frankie, Always in the Kitchen, Having Fun, and Cooking with Wild Abandonment!


Since I will be making this on WBIR/Fox 43 on Tuesday morning, I thought I would reshare this recipe with a little change.  Two years ago, I posted a blog on a mexican-inspired grilled shrimp taco recipe that I created.  My goal was to make a lighter, healthier version and find a way to create a low calorie creamy sauce that would replace all that fattening sour cream that my husband loves to pile on his tacos.  I also wanted to add a bit of tropical flair and hence, Grilled Shrimp Tacos with Tropical Guacamole Salad with a Creamy Lime Sauce was born!

Follow this link to the original blog post:  https://wordpress.com/post/reciperealities.net/966

Since then, I have made it just a bit more healthy with the replacement of Greek Yogurt to replace the Sour Cream in the Lime Sauce.  It was successful!  An already low calorie and low fat recipe became even lighter with not one bit of change in the delicious flavors! Hope you enjoy it!

Grilled Shrimp Tacos with Creamy Lime Sauce and Tropical Avocado Salad

Creamy Lime Sauce

This sauce has 10 calories and 2 grams of fat per tablespoon less than using regular sour cream! Save the leftovers in fridge for up to 10 days to enhance other dishes!

*You want to make this first so it can go in the fridge while you prepare everything else.

Ingredients:

  • 1/4 cup fresh lime juice (do not use store bought!….remember, FRESH FLAVORS)
  • 1/2 cup Low or Non-Fat Greek Yogurt
  • 1 teaspoon of sugar
  • 2 teaspoons of minced garlic
  • 1 teaspoon kosher salt
  • 1/2 teaspoon of red pepper flakes
  • 1/2 teaspoon of onion powder
  • 1/2 teaspoon of ground cumin
  • 1 tablespoon of hot sauce (more if you like)
  • 1 tablespoon of chopped cilantro (more if you like)
  • 1/4 cup olive oil

Directions

Combine first 10 ingredients (all except oil).  Slowly drizzle in oil, whisking to emulsify.  Refrigerate for at least 30 minutes for flavors to meld.  Can be made a day ahead and will keep in fridge so several days after as well.

image

On to the Tropical Guacamole Salad!

Tropical Guacamole Salad

Ingredients:

  • 1 mango, pitted, peeled, and cubed
  • 1/4 pineapple, peeled and cubed
  • 1 cup grape tomatoes, halved
  • 1/2 cup green onions, chopped
  • 1/4 cup fresh lime juice
  • 2 tablespoons of jalepeno, seeded and minced
  • 2 avocados, peeled, pitted, and chopped
  • Salt and Pepper to taste

Combine all ingredients and refrigerate for at least 30 minutes.

image
Isn’t that a beautiful Salad?  I could eat it for days!

Just an FYI…this would be great on anything and I even snacked on it by itself the next day!  The lime juice helped the guacamole from turning brown too fast.


Lime-Marinated Shrimp Tacos

Ingredients

  • 1/4 cup lime juice
  • 2 tablespoons of minced garlic
  • 2 tablespoons of olive oil
  • 2-3 tablespoons of Cajun Seasoning (depends on how spicy you like it)
  • 2 lbs. shrimp
  • Tortillas of your choice (I had whole wheat and Jeff had corn)

Directions

Whisk together the lime juice, garlic, and olive oil; Place in a gallon sized Ziplock bag.  Add the shrimp and marinate in the refrigerator for 1-4 hours.

image

Drain the marinade and rub shrimp with the Cajun Seasoning.  Thread shrimp onto skewers.

image

Preheat your grill to high.  Brush grill grate with olive oil.  (Note:  I used my indoor grill pan that day since the weather was not cooperating.)  Grill shrimp 2-3 minutes on each side until cooked through.  Remove the Shrimp from the skewers and set aside.

image

Now it’s time to prepare your taco! Place 4-5 Shrimp on tortilla, top with the Creamy Lime Sauce and add a couple of heaping tablespoons of the Tropical Guacamole Salad.

image

image

You can even add a little cheese if you want!

image

I like to serve this with some Mexican Black Beans to compliment the tacos…YUM!

image

Bottom Line:  This recipe will wow crowds…it truly is that good!  I like the switch from the Sour Cream to the Greek Yogurt and I think you will, too!  Add it to your Cinco De Mayo celebration in May for a sensational burst of flavor!  Until next time, I am Chef Frankie, Always in the Kitchen, Having Fun, and Cooking with Wild Abandonment!

P.S.  Join me on WBIR/FOX 43 on Tuesday, August 9, 2016 as I prepare this on the 8:20 Cooking Segment!

In the South, few things come even close to being as delicious as a perfectly crisp piece of fried chicken (well…maybe bacon!).  It is considered satisfyingly flavorful comfort food at its best and there are many recipes and techniques to choose from.  I have tried quite a few recipes but I always come back to this one adapted from Southern Living Magazine many years ago.

I pretty much kept the recipe in its original form with the exception of a couple of extra spices and the addition of allowing chicken to sit coated at room temperature.  Those tweaks helped turn a great recipe into an extraordinary one.  It is my family’s favorite and will become yours too!

Now let’s get this out of the way….this is NOT a healthy dish and we usually one have it a couple of times a year but oh, when I do make it, it doesn’t last long!  There are several important secrets to making perfectly fried chicken:

  • Brining the chicken in salt water
  • Allowing the chicken to sit out at room temperature an hour before frying just after coating it
  • Using some bacon grease in your skillet
  • Applying a combination of covered and uncovered cooking time

Those may seem like simple and insignificant tips but they truly do make a difference in the end product and definitely should not be skipped.  The end result will be a perfectly crispy outside crunch and juicy, tender bites of chicken on the inside.  Perfection every time…check it out!

Ingredients

3 quarts water
1 tablespoon salt
1 (2- to 2 1/2-pound) broiler-fryer, cut up**
1 teaspoon salt
1 teaspoon pepper
1 teaspoon onion powder
1 teaspoon cayenne pepper
1 cup all-purpose flour
2 cups vegetable oil
1/4 cup bacon drippings
**Our family loves bone-in chicken thighs so that is what I used in the pictures used in this blog (6-8 thighs are perfect for this recipe)

Preparation

Combine water and 1 tablespoon salt in a large bowl; add chicken. Cover and chill 8 hours. Drain chicken; rinse with cold water, and pat dry.

Combine salt, pepper, onion powder and cayenne. Season both sides of chicken with one teaspoon of spice mixture.  Combine the remaining 3 teaspoons with flour in a large freezer bag. Place 2 pieces of chicken in bag; seal. Shake to evenly coat. Remove chicken, and repeat procedure with remaining chicken, 2 pieces at a time.  Allow to sit coated on kitchen counter for 45 minutes to an hour.


Combine vegetable oil and bacon drippings in a 12-inch cast-iron skillet or chicken fryer (I used an electric skillet); heat to 360°. Add chicken, a few pieces at a time, skin side down. Cover and cook 6 minutes; uncover and cook 9 minutes.

Turn chicken pieces; cover and cook 6 minutes. Uncover and cook 5 to 9 minutes, turning pieces during the last 3 minutes for even browning, if necessary. Drain on paper towels.

Note: For best results, keep the oil temperature between 300° to 325° as you fry the chicken.

IMG_0288
I like to drain my chicken on a wire rack

Chicken is ready to be served with all your favorite sides!

IMG_0289
Crispy Fried Chicken served along side some mashed potatoes, pinto beans, freshly sliced garden tomatoes, and my awesome Turnip Greens recipe…I will blog on that soon!
IMG_0291
Look at that perfectly piece of crisp chicken….Makes you want to make it right now!

Bottom Line:  I love this recipe and again, it is always the one I keep coming back to.  Sometimes I kick up the heat a notch with some roasted red pepper flakes or add a little twist by adding in a little garlic and it still come out perfectly with just a little different flavoring.  The key is to follow the cover, uncover, and flip exactly and your fried chicken will turn out perfectly every single time!  I hope you try this recipe in your kitchen and let me know what you think and stay tuned for my delicious Southern Turnip Greens recipe.  Until then, I am Chef Frankie..always in the kitchen, having fun, and cooking with Wild Abandonment!

For the original Southern Living Recipe this blog is based on, please visit http://www.myrecipes.com/recipe/our-best-southern-fried-chicken

Tomato & Pancetta Pie…An Update to an Old Favorite!

A couple of summer’s ago, I posted a blog on Tomato Pie, a recipe that had roots from my hometown of Benton, Tennessee.  The story is quite interesting so I encourage you to read how I came to learn about tomato pies from some old friends by following this link:

https://reciperealities.net/2014/08/01/tomato-pie-a-recipe-with-a-hometown-story/

Since then, I have been making a lot of tomato pies,  even miniature versions..here are some I made for a “Girl’s Night In” recently for a friend about to go in the oven!image

Over the course of time, I have “tweaked” the recipe even more by adding in some Pancetta and replacing the onions with shallots.  I love Pancetta which is basically an Italian bacon without the smoking process and shallots have a little milder flavor than onions so its a nice compliment to the tomatoes.  I also mixed in my basil with my tomatoes just to avoid getting too big of a basil bite…just my preference but one that I really like.  Here is my newer and most favorite version!

Tomato & Pancetta Pie

Ingredients

  • 1 9-inch pie shell
  • 1/2 cup shallots, chopped
  • 1/2 cup of pancetta, chopped
  • 3-4 tomatoes,  roughly chopped, to yield approximately 3 cups chopped tomatoes
  • 1 teaspoon (or more if desired) Dijon Mustard
  • 1/4 cup sliced basil (about 8 leaves)*
  • 2 cups grated cheese (combination of sharp cheddar and Monterey Jack, or Gruyere or Mozarella)
  • 3/4 cup mayonnaise
  • 1 teaspoon (or more to taste) of Crystal Hot Sauce (or Tabasco)
  • Salt and freshly ground black pepper

*To slice basil, chiffonade them by stacking the leaves on top of each other, roll them up like a cigar, starting at one end slice the “cigar” crosswise in thin slices.

Directions

Preheat oven to 350°F.  Follow package directions and bake the pie crust…your goal is to achieve a light golden brown color (about 12 minutes).

Squeeze as much moisture as you can out of the chopped tomatoes and place in a colander to drain in the sink.  Salting helps bring out some of the moisture. image

After allowing to drain for about 5 minutes, spread on paper towels remove even more moisture.

image

While pie crust is baking and tomatoes are draining, saute the pancetta until crisp and golden brown.  Remove from pan reserving the excess fat; set aside.

image

Add the shallots to the pan and saute until translucent.  Add the pancetta back to the pan and mix well.  Remove from heat.

image

After removing the pie from the oven, brush Dijon Mustard on the bottom and sides of the crust.

image

Place your tomatoes in bowl and mix with the basil.  Place tomato/basil mixture in the pie crust, spreading evenly.

image


Next spread pancetta/shallot mixture over tomatoes.
image

In a medium bowl, mix together the grated cheese, mayonnaise, Hot Sauce or Tabasco, a sprinkling of salt and freshly ground black pepper. The mixture should be the consistency of a gooey snow ball.

image

Spread the cheese mixture over the tomatoes.

image

Place in oven and bake until browned and bubbly, around 30-40 minutes or until you reach an internal temperature of about 150 degrees.  This can also easily be made ahead, just make sure you bring it to room temperature before baking and it may need a few additional minutes of baking.  (If your pie browns too much on top, before it reaches the desired temperature in the middle, just place a loose piece of foil over it.)

image

Garnish with additional basil and allow to sit on counter for 5 minutes before slicing…Ready to serve!

image

Temperatures here in East Tennessee have been hovering in the 90’s for weeks and standing in a hot kitchen is just that…HOT!  So I have been testing recipes that gets me in and out of the kitchen in a jiffy but still gives my family a wonderful, tasty meal at dinner time.

Of course, everyone loves a good pasta dish but when you add in crisp bacon and freshly grated parmesan cheese…well, you have a superior dish to serve!  Spaghetti Carbonara (or actually any pasta Carbonara..ha, ha) is delicious simplicity at its best. What is so great is that it only has a few main ingredients that you usually have on hand in your own pantry and fridge. You probably won’t even have to go to the market for this one!

Spaghetti Carbonara

Ingredients

  • 8 ounces spaghetti, broken in half (or your favorite long pasta)
  • 2 large eggs (it’s best to set these out of fridge at least 20 minutes before preparing recipe)
  • 3/4 cup grated parmesan cheese
  • 4 slices bacon, chopped
  • 1 teaspoon of minced garlic
  • 1/4 teaspoon of red pepper flakes (optional)
  • 2 tablespoons chopped fresh parsley leave

*Salt and Pepper to taste

Directions

  • In a large pot of salted boiling water, cook spaghetti according to the package instructions. Reserve 1/2 cup pasta water
  • Heat a large skillet over medium high heat and cook bacon until crispy brown, reserving the excess fat in the pan
  • Add in minced garlic and red pepper flakes and cook for an additional minute on low heatimage
  • While bacon and pasta are cooking, whisk eggs and parmesan together in a small bowlimage
  • You must work quickly for this next step!  Temper your eggs by whisking in a small amount of your pasta water into egg mixture. (You don’t want scrambled eggs!)
  • Lift your pasta directly from pasta water to your pan with the bacon mixture; stir in the egg mixture to the pan.  Add in one tablespoon of reserved pasta water at a time until you reach your desired thickness.  (Since I lifted my pasta directly from the water, I only needed one tablespoon of the reserved water).image
  • Serve immediately and garnish with parsley to add some bright color.image

Add salt and pepper to taste. Top with some additional parmesan cheese, if desired and serve this beautiful dish with a side salad and dinner roll….Yummy

Bottom Line

This is the most decadent weeknight dish ever!  I will be making this again and again..It would even be nice as a small side dish with some shellfish or chicken.  Let me know how this recipe works with your family.  I am Chef Frankie…always in the kitchen, having fun, and cooking with Wild Abandonment!

When I was growing up in the South, potato salad was at every church potluck or family gathering but I was never a fan.  In a child’s mind, something crunchy like raw onions and celery mixed in with your favorite smooth ingredients just didn’t mesh with me.  The only version of potato salad I would even remotely eat was my mom’s because she left the potatoes a little bigger and included two of my personal favorites, mustard and boiled eggs.  She did put raw onions in her version but not celery and I was able to pick around just those.  Obviously, one would assume I would grow out of my “no crunch” in my potato salad but I never did, so I took her recipe and adapted it to one that I now love!  So in honor of Mother’s Day…thanks for the inspiration, Mom!

image

This version omits the raw onions but does include chives which gives that “oniony” flavor along with a splash of green color.  My husband’s mother always included sweet pickle relish in her version so that was a must for him if I wasn’t going to put in onions and celery so I compromised.  Since I am not a sweet pickle fan, I added dill pickle relish as well to give it a tangy kick with just a tiny bit of crunch.  Both relishes have bits of red pepper in them which again adds a touch of color to the white potatoes.  Top it with a sprinkling of paprika, and not only do you have a tasty dish but an eye pleasing potato salad. Dig in!

Southern Mustard Potato Salad

Ingredients

  • Russet potatoes, 8 small or 6 large, peeled and cut into 1″ pieces
  • 2 cups chicken broth
  • 2 tablespoons of dried parsley
  • 6 boiled eggs, chopped
  • 1/2 cup chives, chopped
  • 1 cup of Mayonnaise (more if you prefer it creamier)
  • 2-3 tablespoons of mustard (depending on how tangy you like it)
  • 2 tablespoons each of sweet and dill pickle relish
  • 1 teaspoon onion powder
  • 1/2 teaspoon red pepper flakes
  • Salt and Pepper to taste (I prefer Kosher Salt)
  • Paprika (as much as needed to sprinkle on top)

Directions

Place potatoes in a large pot, cover with chicken broth then add enough water to completely cover.  Add in parsley and bring to a boil.  Bring to simmering boil and allow to cook for 10-12 minutes until tender.  Drain and allow to cool.  (I like to add the chicken broth because it adds another level of flavor to the potatoes.)  Season with salt, pepper, and onion powder.

image

In a large bowl, add your chives, potatoes, and eggs.

image

Add in the mayonnaise, mustard, and pickle relish..stirring well

image

Place potato salad mixture in one of your favorite serving dishes.

image

Sprinkle liberally with paprika and refrigerate for at least 2 hours.

image
That looks delicious!

Serve this with your favorite burger, hot dog, or BBQ….Dig in!

image
Southern Mustard Potato Salad served alongside Jeff’s smoked ribs, grilled asparagus, and vinaigrette slaw…Yum!

Bottom Line:  I could eat this by itself with nothing else…it is that good!  It is so easily adaptable to your own tastes…add more or less mayonnaise and mustard.  Make it your own.  It will be hard to find another true Southern Mustard Potato Salad to beat this one!  Let me know how it works at your next BBQI am Chef Frankie…always in the kitchen, having fun, and cooking with Wild Abandonment!

One of my favorite cooking vessels in the kitchen is my Bamboo Steamer. It is a healthier way to cook and I use it most often in the spring and summer when vegetables are at their freshest and the taste buds want more lighter fare.  This past weekend, I used it for a delicate little Dim Sum recipe that I like to make…Steamed Shrimp Dumplings with Ponzu Dipping Sauce.
Dim Sum is a broad Asian cuisine term used to describe small bite-sized portions of food served on small plates and dumplings are most commonly thought of when thinking of Dim Sum.  I have several different dumpling recipes but this one served with a zesty Ponzu sauce is on the healthier side and pairs perfectly with a nice glass of Chardonnay at the end of a beautiful spring day.

image

Steamed Dumplings with Ponzu Sauce
Ingredients
For the Filling:
  • 1/2 pd of raw shrimp, peeled, deveined, and chopped
  • 1 tsp fish sauce
  • 1 Tbsp vegetable oil
  • 1/4 tsp white pepper
  • 1 tsp sesame oil
  • 1 tsp sugar
  • 1/2 tsp pureed garlic (or finely minced)
  • 1/4 finely chopped bean sprouts (you could also substitute water chestnuts for these)
  • 1 chopped scallion
  • 12-16 wonton wrappers
  • Bok Choy, Cabbage or Swiss Chard Leaves
  • olive oil

For the Ponzu Dipping Sauce (If you have a huge sauce lover, double the recipe!)

  • 3 Tbsp of Ponzu Sauce
  • 1 tsp Soy Sauce
  • 1/2 tsp sesame oil
  • 1 heaping tablespoon chopped scallion
  • 1 tsp red pepper flakes
Directions

Mix first 9 ingredients together.image

Pulse lightly in a food processor to chop shrimp and blend the ingredients.

Make one dumpling at a time placing a little of the filling in the middle and folding up like a little purse.  Moisten the ends with water to keep them sealed.

Prepare your steamer by placing in a wok or a deep pan that is filled with enough water to almost touch the bottom of the steamer.  Place your choice of leaves in the bottom of the steamer and brush lightly with olive oil.  (This will help keep the dumplings from sticking.)

image

Place dumplings on the leaves, making sure they aren’t touching and place lid on steamer.  You can have 2 levels that will steam perfectly. Bring water to a boil then steam for about 10 minutes.

image

Make the ponzu sauce by whisking together all the ingredients.  I like to make this a couple of hours ahead so the flavors will meld.

image

Gently place them on a small plate and serve with Ponzu Sauce.

image

 Bottom Line:  These delectable little morsels of yumminess are delicious and so easy to make.  I usually double the recipe because they freeze so well. Just follow the instructions all the way through and place on a cookie sheet “unsteamed”.  Freeze for a couple of hours and then remove from freezer and place in a freezer safe plastic dish with cover.  When you are ready to eat, just remove the amount of dumplings you want to steam and prepare the rest of the recipe.  They go perfectly with any stir fry dish!  I can’t wait to share other dumpling recipes and other recipes I use my steamer for in the future.  Until then…I am Chef Frankie, always in the kitchen, having fun, and cooking with Wild Abandonment!
Maybe it’s a girl thing but whenever I am out with friends for lunch and there is a roasted or grilled vegetable sandwich on the menu, I’m in!  Unfortunately, the man of the house has to have meat with his meals so usually this is something I just get to enjoy in restaurants.  That is until I found my partner in crime, Jenny Greer.  I have been her part-time nanny and personal chef for 4 years now and I recently discovered that she has the same obsession with these delectable sandwiches as I do!
Whenever her husband, Ryan, goes out of town…we both know what is on the menu..our favorite sandwich!  Loaded with seasonal vegetables and herbs along with savory goat cheese, it is an explosion of flavor and it’s not just for the restaurant anymore.  This is a great recipe for any kitchen!
Roasted Veggies Sandwiches with Herbed Goat Cheese
(Makes 4-6 Sandwiches)
 Ingredients
  • Nonstick vegetable spray
  • 1 eggplant, sliced in rounds
  • 1 zucchini, sliced in rounds
  • 2 bell peppers (I use orange and yellow) seeded, quartered, then halved
  • 6 oz sliced portabella mushrooms
  • 3 Tbsp olive oil
  • 4 tsp chopped fresh oregano
  • 4 tsp chopped fresh thyme
  • 1 1/2 Tbsp red wine vinegar
  • 1 cup soft fresh goat cheese (room temperature)
  • 1 tsp lemon juice
  • 3 cups baby spinach
  • 1 cup alfalfa sprouts
  • 4 – 6 Ciabatta Rolls (or whatever roll you prefer)


Directions
 Preheat oven to 400°F. Spray large baking sheet with nonstick spray.
Arrange zucchini, bell pepper, mushrooms, and eggplant on prepared baking sheets.

image


Drizzle with 2 tablespoons olive oil. Sprinkle with salt and pepper.
Roast 15 minutes.
Turn vegetables over. Roast until tender and brown in spots, about 10 -15 minutes longer
Whisk 2 teaspoons oregano, 2 teaspoons thyme, vinegar, and remaining 1 tablespoon oil in large bowl to blend. Add roasted vegetables and toss to coat.

image

Mix cheese, 2 teaspoons oregano, 2 teaspoons thyme, and lemon juice in medium bowl.

image

Place all bread slices on work surface.
Spread each with cheese mixture.

image

Top 4 bread slices with roasted vegetables, then spinach leaves, then sprouts.

image

Cover with remaining bread slices, cheese side down. Cut each sandwich in half.
imageServe immediately OR wrap in foil and heat in a 350 degree oven for 15 minutes so cheese in nice and gooey

image

 Bottom Line: I love this sandwich…hubby not so much so next time I will throw some bacon or maybe even some prosciutto on his!  I actually made this recipe this morning on WBIR/Mornings with Fox 43 and it was a hit!  Here is a link to the show:  http://www.wbir.com/news/local/roasted-veggie-sandwich-with-herbed-goat-cheese/96568821
Until next time, I am Chef Frankie….Always in the kitchen, having fun, and cooking with Wild Abandonment!
%d bloggers like this: