Simple is Sustainable…and that is exactly what Day 4 was for me. It was all about leftovers and a simple dinner with no cooking involved. It was Saturday and my husband was currently out of town. So, it was just me, Lily and Mylo (my feline friends) and my best cuddle buddy, Oscar, my little shitzu. Pretty good company, for sure.

I woke up yesterday morning feeling so refreshed and truly surprised that I had just completed three full days without meat and truly wasn’t craving it. My husband, Jeff was gone for just one more day and I thought it was a perfect day to show that this could be a successful eating plan without even turning on the stove!

If you have been following along with me so far, you probably already know how I started my day, coffee and my Mean Green Juice. Note: I will have to change it up tomorrow because I’m out of the juice!

Lunch is usually my favorite meal of the day because it’s usually leftovers. Some people don’t care for eating the same thing two days in a row, but it’s right up my alley.

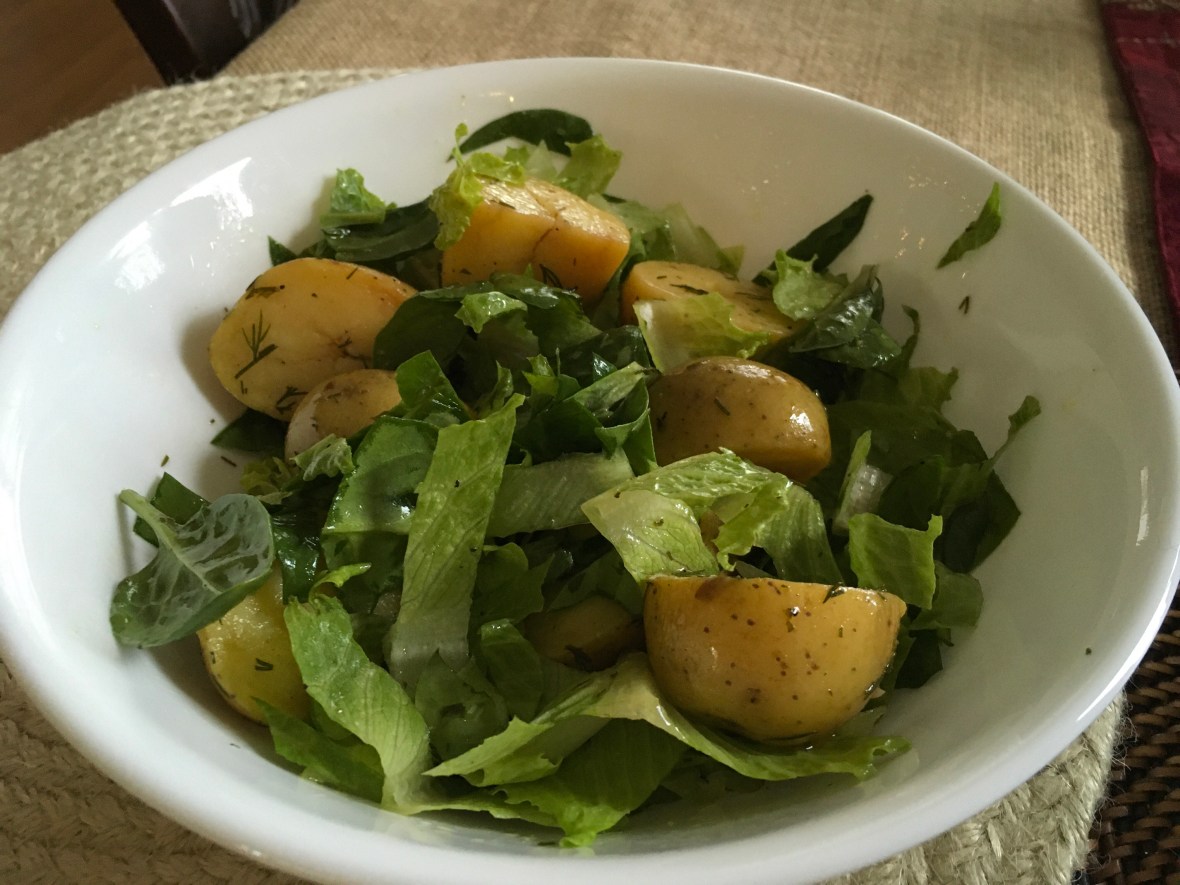
I had some Ikarian Winter Potato Salad from last night so I set the potatoes removed them from the fridge and let out so they could come to room temperature. Next, I tossed my salad with the leftover dressing. I mixed it all together about 20 minutes later.

This was even better the next day!

Then, I warmed up a cup of Progresso Lentil Soup to go along with it…this probably wasn’t the best choice because of the salt content and it is considered highly processed but, I am trying to eat some of the foods I already have in my pantry and did need the protein. Again, this is a journey and this was way better of a choice than I would have made a week ago. Baby steps…

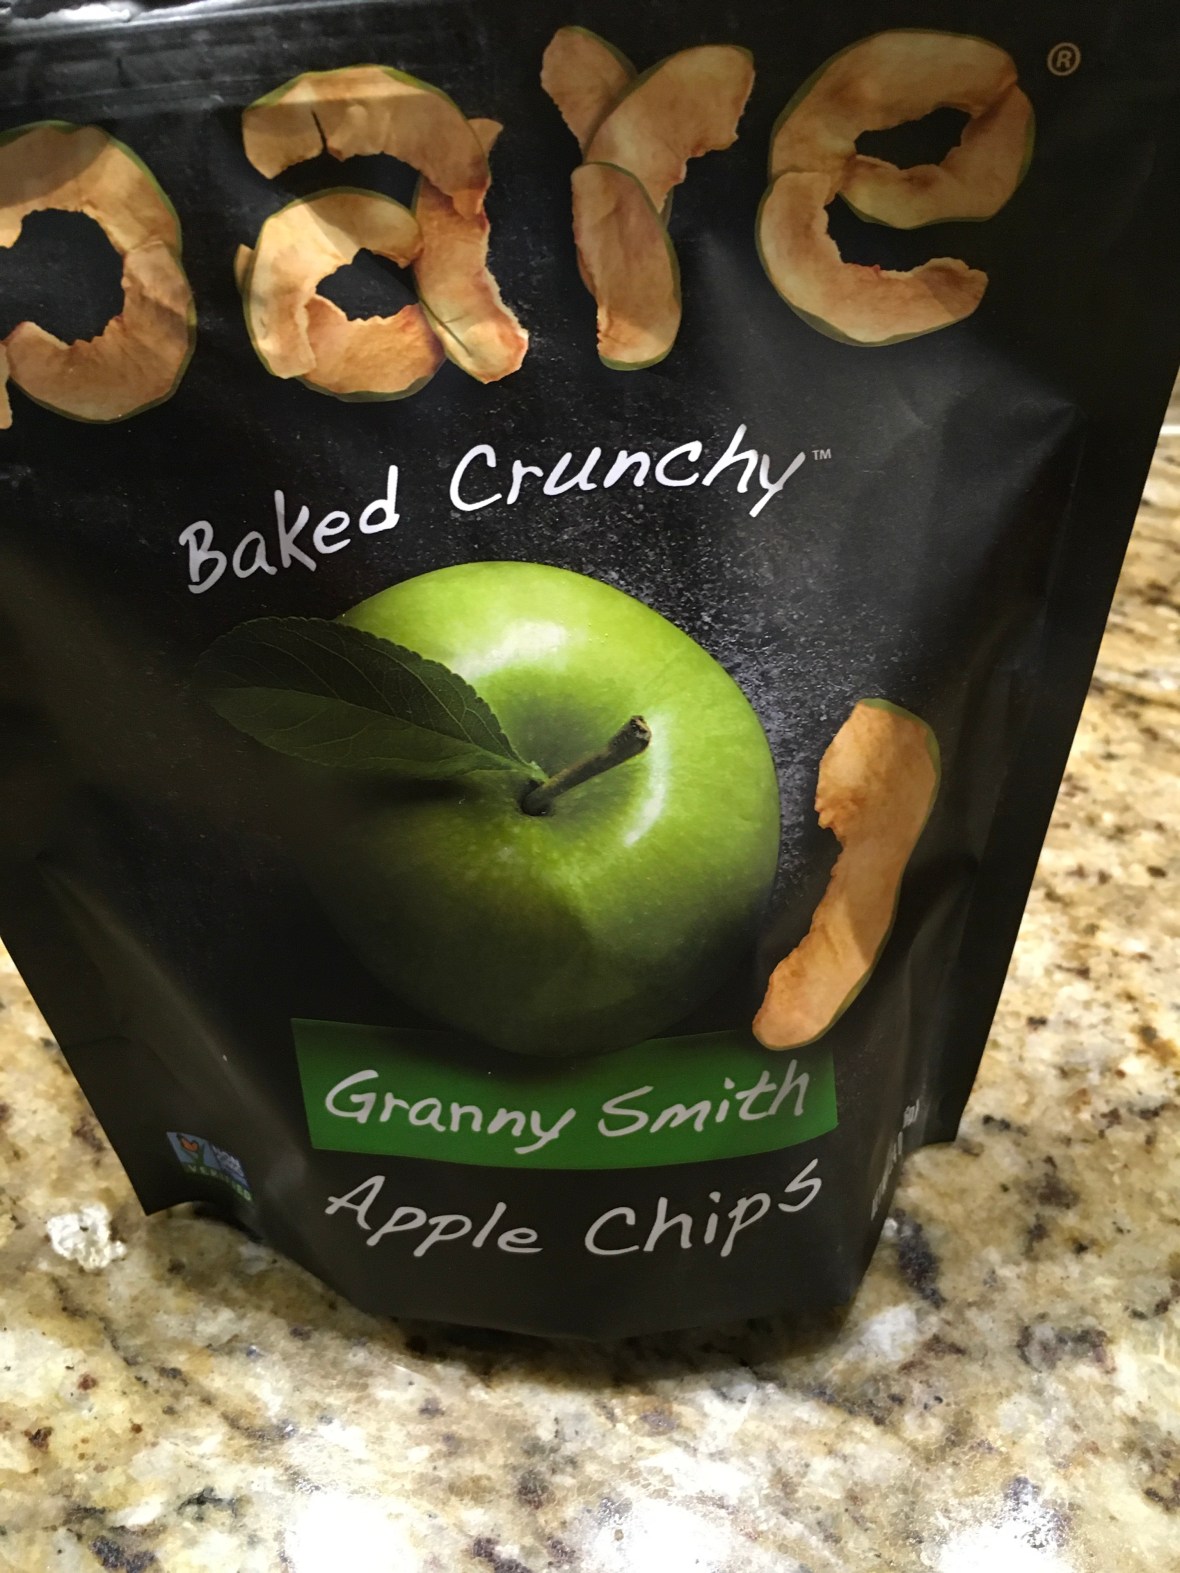
My snacks included carrots and hummus, a serving of pistachios, and some Bare Apple Chips.

These are soooooo good!

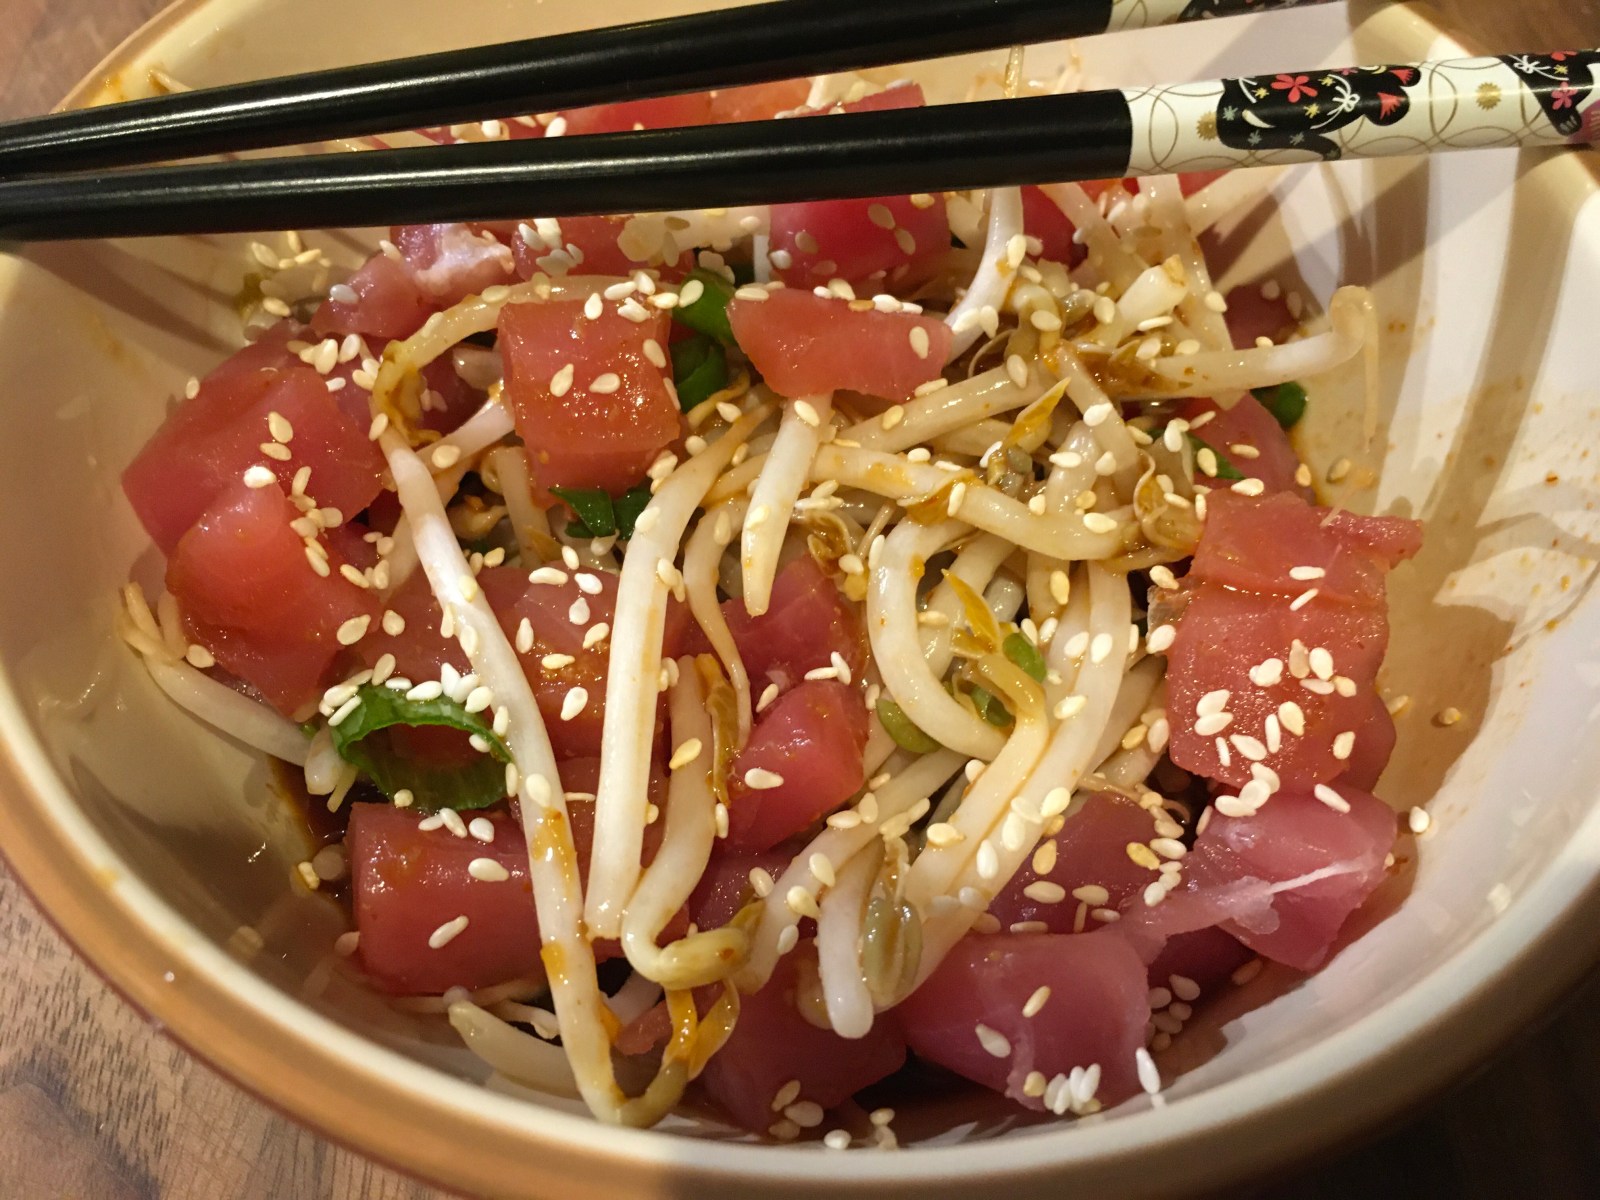
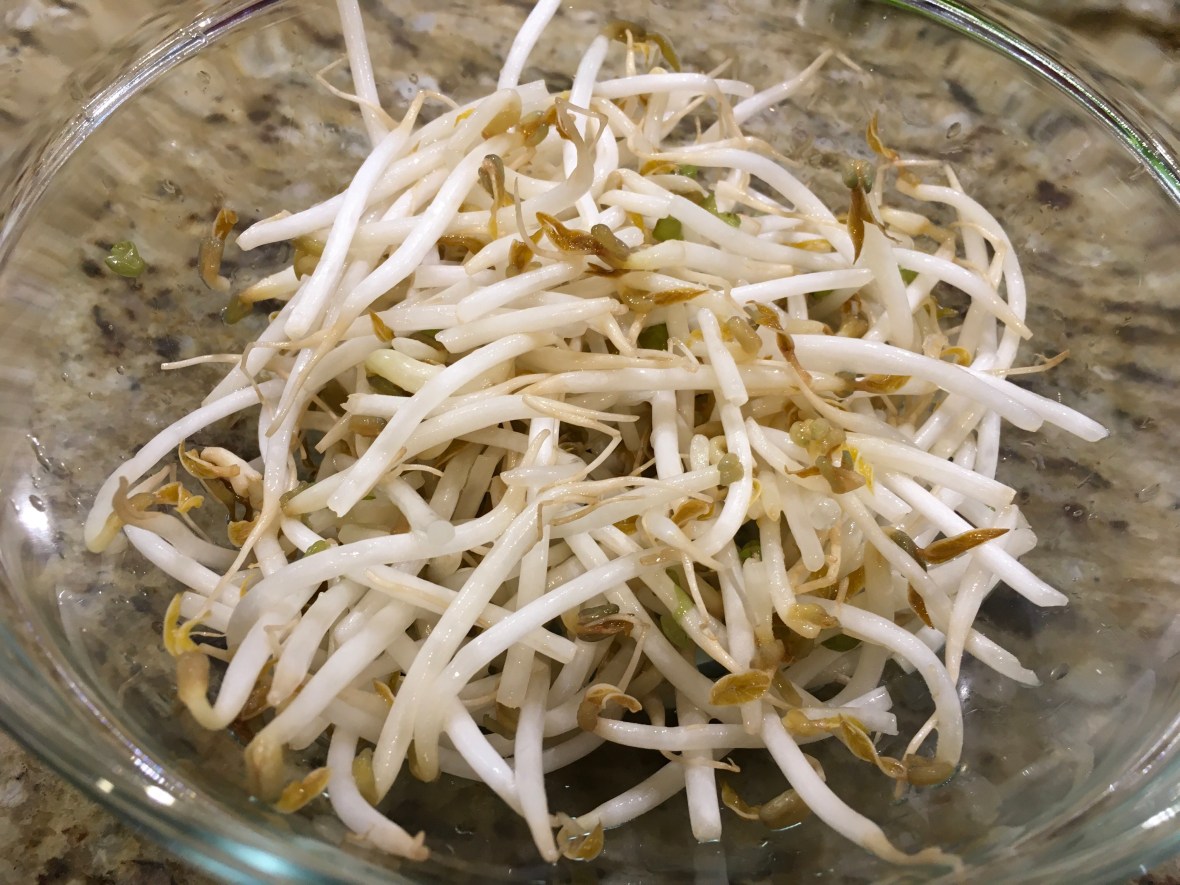
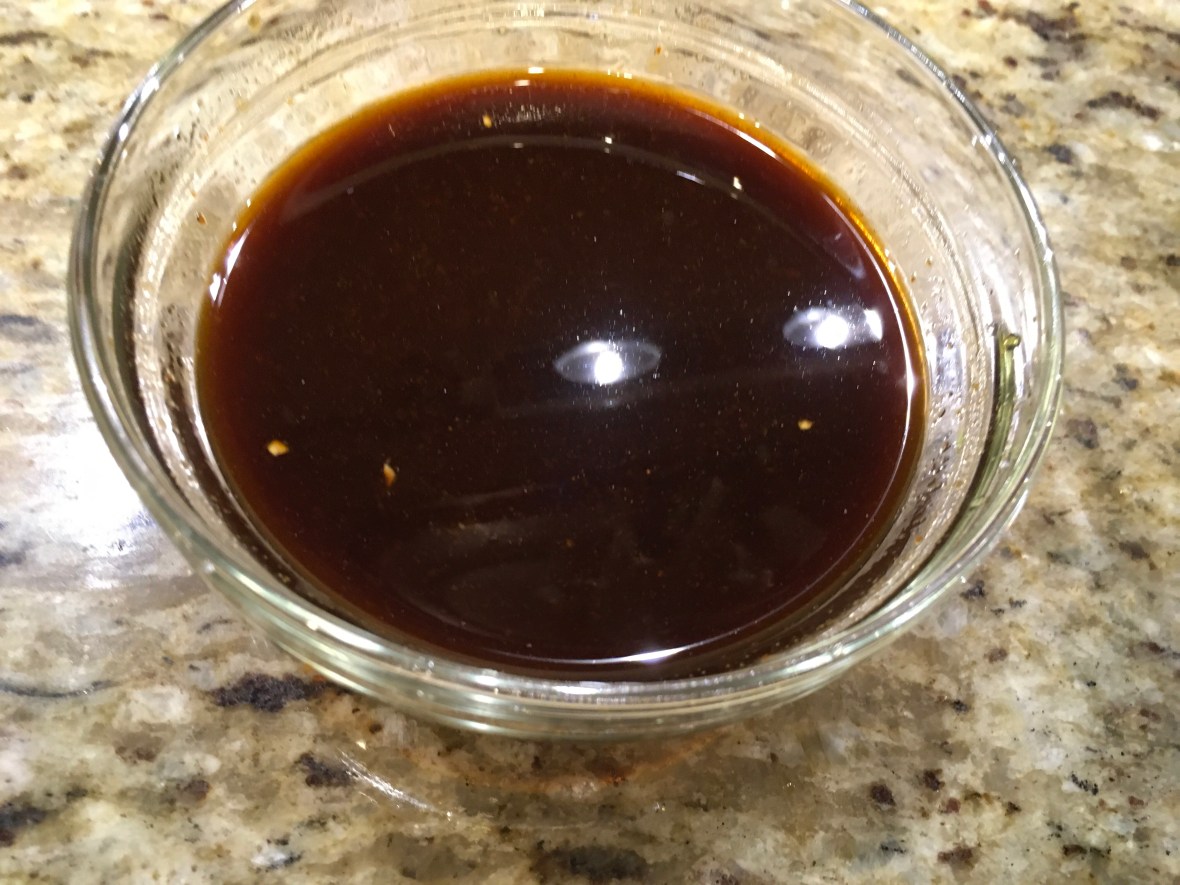
Finally, it was time for dinner and I wanted to stay with my super simple day so I thought a poke bowl might be the ticket. The term “poke” is a Hawaiian term for cutting or slicing and is usually associated with raw fish. I had some sashimi grade Tuna, Mung bean sprouts, and a little leftover steamed brown rice. This is what I came up with…

Tuna and Bean Sprout Poke Bowl – 1 serving

Ingredients

  • 2 oz mung bean sprouts
  • 2 tbsp sliced scallions, chopped at an angle
  • 1 tbsp fresh lemon juice
  • 4 oz sashimi grade tuna
  • 1/4 cup soy sauce
  • 1 tsp sriracha (omit this if you don’t like spicy heat)
  • 1 tbsp fresh lime juice
  • 1 tsp fresh grated ginger
  • 1 tbsp roasted sesame seeds
  • 1 cup cooked brown rice

Directions

  • In a small bow, mix the sprouts, scallions, and lemon juice; let stand at room temperature for one hour
  • In medium bowl, mix the tuna, soy sauce, sriracha, lime, juice, ginger, and sesame seeds
  • Toss the sprout mixture and tuna mixture together
  • To serve, put the rice in a small bowl and top with the sprout/tuna mixture

I really loved the fresh flavors of this simple dish but, in hindsight, this would have been way better with some avocado and maybe some fresh mango.  Oh, well…next time.

Bottom Line:  Simple is best on days like today when you just don’t feel like getting in the kitchen. I spend quite a bit of my relaxing time menu-planning for the week to come so stay with me because tonight I’m going to try tofu tacos!  Talk to you tomorrow!


“You are what you eat, so don’t be fast, cheap, easy, or fake.” -Unknown

This quote, while quite humorous, is so accurate and already on Day 2, I’m learning so much about how what we eat impacts our health. Yes, I’m finding that it does take a little more time and that is why leftovers and a sandwich was part of my meal plan today. Simple, fast, but very satisfying.

I was in a hurry this morning so after my morning coffee (I have always taken it black, so cream is not a problem there), I stopped at the I Love Juice Bar and got 2 (one for today and one for tomorrow) Mean Greens Juice”…my favorite juice with such a spicy kick that satisfies and warms my body. This is information is from their website, https://ilovejuicebar.com/juicebarblog/meetthegreens to tell you exactly what is in it and the health benefits.

I ended up only drinking 3/4 of my first large serving so I should have enough left to enjoy for 2 more days. You have to think ahead for this journey to be successful.

For lunch, I took the leftover route with a cup of leftover Ikarian Longevity Soup (see yesterday’s post for my version). It actually was even better the second day!

Throughout the day, I had two snacks, a green apple, a serving of pistachios, and a slice of pepper jack cheese. As I said, I’m still allowing a little fish, eggs and dairy.

Interesting note, but did you know that apples are considered one of the best superfoods in that it is already in a standard portion size, you can eat it on the go, it gives you the sweetness you might be missing from all that processed sugar and if you leave the skin on, it reduces cholesterol!

Pistachios are known for being heart-healthy and an anti-inflammatory. However, since they contain so many antioxidants, they naturally prevent some of the signs of aging. Notice that word “naturally”…How many people do you know that each such a healthy diet but actually put a bacteria that comes from botulism in their skin! I just don’t get it, but to each their own. More pistachios for me!

Finally, my dinner was a sandwich but not just any sandwich. I started off with a whole grain bread which is a great source of fiber and protein and helps give you that full feeling to prevent overeating. Next, I spread some hummus on both sides of my bread, then topped with thinly sliced cucumbers, clover sprouts, tomato, and avocado.

The result..a beautiful colorful sandwich packed with nutrients!

So, I said I would share the good stuff but the missteps as well. I did have a chocolate craving so I did indulge in 2 mini snack size snickers. No regrets..this is a daily step-by-step and it isn’t the worst choice I could have made. 🙂

I keep up with my calories and nutrients on an app called MyFitnessPal and it indicted that I was a little under in calories for the day even with my little candy bar “hiccup”. I need to work on upping the calories just a little so I don’t one day fall off the wagon because I don’t have enough energy. However, allin all day 2 went pretty well and other than that small hiccup, I never felt hungry.

New Year’s Day is typically considered a day in which we focus on the positive changes we want to make for the new year. This seems especially true when we embark on a new decade that offers so many possibilities. At 53 years old, I realize more and more the value of how food impacts my health and I want to take this time to reset how I eat. So, I hope you will join me on my January journey towards a cleaner way of eating. My goals this month are:

  • Eliminating beef, pork and chicken
  • Reducing the amount of processed foods
  • Focus on more plant-based foods

As I mentioned in my post yesterday, I’m going to focus first on foods from what is called the Blue Zones of our world. These are places where people live to be 100+ but are healthy and food plays a very large part in this. There are 5 of these zones and my first stop will be will be in Ikaria, Greece.

“THE IKARIAN DIET, like that found on many other Mediterranean islands, includes a generous dose of vegetables and olive oil as well as lower amounts of dairy and meat products. It is a remote place, however, and the local diet is unique from other Greek and nearby islands because of its focus on beans and legumes (especially chickpeas and lentils), wild greens, goat’s milk, and smaller amounts of fish.”

Excerpt From The Blue Zones Kitchen, Dan Beuttner

https://books.apple.com/us/book/the-blue-zones-kitchen/id1448123657

So here is how my Day 1 went….

I rarely eat breakfast so really I just started my day with coffee. I snacked on some dried apple chips and has a little Swiss cheese but really didn’t have more than that. What I did do is make a version of Ikarian Longevity Stew which has black-eyed peas in it which are often a symbol of good luck for the new year. I added my own twist of putting in some carrots and another traditional new year’s ingredient, collard greens, plus some jalapeño and other heat seasonings. I love my spice! Here is my version:

Ikarian Longevity Soup

INGREDIENTS

  • ½ cup extra-virgin olive oil, divided
  • 1 large onion, finely chopped
  • 4 garlic cloves, finely chopped
  • 1  fennel bulb, cored and chopped
  • 1 jalapeño, seeded and chopped
  • 1 carrot, peeled and chopped
  • 15 oz can black-eyed peas, rinsed and drained
  • 1 32 oz can diced tomatoes, with juice
  • 2 tsp tomato paste, diluted in ¼ cup water
  • 2 cups collard greens, chopped
  • 1 cup water
  • 2 tablespoons hot sauce
  • 1 tbsp red pepper flakes
  • 1 tsp onion powder
  • 2 bay leaves
  • Salt to taste
  • 1 bunch  dill, finely chopped

DIRECTIONS

  1. Heat ¼ cup oil over medium heat. Add onion, fennel, carrots, and jalapeño; cook, stirring occasionally, until soft, about 12 minutes.

  2. Add in tomato paste and “toast” with veggies for 1 minute

  3. Add tomatoes and peas plus enough water to cover the beans by about 1 inch.

  4. Add in collard greens, bay leaves and other seasonings.

  5. Bring to a boil, reduce heat and simmer 40 minutes.

  6. Add dill and season with salt.Remove from heat, and stir in remaining ¼ cup olive

My finished product along with a side of sourdough bread and a sprinkle of fresh Parmesan cheese to garnish

Sourdough bread on a mainly plant based diet? Yes! Apparently, the fermentation makes it a healthy choice so you aren’t just limited to whole grain bread. This was the perfect compliment to my soup and gave it that “chew factor” you sometimes miss with soup.

Bottom Line: this soup is so versatile and you can easily switch out the veggies for your favorites! For leftovers, I plan on this over brown rice and omit the bread. Give this a try and let me know what kind of personal twist you put on it.

Being a huge foodie, I’m always on the lookout for the latest food trends and it’s hard to ignore the recent trend towards a more plant-based diet. I did do a Pescatarian Diet about 7 years ago and truly never felt better. Basically, that is eliminating all meat such as beef, pork, and poultry but still allowing fish, eggs, and dairy. I loved it! The problem was that I was a personal chef at the time and it’s hard to test recipes and meet your client’s needs, not tasting your food. So, after 3 months, I gave it up.

I have always loved vegetables but growing up in the South, the protein was always the focus of the meal. A typical dinner included a meat with a starch and a vegetable and yes, a slice of some kind of bread. Even in recent health trends, the protein was still the focus and foods like rice and potatoes were considered “bad”. Red meat and bacon were supposed to be “good for you”..just don’t eat those carbs!

But, let’s not put all the blame on the protein. The amount of processed food we eat continues to grow year after year. Part of it is convenience, of course, but let’s face it, most if it is because we are addicted to salt and sugar. As obesity rates climb, we have simply forgotten what whole foods taste like. Fortunately, the current trend is trying to remind us.

All of this being said, I know that if I tried to move to a completely plant-based diet, it would be an epic failure. Therefore, I’m going back to my Pescatarian lifestyle which will still allow me to have fish and seafood as well as eggs and dairy. But this time, I’m going to put more focus on those whole foods and eliminate all that processed junk!

So, here is to my January Journey of Pescatarian and Plant-Based eating. I’m going to share my journey along with my recipes and slip-ups. My goal is at the end of this month, the arthritis in my hands will feel a little better, my energy level will increase, and I will have a new appreciation for food.

My first recipe is adapted from a cookbook called “The Blue Zone Kitchen” and wow, is this a great read! It focuses on the foods that people from 5 zones in our world eat. Why? Because these people typically live to be a 100 or over yet have fewer illnesses and more energy than people normally have in their 60’s and 70’s! Yes, some of the zones do have the occasional meat dish but primarily all of the regions are plant based. I’m going to be trying many of these recipes. But the first one is called Ikerian Longevity Soup. I adapted it for the new year and added black-eyed peas and collard greens. It was delicious so stay tuned for tomorrow’s blog when I share this recipe and my Day 1 journey!

This time of year, there is only one thing on every Tennessee Vol fan’s mind…the big game against the Florida Gators! Every year, my husband fries up some gator and I make some “Comeback Dipping Sauce” to go with it. As delicious as those are, I wanted to try something a little different this year, so I created a new recipe using fresh alligator…Gator Jalapeno Poppers! And yes, with a gator recipe, there must be a dip so that is where the delicious Creole Mustard Dipping Sauce comes in. Yum!

If you have never tried alligator before, you are in for a treat. It does taste a bit like chicken but with a little tang to it. The tail is usually the most tender, so look for that if you can find it. I purchased mine from the Shrimp Dock in Farragut. (If you stop by, make sure to ask for Steve. He is always so helpful!)

As usual, my husband, Jeff, was my tester and he gave them rave reviews. Since I was scheduled to be on a cooking segment this week at our local tv station on Florida week, I knew what I was going to make! My new Gator Poppers and let’s just say they wowed the crowd and they will wow crowd, too!

Gator Jalapeno Poppers

  • 1 pd pckg alligator
  • 1 tbsp hot sauce
  • 1 tbsp olive oil
  • 2 tbsps of Old Bay or Cajun Seasoning (reserve one tablespoon)
  • 1/2
  • 8-oz pckg Cream Cheese , softened (I prefer Onion & Chive)
  • 13-15 slices Bacon, cut in thirds
  • 1/2 cup brown sugar
  • Wooden Toothpicks

Creole Mustard Dipping Sauce

  • 3/4 cup low fat mayonnaise
  • 1 tbsp yellow mustard
  • 1 tbsp stone ground mustard
  • 1 tsp horseradish
  • 1 tsp apple cider vinegar
  • 1/2 tsp garlic powder
  • 1/2 tsp onion powder
  • salt and pepper to taste


Directions
 for Gator Poppers

  • Place the gator pieces between two pieces of plastic wrap and pound to a 1/2 thickness. Cut into strips about 1 inch wide and 2-3 inches in length.
  • Combine the olive oil, hot sauce, and 1 tablespoon of the old Bay/Cajun Spice in a medium sized bowl (reserving the other tablespoon of spice for later).
  • Add the gator to the mixture and mix well. Allow to sit at room temperature for 30 minutes.img_0306
  • Preheat the oven to 350 degrees. Line a large baking sheet with foil and Place a baking/cooling rack inside.the baking sheet.
  • Remove the gator from the marinade and place a gator piece on a work surface.img_0312
  • Spread 1 tsp of cream cheese to cover the top.img_0313
  • Place one jalapeno pepper piece in the middle of the cream cheese.img_0316
  • Fold the gator piece in half with the cream cheese inside.
  • Set one 1/3 slice of bacon on the work surface. Place a stuffed gator piece with the ends facing down on the bacon and the open sides facing the bacon NOT outward (this allows the open ends to be covered by the bacon when rolled so the stuffing does not easily leak out when cooked). 
  • Wrap the bacon around the stuffed gator and secure with a toothpick.
  • In a small bowl, mix together remaining tablespoon of Old Bays/Cajun Seasoning and the brown sugar.
  • Dip the gator poppers in the sugar mixture, covering the bacon (this ensures that your bacon will crisp up in the oven).
  • Place on top of baking cooling rack and bake for 30-33 minutes until bacon is crisp.
  • Allow to cool for 5 minutes.
  • Serve with Creole Dipping Sauceimg_0330-1

Directions for Creole Dipping Sauce

  • Combine all ingredients, mixing well
  • Refrigerate for at least 30 minutes. It can be made up to 3 days ahead.img_0329


Bottom Line:  This uniquely delicious popper recipe is not only delicious but super easy! If you just can’t stand the idea of alligator, you can use chicken as a substitute but please give the gator I try.  These will go fast so make a lot!

Summer is in full swing and so are our gardens!  If you don’t have a garden, then go to any local farmer’s market and see summer’s harvest at its best with baskets of varieties of tomatoes, zucchini, and herbs such as basil.  But at this point, you may have run out of ideas of how to use these tasty vegetables in a new and creative way.  This is where my Mini Caprese Zucchini and Prosciutto Stacks come in!  I like to serve these as an appetizer in the summer not only because of the freshness of the produce but also because there is minimal cooking involved and they can be made a couple of hours in advance.

In general, “caprese” means a salad of fresh mozzarella, tomatoes, and basil and originated in Italy.  My take on this traditional salad takes the typical ingredients and adding in two other favorites: Grilled Zucchini and Prosciutto.  If you aren’t familiar with prosciutto, it is basically a dry-cured ham that is usually served sliced and uncooked.  It also originates from Italy which makes it a perfect addition and adds a little bit of heartiness to the appetizer.

Mini Zucchini and Prosciutto Caprese Stacks

(Approximately 24 appetizer stacks)

Ingredients:

  • 2 large zucchini
  • 2 tablespoons olive oil
  • Kosher salt and freshly ground black pepper
  • 8 ounces fresh mozzarella
  • 2 Roma tomatoes
  • 4 oz. deli sliced prosciutto
  • 1/2 cup mayonnaise
  • 3 tablespoons prepared pesto
  • 2 splashes red wine vinegar
  • 12 large fresh basil leaves, plus extra for garnish
  • Balsamic glaze, for drizzling
  • toothpicks

Directions:

  • Heat a grill or grill pan on medium heat.
  • Slice each zucchini on the diagonal into 12 slices (24 slices total). Brush one side of each zucchini slice with olive oil and season with salt and pepper. Working in 2 batches, place them oil-side down on the grill pan and cook for 2 minutes. Flip each slice and continue grilling until they have grill marks but are still somewhat firm, about 1 minute. Set aside to cool.

  • Slice the mozzarella into 6 slices, then cut each slice in half. Slice each tomato into 6 slices crosswise (12 slices total). Season with salt to bring out the flavor.
  • Slice the prosciutto into 24 strips
  • To make the dressing: Combine the mayonnaise, pesto and vinegar in a small bowl and stir together until well combined.

  • To assemble the stacks: Top a slice of grilled zucchini with one of the half-slices of mozzarella. 

  • Top the mozzarella with about a teaspoon of the pesto dressing. 

  • Arrange a slice of tomato on top, followed by the proscuitto slice rolled up and then the basil leaf. 
  • Secure the stack with a toothpick.

  • Repeat with the remaining ingredients until you have 24 mini stacks.
  • Arrange the sliders on a platter, drizzle with balsamic glaze and garnish the platter with more basil.

*Note:  This may be more than a bite full for some so I like to use the toothpick as a vehicle to put the stack on the plate, then when eating I remove the toothpick and pick it up with my hands and eat it in two bites!


So we all have heard of “White” Chicken Chili and love all it’s cheesy, rich flavors but it’s the New Year and many of us are focusing on eating healthier. Here is where “Red” Chicken Chili comes in! It a super easy recipe, packed with protein and fiber that will leave you satisfied without all the extra calories and fat.

The first time I prepared this, I did it on the stove top using a rotisserie chicken. However, you can also make this chili using the Instant Pot without pre-cooking your chicken. The key is to use both white and dark meat chicken for added flavor. If you are using your Instant Pot, you can even use FROZEN chicken! Wow!

So for your convenience, I have provided directions for all 3 cooking methods. I hope you enjoy it as much as we did!

Instant Pot Red Chicken Chili

Ingredients

  • 1 tablespoon of olive oil
  • 1 jalapeño, seeded and chopped
  • 1 large shallot, chopped
  • 1 tablespoon of minced garlic
  • 1 1/2 pounds cooked boneless chicken breasts and thighs, shredded
  • 2 cups chicken broth
  • 2 cups of tomato juice
  • 1 tablespoon hot sauce
  • 14 ounce can pinto beans, drained and rinsed
  • 14 ounce can black beans, drained and rinsed
  • 14 ounce can light red kidney beans
  • 14 ounce can diced tomatoes (with liquid)
  • 4 ounce (127mL) can chopped green chilis
  • 1 cup corn kernels
  • 1 teaspoon salt
  • 1/2 teaspoon pepper
  • 1 teaspoon onion powder
  • 2 teaspoons chili powder
  • 1 teaspoon cumin
  • 1 teaspoon garlic powder
  • 1 teaspoon dried oregano
  • 1 teaspoon red pepper flakes
  • Cilantro, for garnish

Instructions

Stove Top

Sauté jalapeño and shallots in the olive oil until softened (about 5-10 minutes). Add in garlic and sauté an additional 2 minutes.

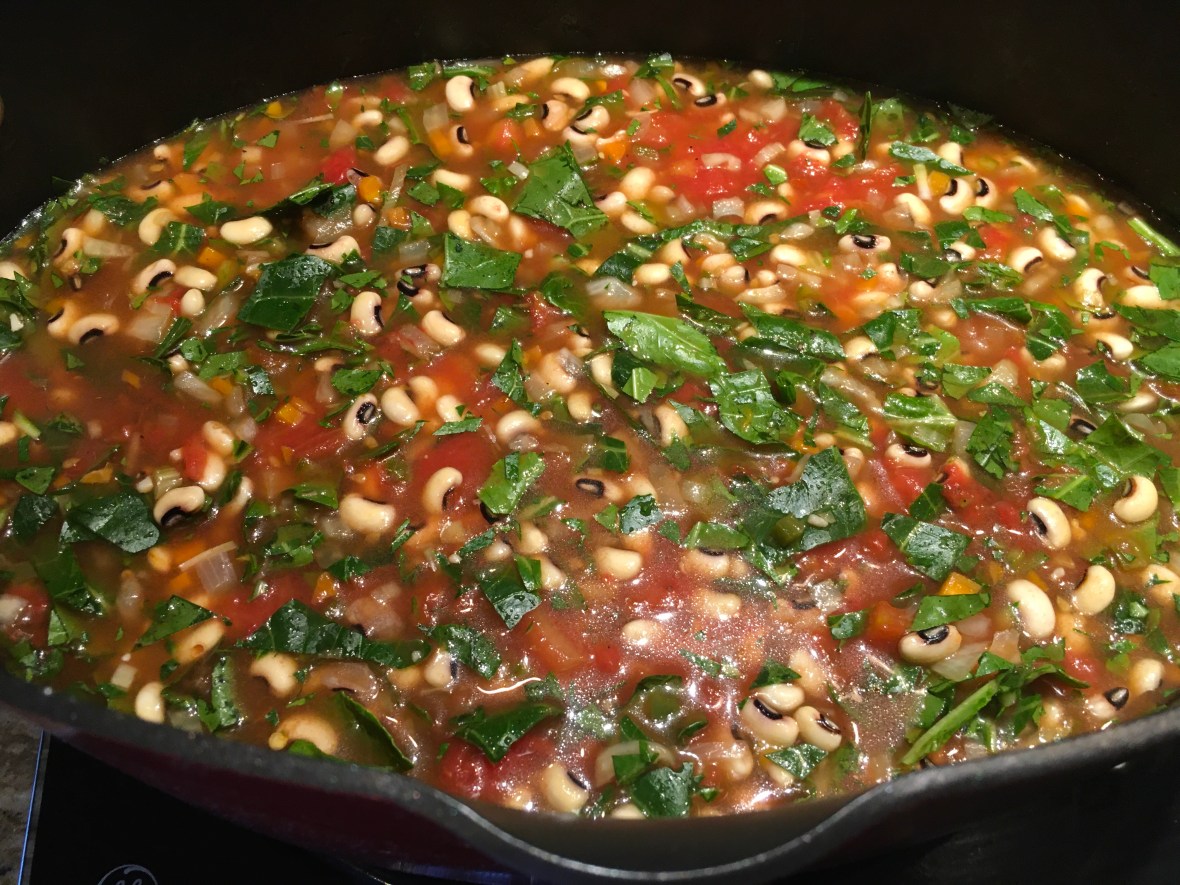
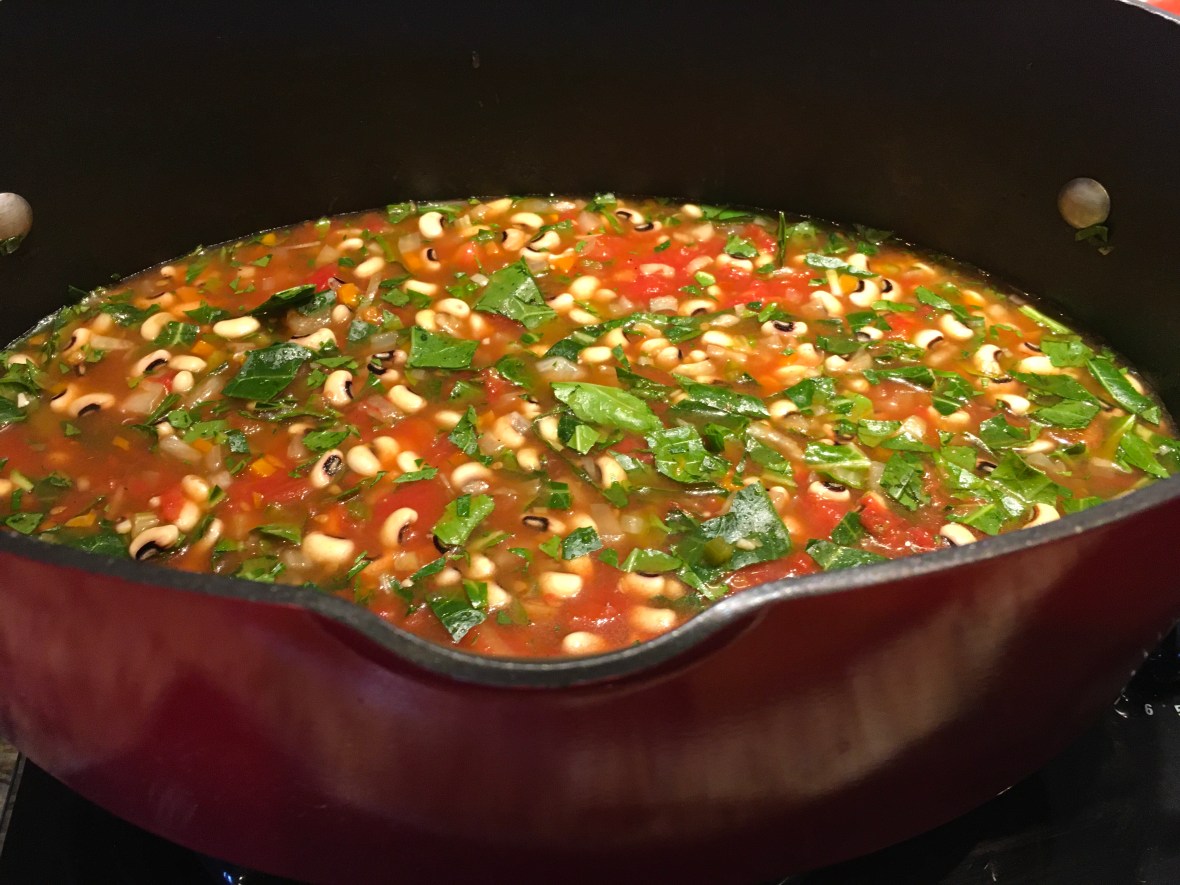
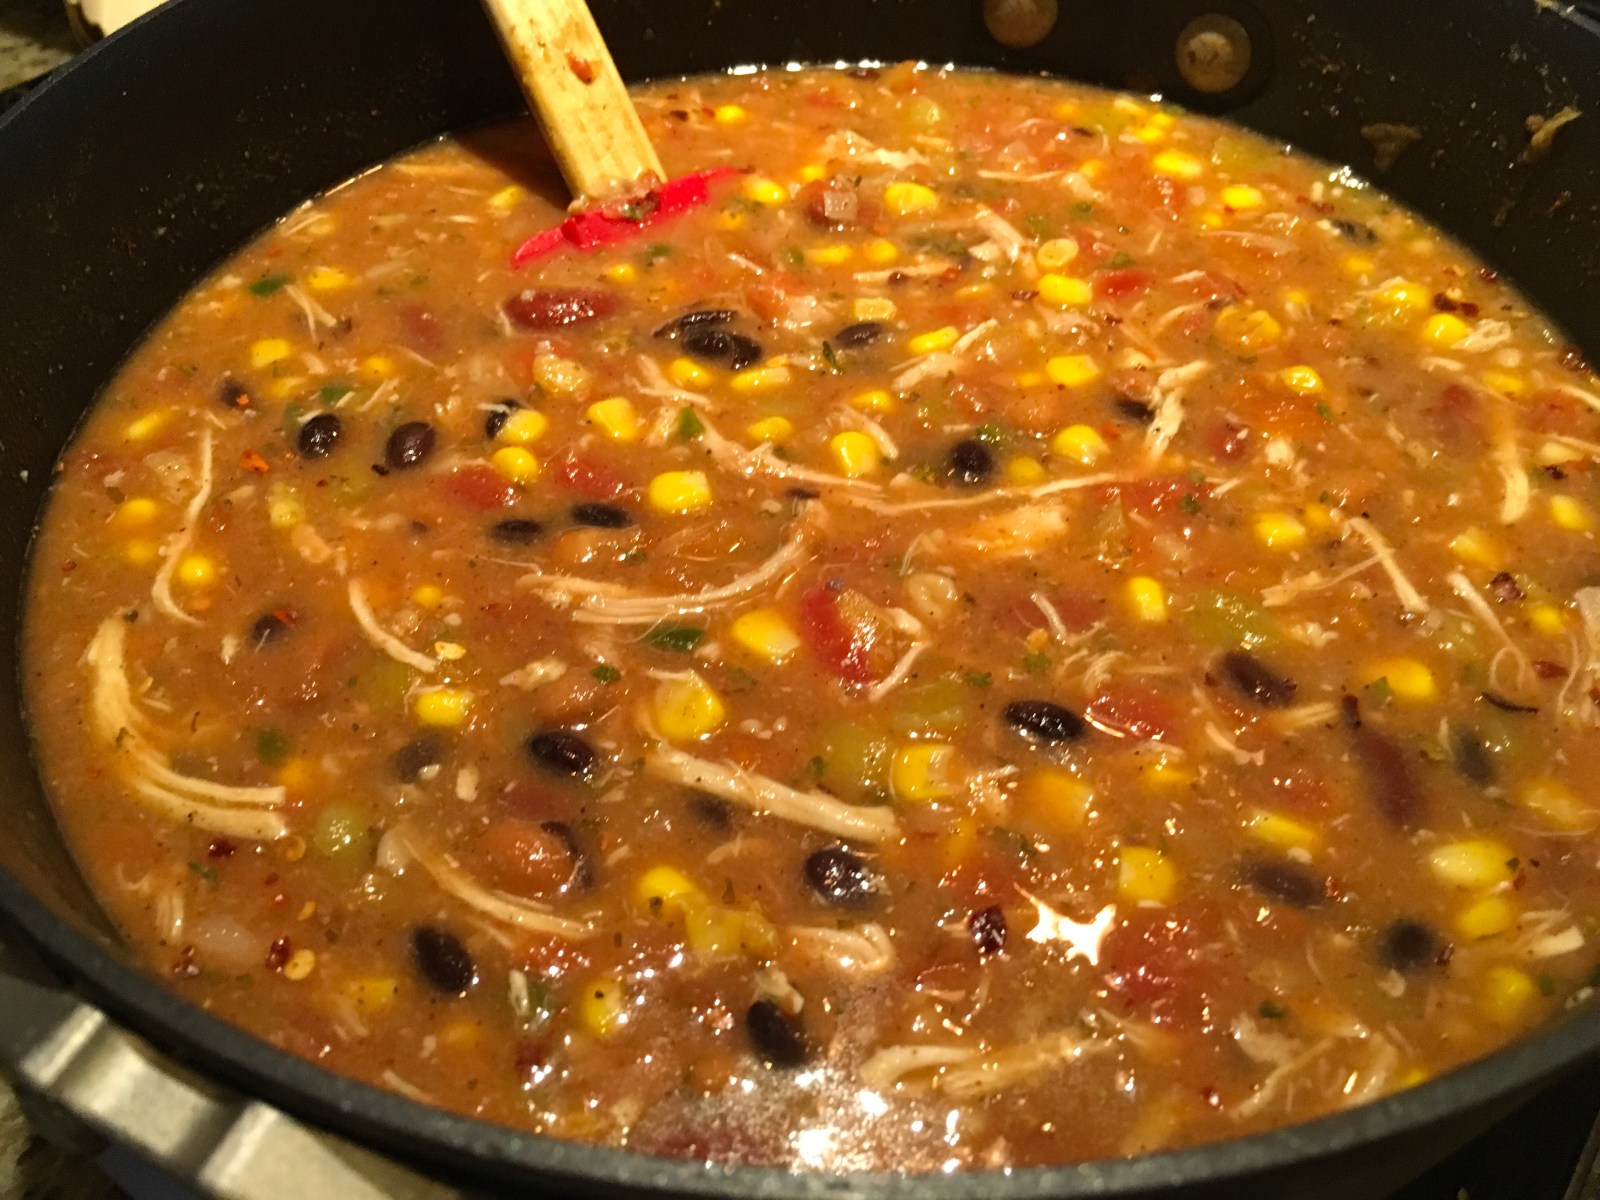
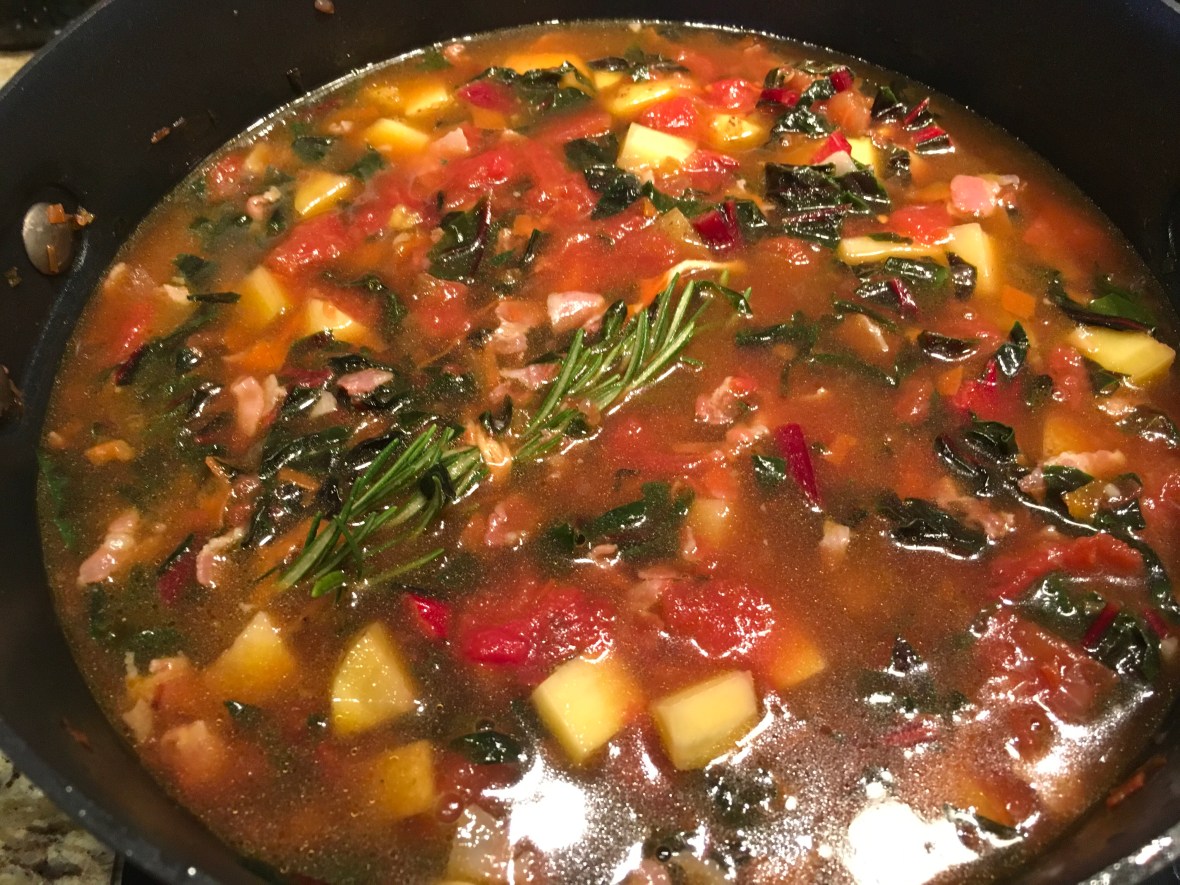
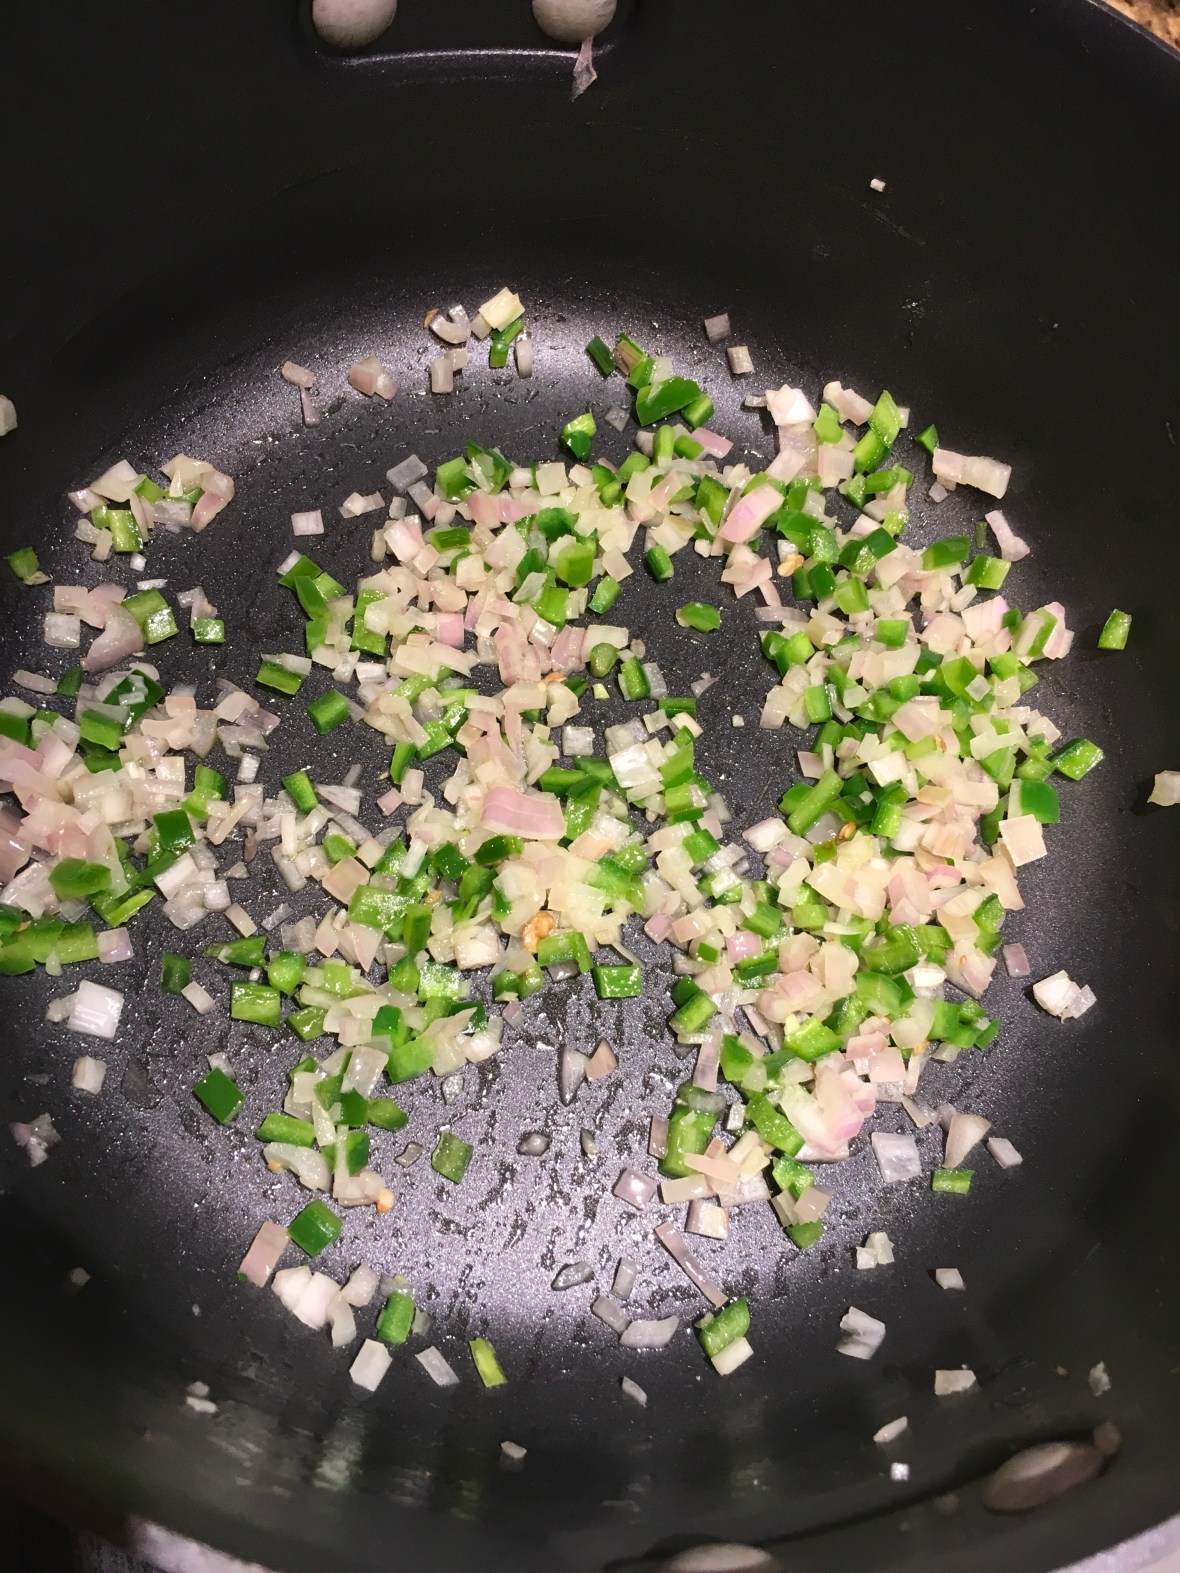
Add remaining ingredients and simmer for one hour.

Sprinkle with cilantro and serve

For the Instant Pot:

  1. Place the chicken, UNCOOKED, and the remaining ingredients into the pot of the Instant Pot and stir to combine. Put the lid on the Instant Pot and lock it into position. Make sure the vent is in the sealing position.
  2. Set the Instant Pot to manual high pressure for 18 minutes (or the chili setting which will automatically be 18 minutes at high pressure). When the cook time is finished, let it naturally release for 10 minutes and then quick release any remaining pressure. Shred the chicken with two forks (either in the Instant Pot, or remove it to a cutting board to shred and then return it to the pot).
  3. Stir to combine. Sprinkle with cilantro and stir.

For the slow cooker:

  1. Place the chicken, UNCOOKED, and the remaining ingredients in the crock of the slow cooker and stir to combine.
  1. Cook on low for 6-8 hours, or high for 3-4 hours. Shred the chicken with two forks (either in the slow cooker, or remove it to a cutting board to shred and then return it to the slow cooker)

Notes

If you’re making this chicken chili in the Instant Pot, you can use fresh or frozen chicken breasts. The cook time will stay the same regardless. If you’re making it in the slow cooker, use fresh or thawed chicken breasts for food safety reasons.

“Carnitas” in Spanish means “little meats” and I fell in love with pork version of carnitas in Mexico long ago and they have always been one of my favorite Mexican dishes to cook in my slow cooker. I use these tasty, meaty bites in tacos, burritos, nachos and even soups. I usually try to make a double batch because they freeze so well and it’s so easy to just thaw out and serve on a week night! The only problem is they take so long to cook. If you braise them in the oven, you are looking at at least 4 hours and slow cooker is an even longer time of 6-8 so last year when I got my Instant Pot for Christmas, I knew just what recipe I wanted to try….my favorite recipe of Pork Carnitas with Mojo Sauce topped with a delicious, fresh Pineapple Salsa and it can be done in ONE HOUR!

If you have recently gotten an Instant Pot and don’t know how to use it, this is the recipe for you! Several people have told me that they are afraid of theirs but there simply isn’t a reason to be. This is not your grandmother’s pressure cooker! An added bonus is that you can actually sauté vegetable and sear meats allowing you to do everything in one pot. It can also be used as that slow cooker that we are all used to; it simply does it all from creating sensational soups to even making yogurt and steamed rice! But for now, let’s focus on these incredibly savory Pork Carnita

Instant Pot Carnitas with Mojo Sauce and Pineapple Salsa

    1 (4-5 pound) lean boneless pork roast, excess fat trimmed, cut into 2-inch chunks
    2 tablespoons each of : salt, pepper, mustard powder, cumin, garlic powder, onion powder and paprika
    3 tablespoons of olive oil, divided
    1 batch mojo sauce (see below)
    1/4 cup freshly chopped cilantro
    Corn Tortillas (for low carb options use Boston Lettuce or Jicama Rounds microwaved for 5 seconds)

Mojo Sauce

    1 cup beer (or chicken stock)
    1 head of garlic, cloves separated, peeled and minced
    1/2 cup fresh orange juice
    1/4 cup fresh lime juice
    1 teaspoon dried oregano
    1 teaspoon ground cumin
    1 teaspoons salt
    1/2 teaspoon freshly-cracked black pepper

Pineapple Salsa

    2 cups finely-diced fresh pineapple
    1/2 cup finely-chopped fresh cilantro
    1/2 cup finely-diced red onion
    2 tablespoons lime juice
    1/2 teaspoon ground cumin
    1 jalapeño, seeded and finely-diced
    salt and pepper

DIRECTIONS:

In a medium mixing bowl, prepare the mojo sauce (see below).

Mix spices together with 1 tablespoon of the olive oil to create a seasoning paste.

Season pork chunks on all sides with seasoning paste.

Click the “Saute” setting on the Instant Pot. Allow to heat up and add remaining oil and half of the pork, and sear — turning every 45-60 seconds or so — until the pork is browned on all sides.  Transfer pork to a separate clean plate, and repeat with the other half of the pork, searing until browned on all sides.  Press “Cancel” to turn off the heat.

Pour in the mojo sauce, and toss briefly to combine.

Close lid securely and set vent to “Sealing”.

Press “Meat”, then press “Pressure” until the light on “High Pressure” lights up, then adjust the up/down arrows until time reads 30 minutes.  If “Keep Warm” light is on, click to turn it off

The Instant Pot will begin to build reassure and cooking time will begin once the red pressure button pops up. After 30 minutes, the beeper will go off and it will begin to release pressure naturally. This will take approximately 15 -20 minutes.  Carefully turn the vent to “Venting”, just to release any extra pressure that might still be in there. Then remove the lid.

Turn on the oven broiler to High and transfer pork to baking dish.

Shred and spoon about a third of the leftover juices evenly on top of the pork.  Then broil for 4-5 minutes, or until the edges of the pork begin browning and crisping up. Remove the dish from the oven, then ladle another third of the juices from the Instant Pot evenly over the pork, and then give it a good toss with some tongs.  Broil for an additional 5 minutes to get the meat even more crispy. Then remove and ladle the final third of the juices over the pork, and toss to combine. Sprinkle with fresh cilantro.

Serve immediately in tacos, burritos, salads, or whatever sounds good to you! Pork can be refrigerated in a sealed container for up to 3 days, or freeze for up to 3 months.

TO MAKE THE MOJO SAUCE:

Whisk all ingredients together in a small mixing until combined.

TO MAKE THE PINEAPPLE SALSA:

Toss all ingredients together in a medium mixing bowl until combined.  Season with salt and pepper to taste, also adding in extra lime juice if desired.

For more detailed directions and pictures, visit reciperealities.net

Who doesn’t love Buffalo Wings? They are always a hit whenever you serve them but they can be a little messy to eat at a party or tailgate so I decided to change it up a bit by making them into a meatball!  Just skewer one with a toothpick and dip into the creamy blue cheese sauce and you have the perfect bite-sized treat without using a ton of napkins and feeling so sticky!

Here is my recipe for this tangy meatball sensation!

Buffalo

Ingredients

  • 3/4 cup butter
  • 1 cup hot sauce (such as Tabasco)
  • 1 pound ground chicken
  • 1/2 teaspoon onion powder
  • 1/2 teaspoon of garlic powder
  • 1/2 teaspoon of celery salt
  • 1 teaspoon each of salt and pepper
  • 1 cup panko (Japanese-style breadcrumbs)
  • ½ small yellow onion, finely diced
  • 1 large egg, lightly beaten
  • 1 teaspoon kosher salt
  • ½ teaspoon garlic powder
  • 1/4 cup of green onions
  • 1 cup plain whole-milk Greek yogurt
  • ¼ cup crumbled blue cheese
  • 2-4 tablespoons of buttermilk (depending on how thick you like your dressing)
  • 1 tablespoon of white wine vinegar
  • Chopped scallions

Directions

Preheat the oven to 400°F.

Microwave the butter and hot sauce on medium until butter is melted (about 2-3 minutes). Whisk until combined; remove from heat and let cool.

img_3231

Sauté the onion in olive oil until onions are translucent.

img_3229

Stir together the ground chicken, spices, panko, onion, egg, salt, sautéed onions and 1/4 cup of the hot sauce mixture.

img_3234

Set the remaining hot sauce mixture aside. Line a baking sheet with foil or parchment paper and spray with cooking spray.

Shape the chicken mixture into 28-30 meatballs, and place on baking sheet.

img_3236

Cook the meatballs until a meat thermometer registers 165°F, 15 to 18 minutes, turning them over halfway through cooking time.

Remove meatballs from baking sheet and place in a baking or casserole dish. Toss with half of the remaining hot sauce mixture.  Increase the oven temperature to high broil.

Broil the meatballs until golden brown and crispy, 3 to 5 minutes. Remove from the oven, and toss with the remaining hot sauce mixture in a bowl. Sprinkle with green onions.

img_3260

Stir together the Greek yogurt, blue cheese, buttermilk and vinegar. Salt to taste.

img_3261

Serve the meatballs immediately with the blue cheese–yogurt sauce and sprinkled with the scallions.

img_3242

The perfect bite!img_3244

Bottom Line:  I tested these on my husband and son with rave reviews.  They are so good and really super easy that I’m serving them at my daughter and son-in-law’s couple baby shower next week.  Easy way to get a favorite guy food onto a plate with such a pretty presentation!  You can also keep these warm in a crock pot at your next tailgate; just double the sauce so they won’t dry out.  I can’t wait to hear your comments about this recipe!  I am Chef Frankie, always in the kitchen, having fun and cooking with Wild Abandonment!

After a week of dreary winter weather including snow and freezing temperatures, nothing hits the spot like comforting soup simmering away on the stove.  One of my favorite soups is Winter Minestrone Soup with Pancetta.  Minestrone soup is an Italian soup featuring in season vegetables and basically whatever else you have left in the refrigerator…kind of like a hodgepodge of ingredients.   This version is different in that it does not have the typical pasta and rice included but focuses on winter vegetables and some added pancetta for depth of flavor.

Winter Minestrone Soup with Pancetta

Ingredients

  • 2 tablespoons olive oil
  • 1 onion, chopped
  • 2 carrots, peeled, shaved, and chopped
  • 2 celery stalks, finely chopped
  • 4 ounces thinly sliced pancetta, chopped
  • 2 garlic cloves, minced
  • 1 pound Swiss chard, stems trimmed, leaves coarsely chopped (I prefer red stemmed for the color)
  • 2 cups gold potatoes, chopped (optional to peel or not)
  • 1 (14 1/2-ounce) can diced tomatoes
  • 2-3 fresh rosemary sprigs tied in kitchen twine
  • 2 (15-ounce) cans while beans, drained and rinsed
  • 2 (14-ounce) cans low-sodium beef broth
  • 1 ounce piece Parmesan cheese rind
  • 1/4 cup chopped fresh flat-leaf parsley
  • Salt and pepper, to taste

Directions

Heat the oil in a heavy large pot over medium heat. Add the onion, carrots, celery, and pancetta.

img_2381-1

Saute until the onion is translucent, about 10 minutes.

Add the garlic and Swiss chard and potato; saute for 2 minutes.

img_2519-1

Stir in the tomatoes.

img_2520-1

Add in Rosemary sprigs and Beef Broth, RESERVING 1/2 CUP of broth.  Bring the mixture to a boil then reduce to simmer until the chard is wilted and the tomatoes are soft, about 10 minutes.

img_2522-1

In a food processor, combine 1 can of beans with reserved 1/2 cup of beef broth blending until smooth.

Add the pureed bean mixture, 2nd can of beans and Parmesan cheese rind to the vegetable mixture.

Simmer until the potato pieces are tender, stirring occasionally, about 15 minutes. (Note:  The soup is ready at this point  but I prefer to let it slow simmer on low heat for a couple of hours to fully develop flavor.

img_2532

Season with salt and pepper, to taste. Discard Parmesan rind and rosemary sprig (some of the leaves will have fallen off of the stem.)  Top with fresh parsley to garnish.

Ladle the soup into bowls and serve.

img_2403-1

Bottom Line:  This soup is so easy to make and rich with Italian flavors.  It could easily be made into a vegetarian dish by omitting the pancetta and replacing the beef broth with vegetable broth.  If you are an Instant Pot lover, I will be updating this post very soon on how to make this delicious soup even easier!  I hope you try this recipe in your own kitchen and even add in your own twists.  Until next time, I am Chef Frankie, always in the kitchen, having fun and cooking with Wild Abandonment!