If you have been following my blog over the last year, you have figured out that my favorite foods are usually served in a bowl…the perfect vessel for delicious brothy bites! One of my favorite recipes is actually probably one of the simplest…Beef Stew. Although I have tried many other recipes with wonderfully exotic ingredients, I keep coming back to this one with a few “shortcuts” because it truly turns out perfectly every time.
Aunt Joyce’s Beef Stew
This particular beef stew recipe was given to me right after I got married (29 years ago this weekend) by my mother-in-law’s twin sister, Joyce Self. Aunt Joyce, much like her sister, is an excellent cook and I have gotten several great ideas from her over the years but this one is my favorite because not only does it taste so good, you don’t even have to brown the beef! It is truly simple cooking at it’s best! Although, I have tweaked it a little bit over the years just because our taste buds have developed a little need for some extra spice, it is still close to its original version. So here is my version of Aunt Joyce’s Beef Stew!
Aunt Joyce’s Beef Stew
Ingredients
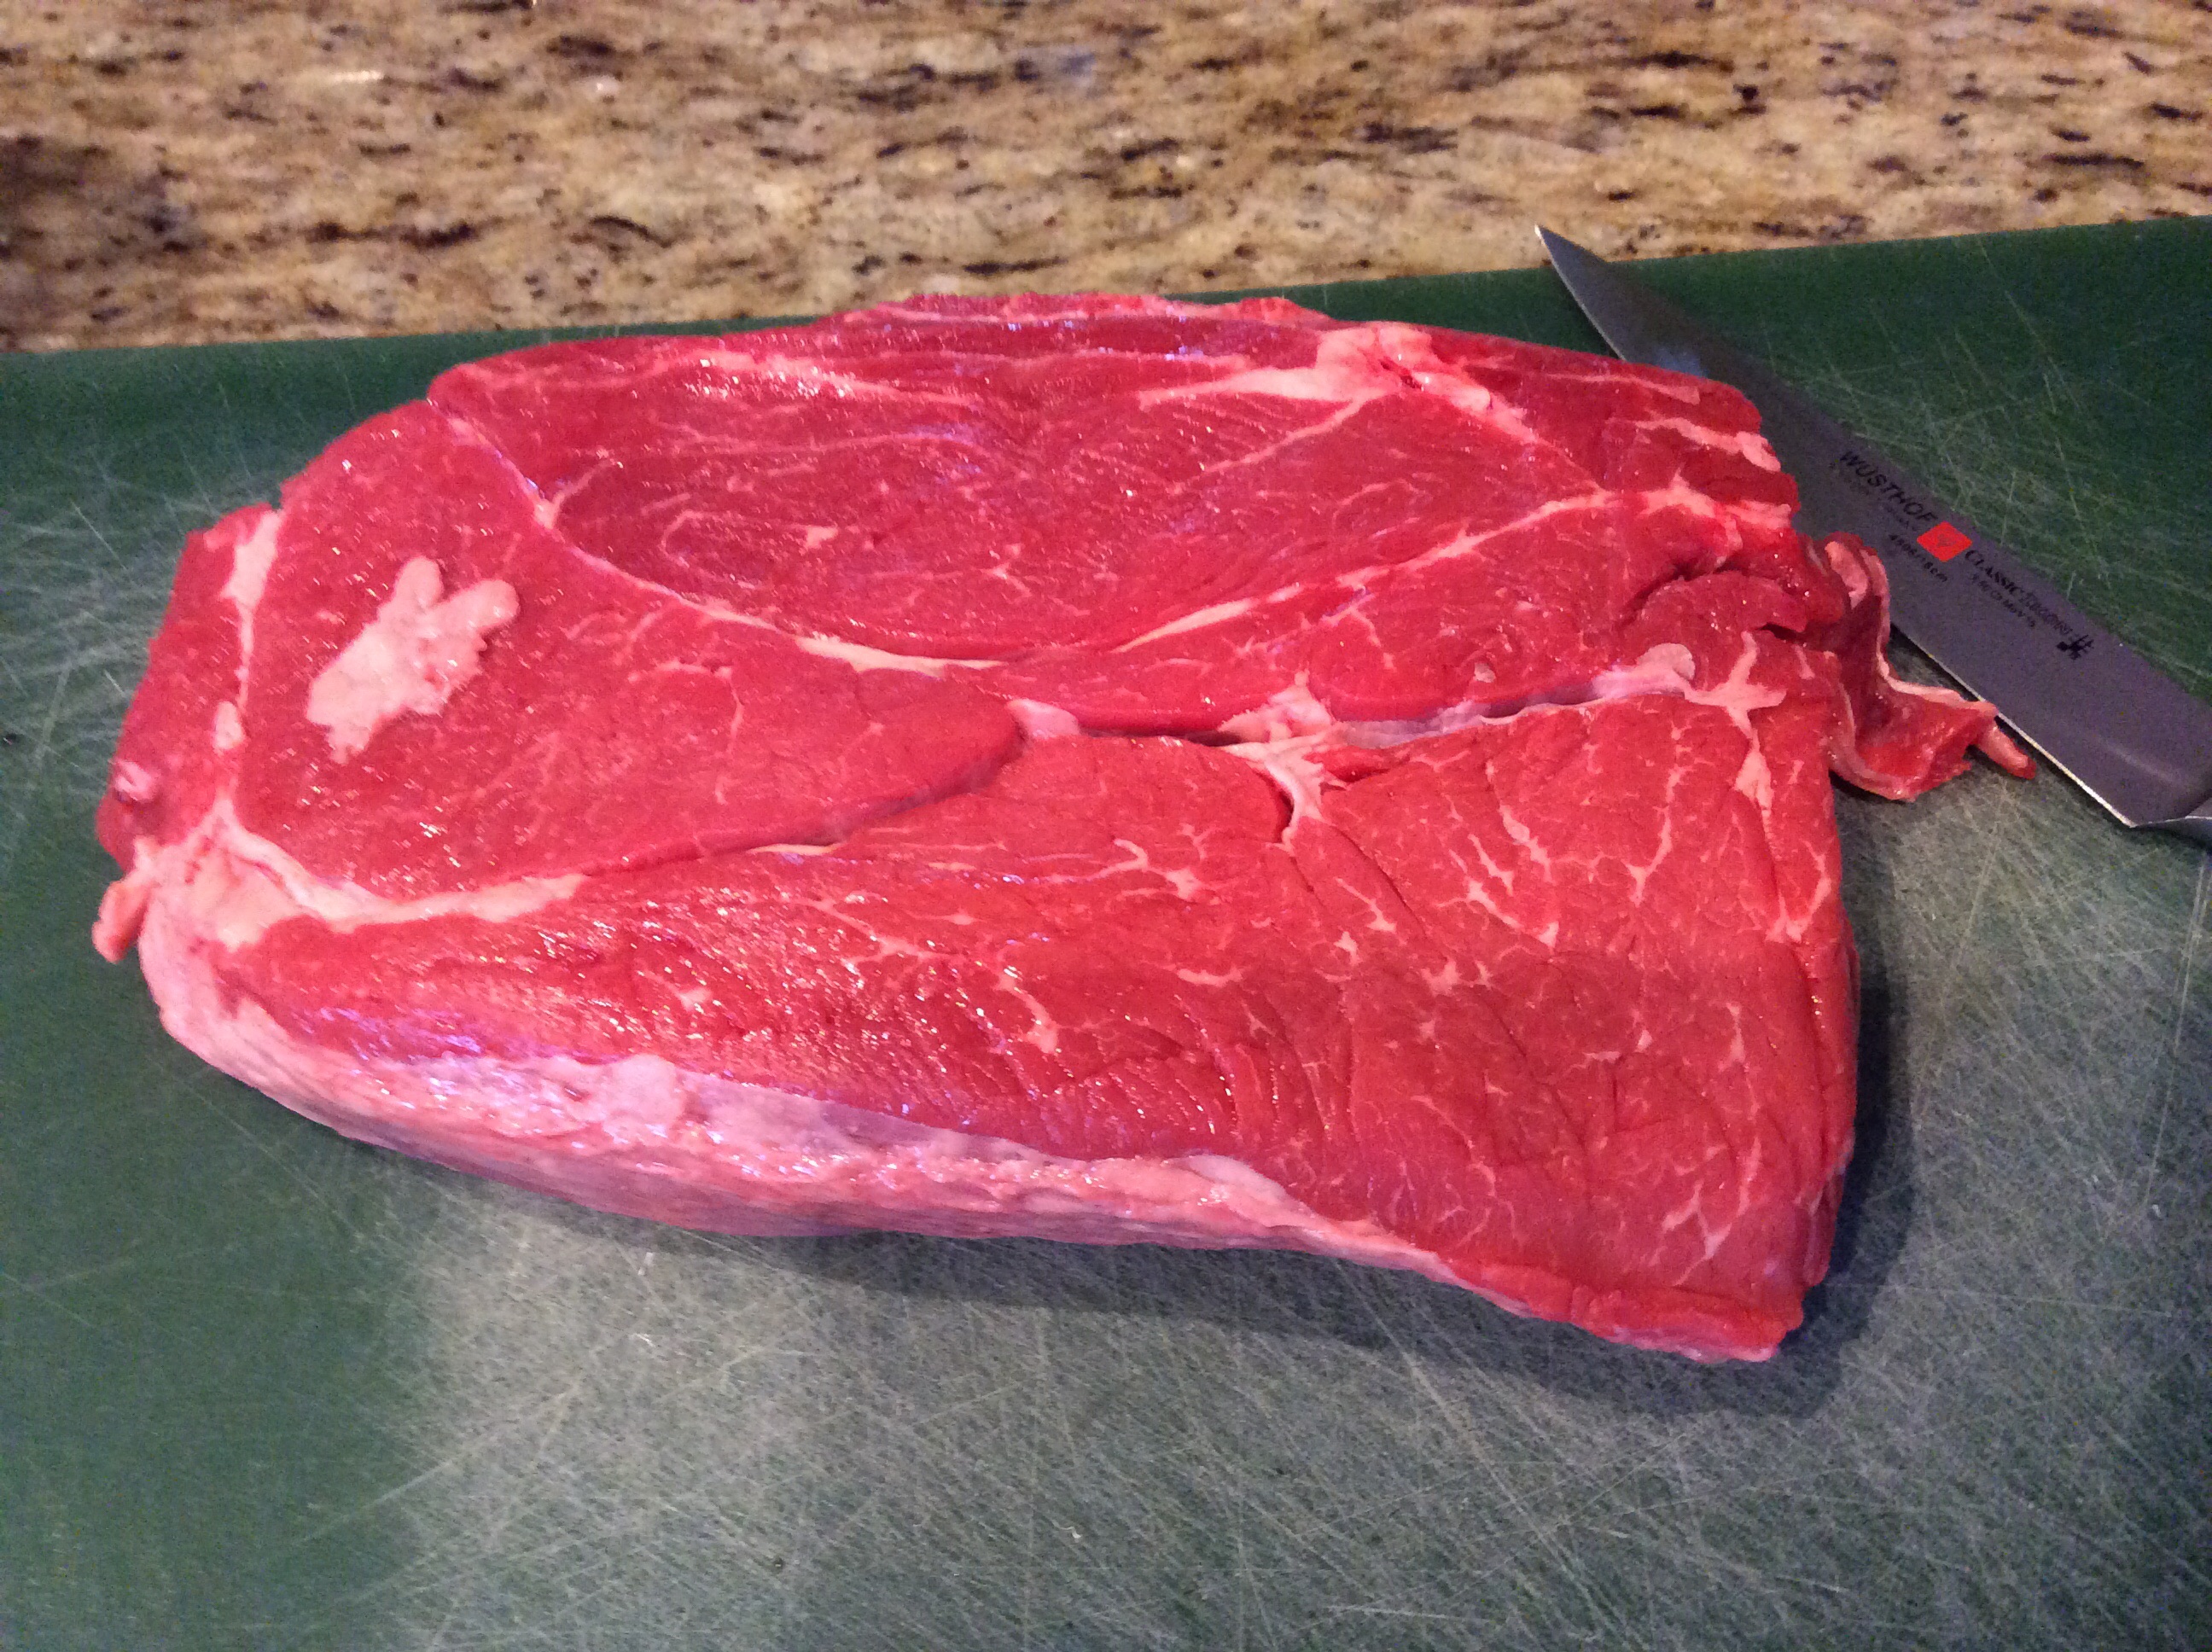
2 1/2 to 3 lbs, chuck roast
1 tablespoons of Olive Oil
1 cup onion, diced
4-5 cups of golden potatoes, cut into chunks
2 cups carrots (use more if you like but I’m not a huge fan; I use the precut baby carrots)
1 can of tomato soup
1 packet of beef stew seasoning mix (I prefer McCormick)
6-8 cups of water (depends on how thick you prefer your stew…I usually start with 6 then add as needed while cooking)
2-3 cups of frozen lima beans
2-3 cups of frozen white shoepeg corn
2 cans of diced tomatoes (I usually use 1 quart of tomatoes that I have frozen or canned from the summer)
Seasonings to taste: salt, pepper, parsley, onion powder, garlic powder, red pepper flakes (I start with a teaspoon and taste from there)
One bundle of fresh thyme
Note: You notice this is a “loose” recipe because the amount of meat and vegetables you use, will affect the amount of water you use which in the end affects the spices so the key is to taste, and taste again…you can’t screw this up, I promise!
Directions
Lower the rack in your oven to the bottom third and preheat to 350 degrees.
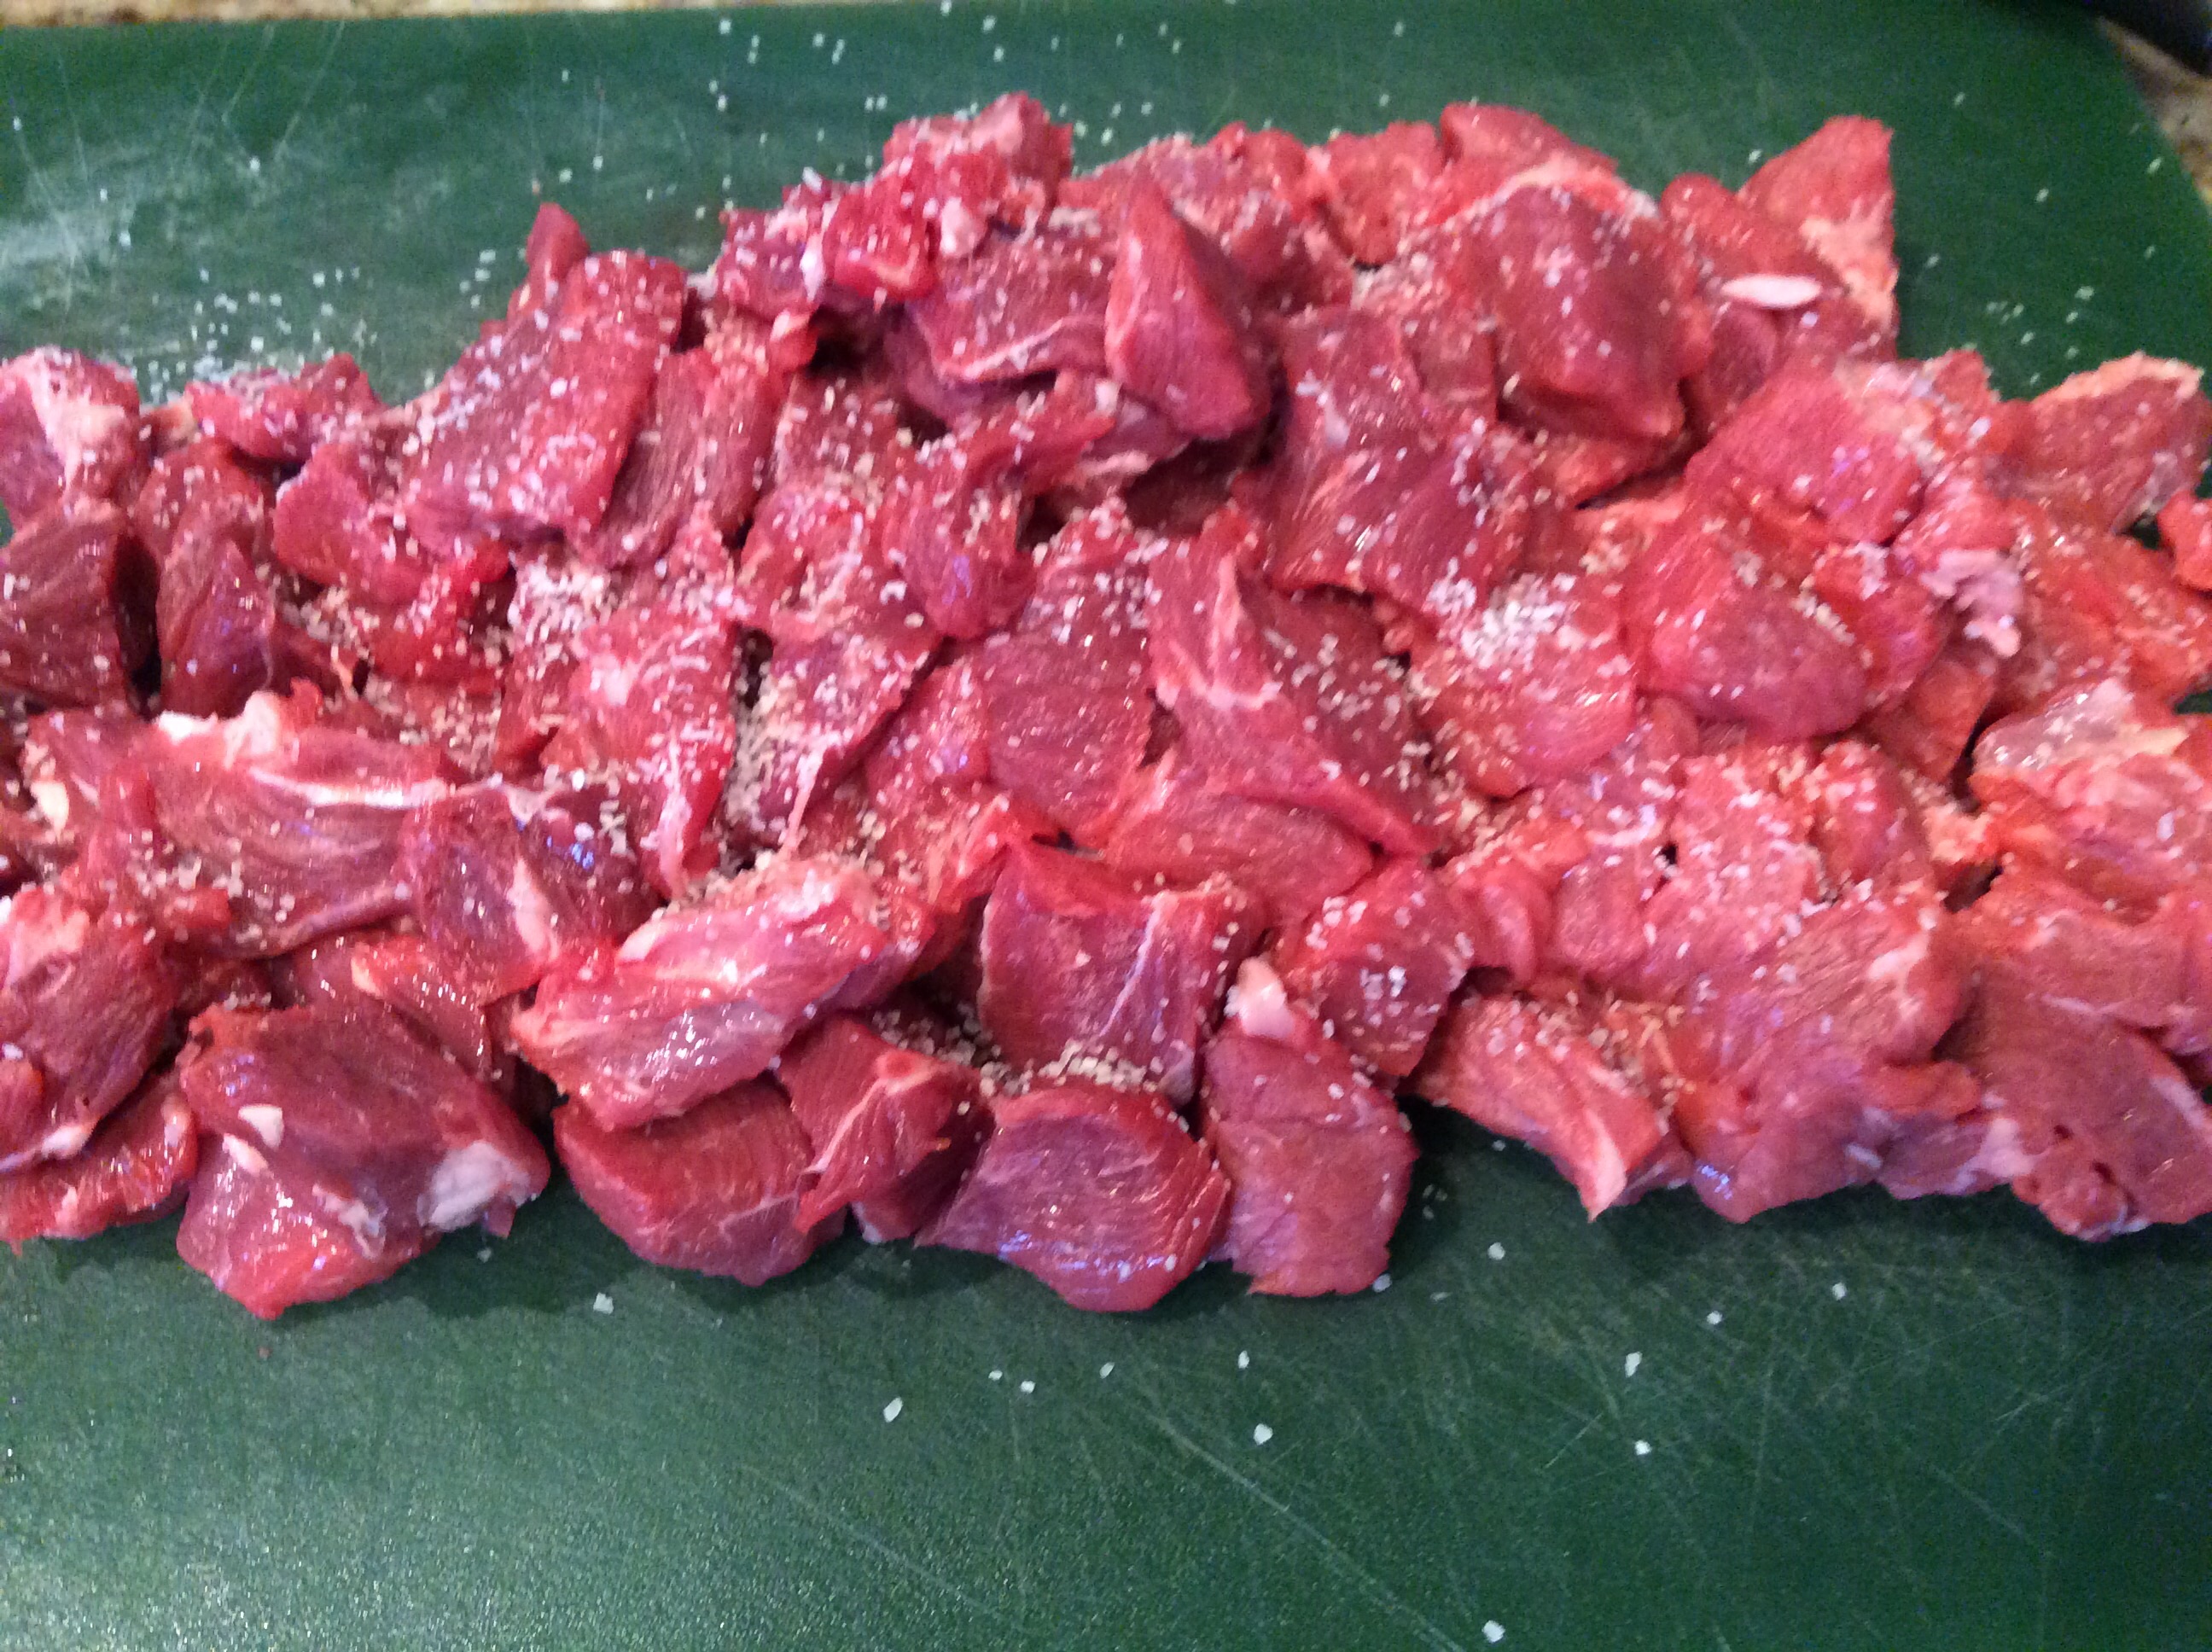
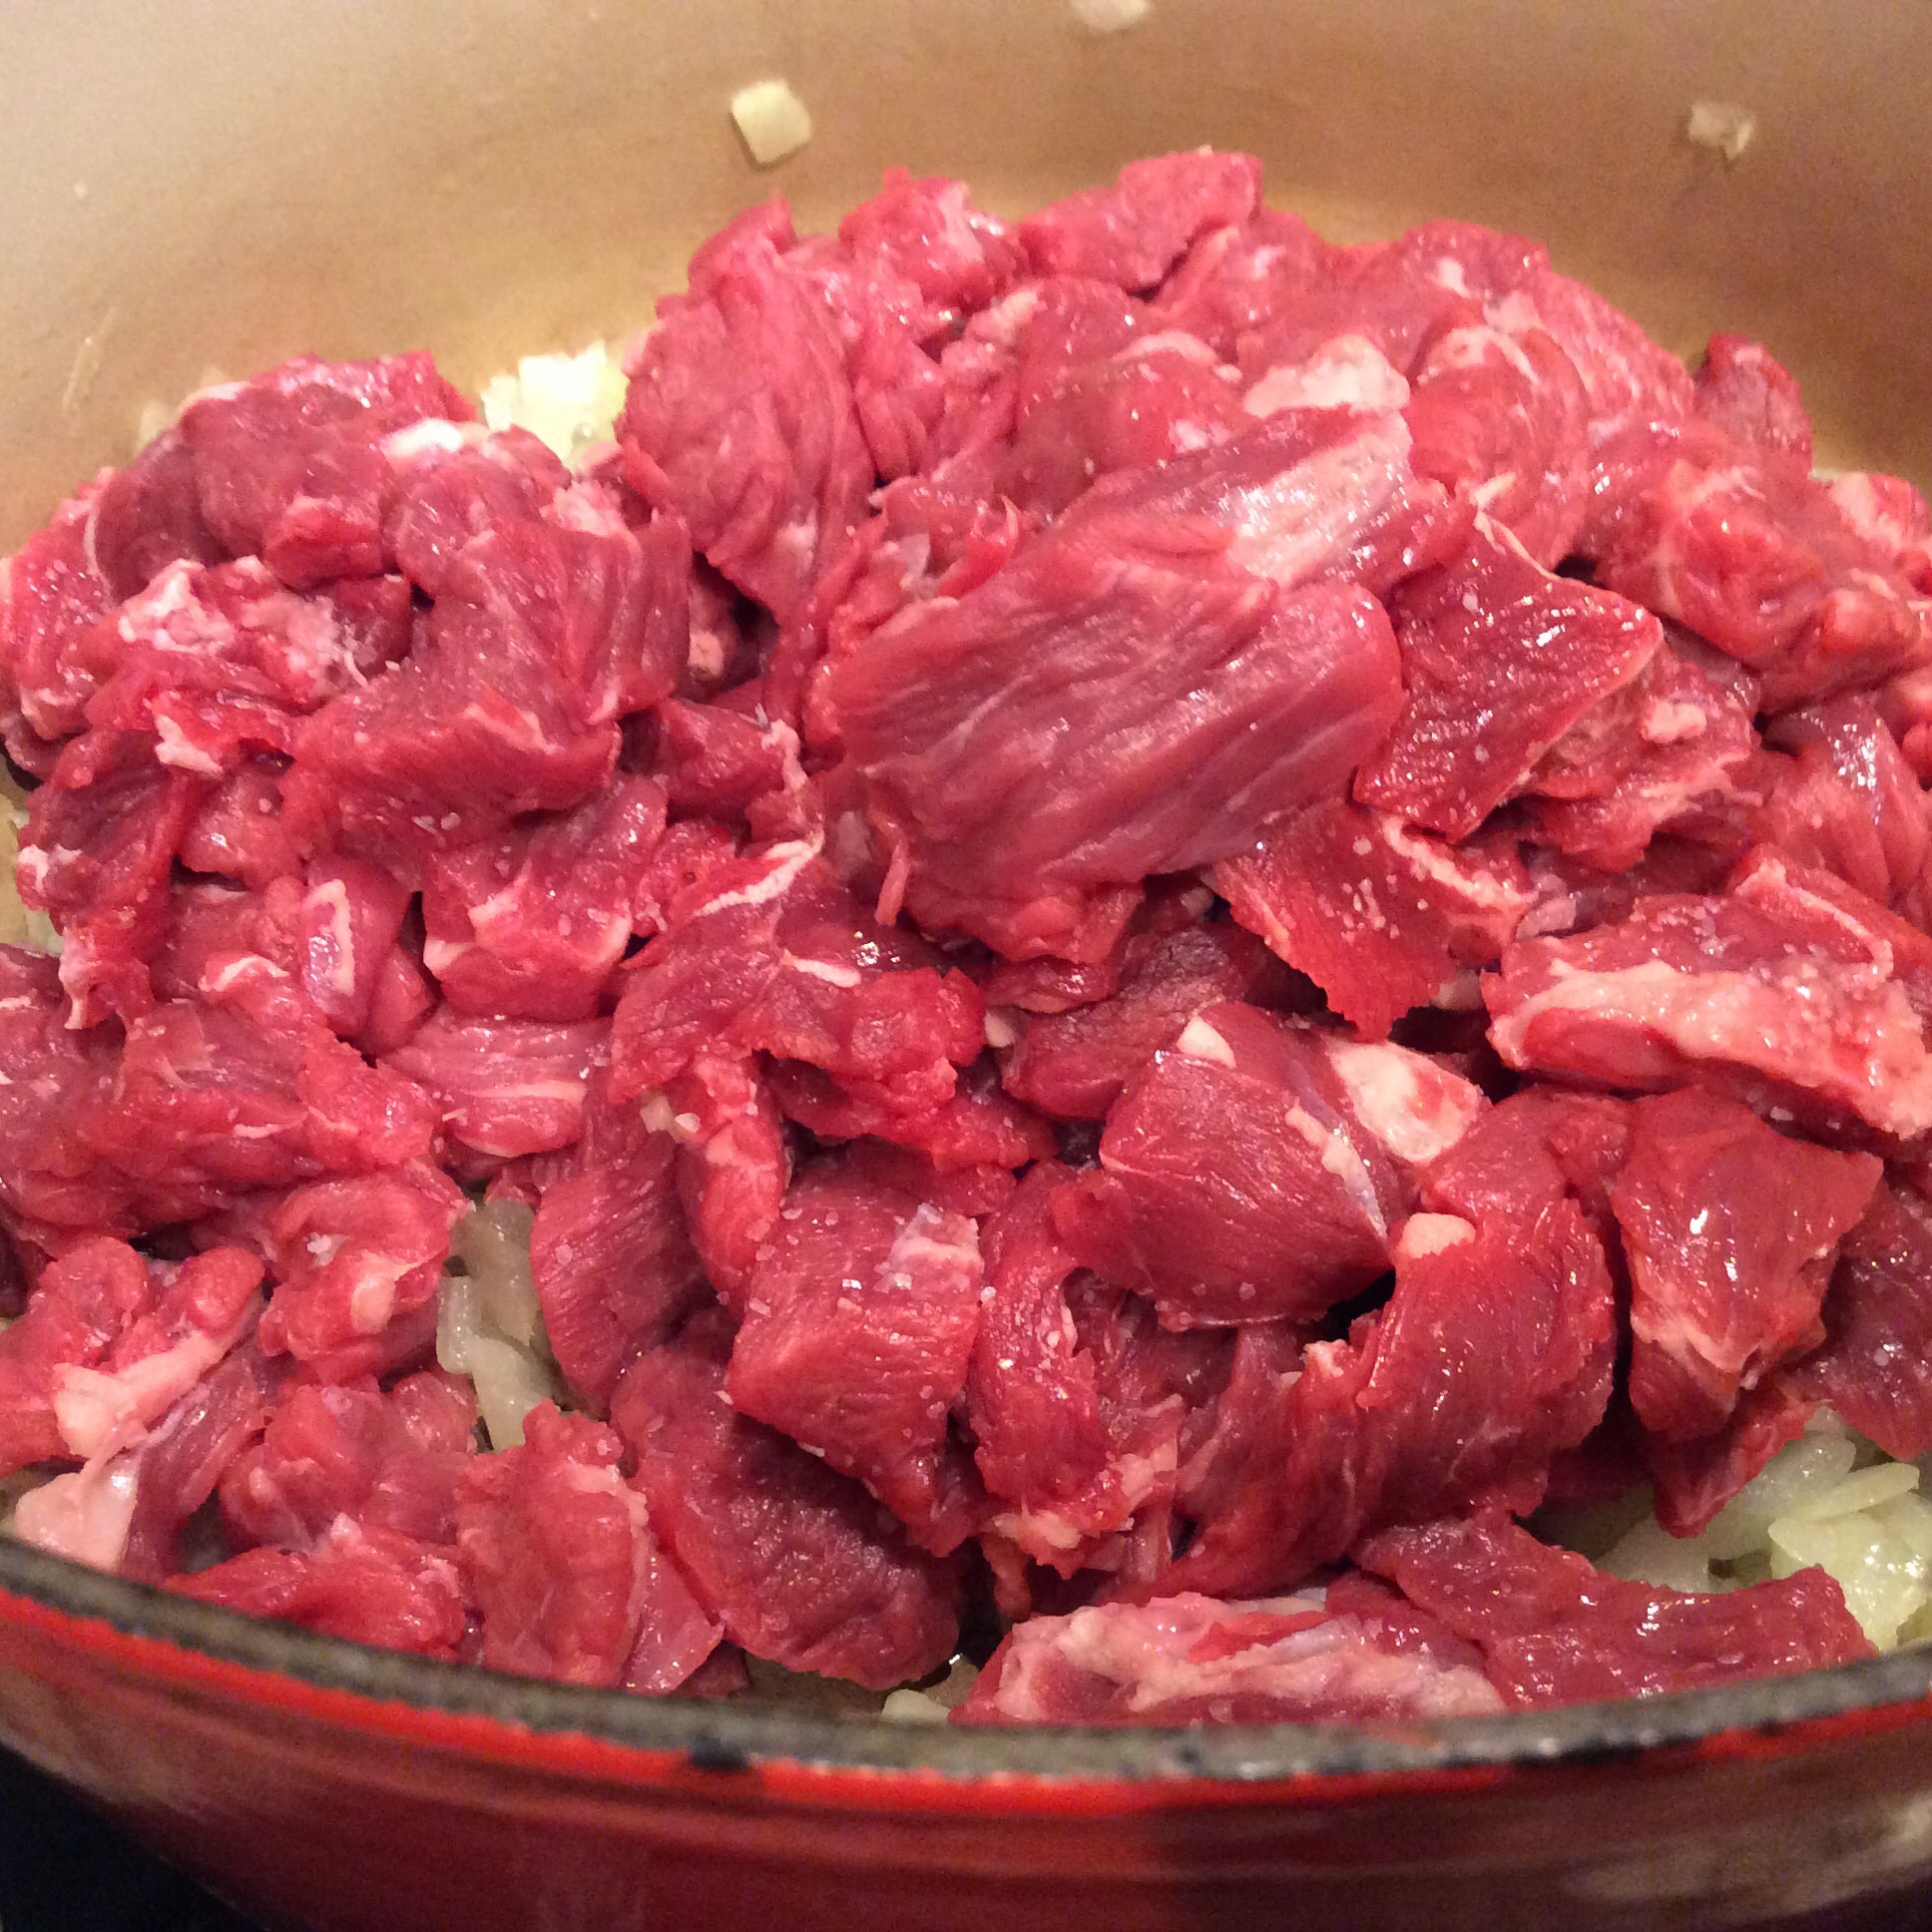
Cut your beef into large cubes, removing the fat; season with salt and set aside.
Beautiful cut of beef chuck roastSliced into cubes and seasoned with salt
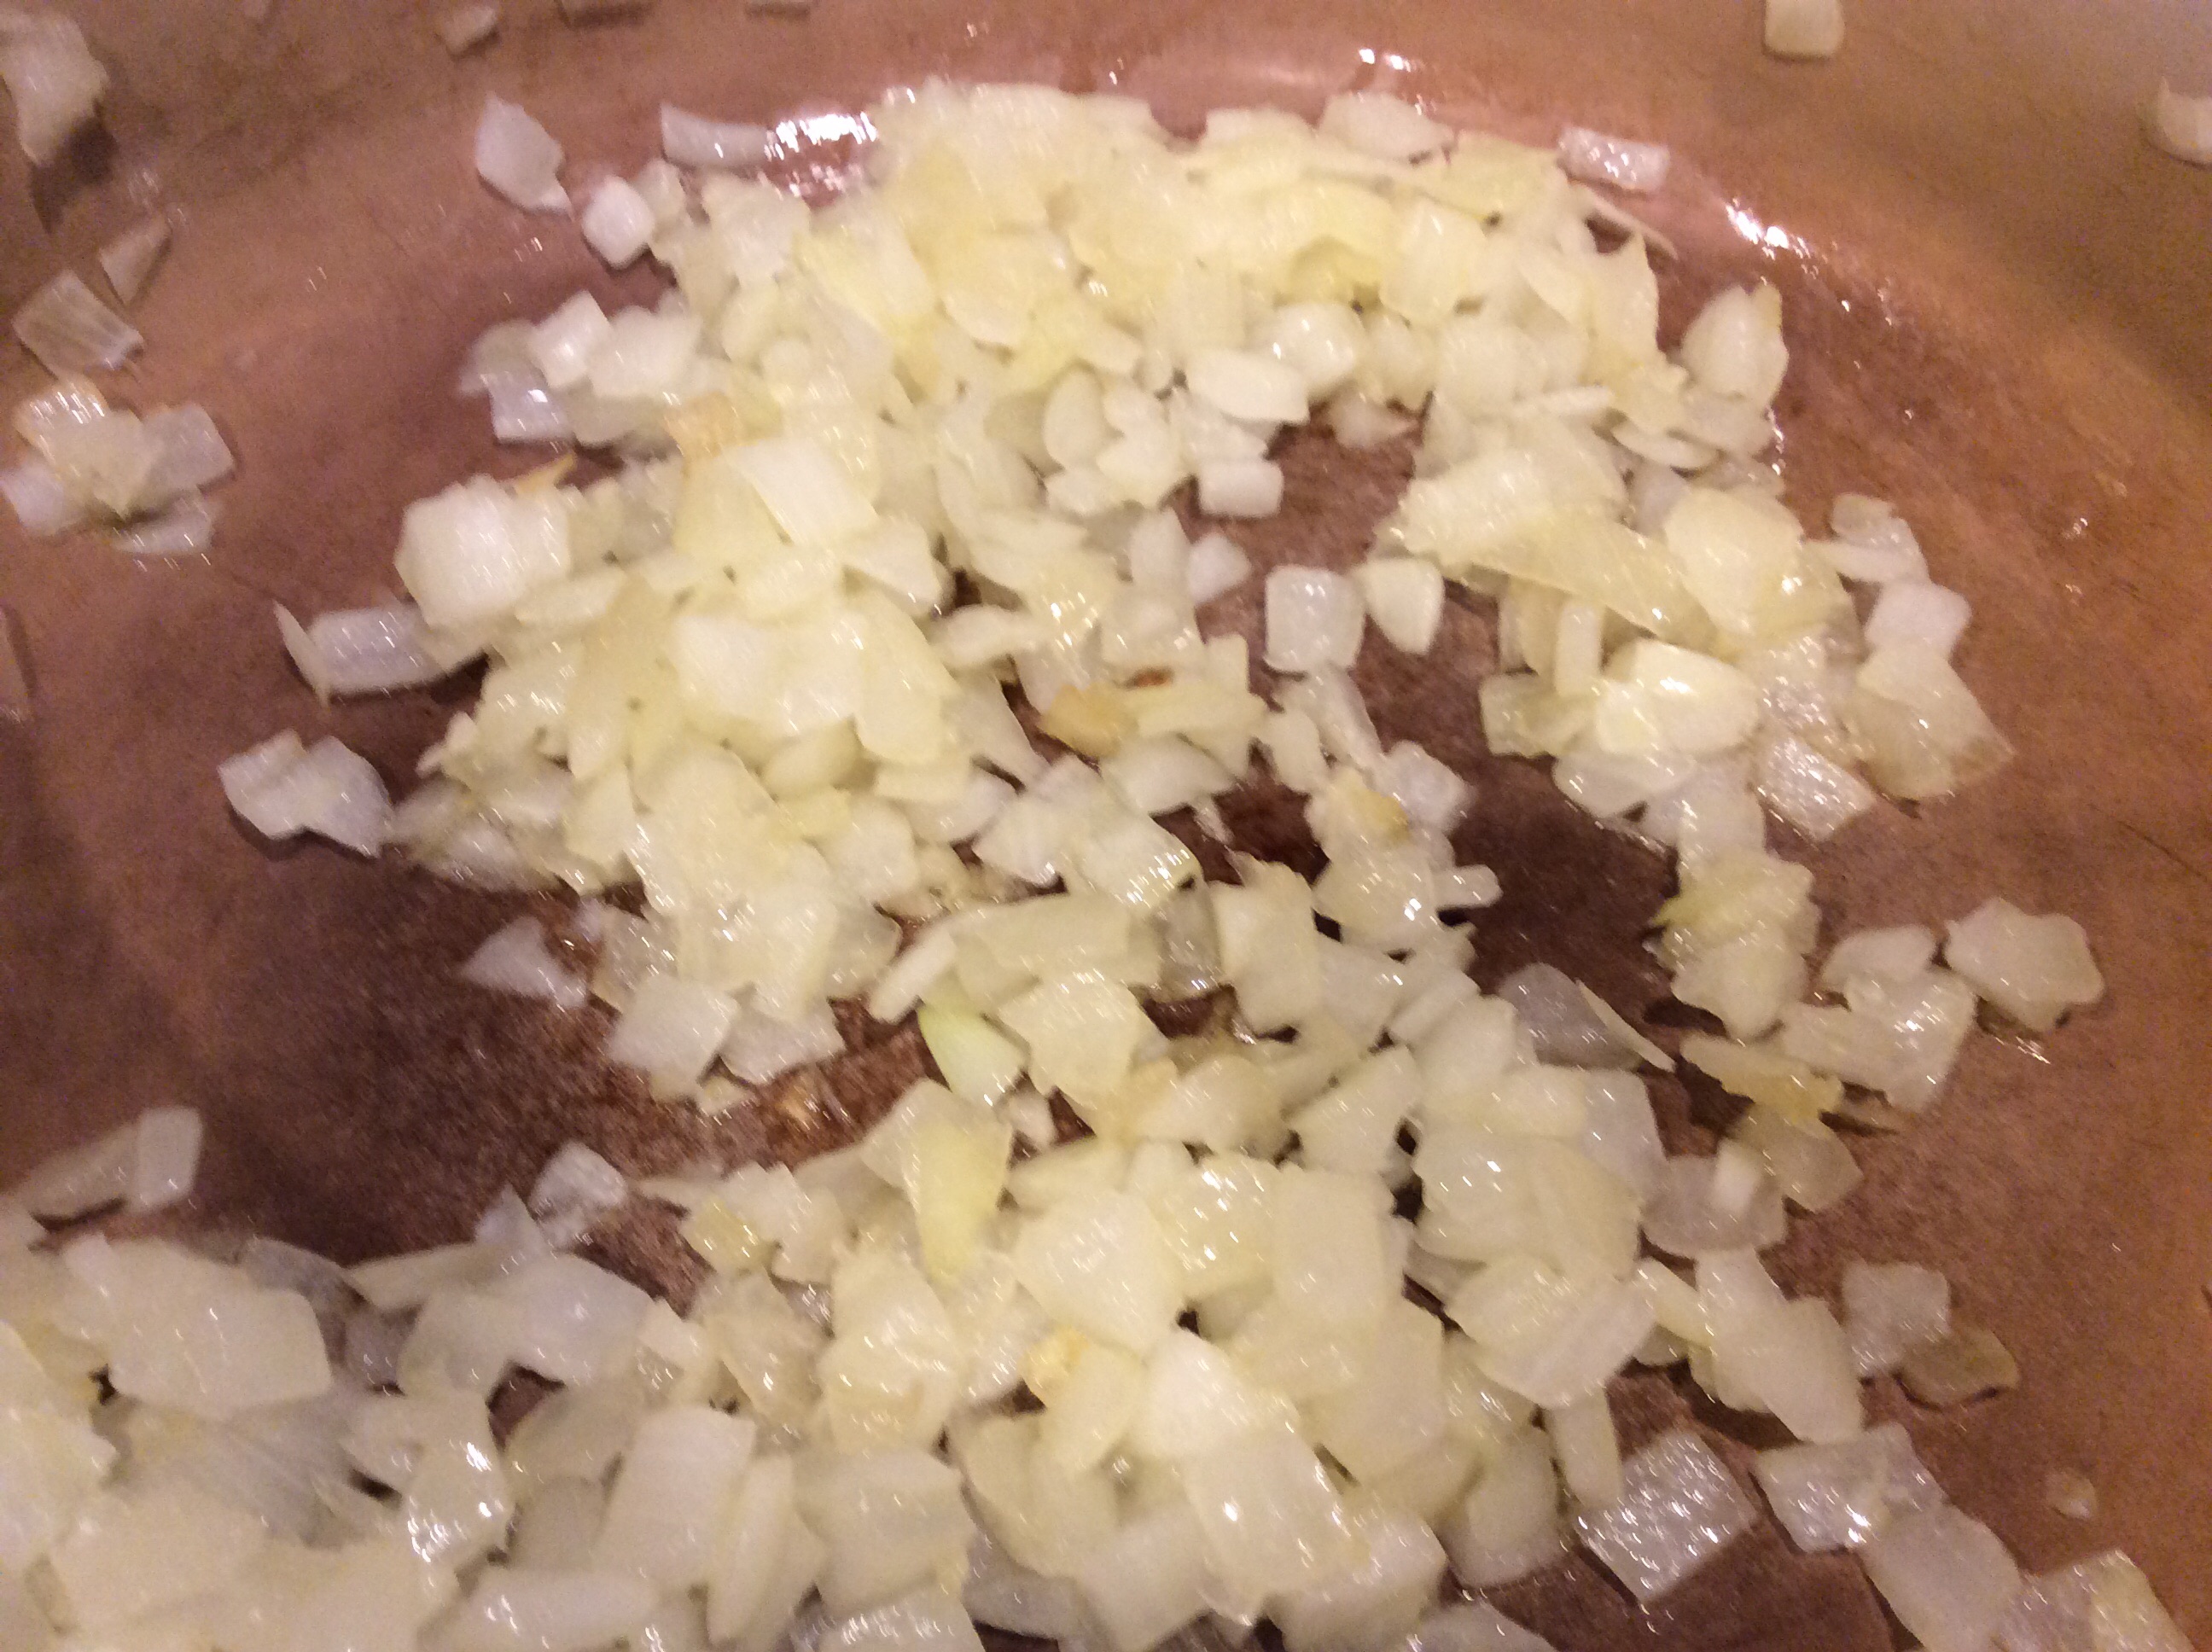
In a large oven safe dutch oven, I always use my favorite ceramic cast iron Le Crueset dutch oven, heat your olive oil. Add in the onion and season with a little salt. Saute onions on low heat until tender.
Love the smell of those onions sautéing!
Add in your beef…
Beef added to the onions in the pot
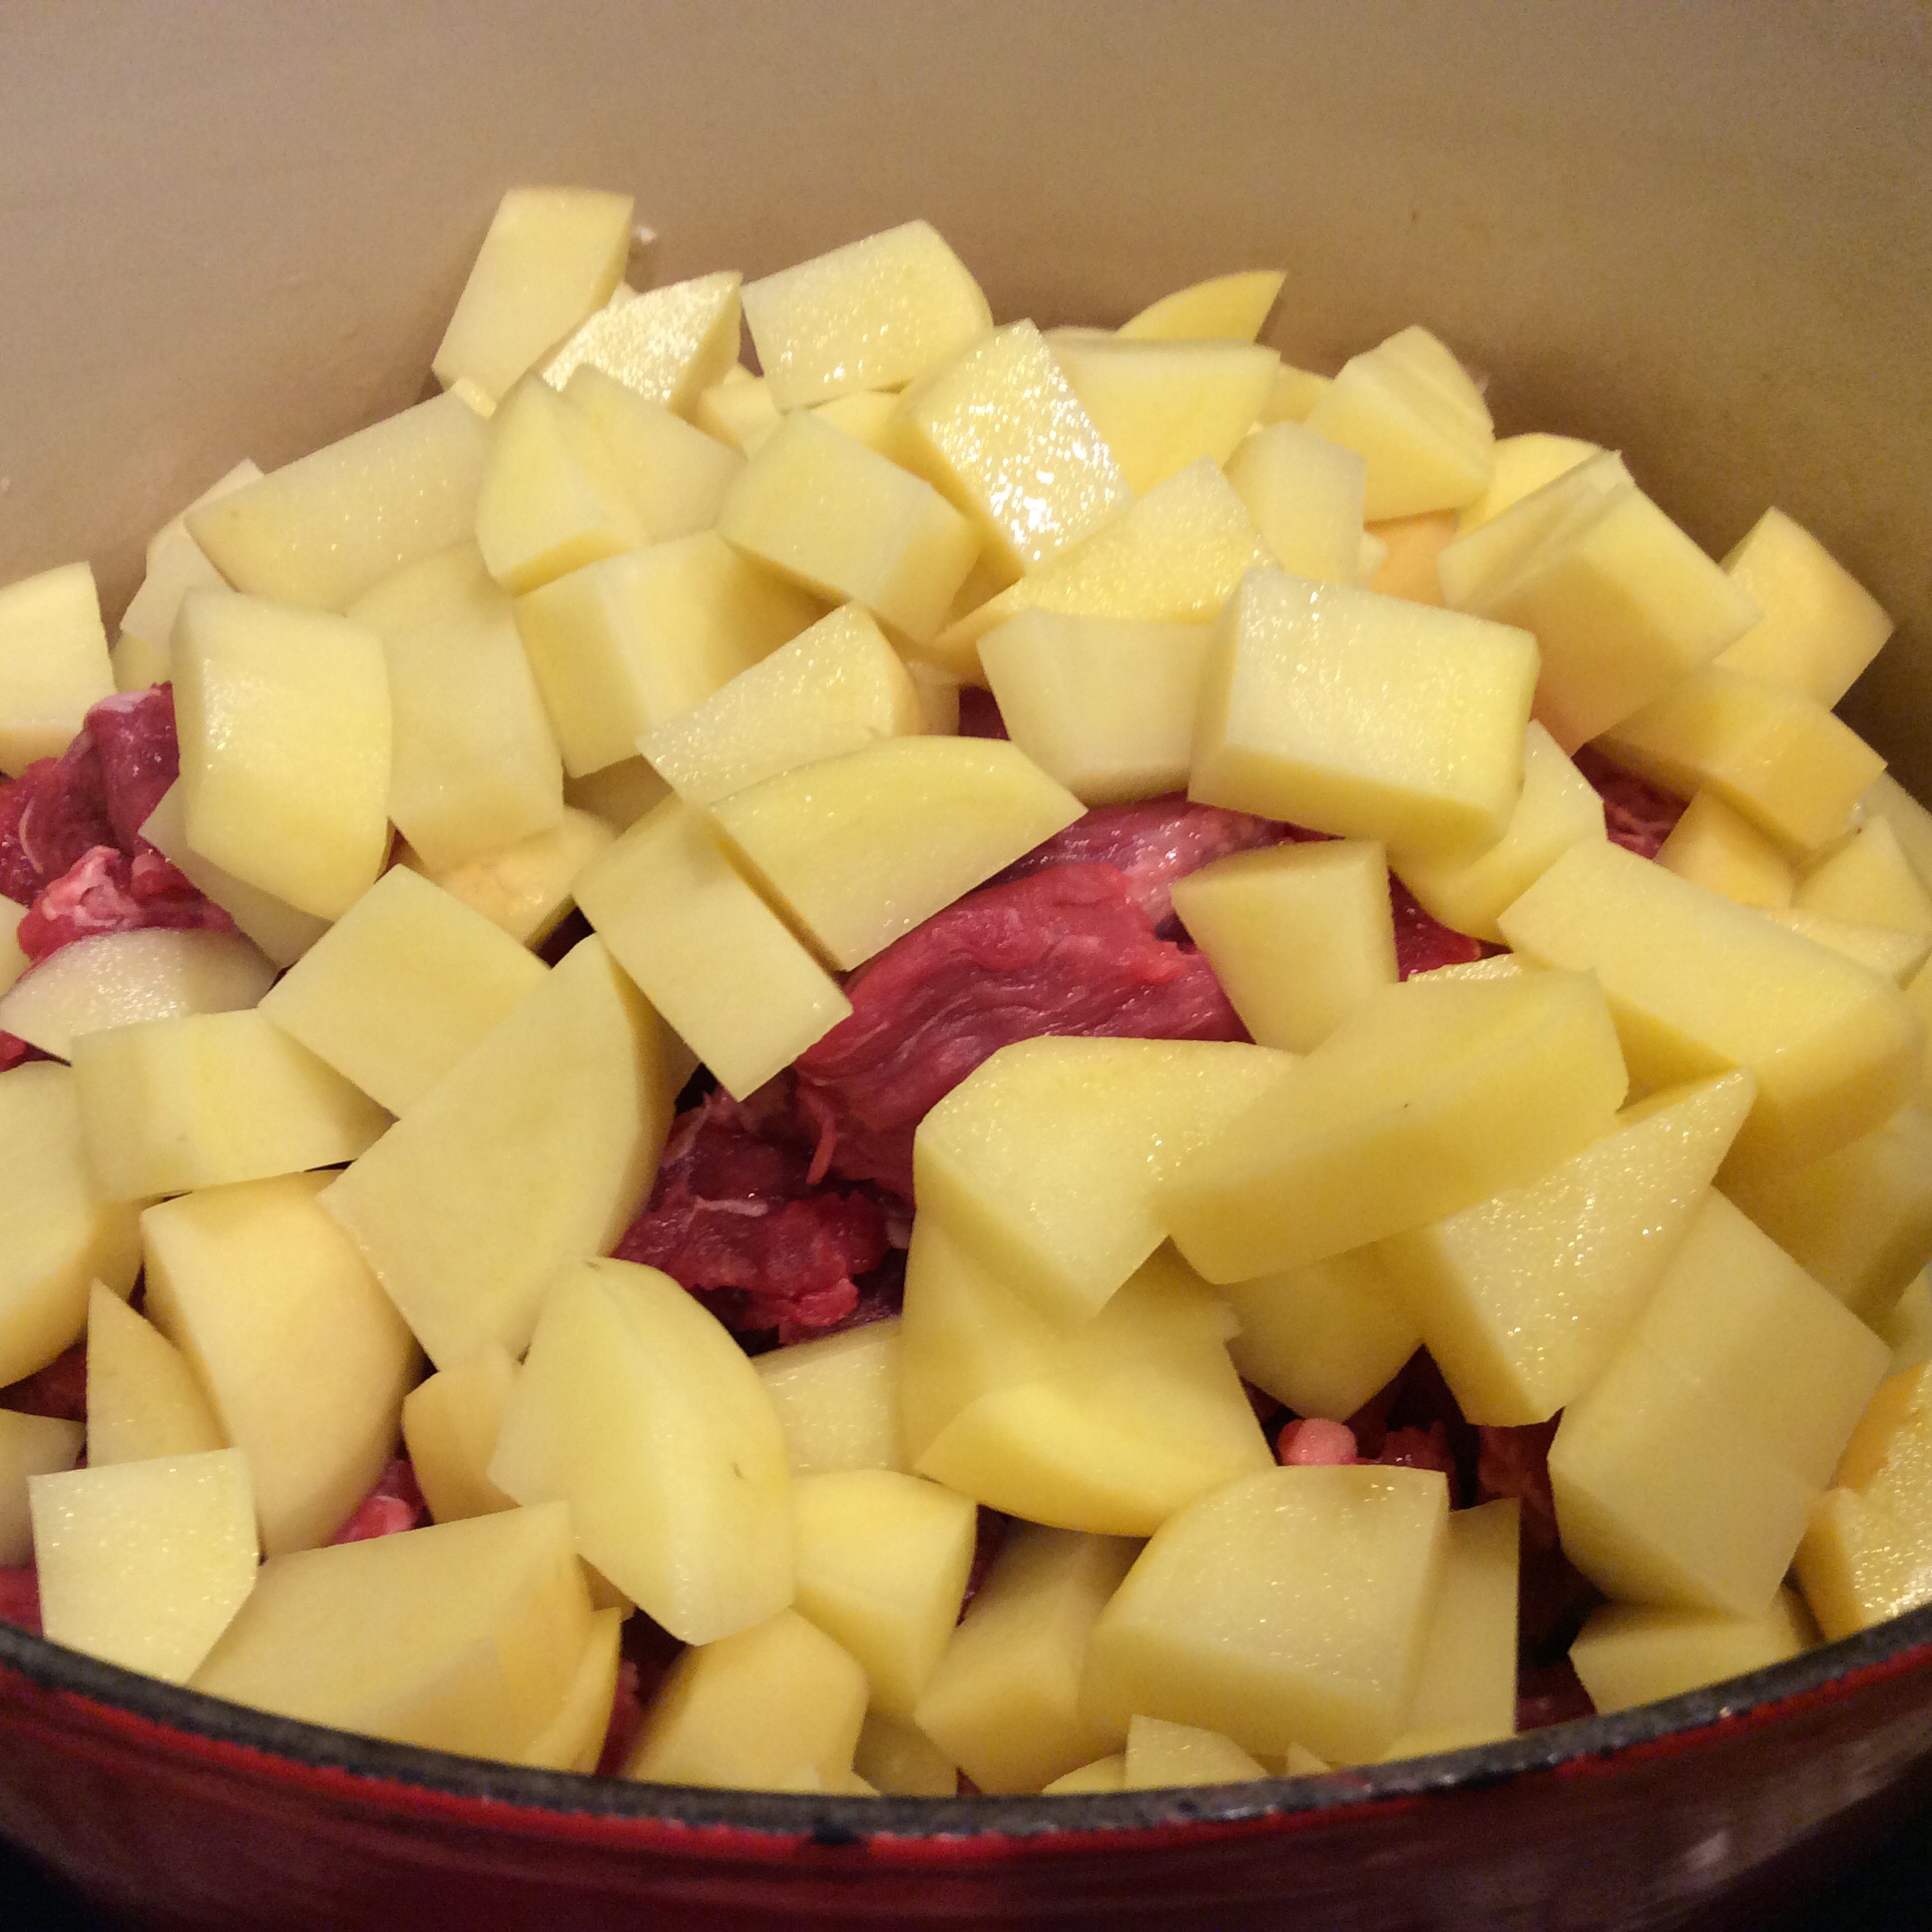
then your potatoes…
Now, the potatoes
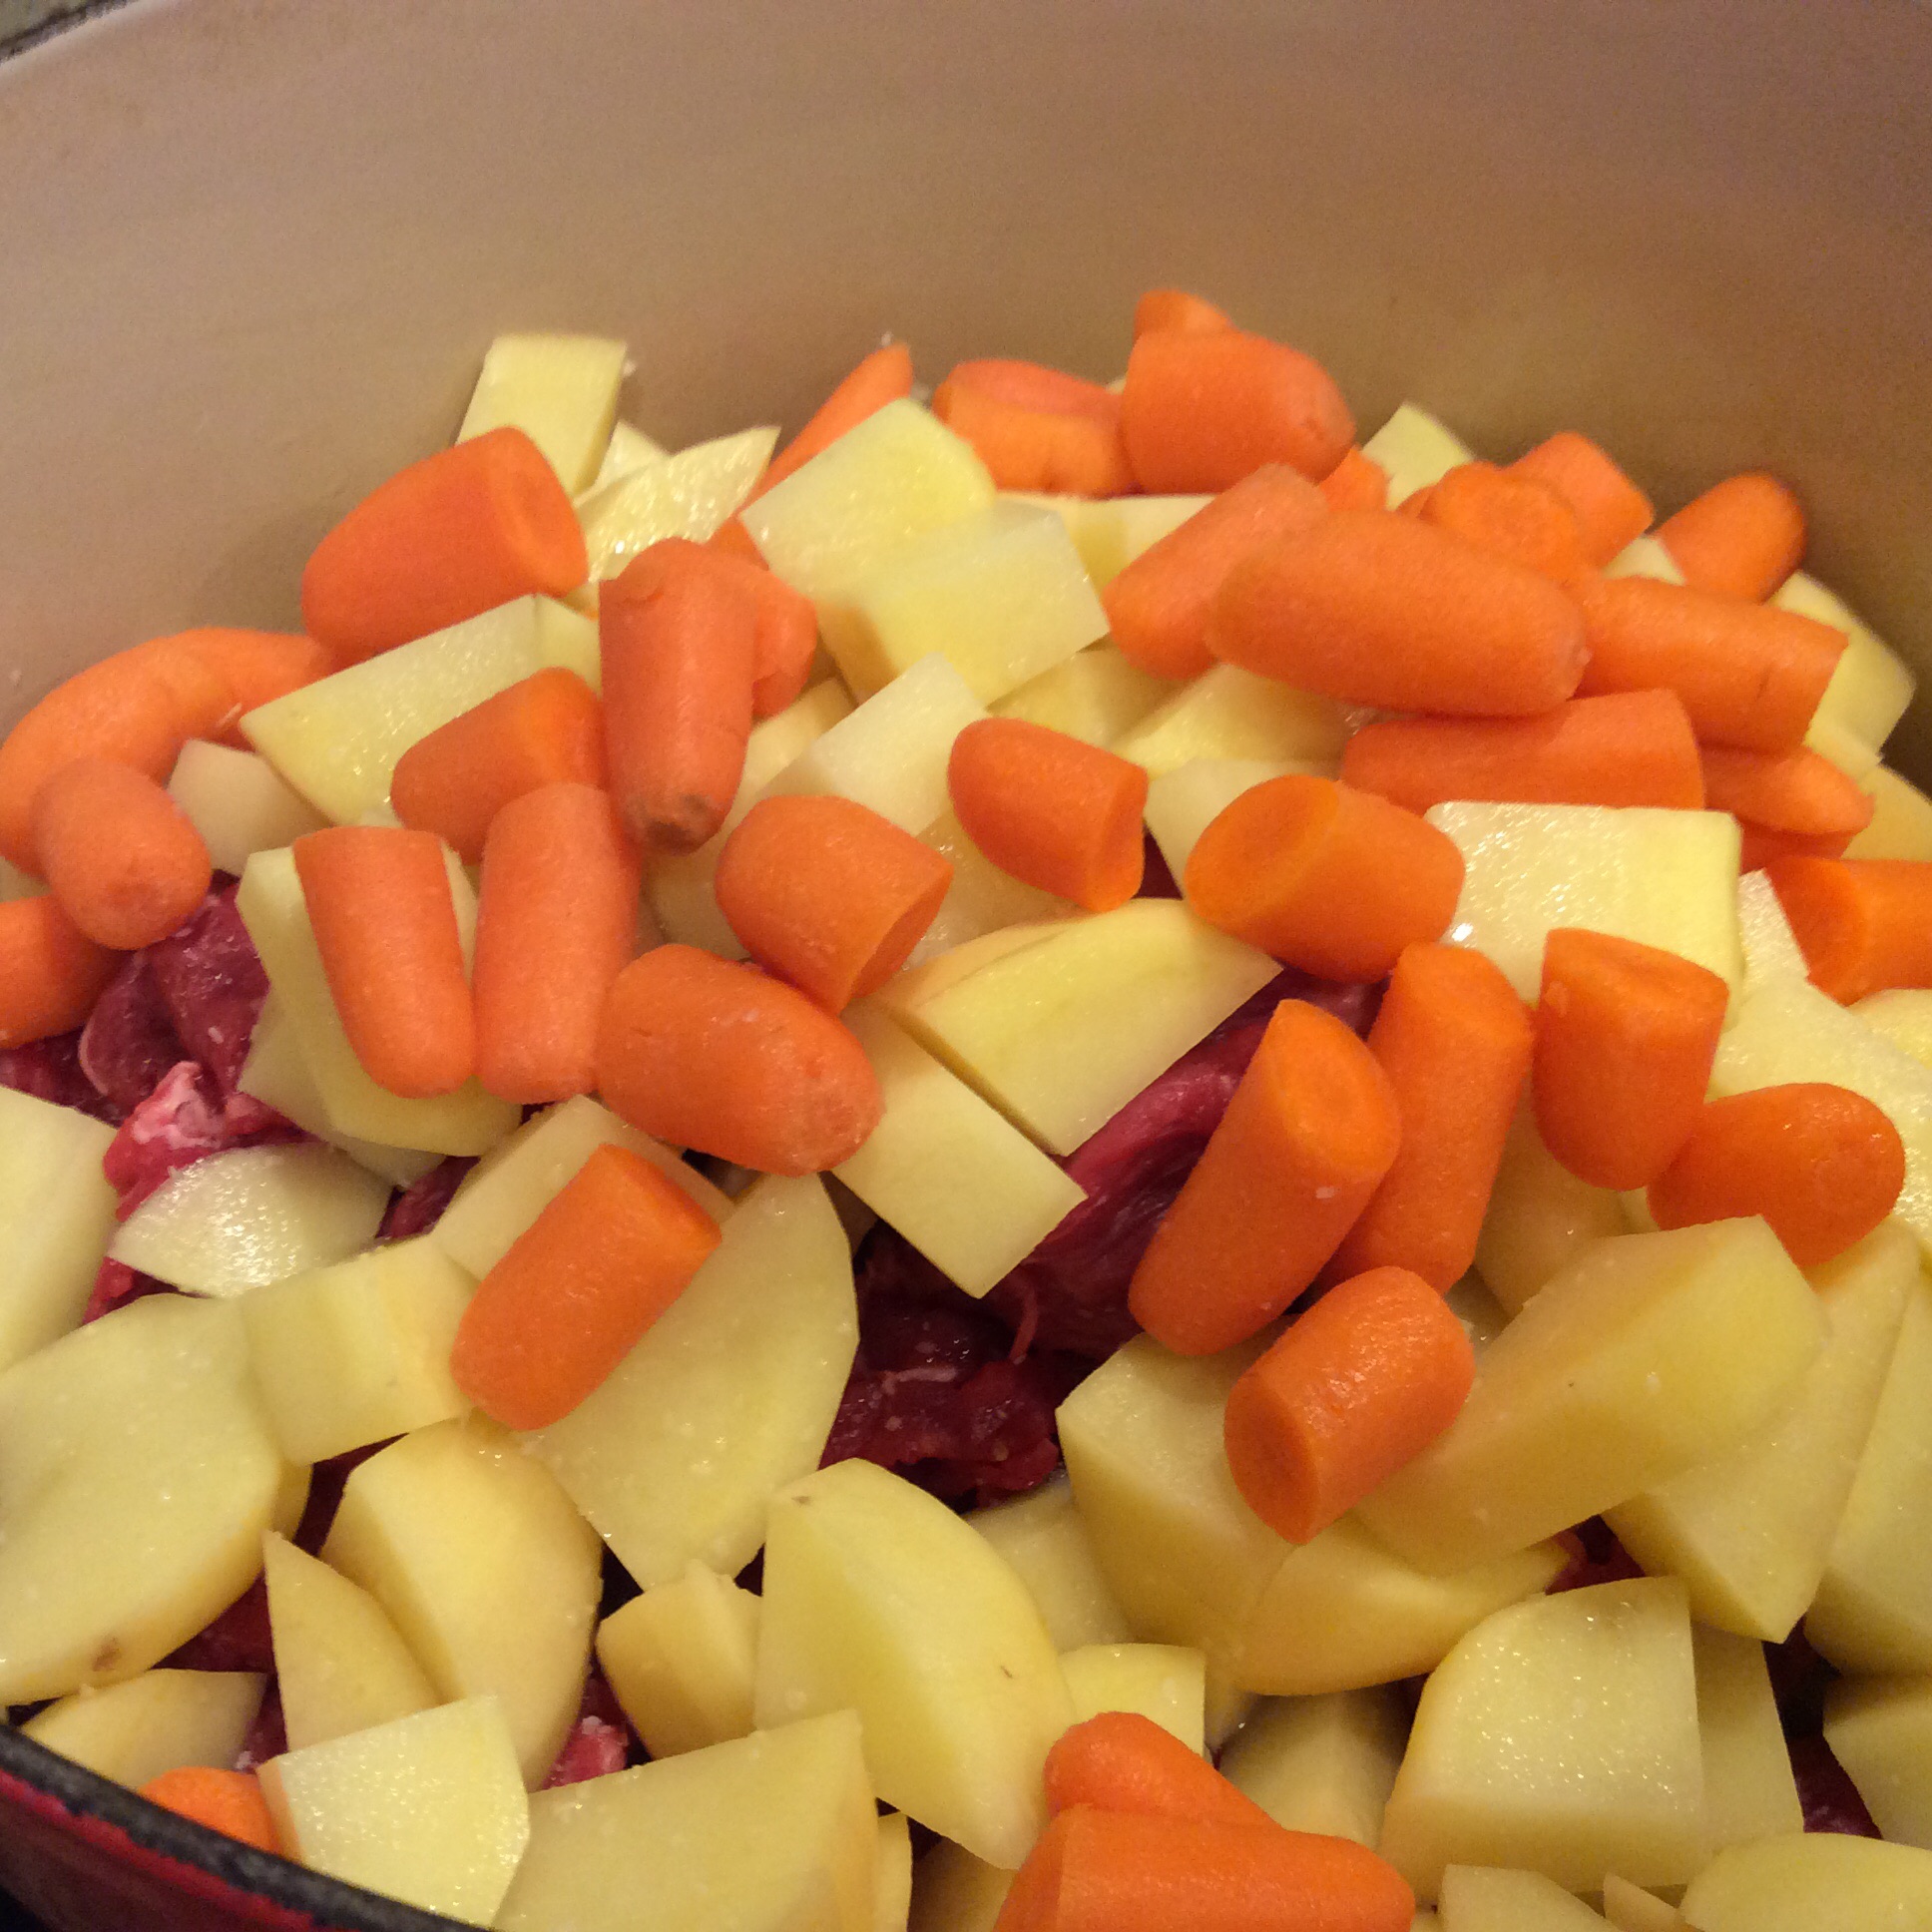
your carrots…
and the carrots..I’m not a huge carrot fan but I throw them in there for Jeff and because it looks prettier!
and your tomato soup.
tomato soup added
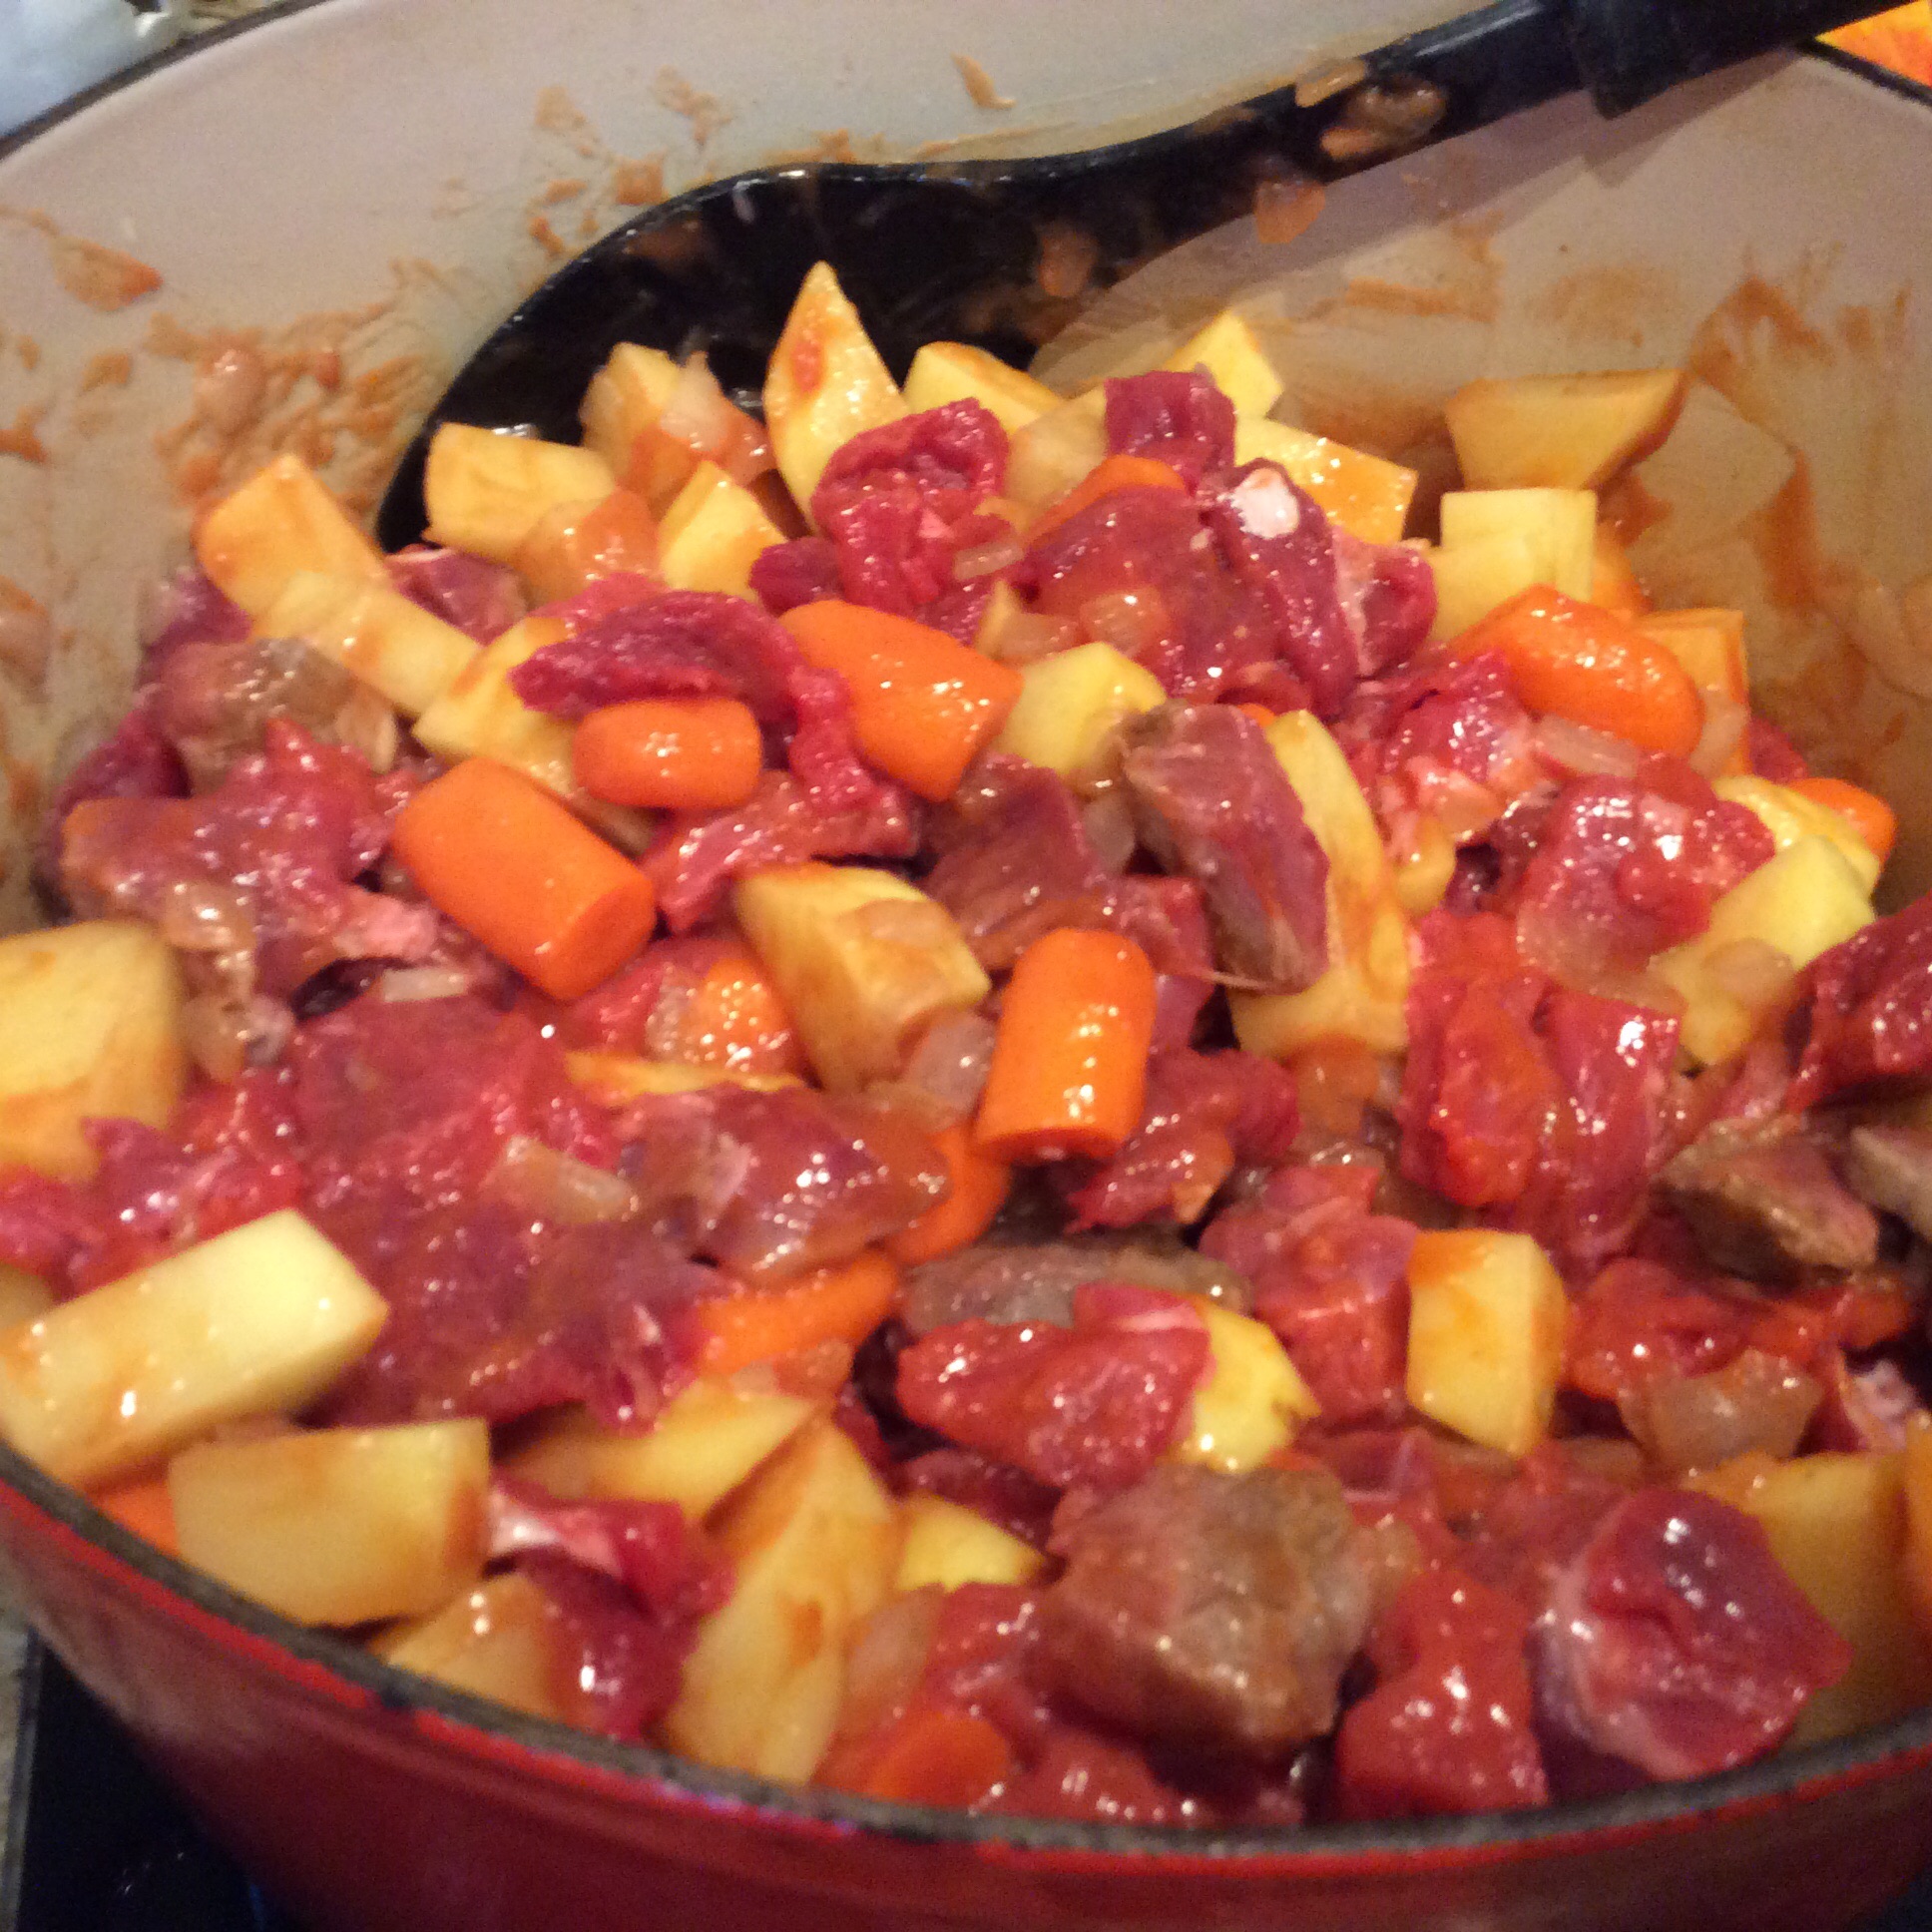
Add in your tomatoes and stir mixture well.
And then your tomatoes and stir well
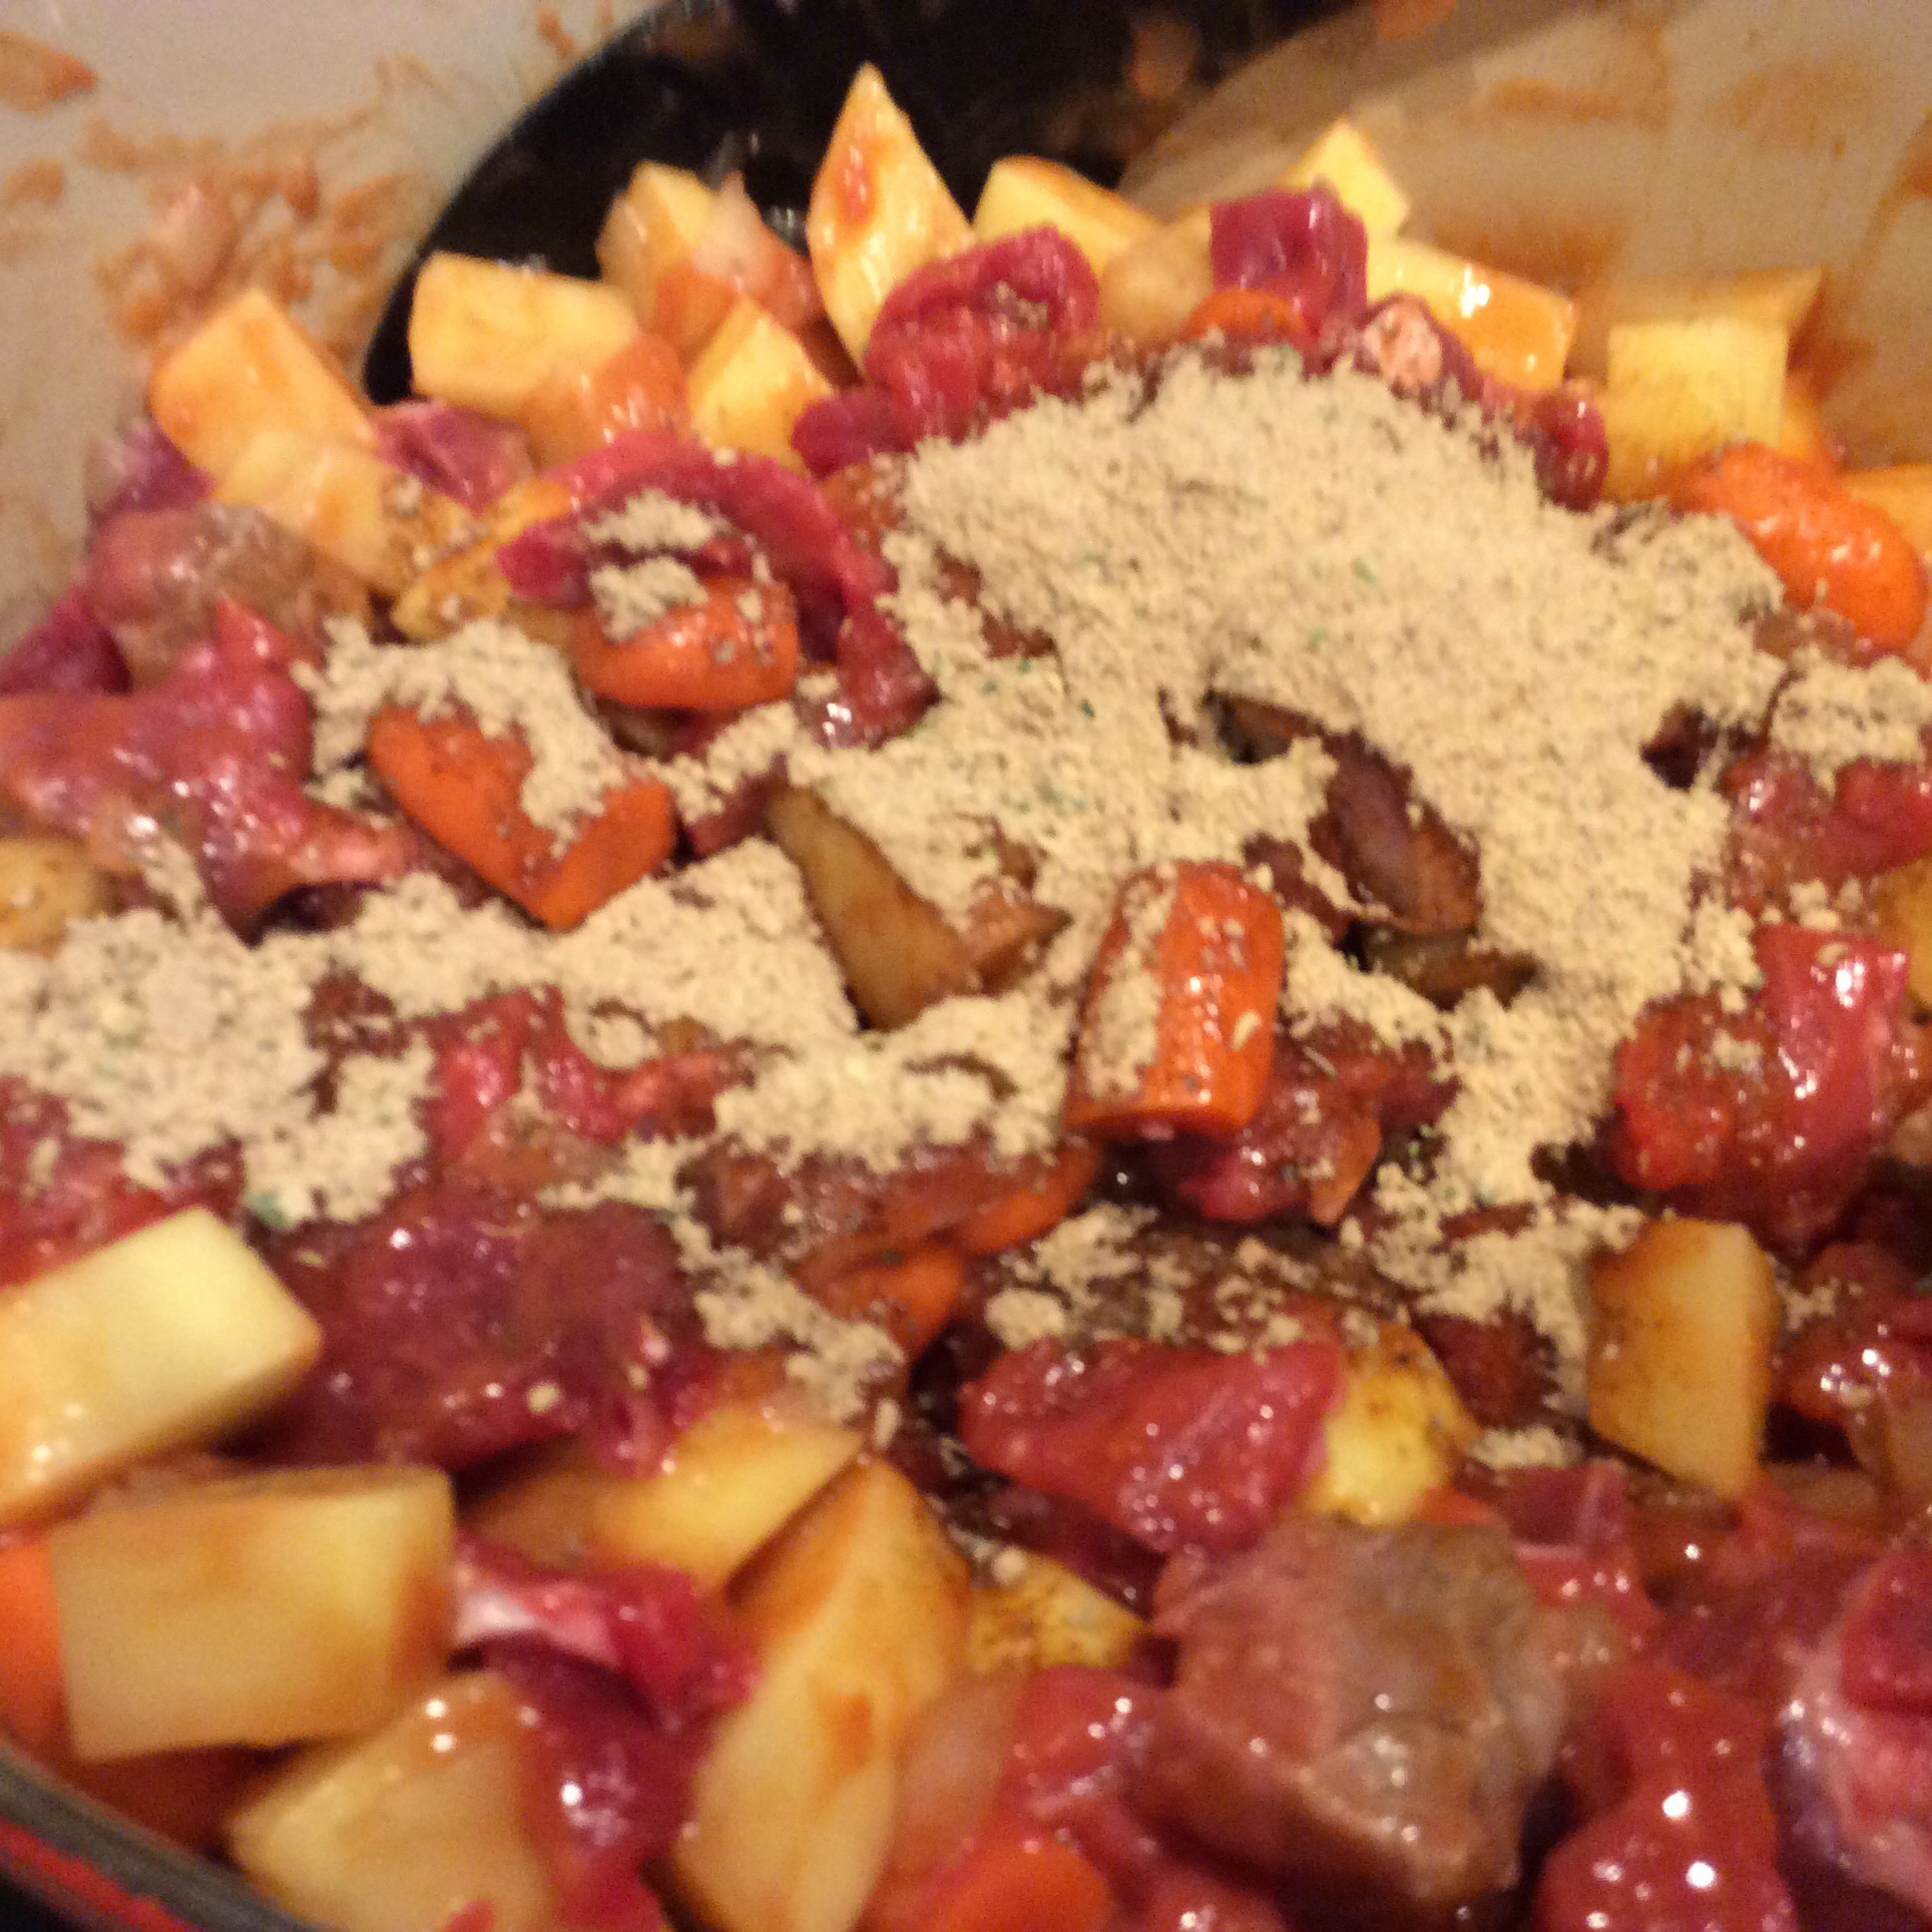
Next add in your beef stew seasoning and 6-7 cups of water (Add the remaining water as needed throughout the cooking process…you don’t want to start with too much because you want the broth to have a chance to thicken)
Beef Stew Mix going inAdd in your water and stir well
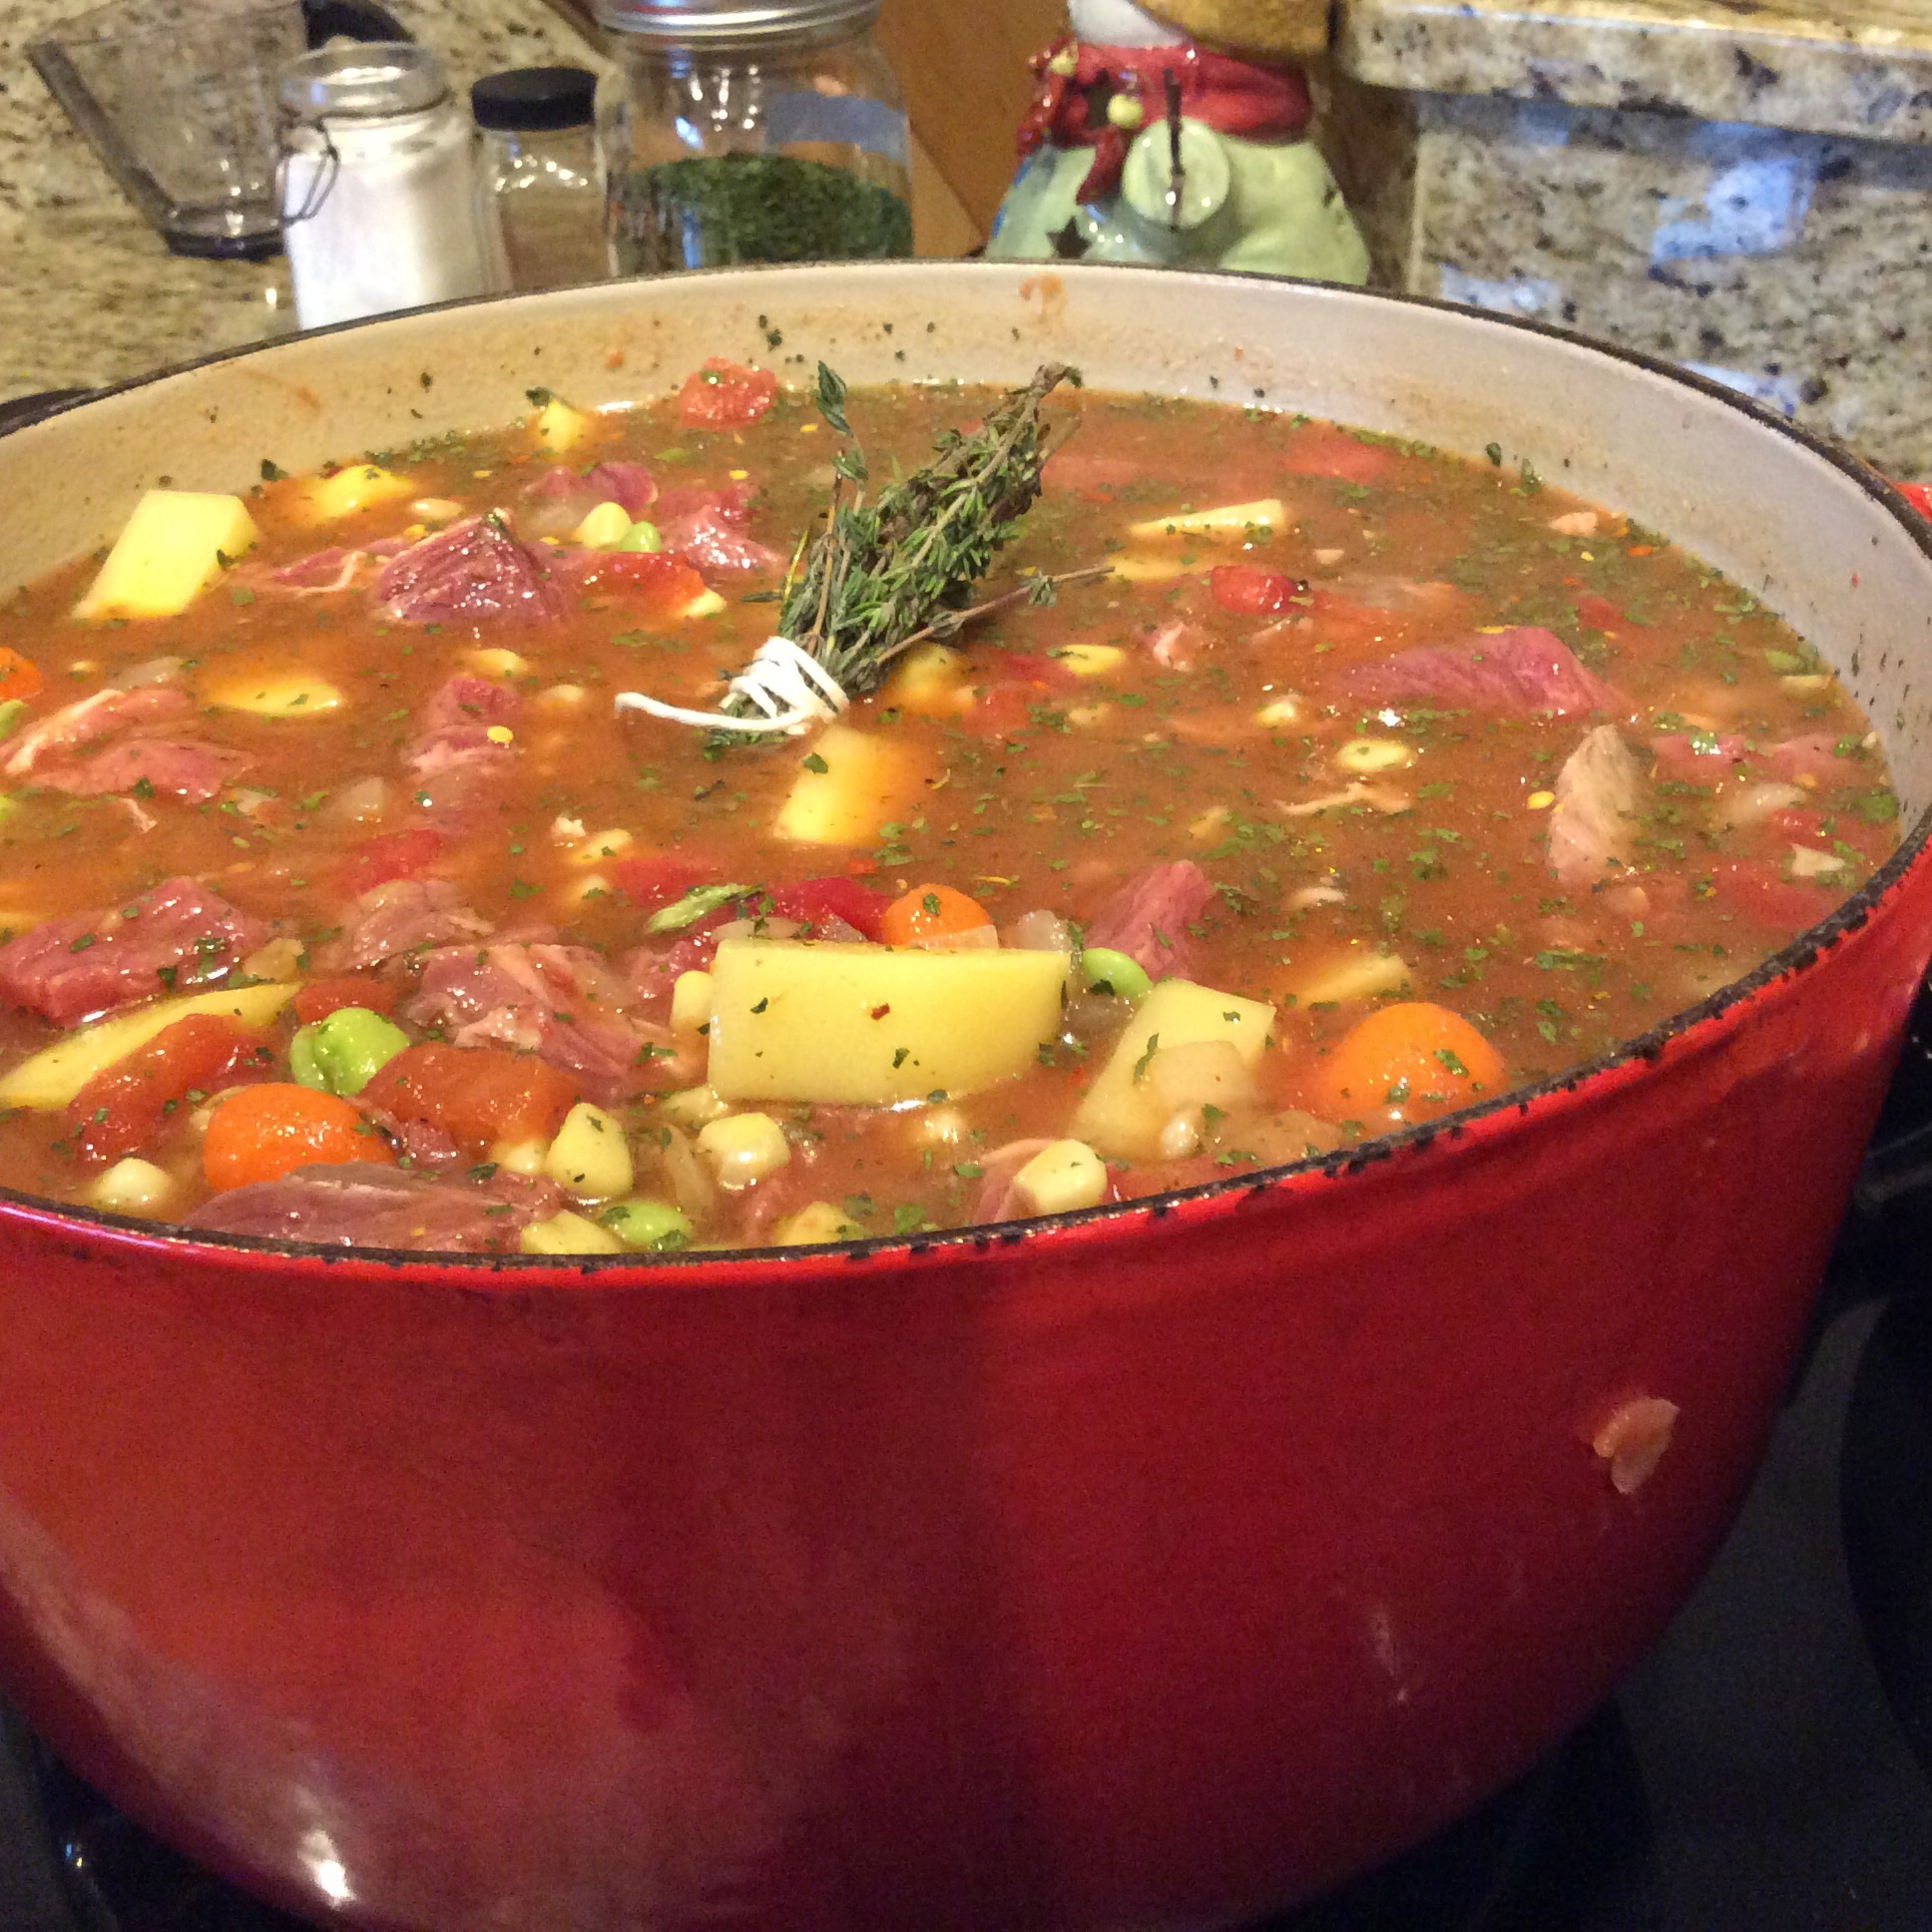
Finally, add in the lima beans, corn, and your seasonings; stir well. (Again I start with a teaspoon of each and adjust throughout the cooking process.) Top it with your thyme bundle.
Ready to go in the oven
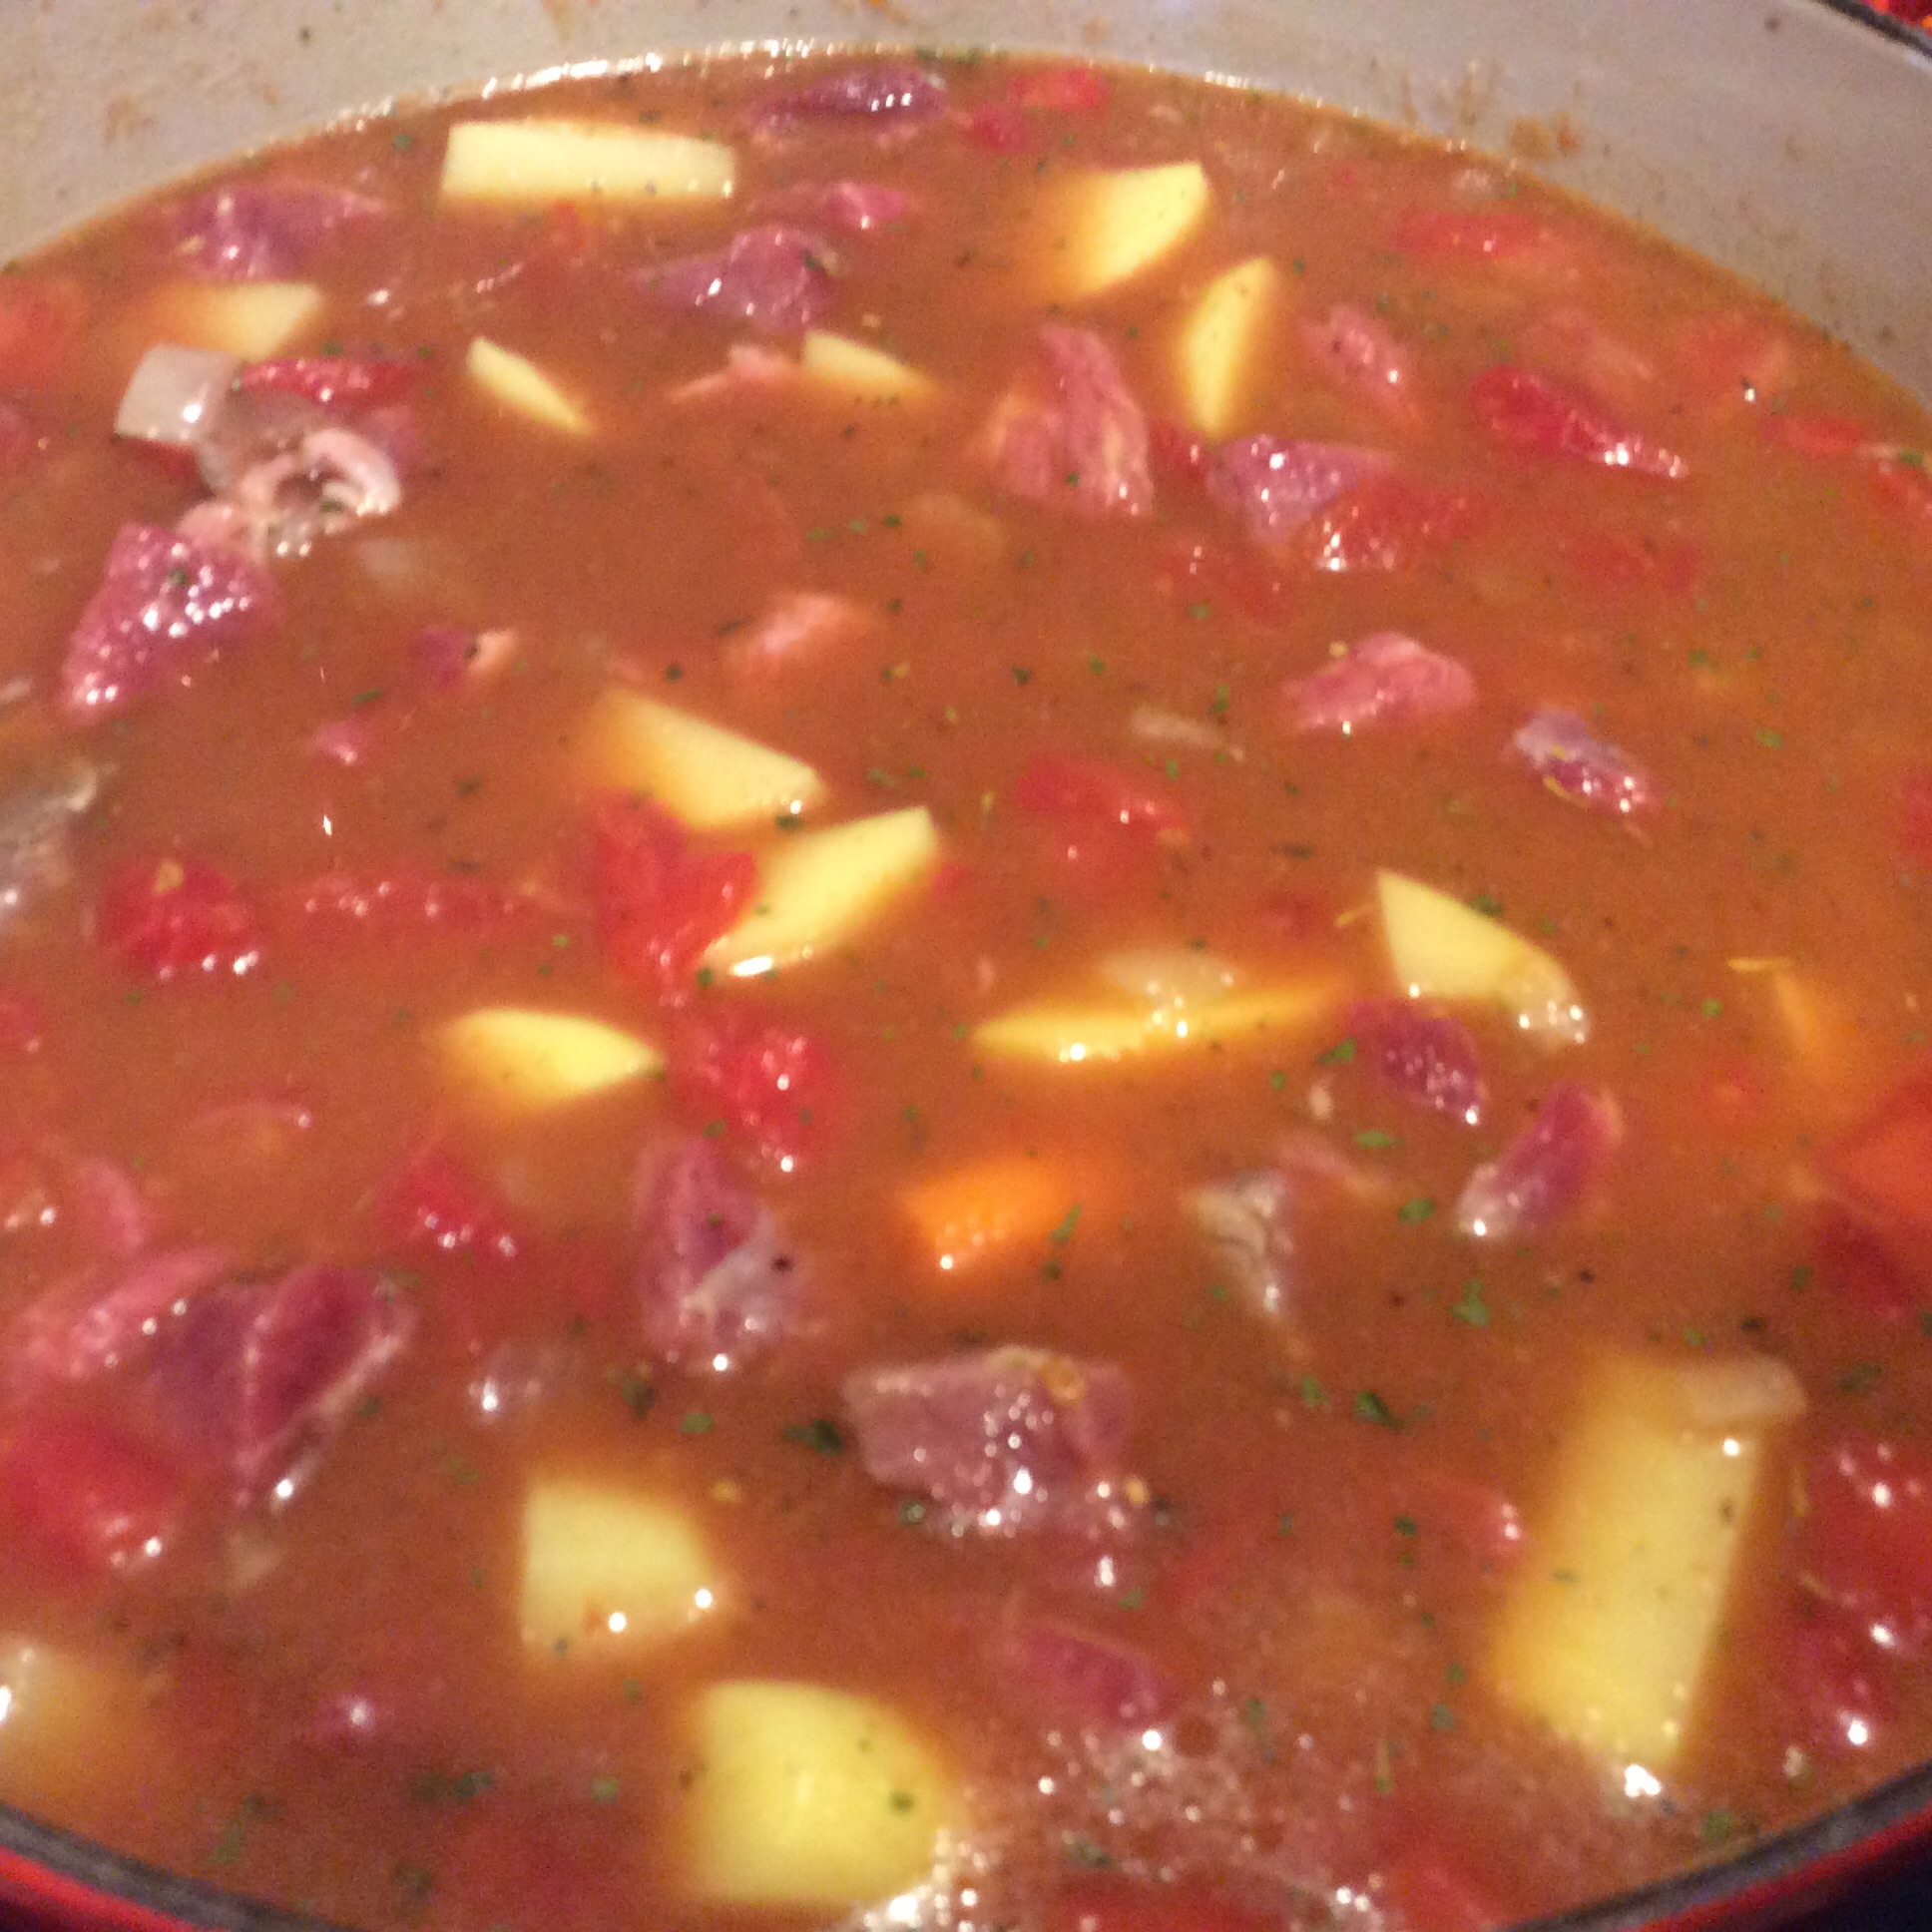
Place the lid on top. Put in the oven and cook for approximately 3/12 to 4 hours or until potatoes and carrots are tender. Leave it alone the first hour and then stir every half hour after that. Your house will smell amazing!
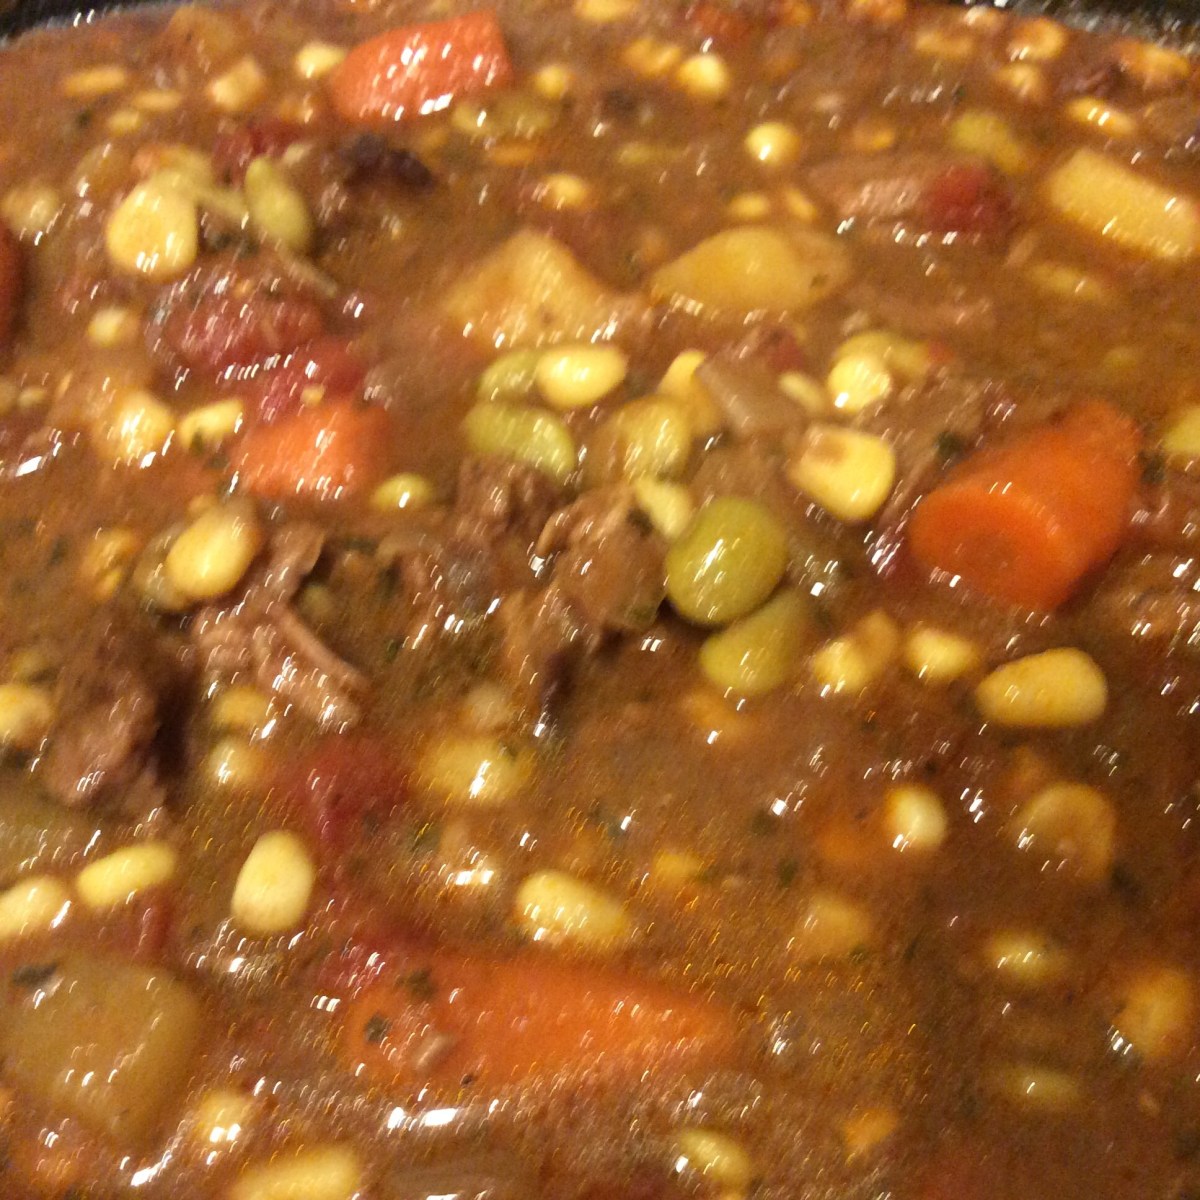
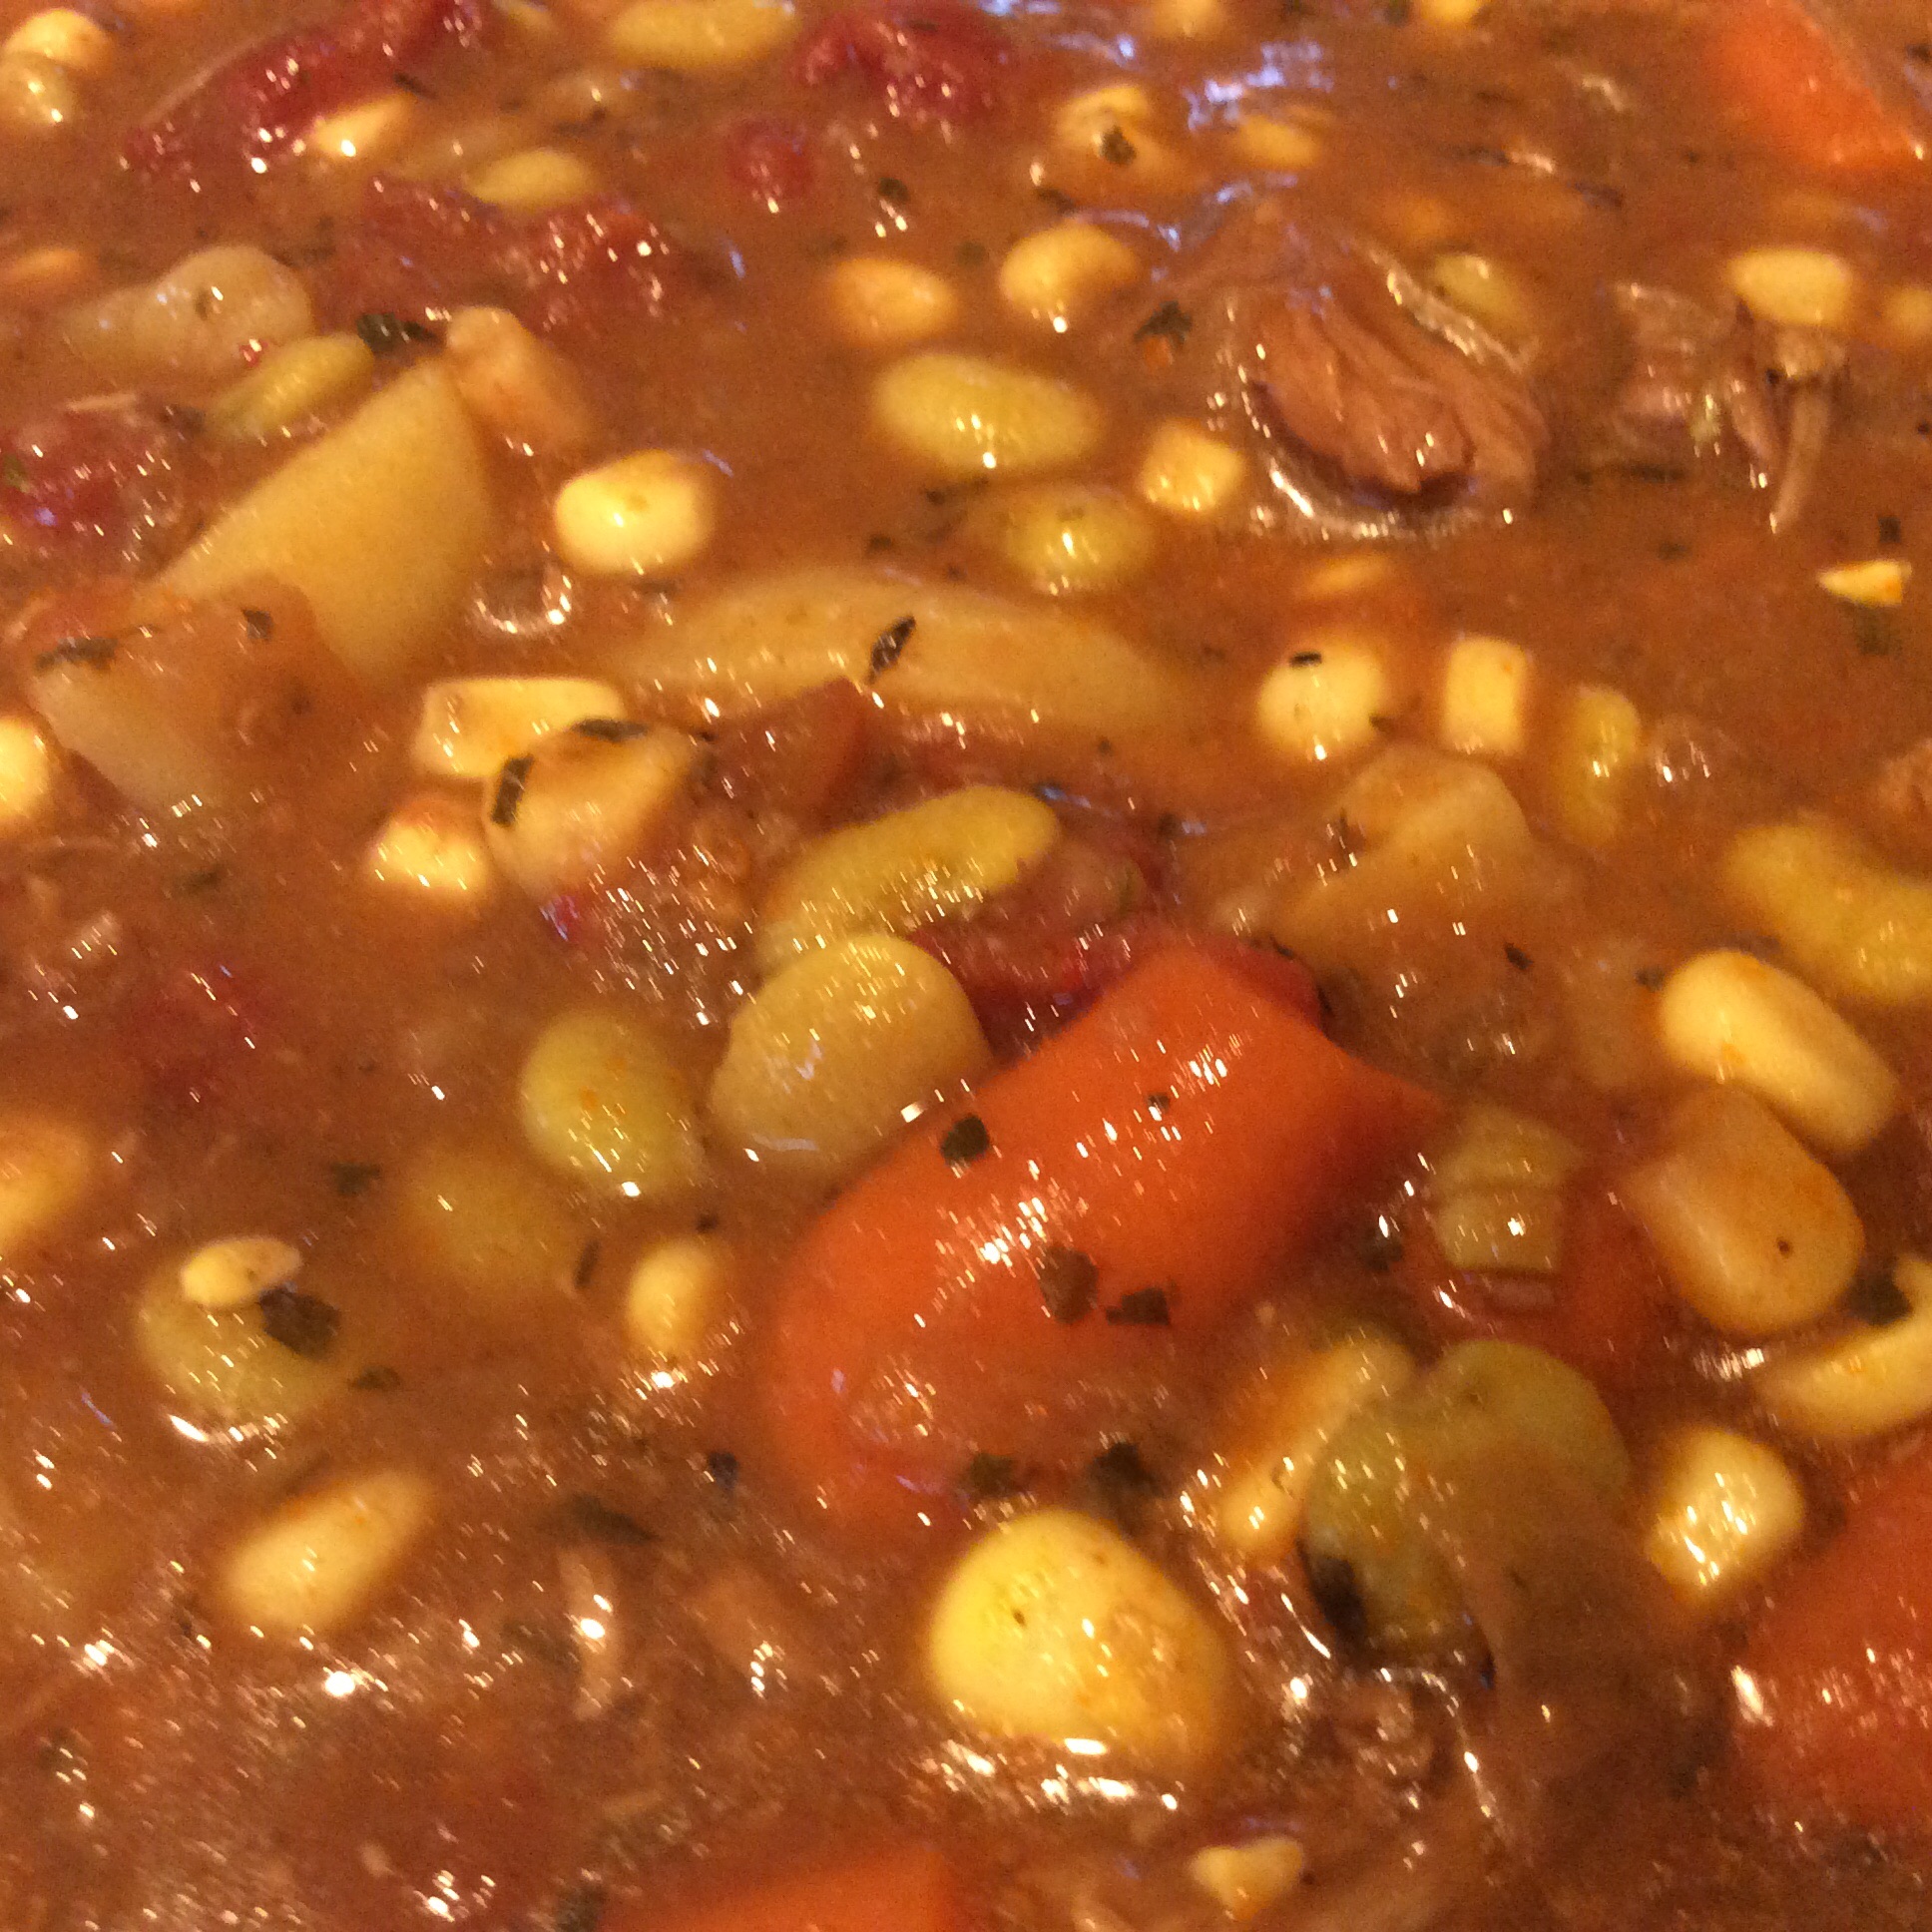
This is what it looked like after about 2 hours of cooking…getting there but still needs to cook and thicken a couple of more hours
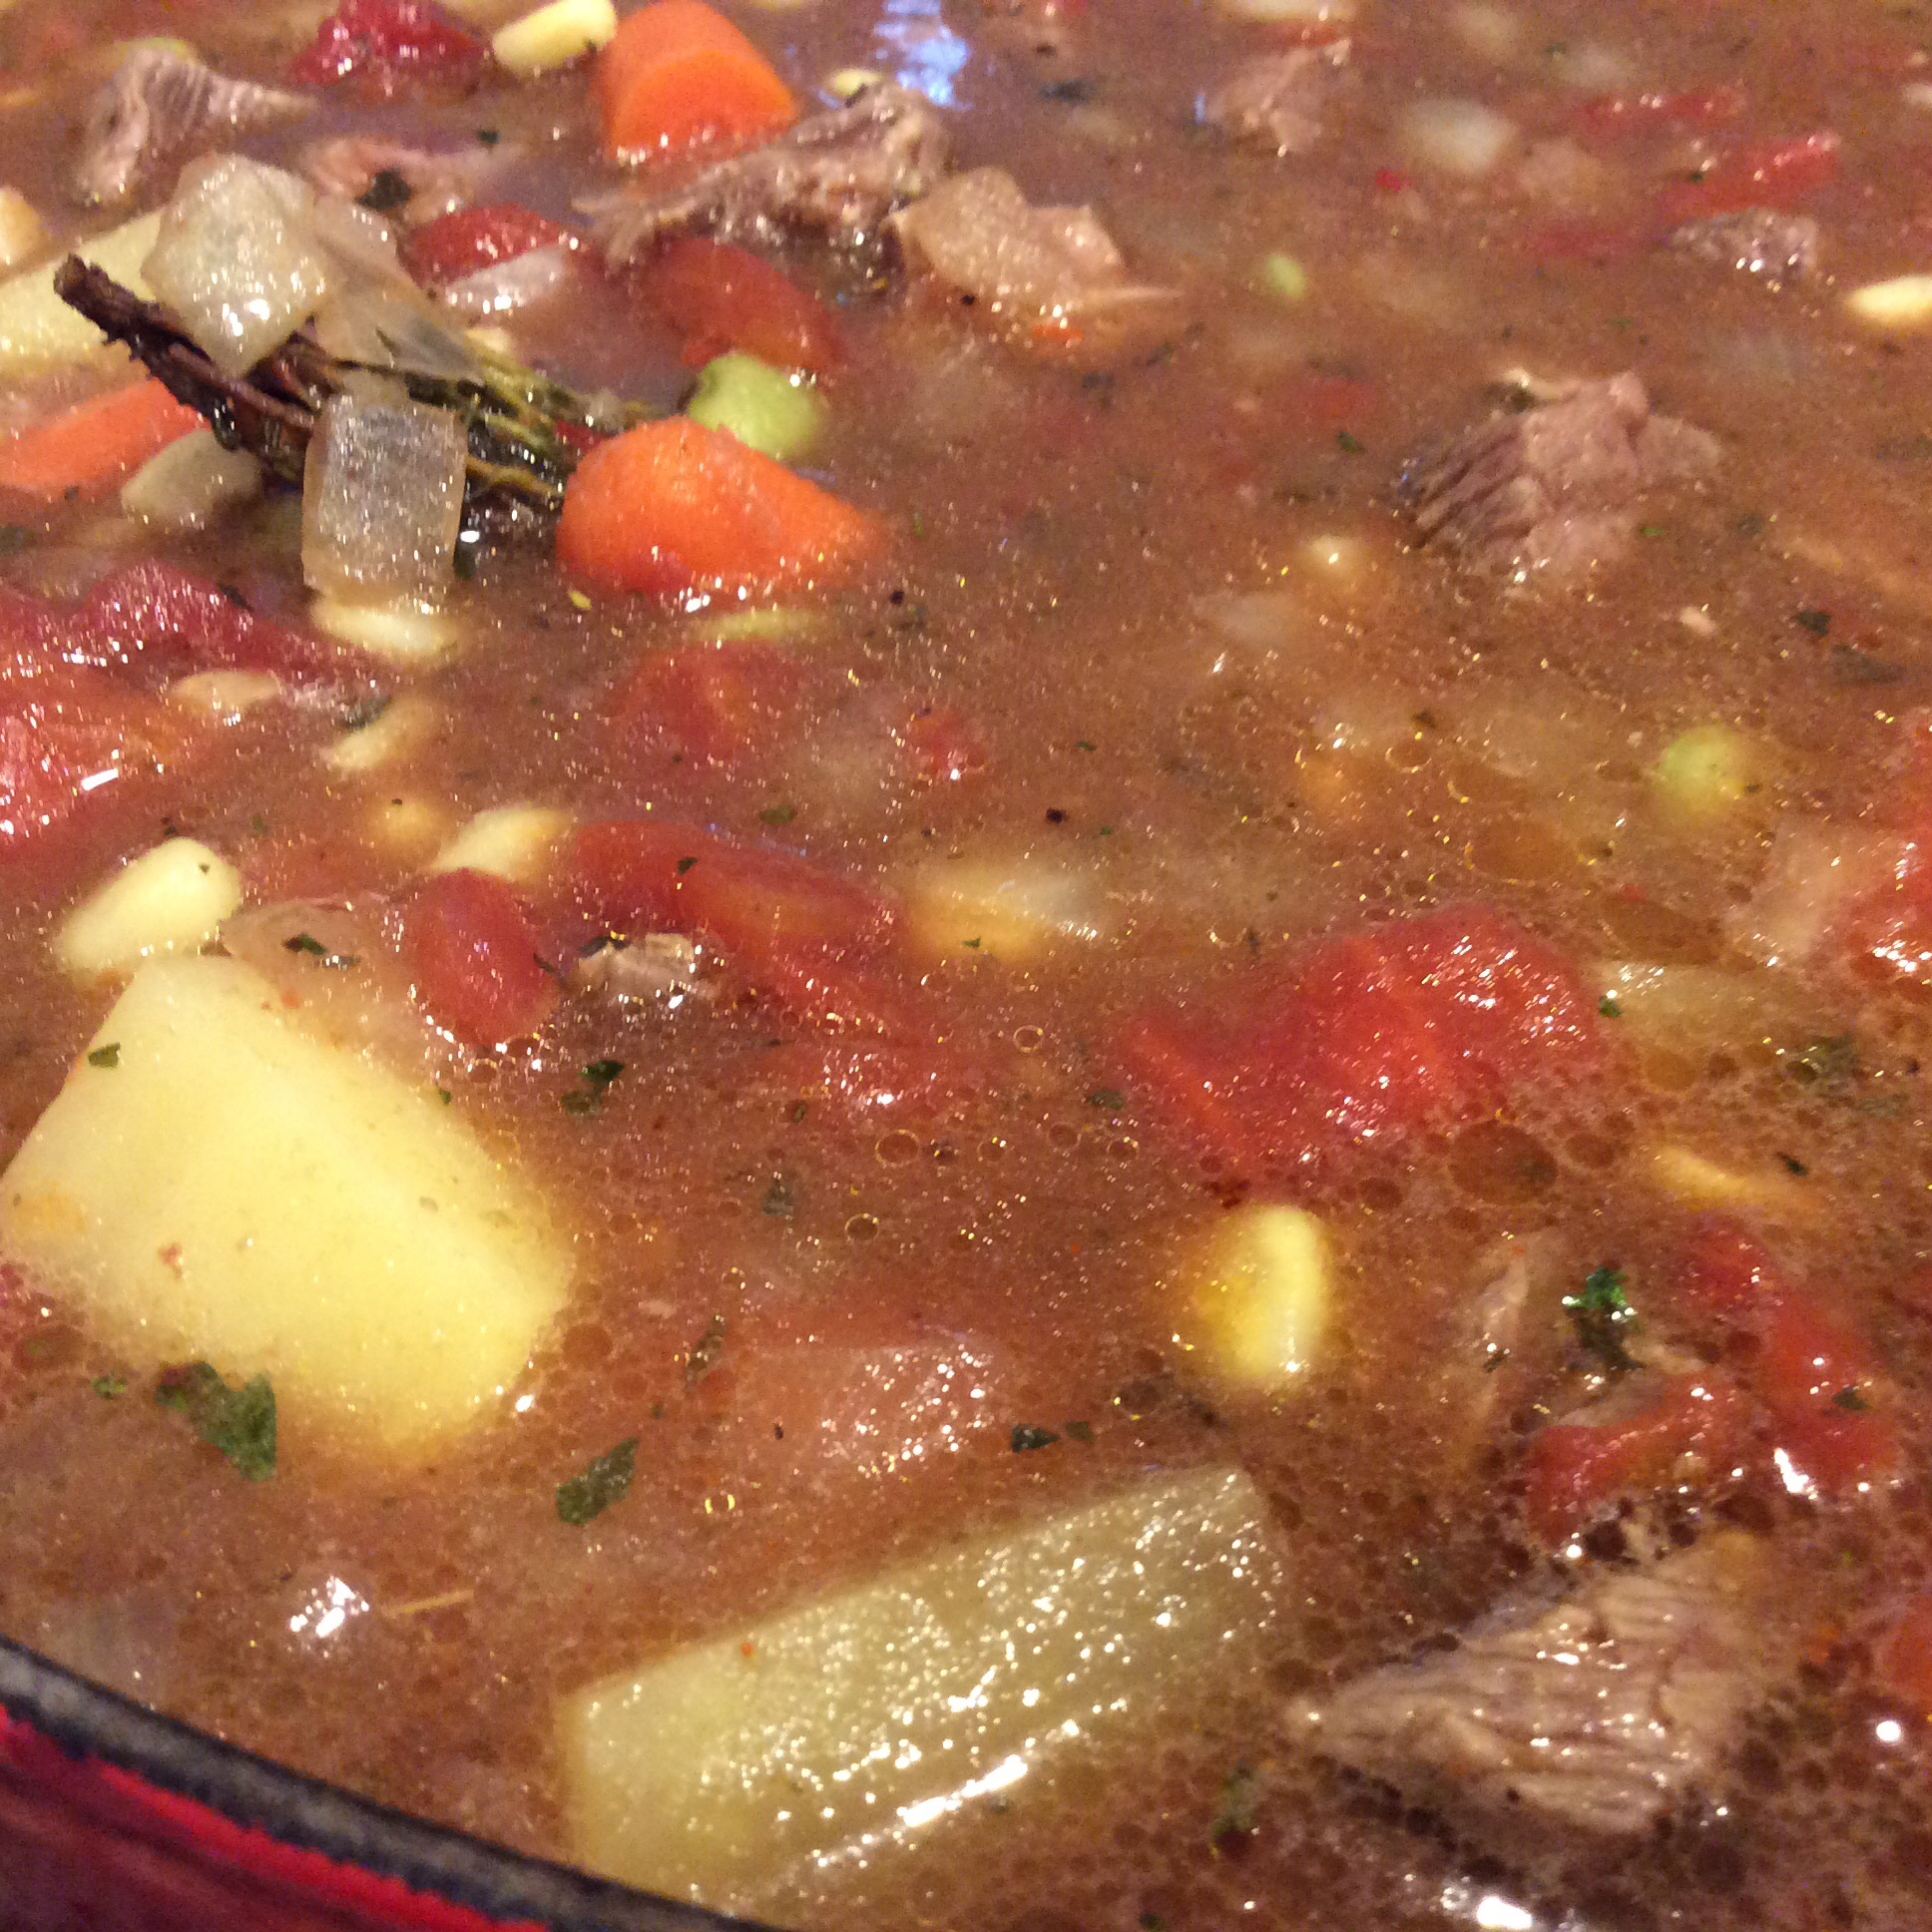
Serve with your favorite corn bread and if you aren’t comforted, you can’t be helped…ha, ha!
A bowl full of comfort!
Bottom Line: Yes, there are more sophisticated recipes out there and I will try more from time to time. But, when I want true comfort and warm memories (I actually got to cook this for my late grandmother, Memaw, once..a cherished memory), this is the recipe I will come back to every time. I hope you and your family enjoy it as much as mine…..we actually fight over the leftovers! I am Chef Frankie and until next time….”Keep Cooking with Love and Wild Abandon”!
Thanksgiving has come and gone and your tummies are probably still stuffed with all the yummy turkey and the sinful side dishes and desserts that you enjoyed with your family yesterday. You may have even over-indulged a bit….I could definitely say that by looking at my father-in-law’s plate. He might fall into that category!
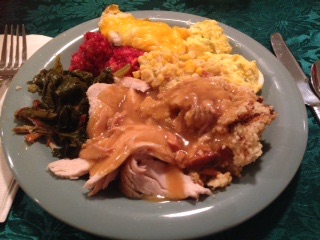
Jim Pitt’s Thanksgiving Indulgence! Wow, what a plate!
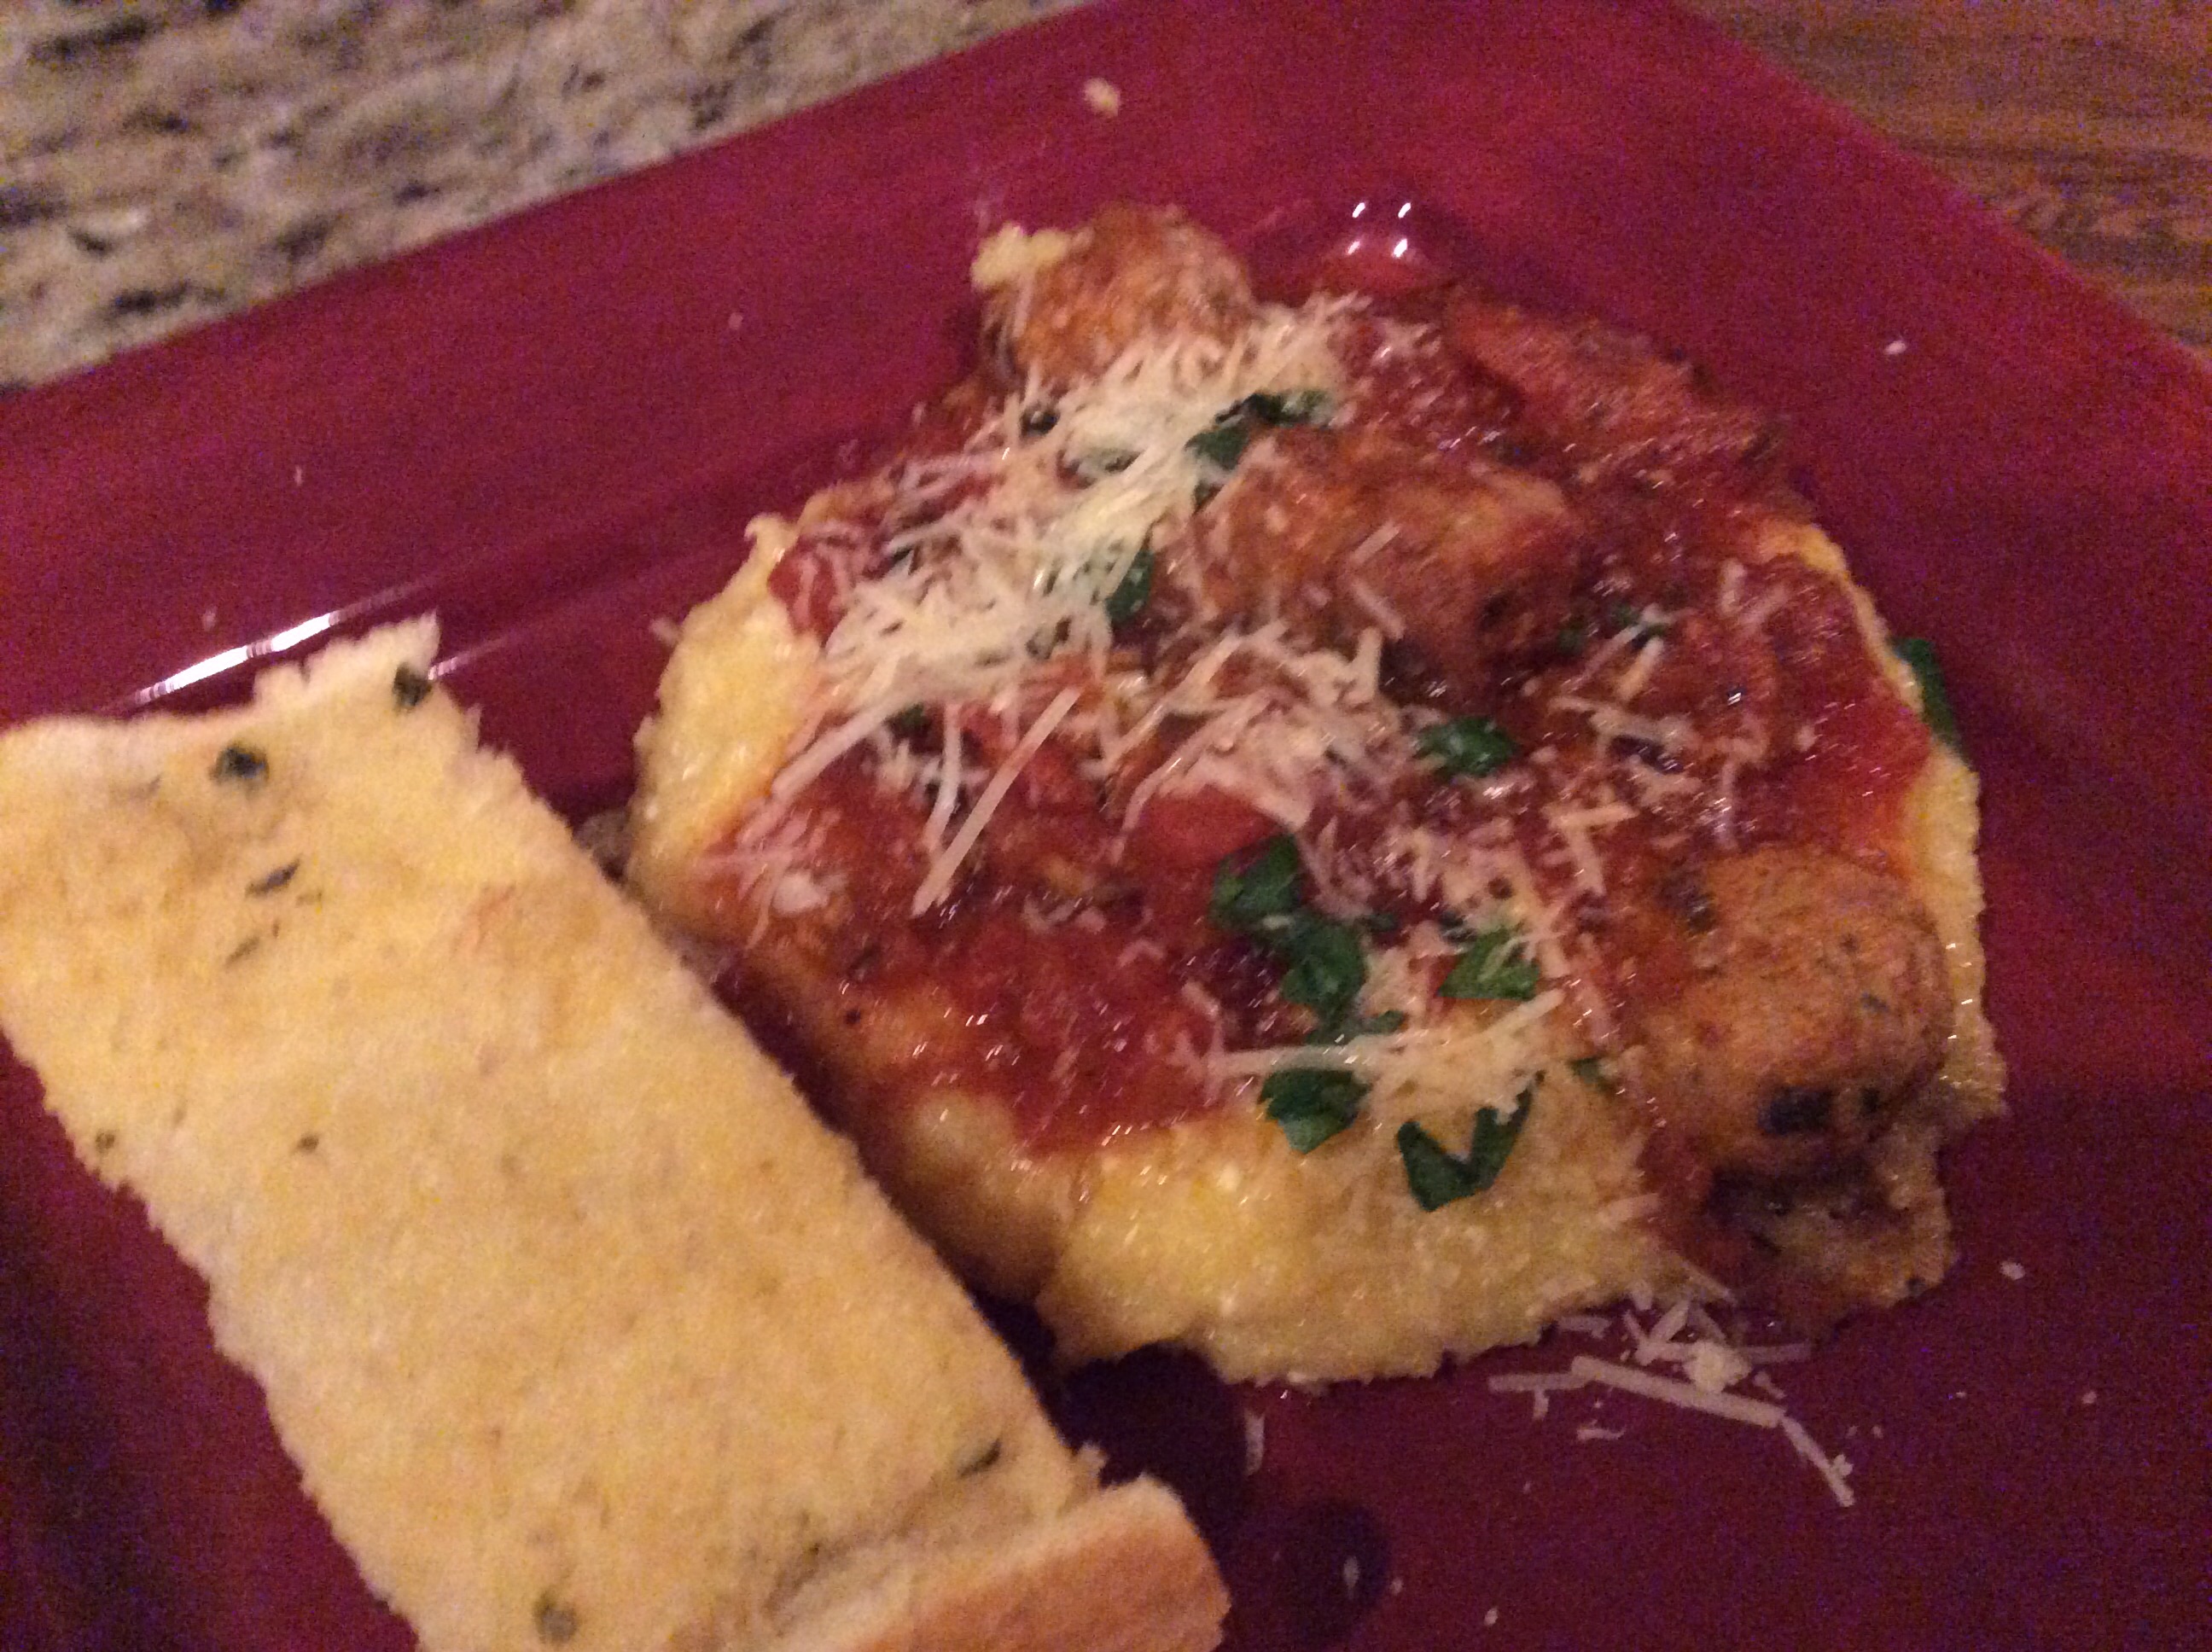
Today, however, you are probably in the mood for something a little different and even more important, something that doesn’t require you to be in the kitchen for very long. Well, I have the dish for you and it is so super easy! My Italian Meatballs & Polenta….
If you recall, I made a lot of meatballs and put them in the freezer for later uses such as today’s recipe. Now, if you didn’t freeze any for later (or maybe you have eaten them all) or aren’t in the mood to make a fresh batch, you can easily use some prepared meatballs in the frozen section of your grocery store. The point is to make this meal “EASY” but still deliciously satisfying. In fact, this whole meal is from previously prepared food…whether it came from your own kitchen or your local market.
All you need is some meatballs, your favorite Italian marinara sauce, chicken broth, and some quick-cooking polenta! Top it off with a little parmesan and some chopped parsley or basil and you have a savory meal that hits the spot when you are tired of turkey. That’s it! I use my own Italian sauce that I canned from my summer tomato produce but any jarred sauce will do just fine.
Ingredients
1 package of frozen, pre-cooked meatballs
1 quart jar of your favorite Italian Sauce
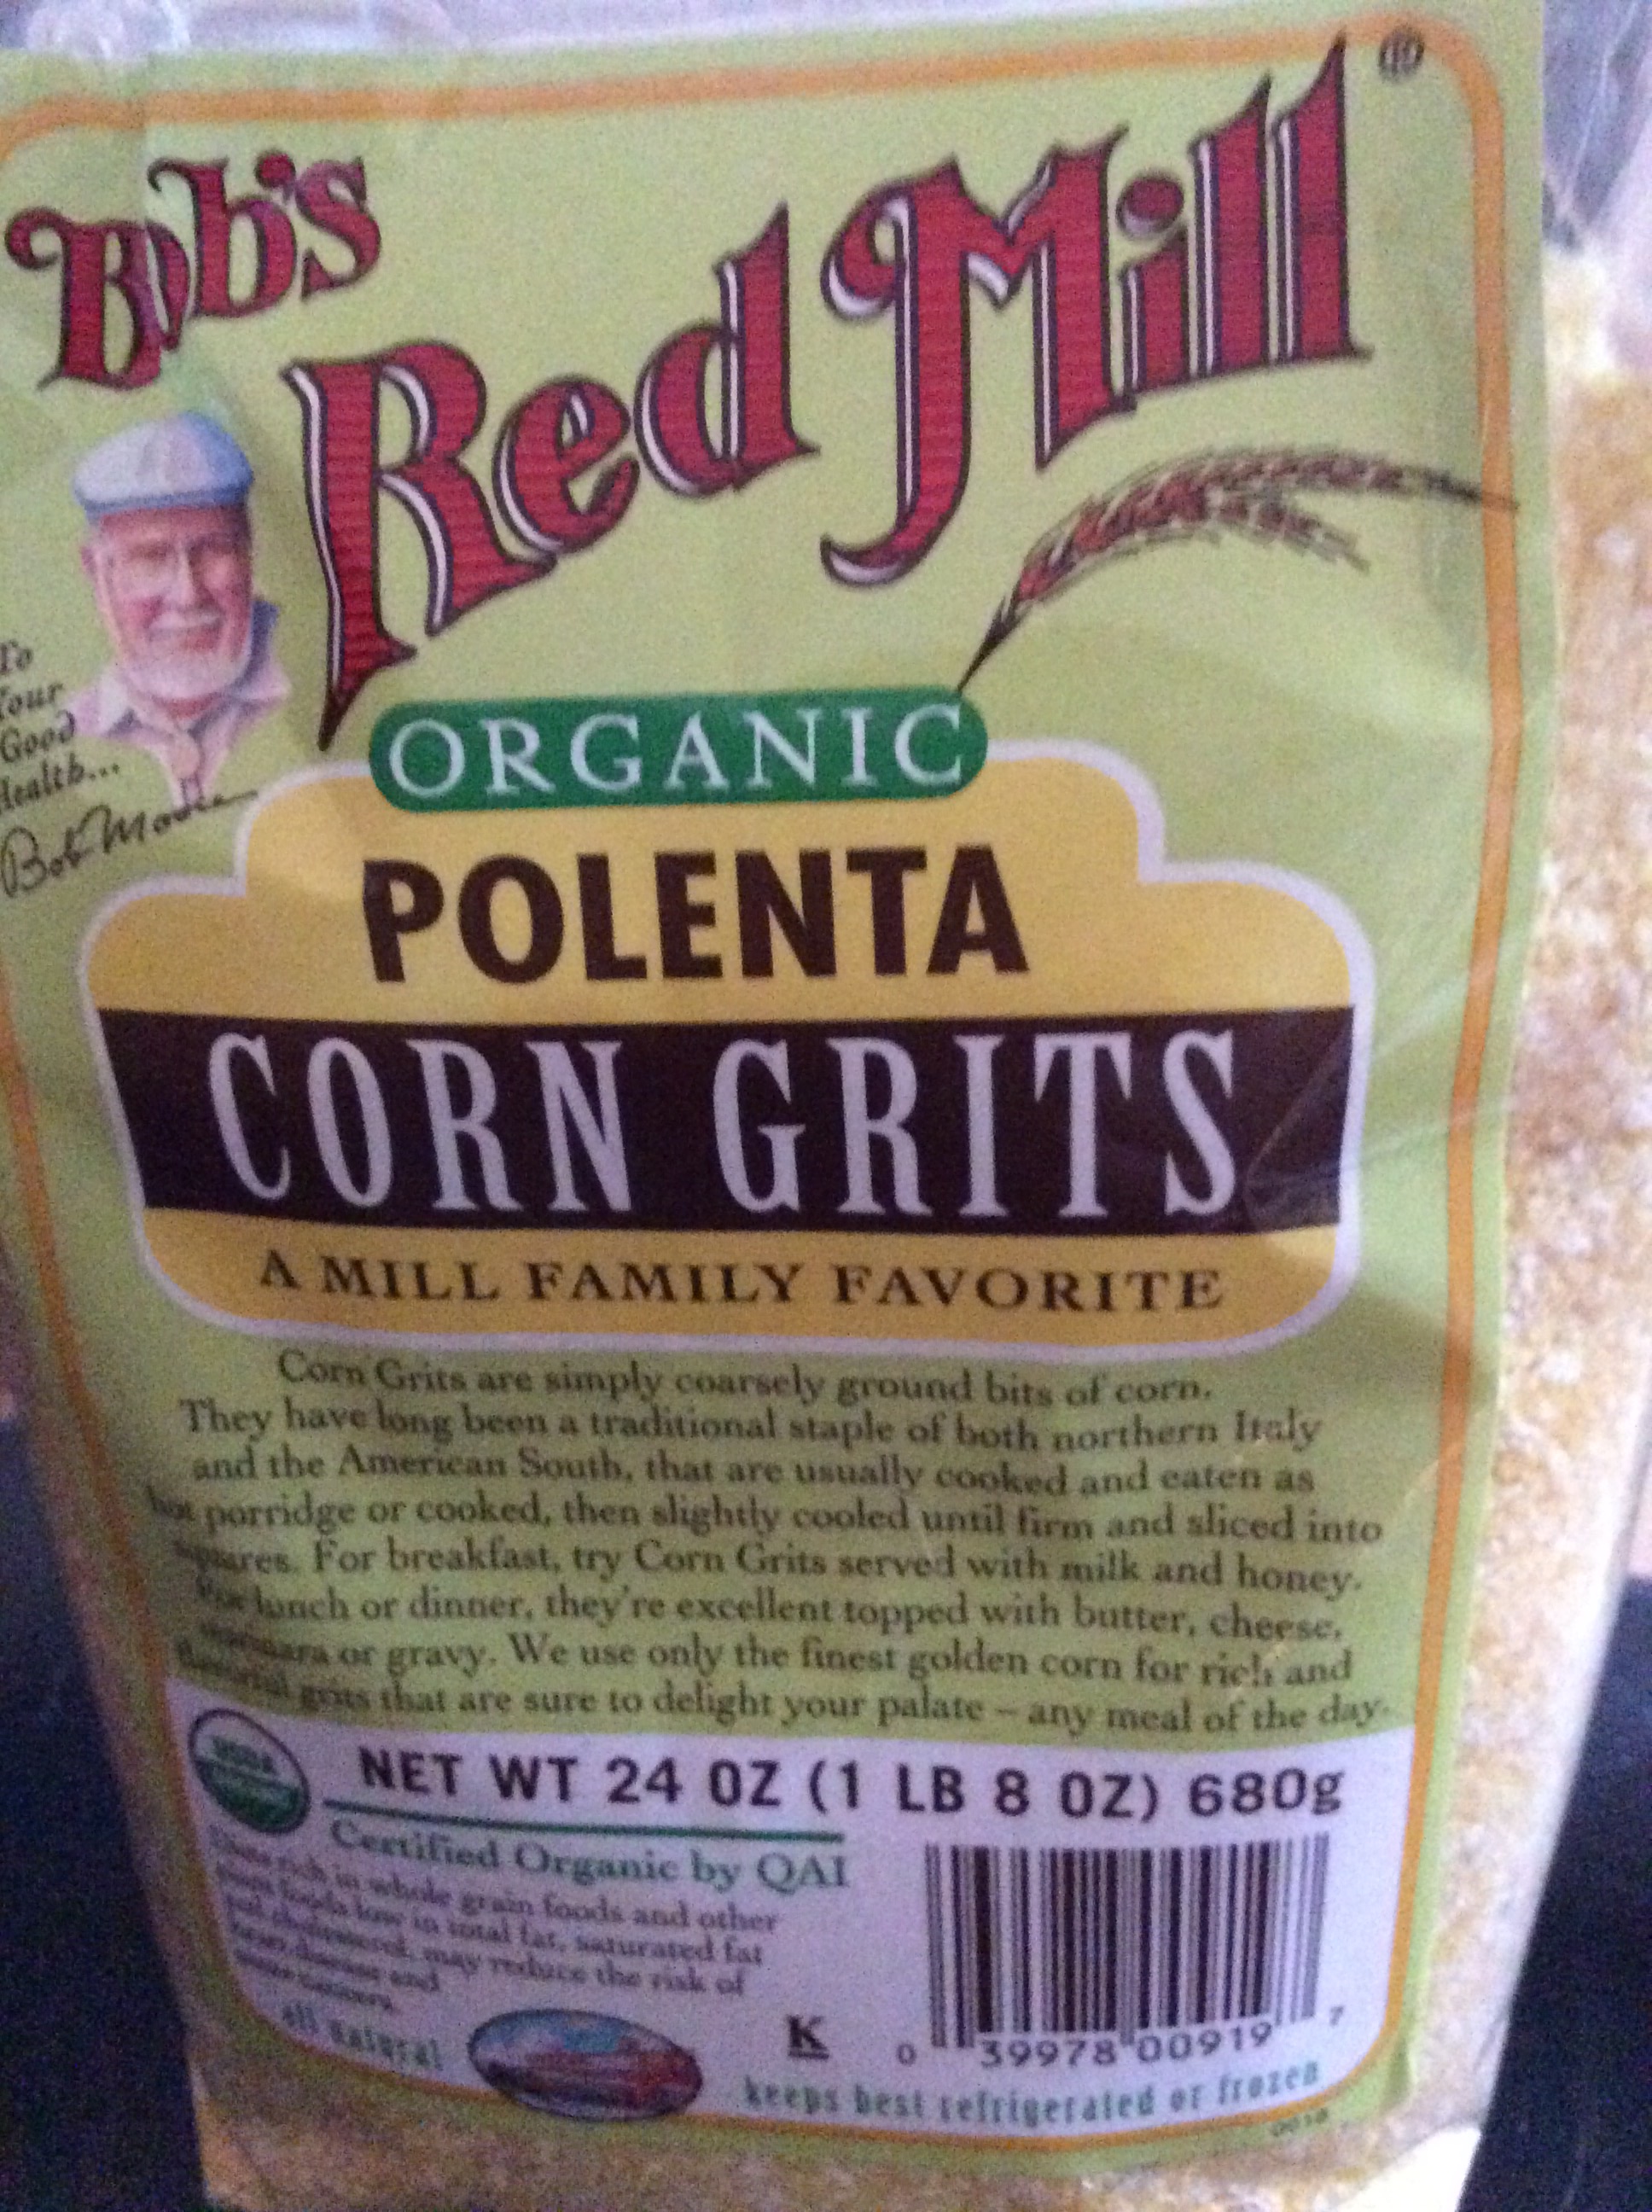
1 cup of Polenta (yellow corn grits), I use Bob’s Red Mill
3 cups of chicken broth
1/2 cup of parmesan cheese, grated (and divided)
Garnish: Chopped Italian Parsley or Basil
Directions
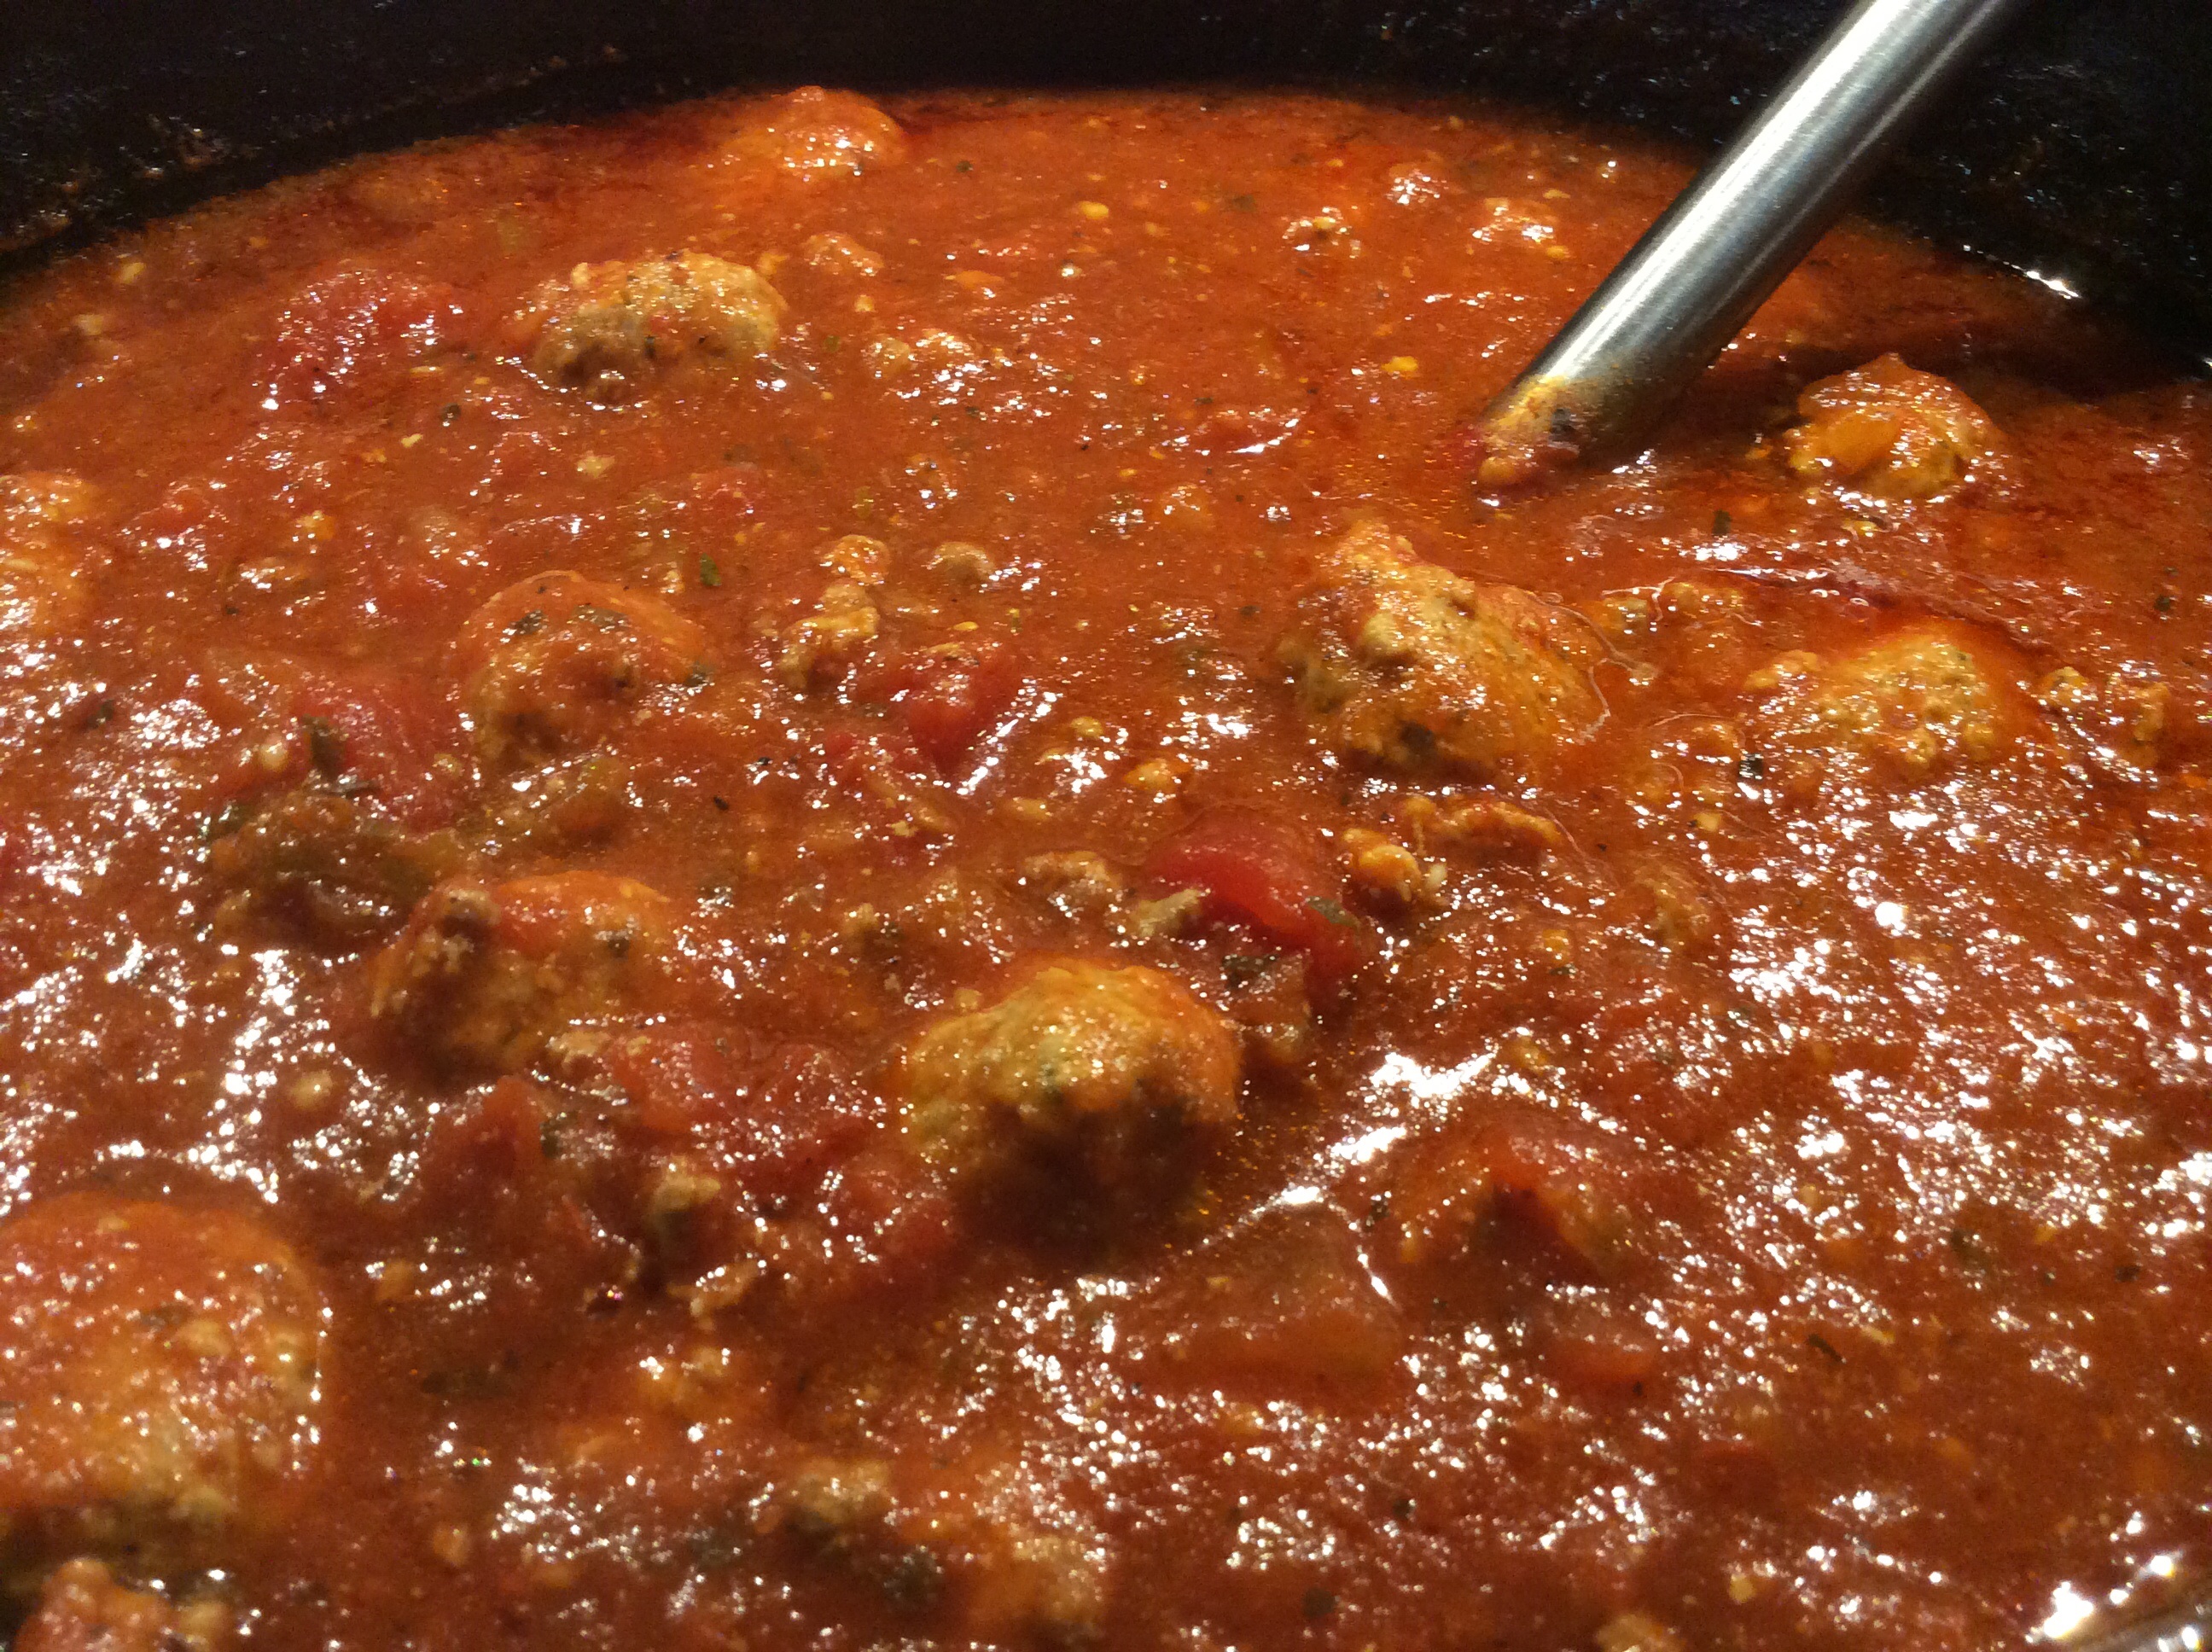
Reheat your meatballs and sauce in a large saucepan until warmed through.
Meanwhile, in another saucepan, bring the Chicken Broth to a boil and add in your polenta.
I love this brand of Polenta!
Reduce heat and cook polenta slowly for about 5 minutes, stirring occasionally. Remove from heat and stir in 1/4 cup of parmesan cheese until melted.
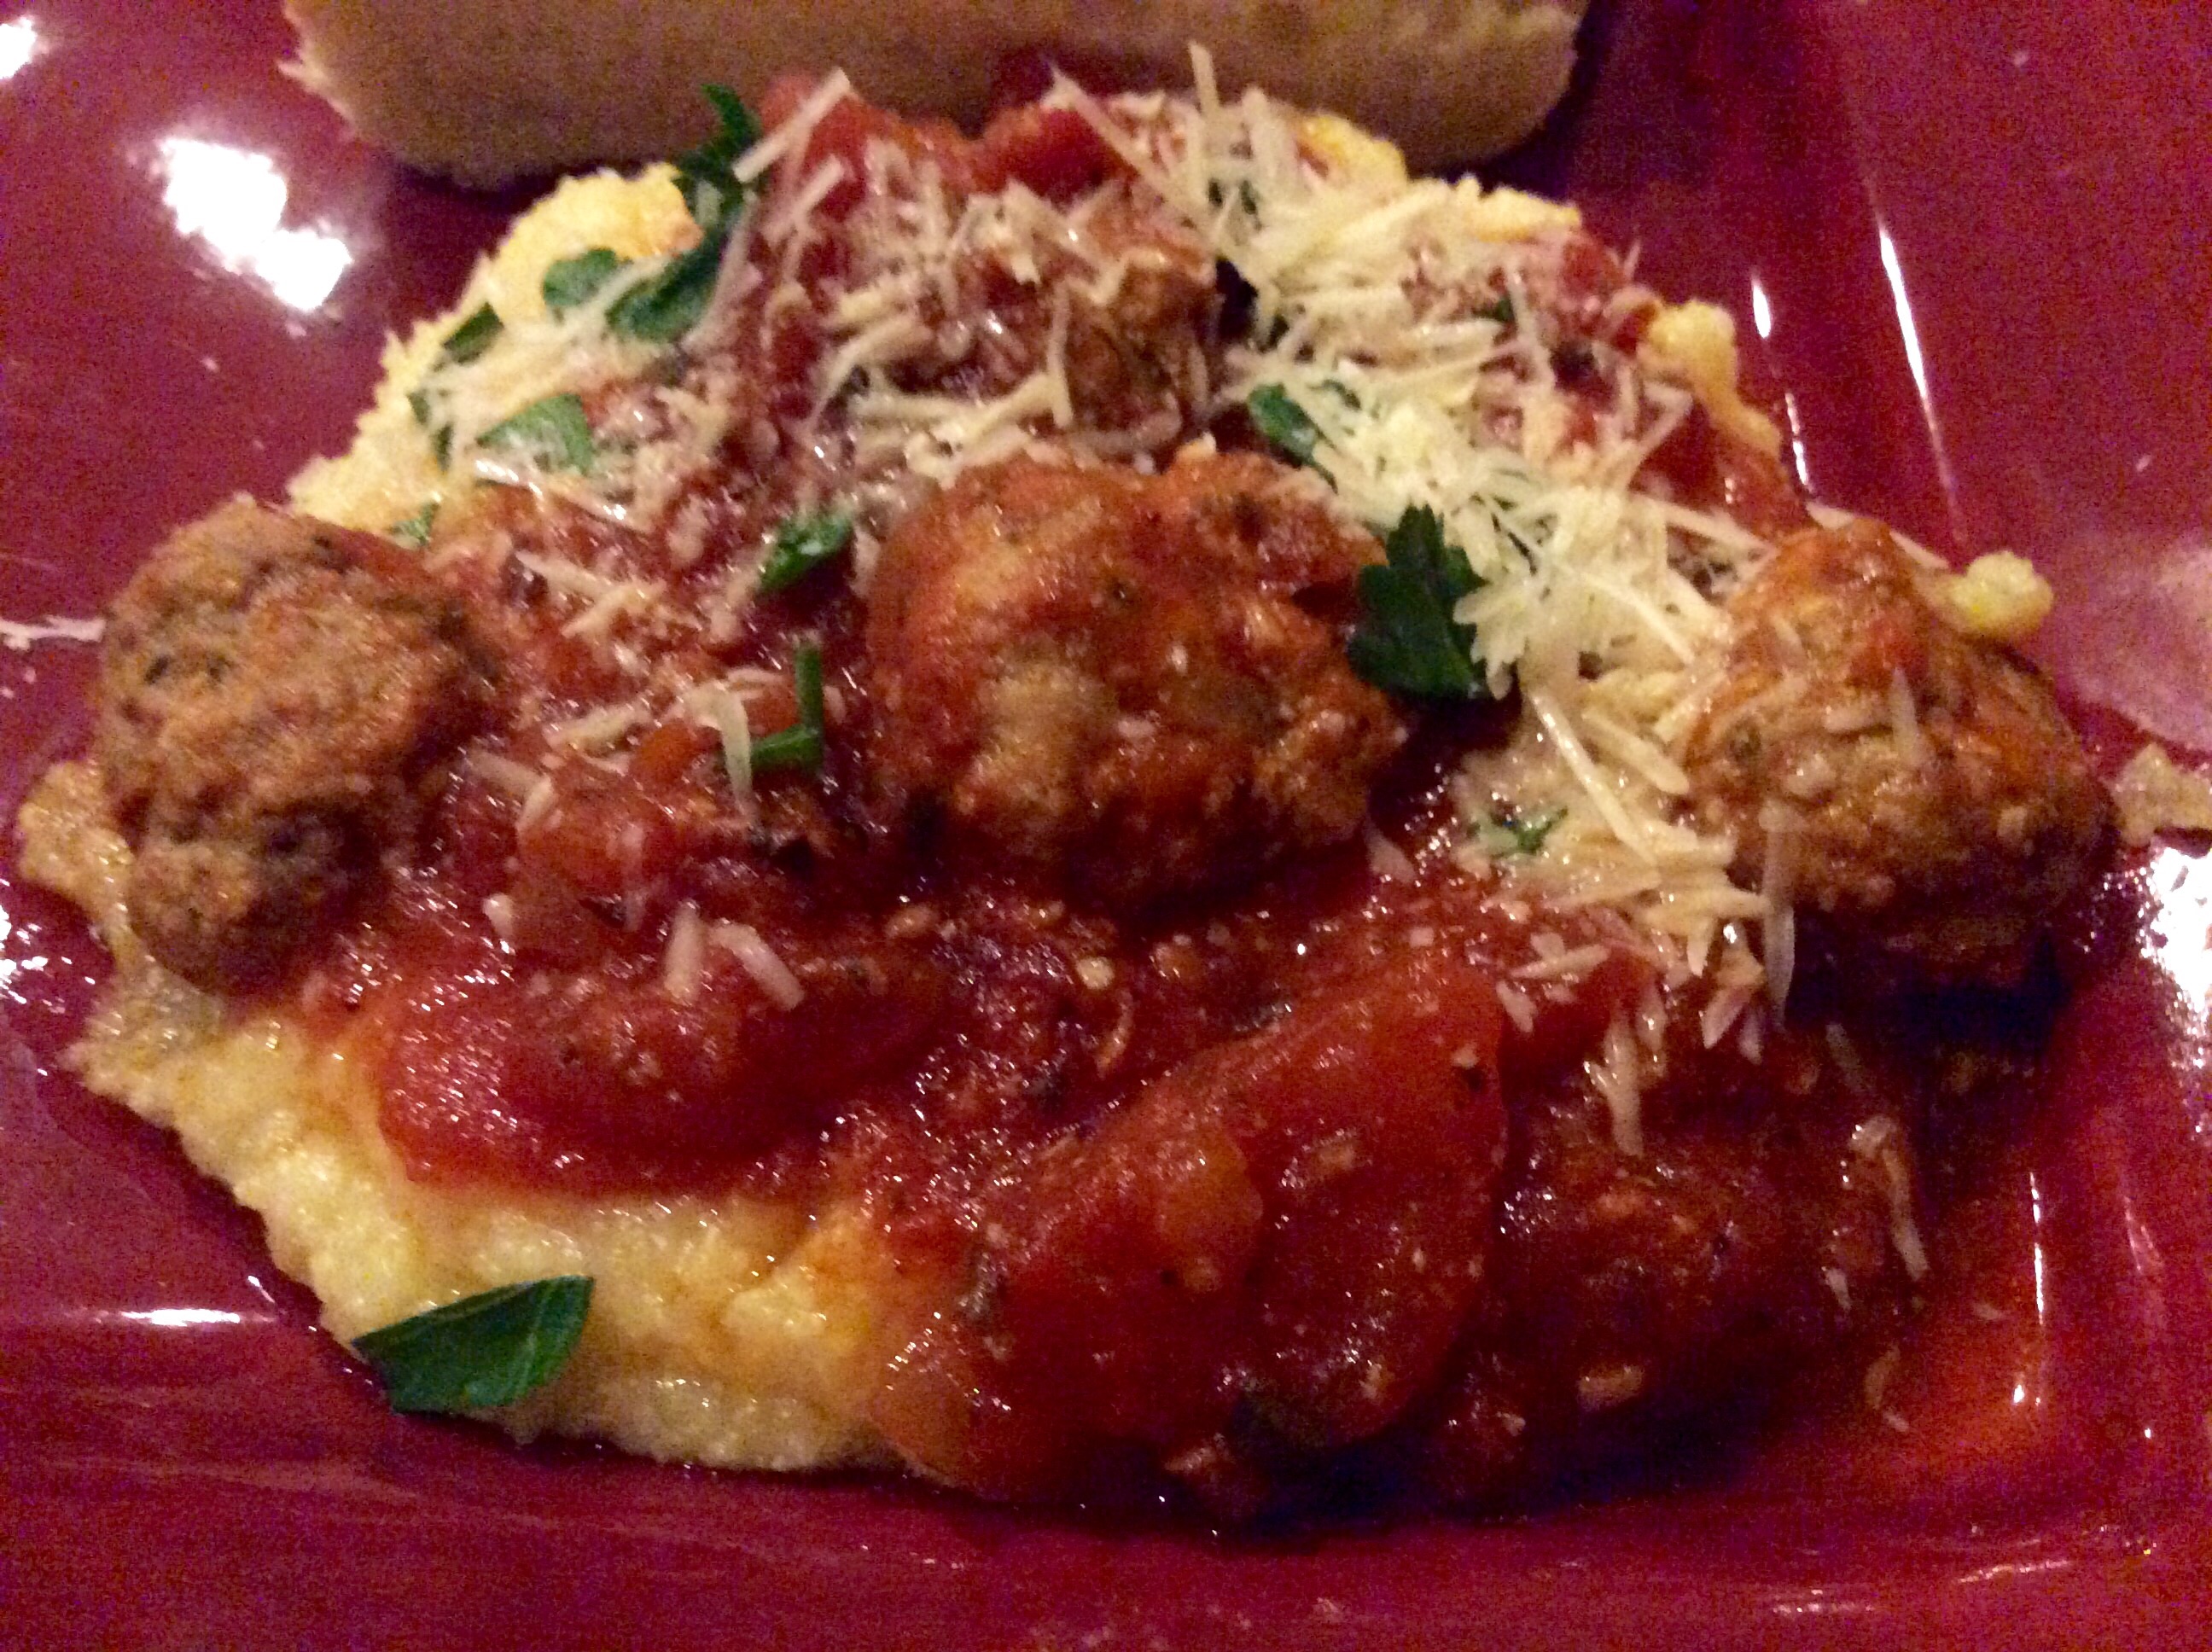
Place a generous portion of polenta on your plate and top with the meatball & sauce mixture. Garnish with the remaining parmesan cheese and parsley or basil. Serve with some crunchy French Bread and a light side salad and dinner is ready in minutes! Of course, don’t forget the wine :-)!
Dinner is served!
Enjoy the rest of your Thanksgiving weekend, watch some football, share some laughs, and give this easy recipe a try! I am Chef Frankie and until next time “Keep on cooking with Love and Wild Abandon”!
The holiday season, from Thanksgiving to Christmas, is my favorite time of the year! Something about the opportunity to gather with family and friends surrounded by twinkling lighted trees and crackling warm fires always comforts me….and, OH THE FOOD! It seems that people not only put more time in their food preparation during this time of year but they actually put more love into it and you can almost taste the care that went into every dish.
On Thanksgiving, the dish I look most forward to is usually not the star of the meal (the turkey) but just a side dish…the dressing. Now, there has always been a debate, depending on where you grew up, whether this dish is called dressing or stuffing. My understanding is that if it is served stuffed in your bird, it is called “stuffing” but if it’s served as a side dish, then “dressing” it is! I don’t really care what you call it as long as you call it “GOOD”!
My version, what I call my Southern Cornbread Dressing, is very traditional in the south. I don’t add sausage, turkey, or any other kind of meat to it. It is simple in it’s ingredients and keeps it focus on the cornbread that will later be smothered in a delicious gravy! I honestly don’t have a sugnificant special memory of why I like my dressing this specific way. I do remember my mother making dressing and I do believe it was cornbread-based but I took over the dressing job years ago and my version is what I think of most when I think of Thanksgiving.
Since we join my husband’s family every year for Thanksgiving and my wonderful mother-in-law, Janice, uses sausage in her dressing, I try to have my version at our own little Thanksgiving feast at our house the week before Thanksgiving each year. It is usually just Jeff and I along with our 25 year-old son, Jarrod and our 23 year-old daughter, Ashleigh. It was even more important for me to have our little gathering this year because Ashleigh will be headed to the beaches of North Carolina this year to spend Thanksgiving with her boyfriend, Hunter’s family. My first Thanksgiving without her so I definitely wanted to have our own little “Mini Thanksgiving”.
My cornbread dressing recipe originally started from Southern Living Magazine many years ago and has been tweaked so many times, that it is quite a bit different from what I started with so I’m claiming it as my very own! The problem with dressing recipes is that you truly have to observe the moisture content of your cornbread before determining the amount of broth you put in it. The cornbread doesn’t turn out the exact same way every time so you have to adjust your amount of broth based on how “crisp” you like your dressing to turn out. Therefore, I suggest adding 4 cups of your broth and blend it before gradually adding the rest…you might even need more. Some people like their dressing very moist, and others prefer it on the dryer side. I kind of like both…moist but still a bit of a crunchy bite that holds it all together. If this is your preference then this is the recipe for you!
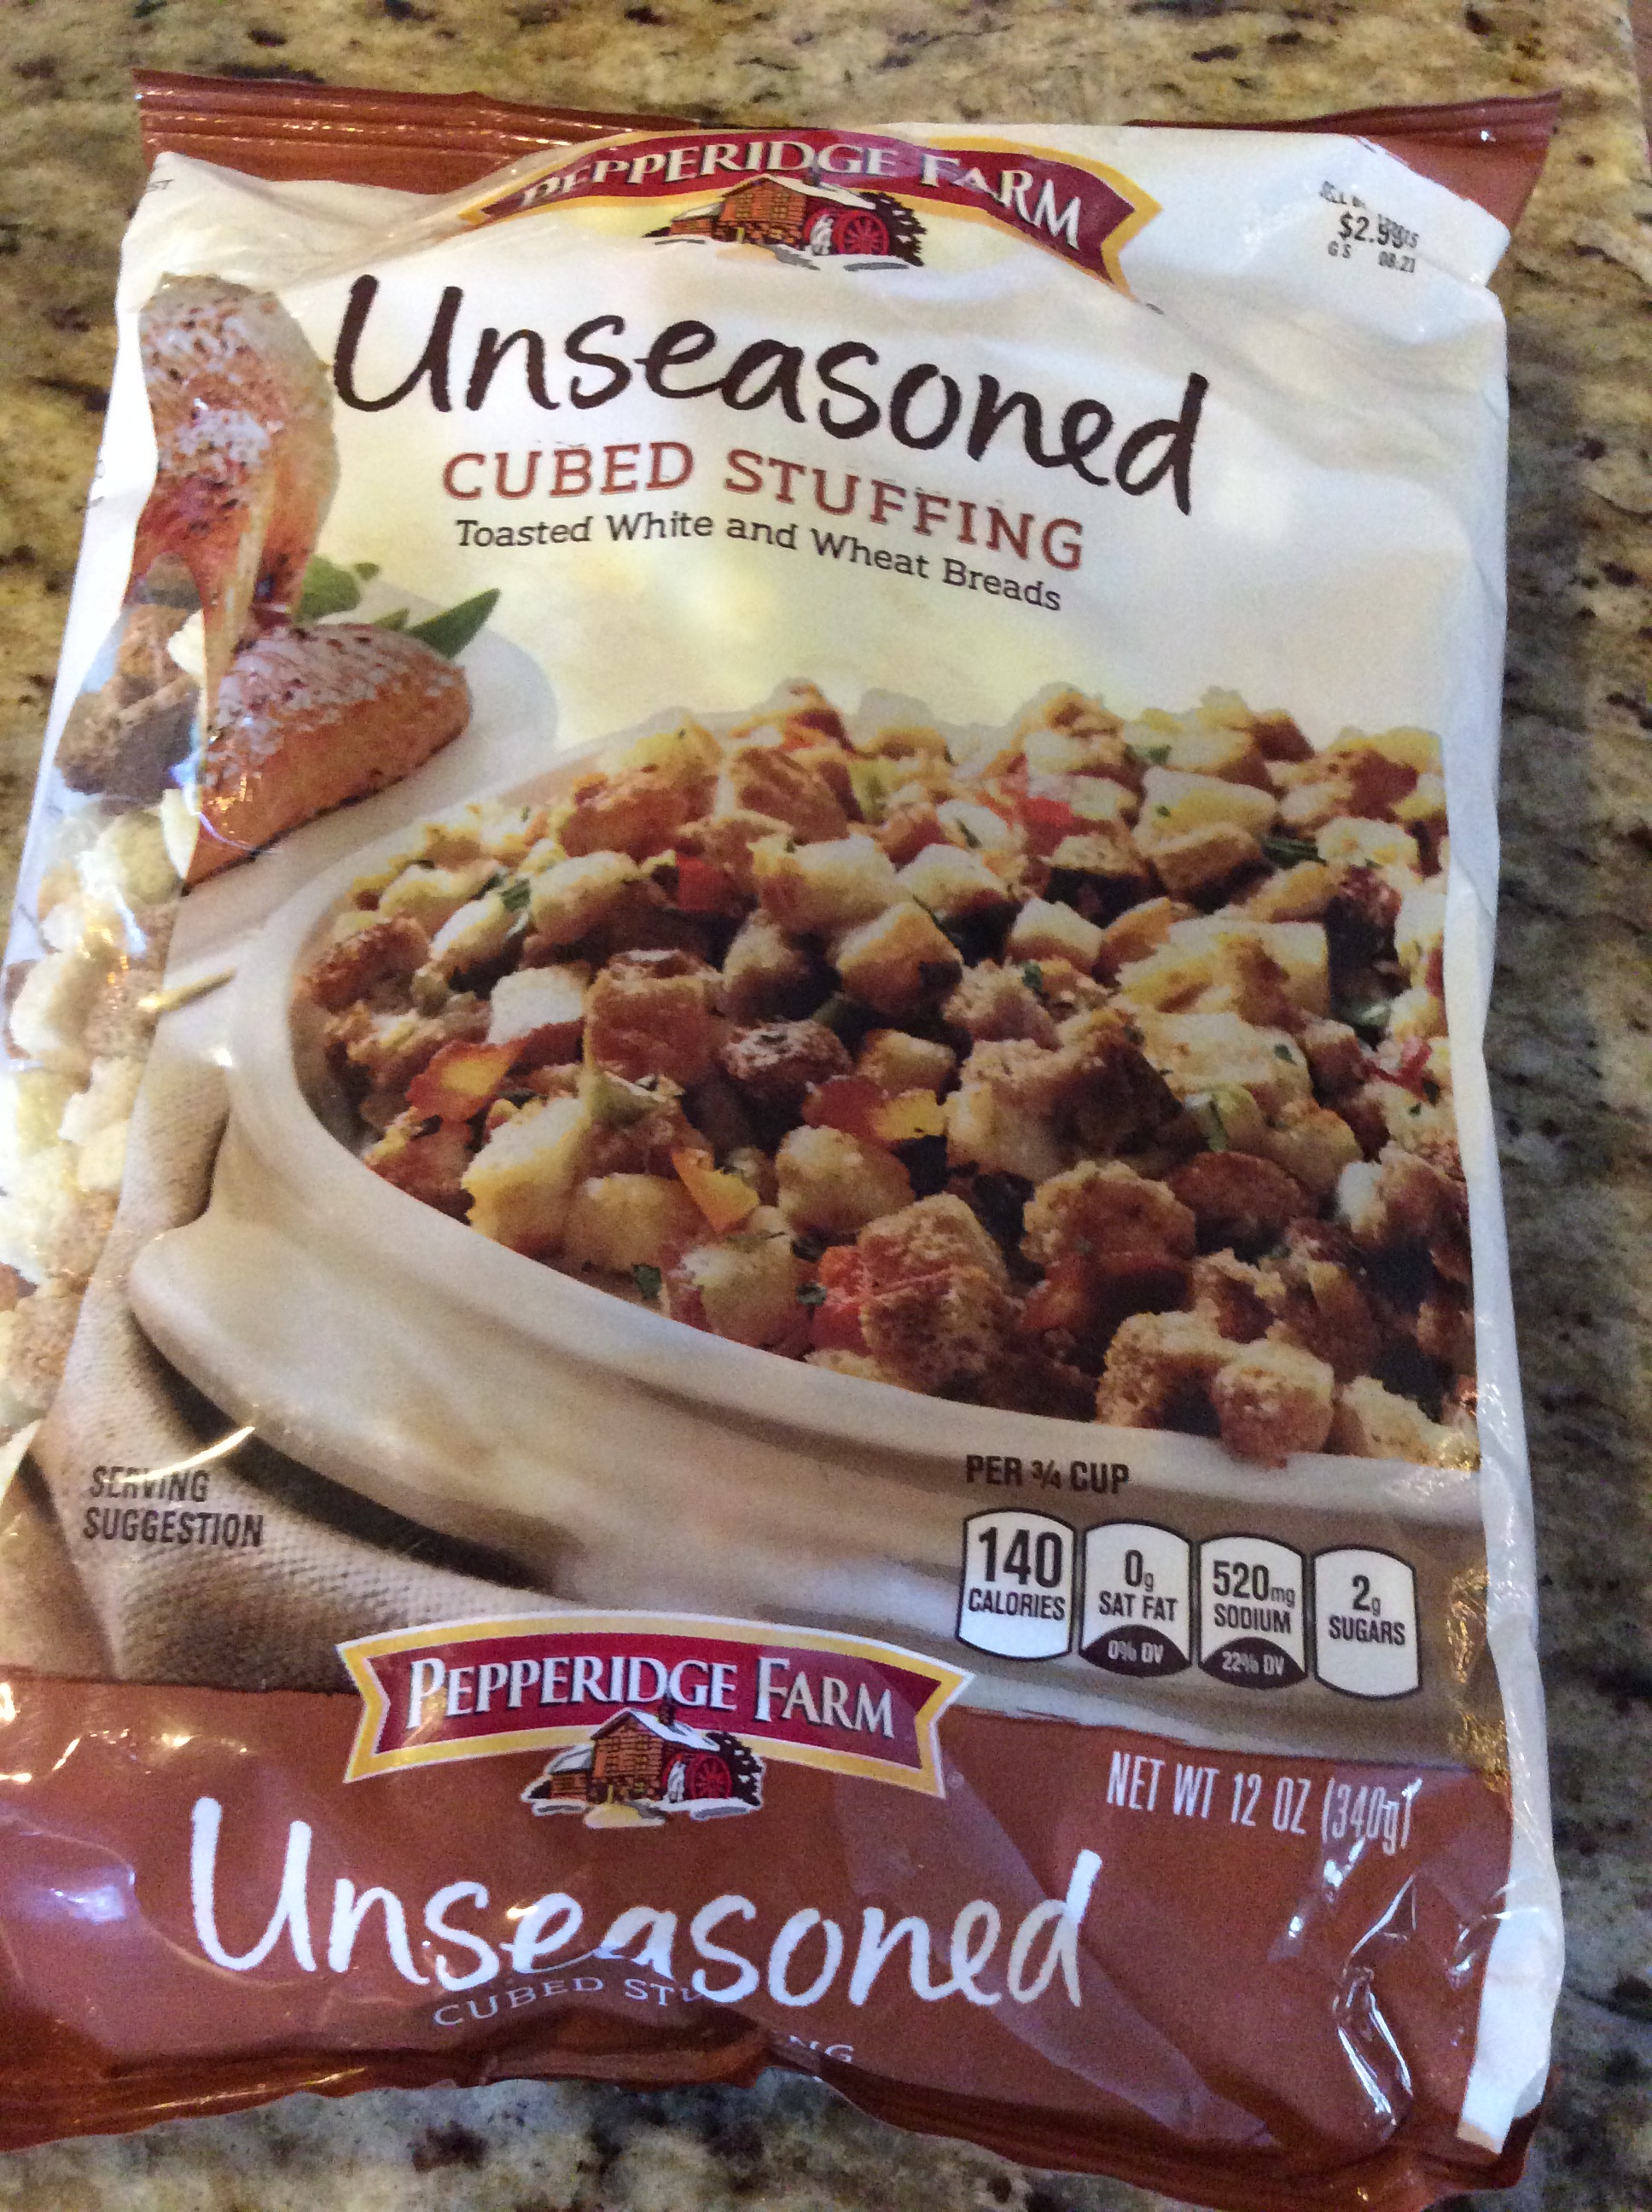
In the original Southern Living recipe, the way the cornbread was prepared was what I thought made the dish a standout and I haven’t changed that other than adding a bit of seasoning to my mixture. However, it called for adding fresh breadcrumbs (which I did for many years) but as time passed and I played with the recipe a bit, I found that adding in toasted cubes of both white and wheat bread improved not only the flavor but the texture. Since I do love a good shortcut in the kitchen, recently I found a more time efficient way to have these perfect toasted bread cubes…Pepperidge Farm’s Unseasoned Toasted White and Wheat Bread Crumbs! (Make sure NOT to use the seasoned kind!)
The perfect shortcut for cornbread dressing!
So whether you toast your own breadcrumbs or use the pre-made kind, stick with the way the cornbread is made in the recipe because it is truly the key to the dressing!
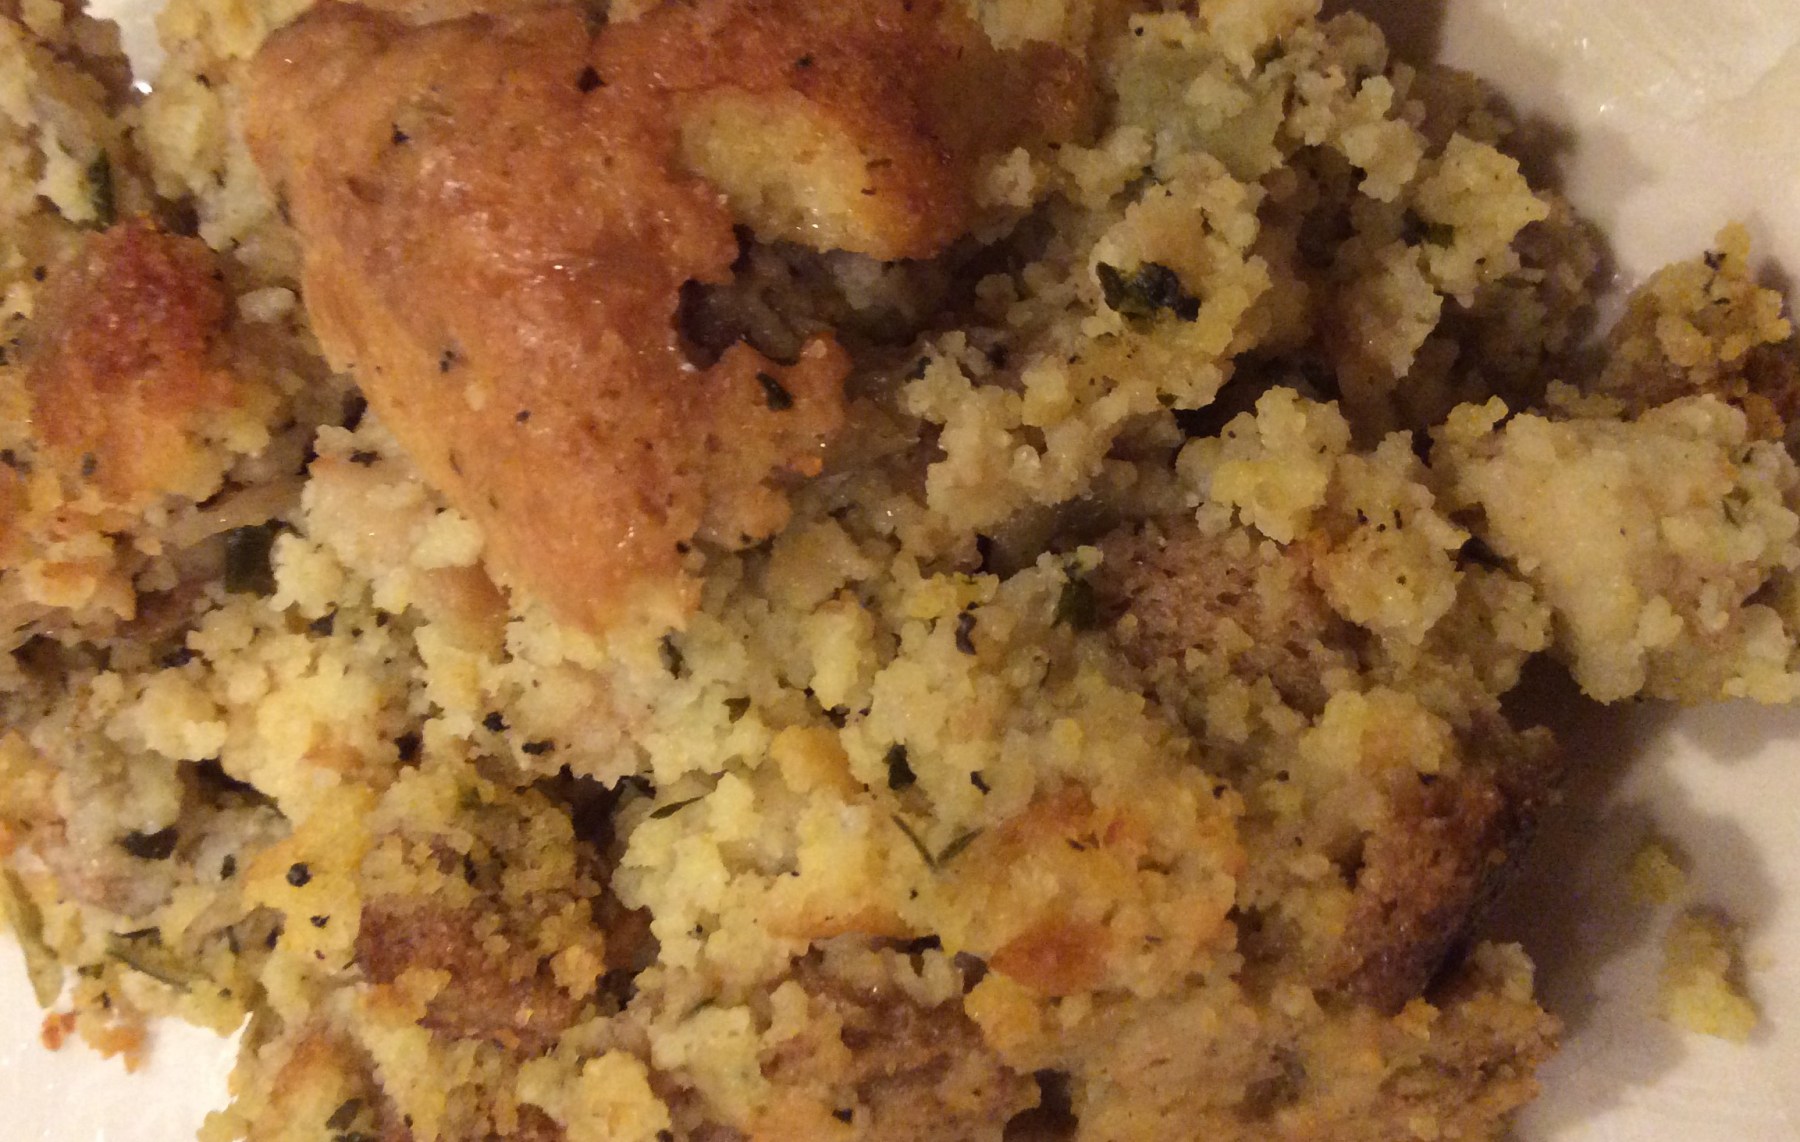
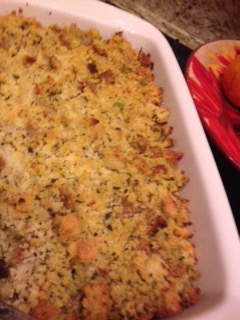
My next bit of advice is about the sage….you must use fresh UNLESS you have dried your own herbs from the previous summer and have that to use. It is key in the flavor! I did use my dried this time because its aroma was so incredible but never use dried sage from the grocery store in your dressing…no, no, no! If you compare the original recipe with my current version, you will see quite a few differences but the changes I have made have been done over time with lots of trial and error. (On a funny note, I don’t actually have a picture of my whole dressing completely baked to perfection because my daughter took a big hunk out of it before I could take the picture so that is why you only see a partial picture…I didn’t mind one bit!)
Frankie’s Southern Cornbread Dressing
Ingredients
1 cup butter, divided
3 cups Self-Rising Cornmeal Mix
1 cup All Purpose Flour
7 large eggs, divided
3 cups buttermilk
1 teaspoon, garlic powder
2 1/2 – 3 cups white and wheat bread cubes, toasted
2 large sweet onions, diced
6 celery ribs, diced
1 teaspoon, salt
1 teaspoon, black pepper
1 teaspoon, onion powder
1 teaspoon, celery salt
1 teaspoon, poultry seasoning
1/4 cup finely chopped fresh sage
6 cups Chicken Broth (more if needed)
Directions
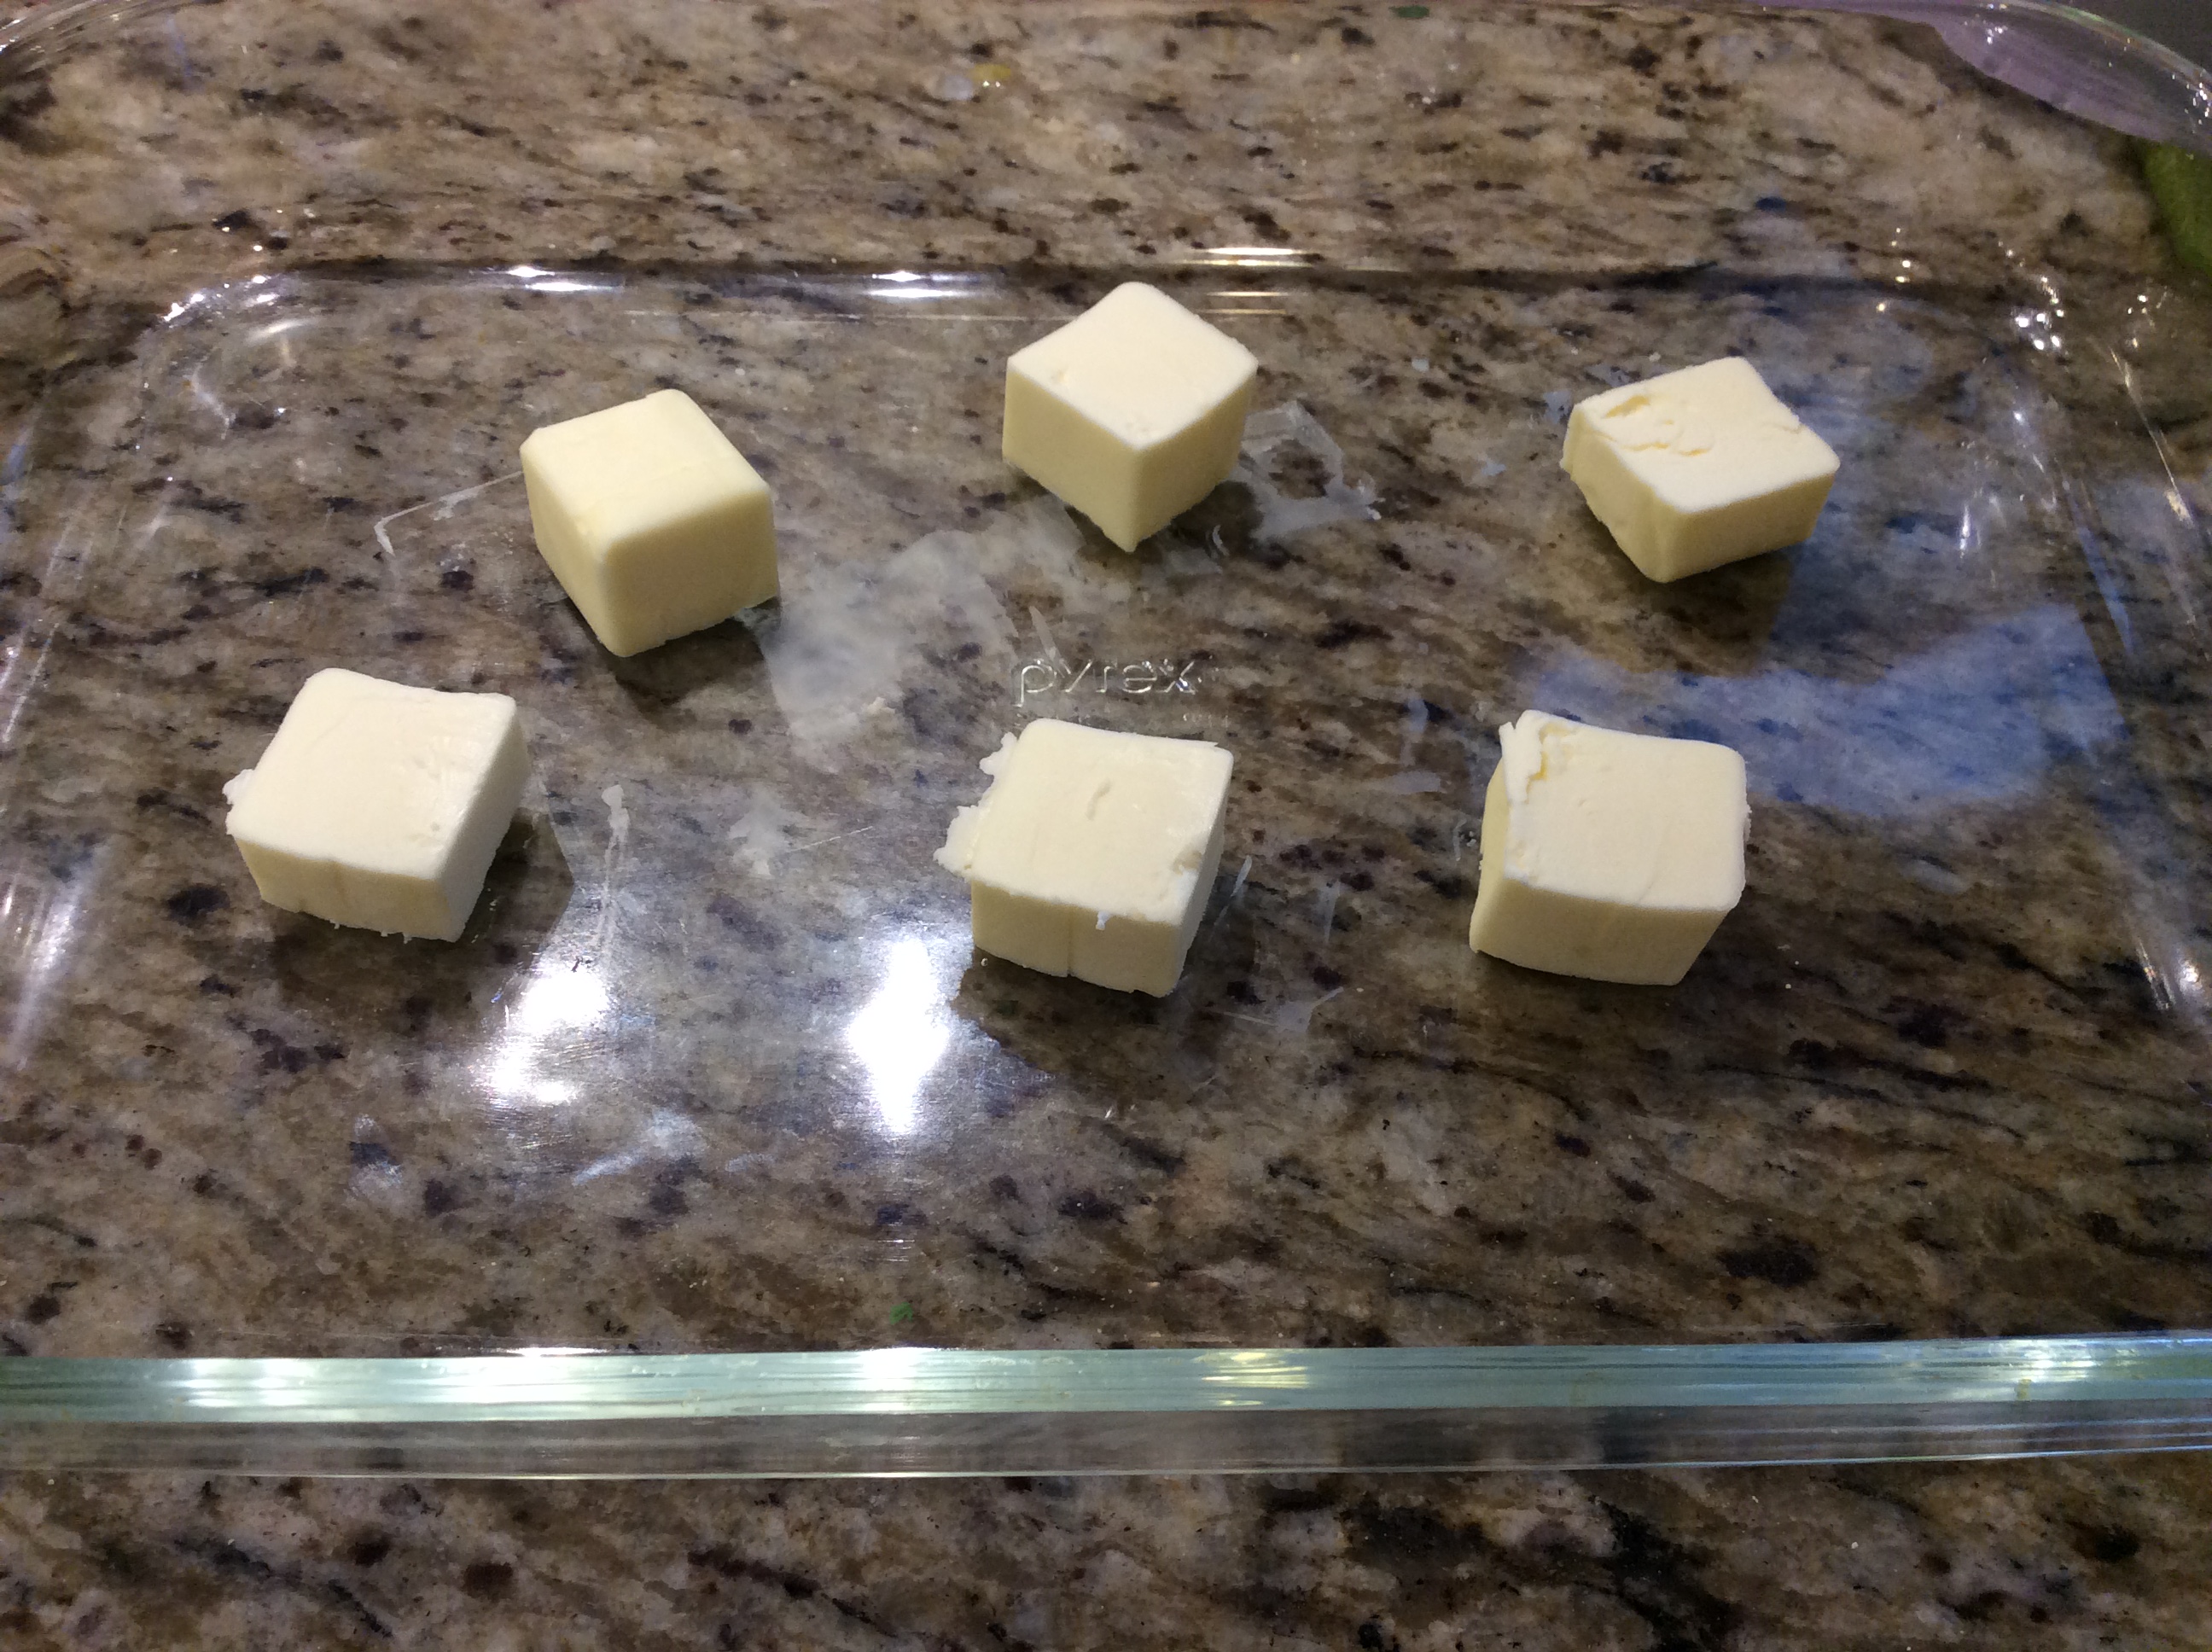
Place 1/2 cup butter in a 13- x 9-inch pan; heat in oven at 425° for 4 minutes.
Butter going into oven to melt and heat pan….Important Step!Melted butter that will be poured into batter
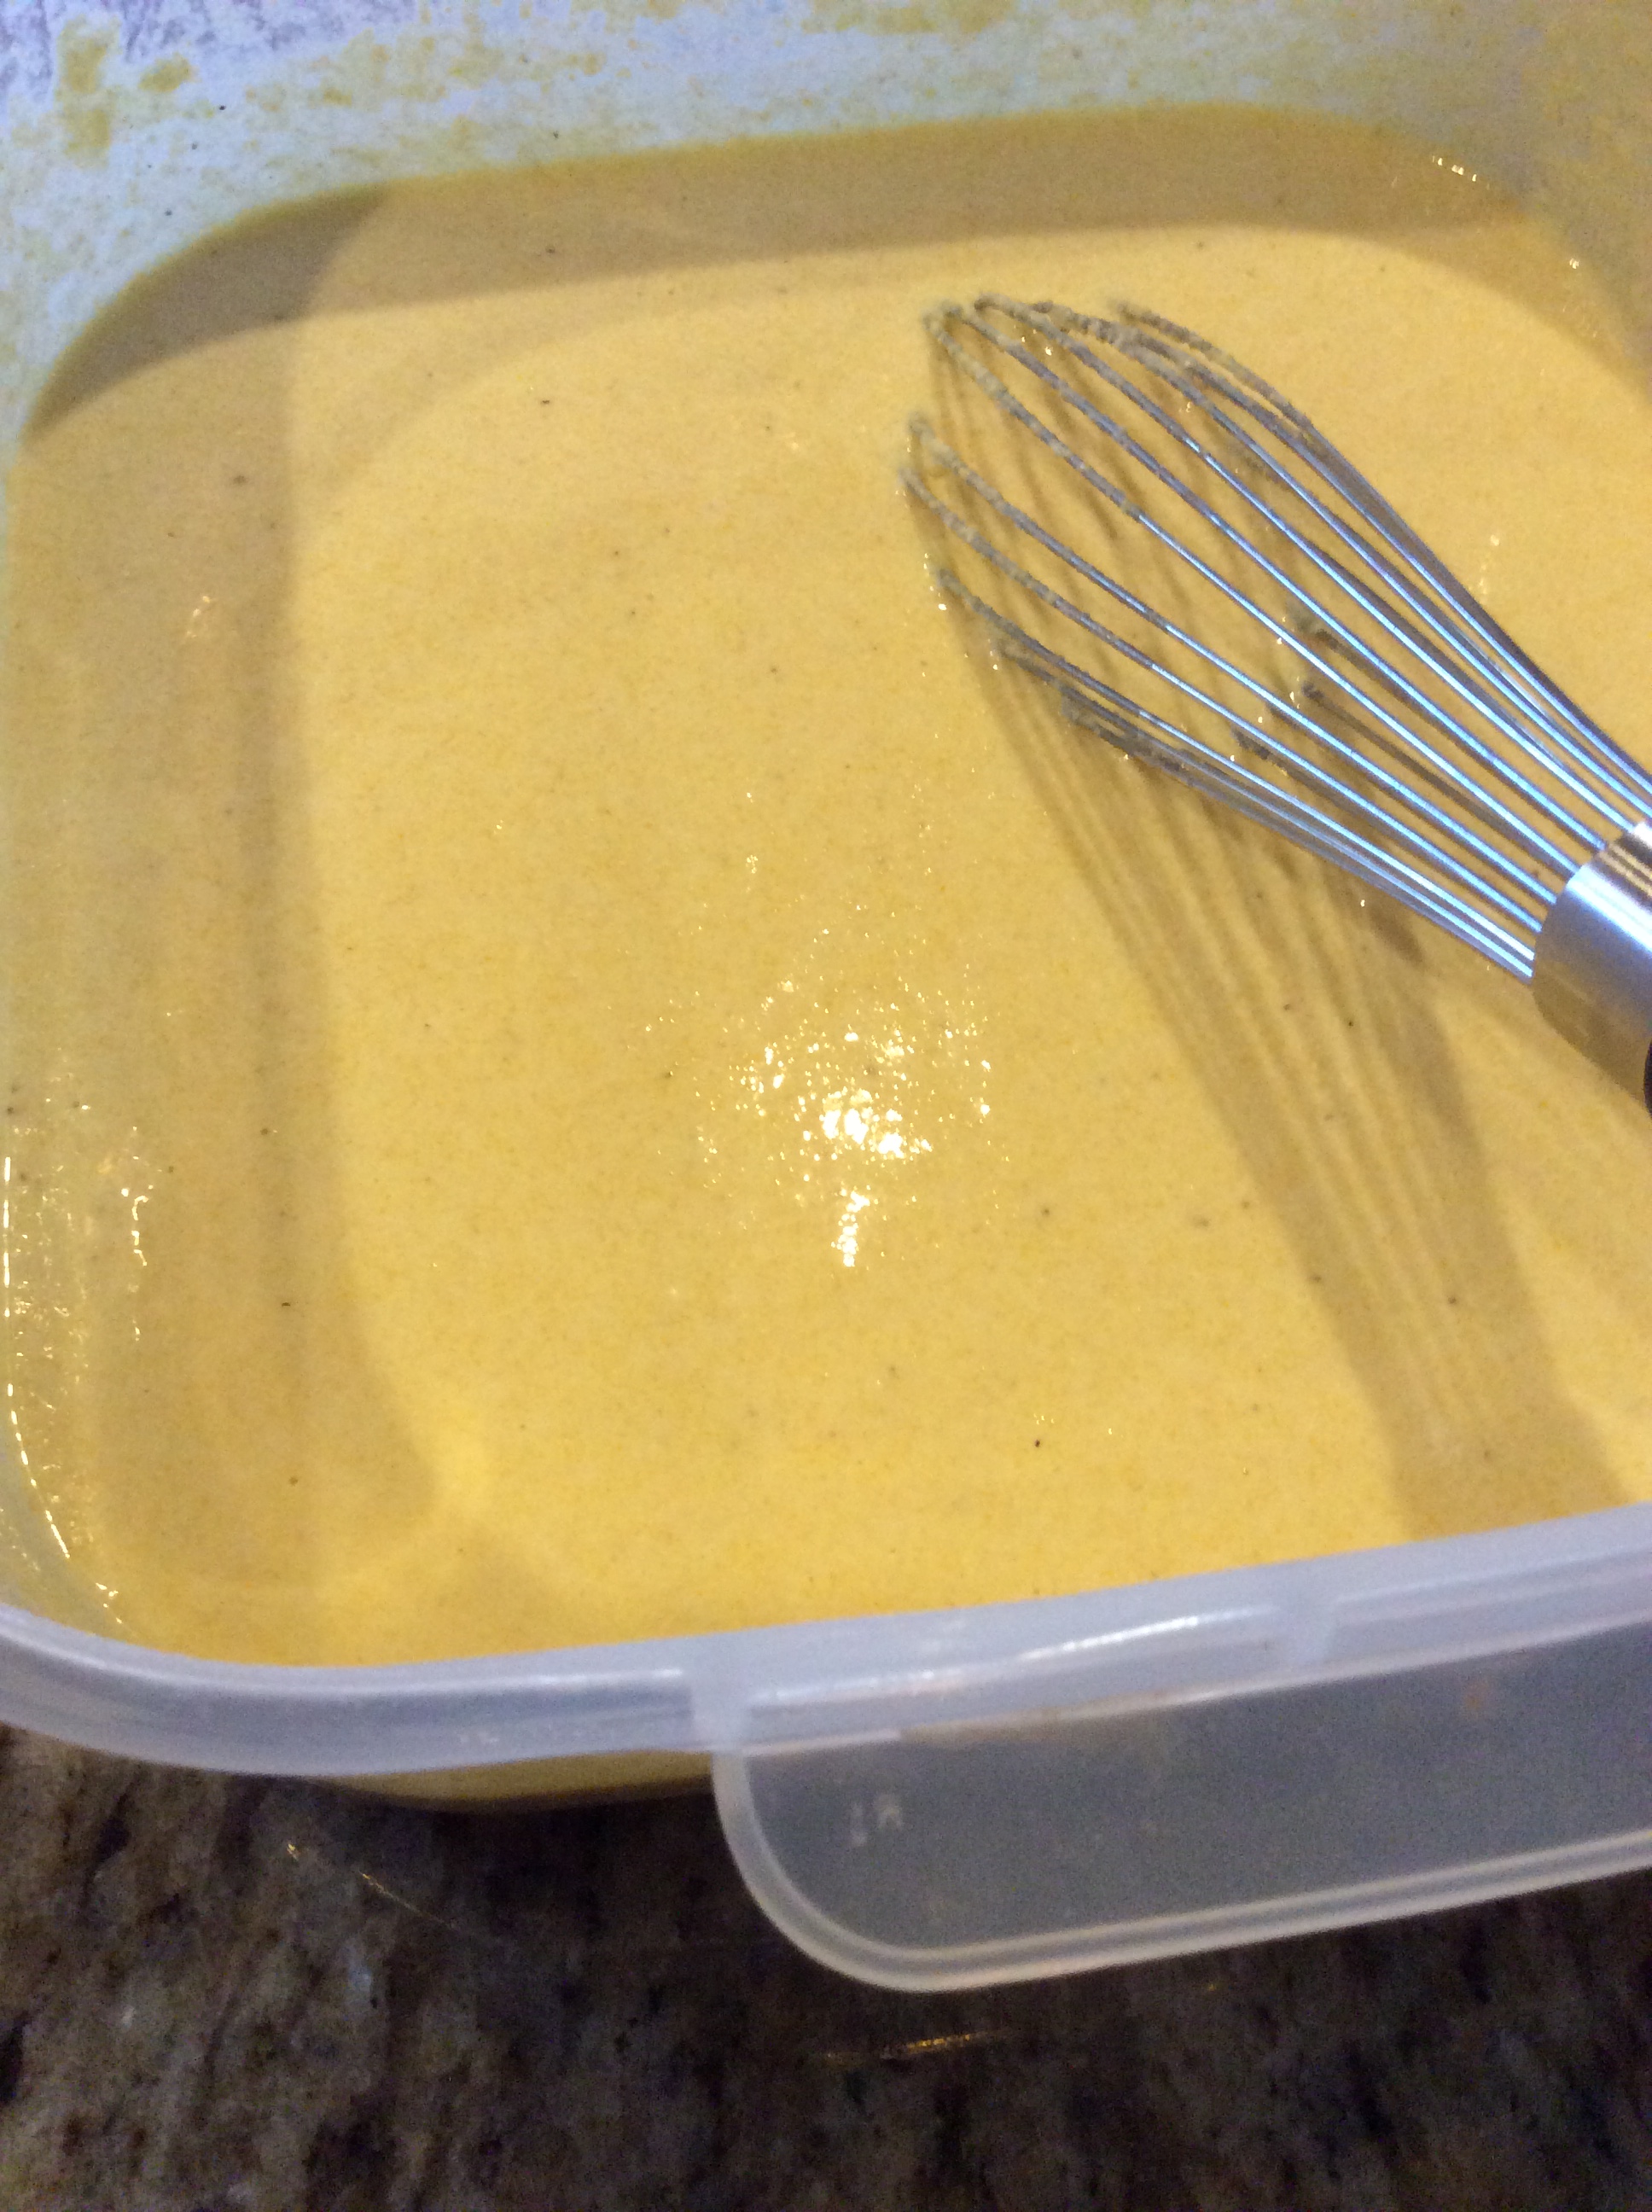
Combine cornmeal and flour; whisk in 3 eggs, buttermilk, and garlic powder.
Batter Mixture
Pour hot butter into batter, stirring until blended. Pour batter into pan.
Batter into hot pan going into oven…you will hear a little sizzle!
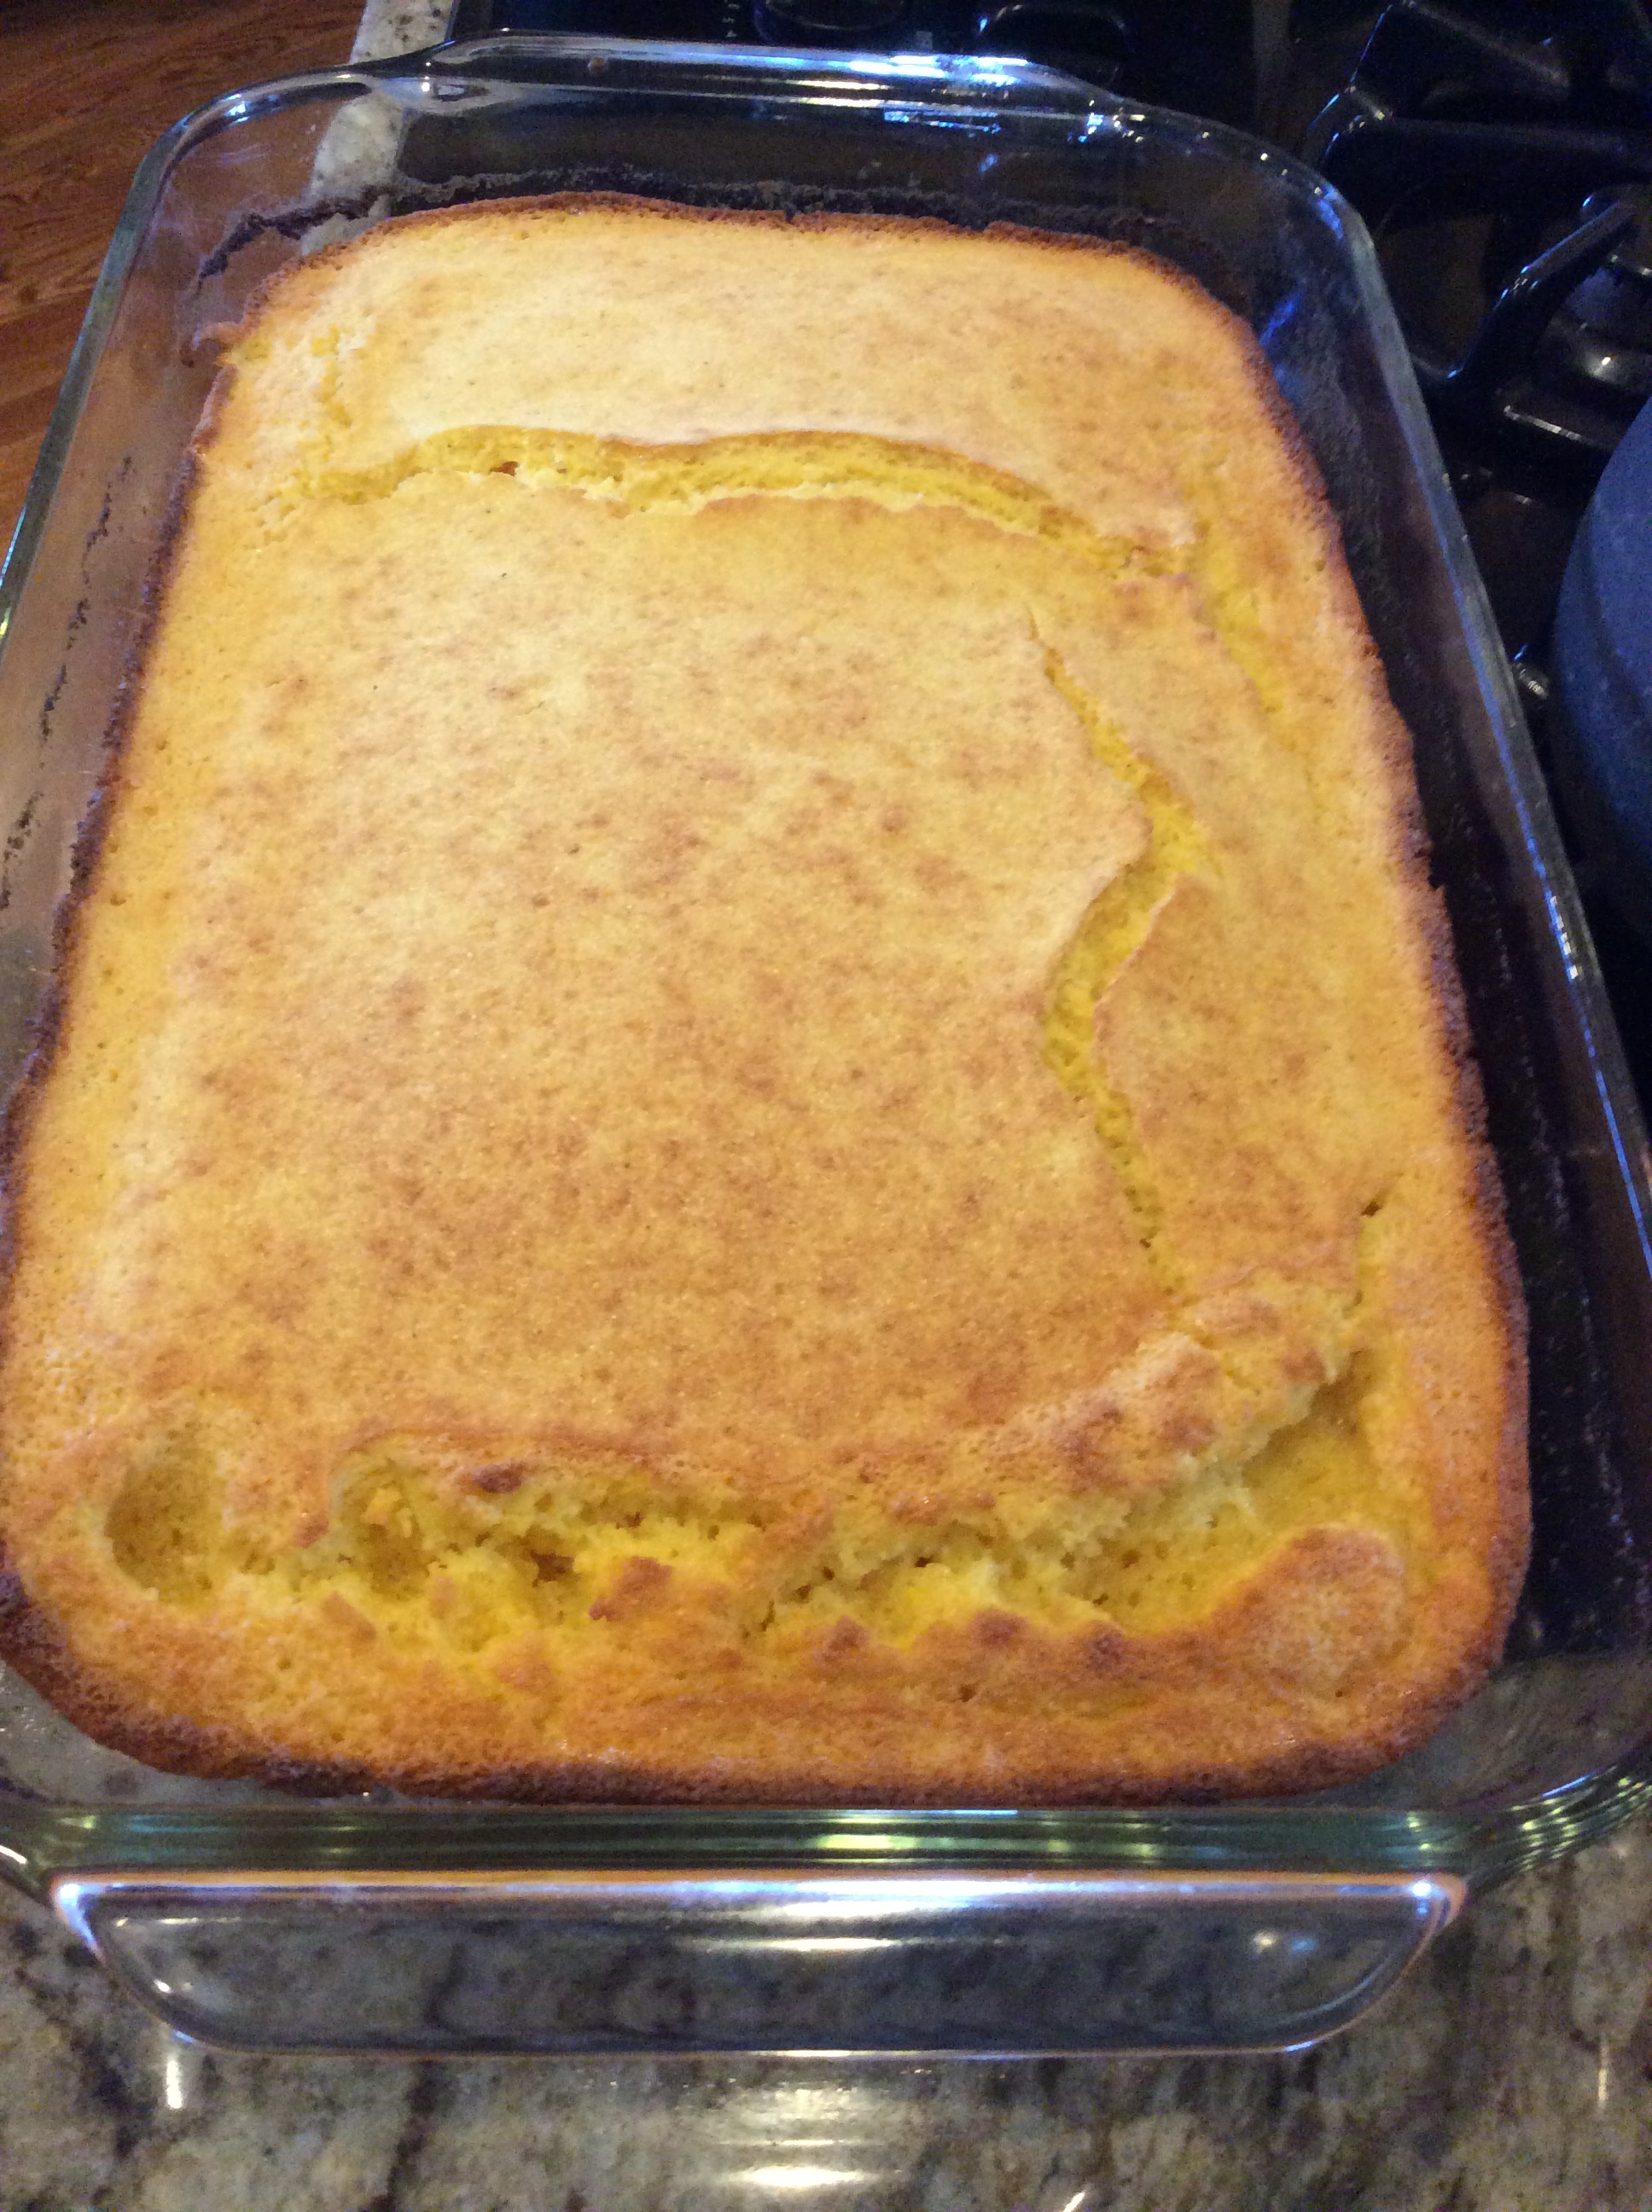
Bake at 425° for 30 minutes or until golden brown. Cool.
Baked to perfection and hot from the oven!
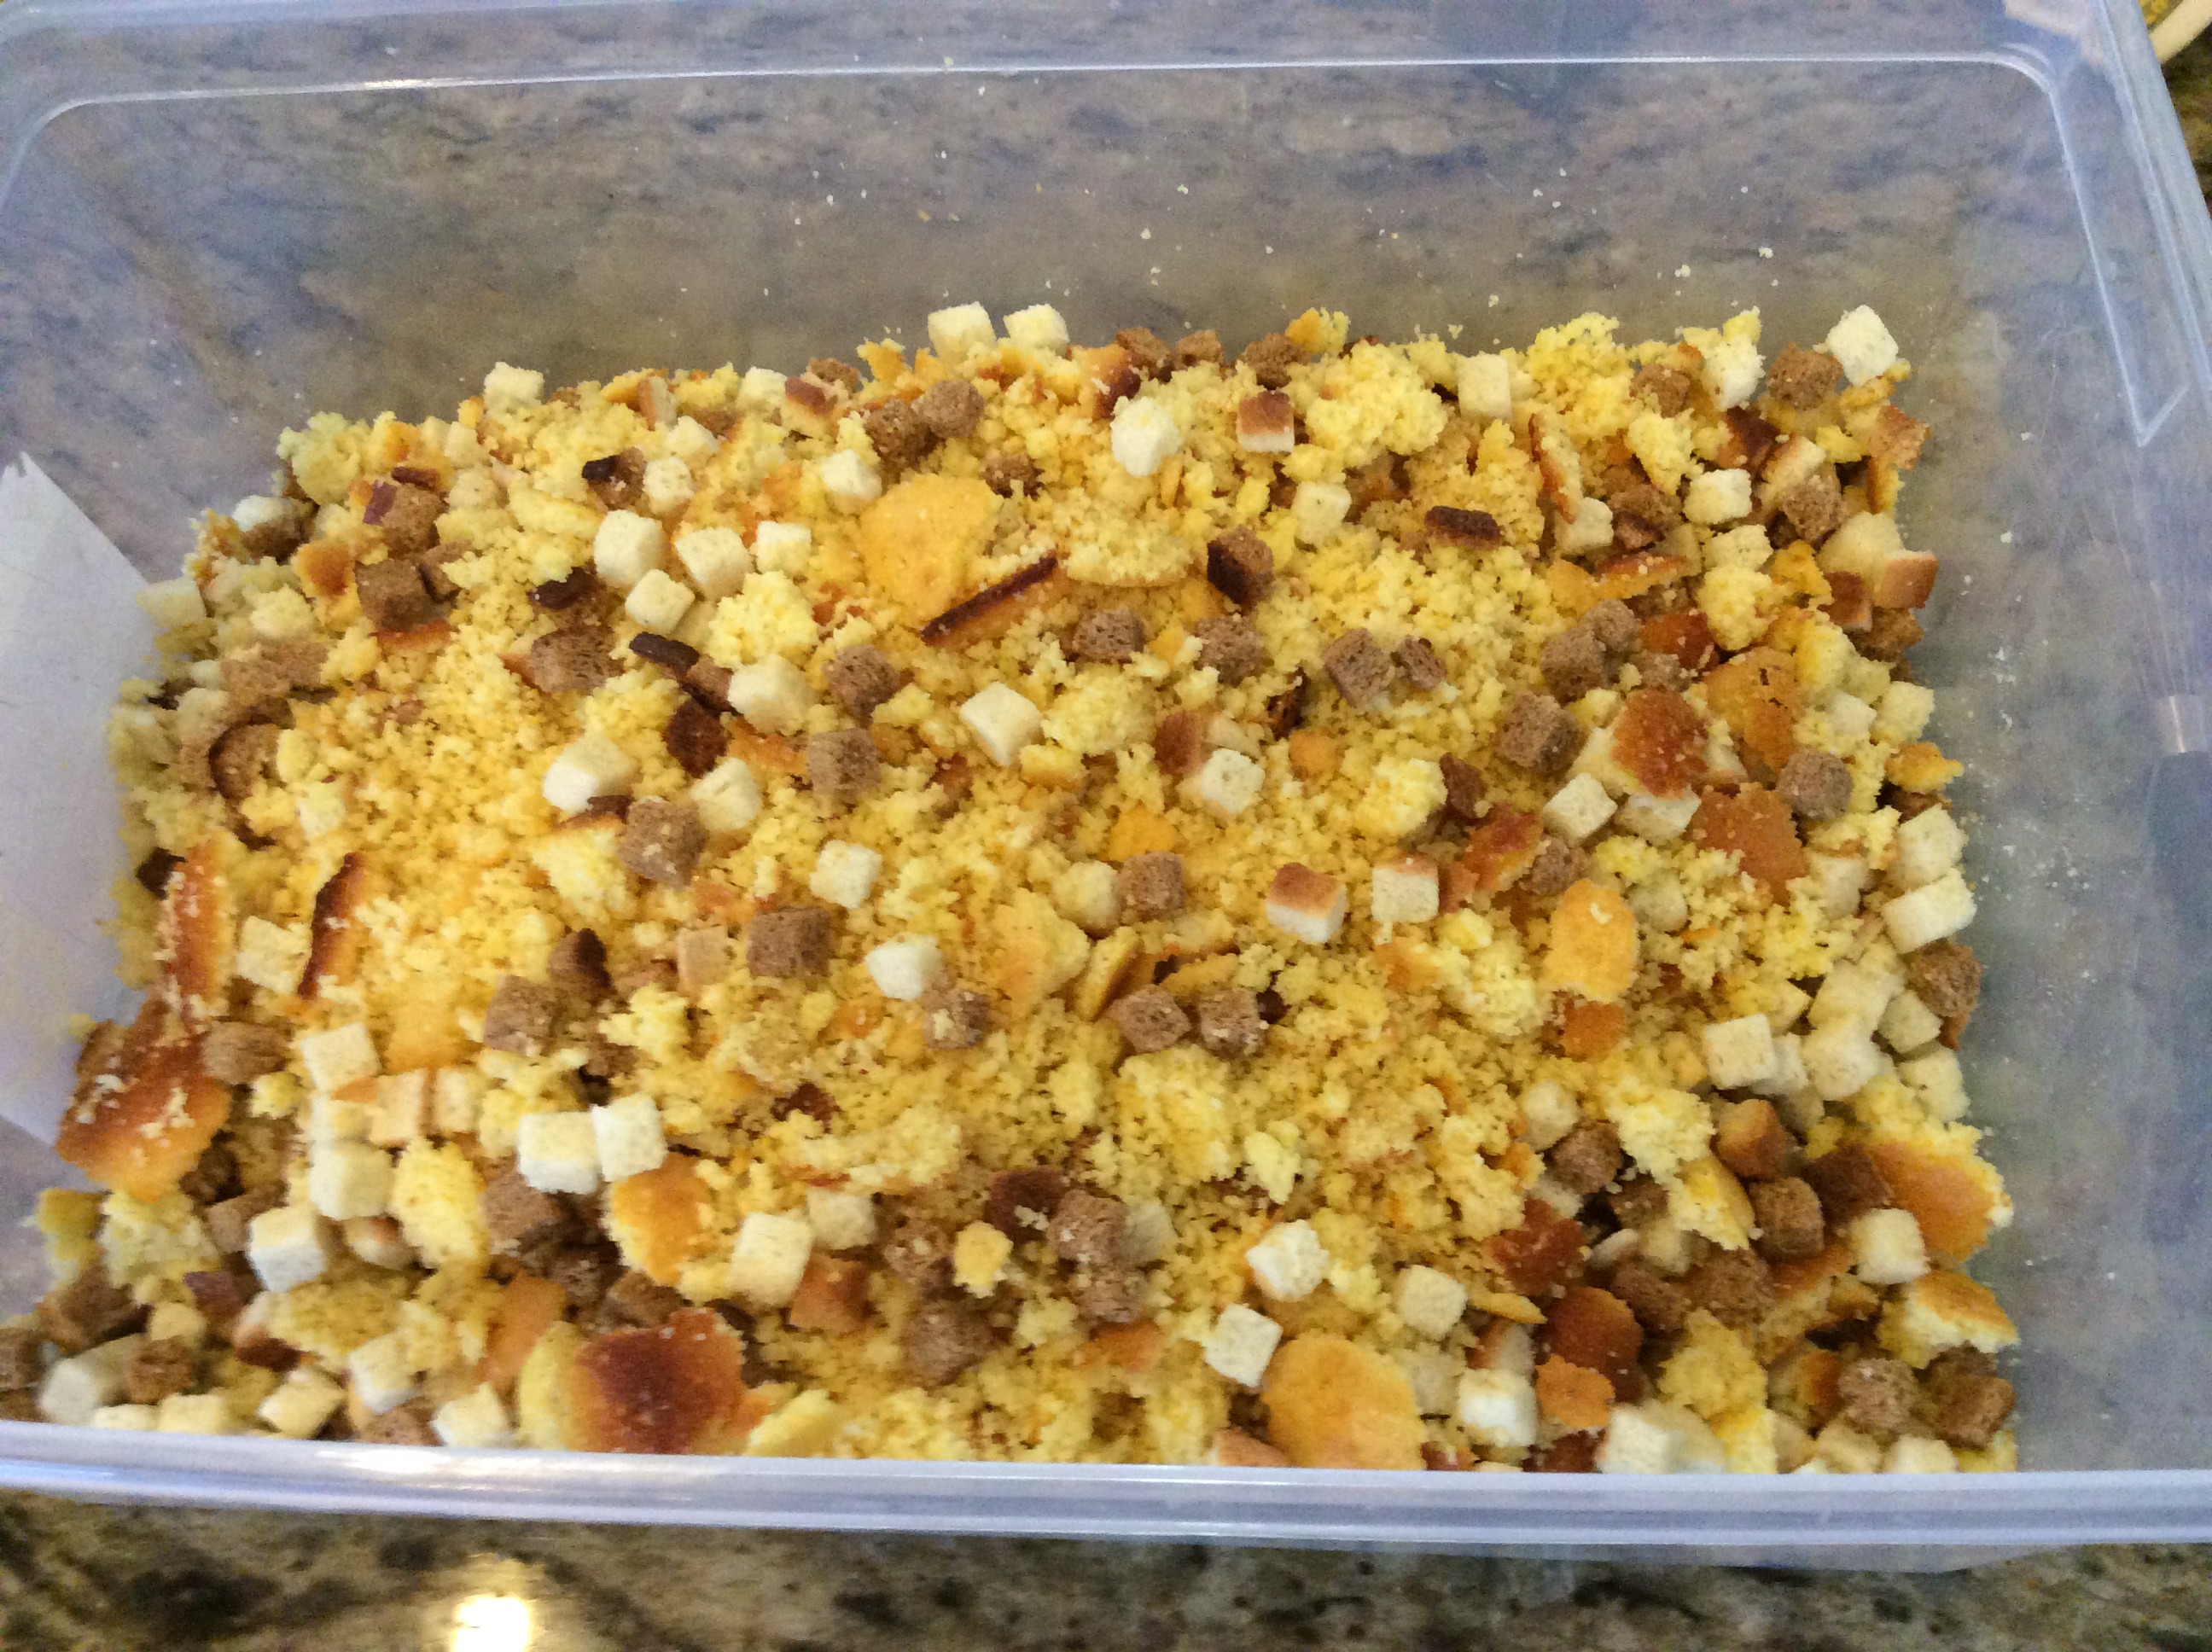
Crumble cornbread into a large bowl; stir in toasted bread cubes, and set aside.
Crumbled cornbread and toasted bread cubes mixed together…I use a really large bowl for this
Melt remaining 1/2 cup butter in a large skillet over medium heat; add onions, celery, and seasonings (next 5 ingredients) and saute until tender. Stir in sage, and saute a couple of more minutes.
Vegetable Mixture…perfectly sautéed and fragrant
Stir vegetable mixture, remaining 4 eggs, chicken broth (remember my broth tip I mentioned above), and pepper into cornbread mixture; pour evenly into 1 lightly greased 13- x 9-inch baking dish and 1 lightly greased 8-inch square baking dish. Cover and chill 8 hours.
Bake, uncovered, at 375° for 35 to 40 minutes or until golden brown.
Cornbread dressing…minus one serving thanks to Ashleigh 🙂
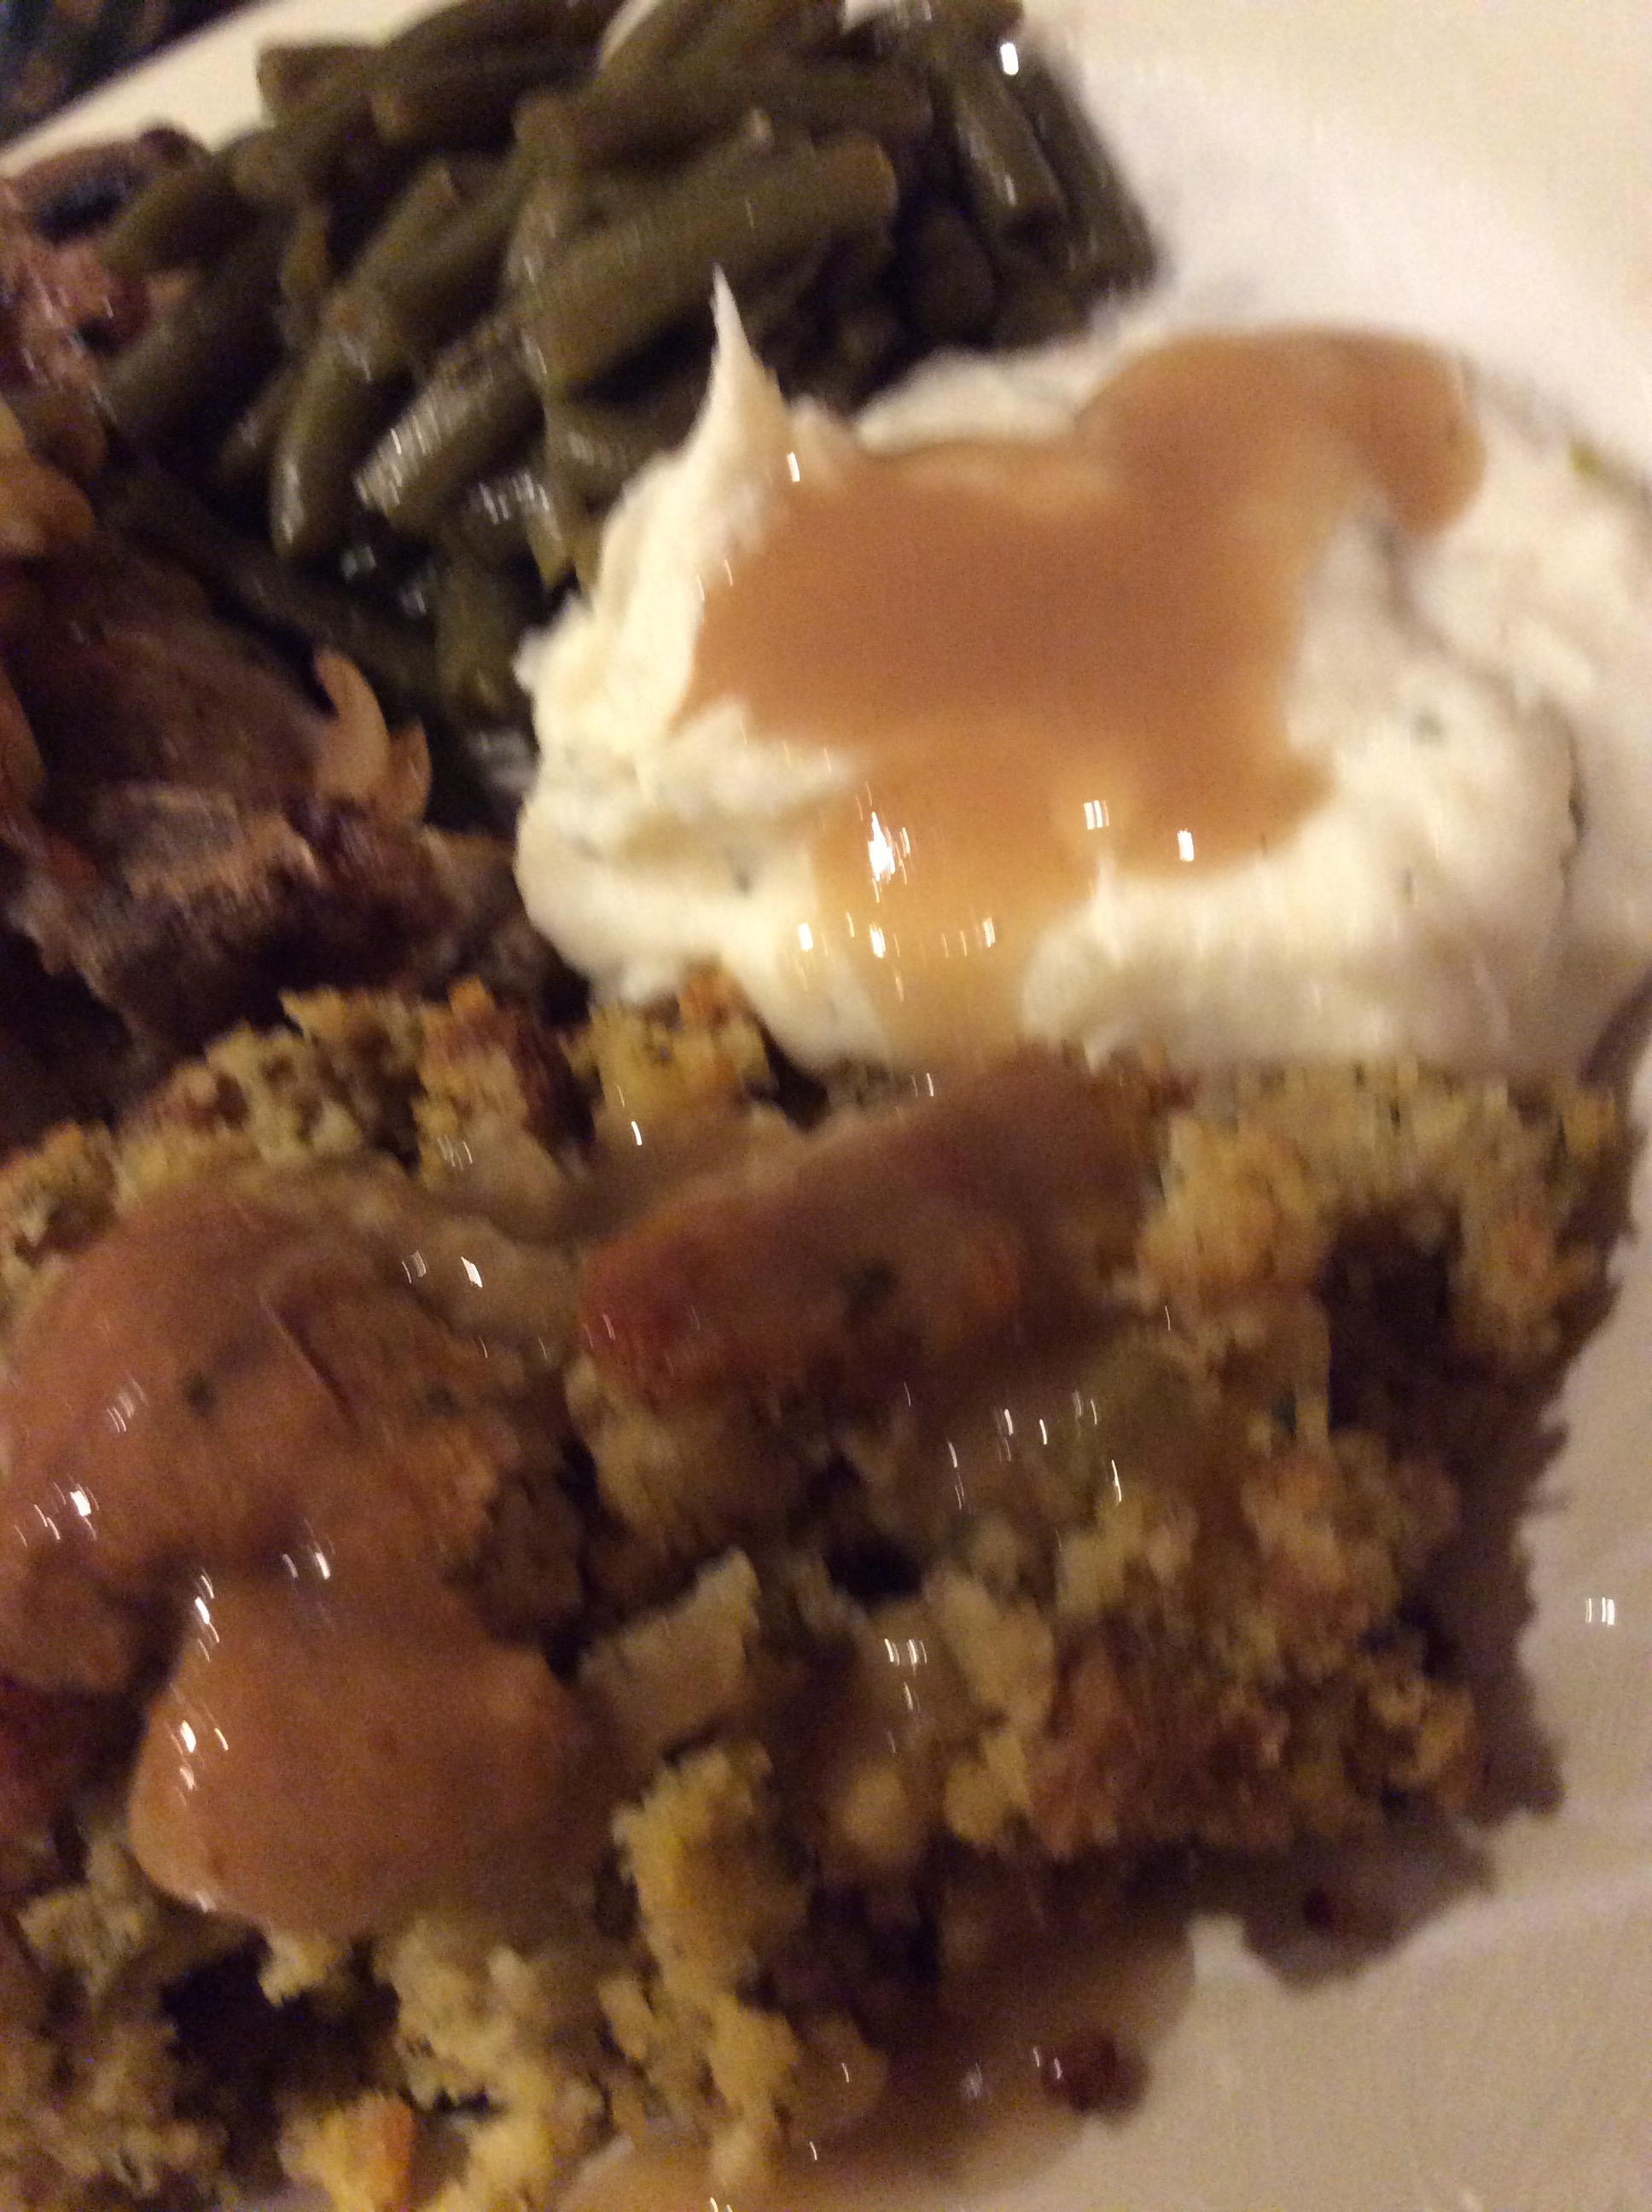
Add a little gravy, some mashed potatoes, green beans, and oh, yes..the turkey and you have a beautiful, delicious meal!
Bottom Line: I hope you love this recipe as much as me and my family do…It is very southern, very traditional, and very delicious! Happy Thanksgiving and until next time, I am Chef Frankie encouraging you to “Love and Cook with Wild Abandon”!
Last night, I whipped up the simplest and easiest stir fry and it was so beautiful and tasty, I knew I had to share it with you. It is kind of a different take on stir fry in that I use a homemade Szechwan sauce. Szechwan cuisine is typically considered one with fresh but bold flavors. It generally has beautiful colors that tempt the palate and a spiciness that leaves you with a bit of a satisfying tingle for your taste buds. Our family loves all types of Asian food but add a bit of my Szechwan Sauce and it will always makes it just a little better!
When I make Szechwan Sauce, I always make a little extra to freeze so I have some on hand for quick weeknight meals. This was the case last night when I just pulled some out of the freezer and thawed for our evening meal…Szechwan Chicken Stir Fry. (Note: While I am providing the Szechwan Sauce recipe below, I don’t have pictures of it at this time because this was from a previously made batch but you really don’t need pics…It is so easy!)
Szchewan Chicken Stir Fry
Ingredients for Szchewan Sauce
8 Tablespoons of Water
4 Tablespoons of Ketchup
2 Tablespoons of Soy Sauce
4 teaspoons of Cornstarch
2 teaspoons of Honey
1 Tablespoon of Crushed Red Pepper
1/2 teaspoon of Ground Ginger
In a bowl, mix all ingredients together and refrigerate for at least 30 minutes. Bring back to room temperature before using.
Ingredients for Chicken Stir Fry
4 chicken breast cutlets (or even better, 4 boneless, skinless chicken thighs)
1 1/2 cups Szechwan Sauce (Recipe below but you can also use store bought)
2 Tablespoons of butter
1 Bunch of Bok Choy, chopped
1 8 oz package of Bean Sprouts
1 Tablespoon of Ponzu Sauce (You could also use soy but I love the citrus that the Ponzu adds to the dish)
Directions
In a Zip-Lock Bag, marinate chicken in 1/2 cup of Szechwan Sauce and put in the refrigerator for at least 30 minutes (about 2 hours is ideal).
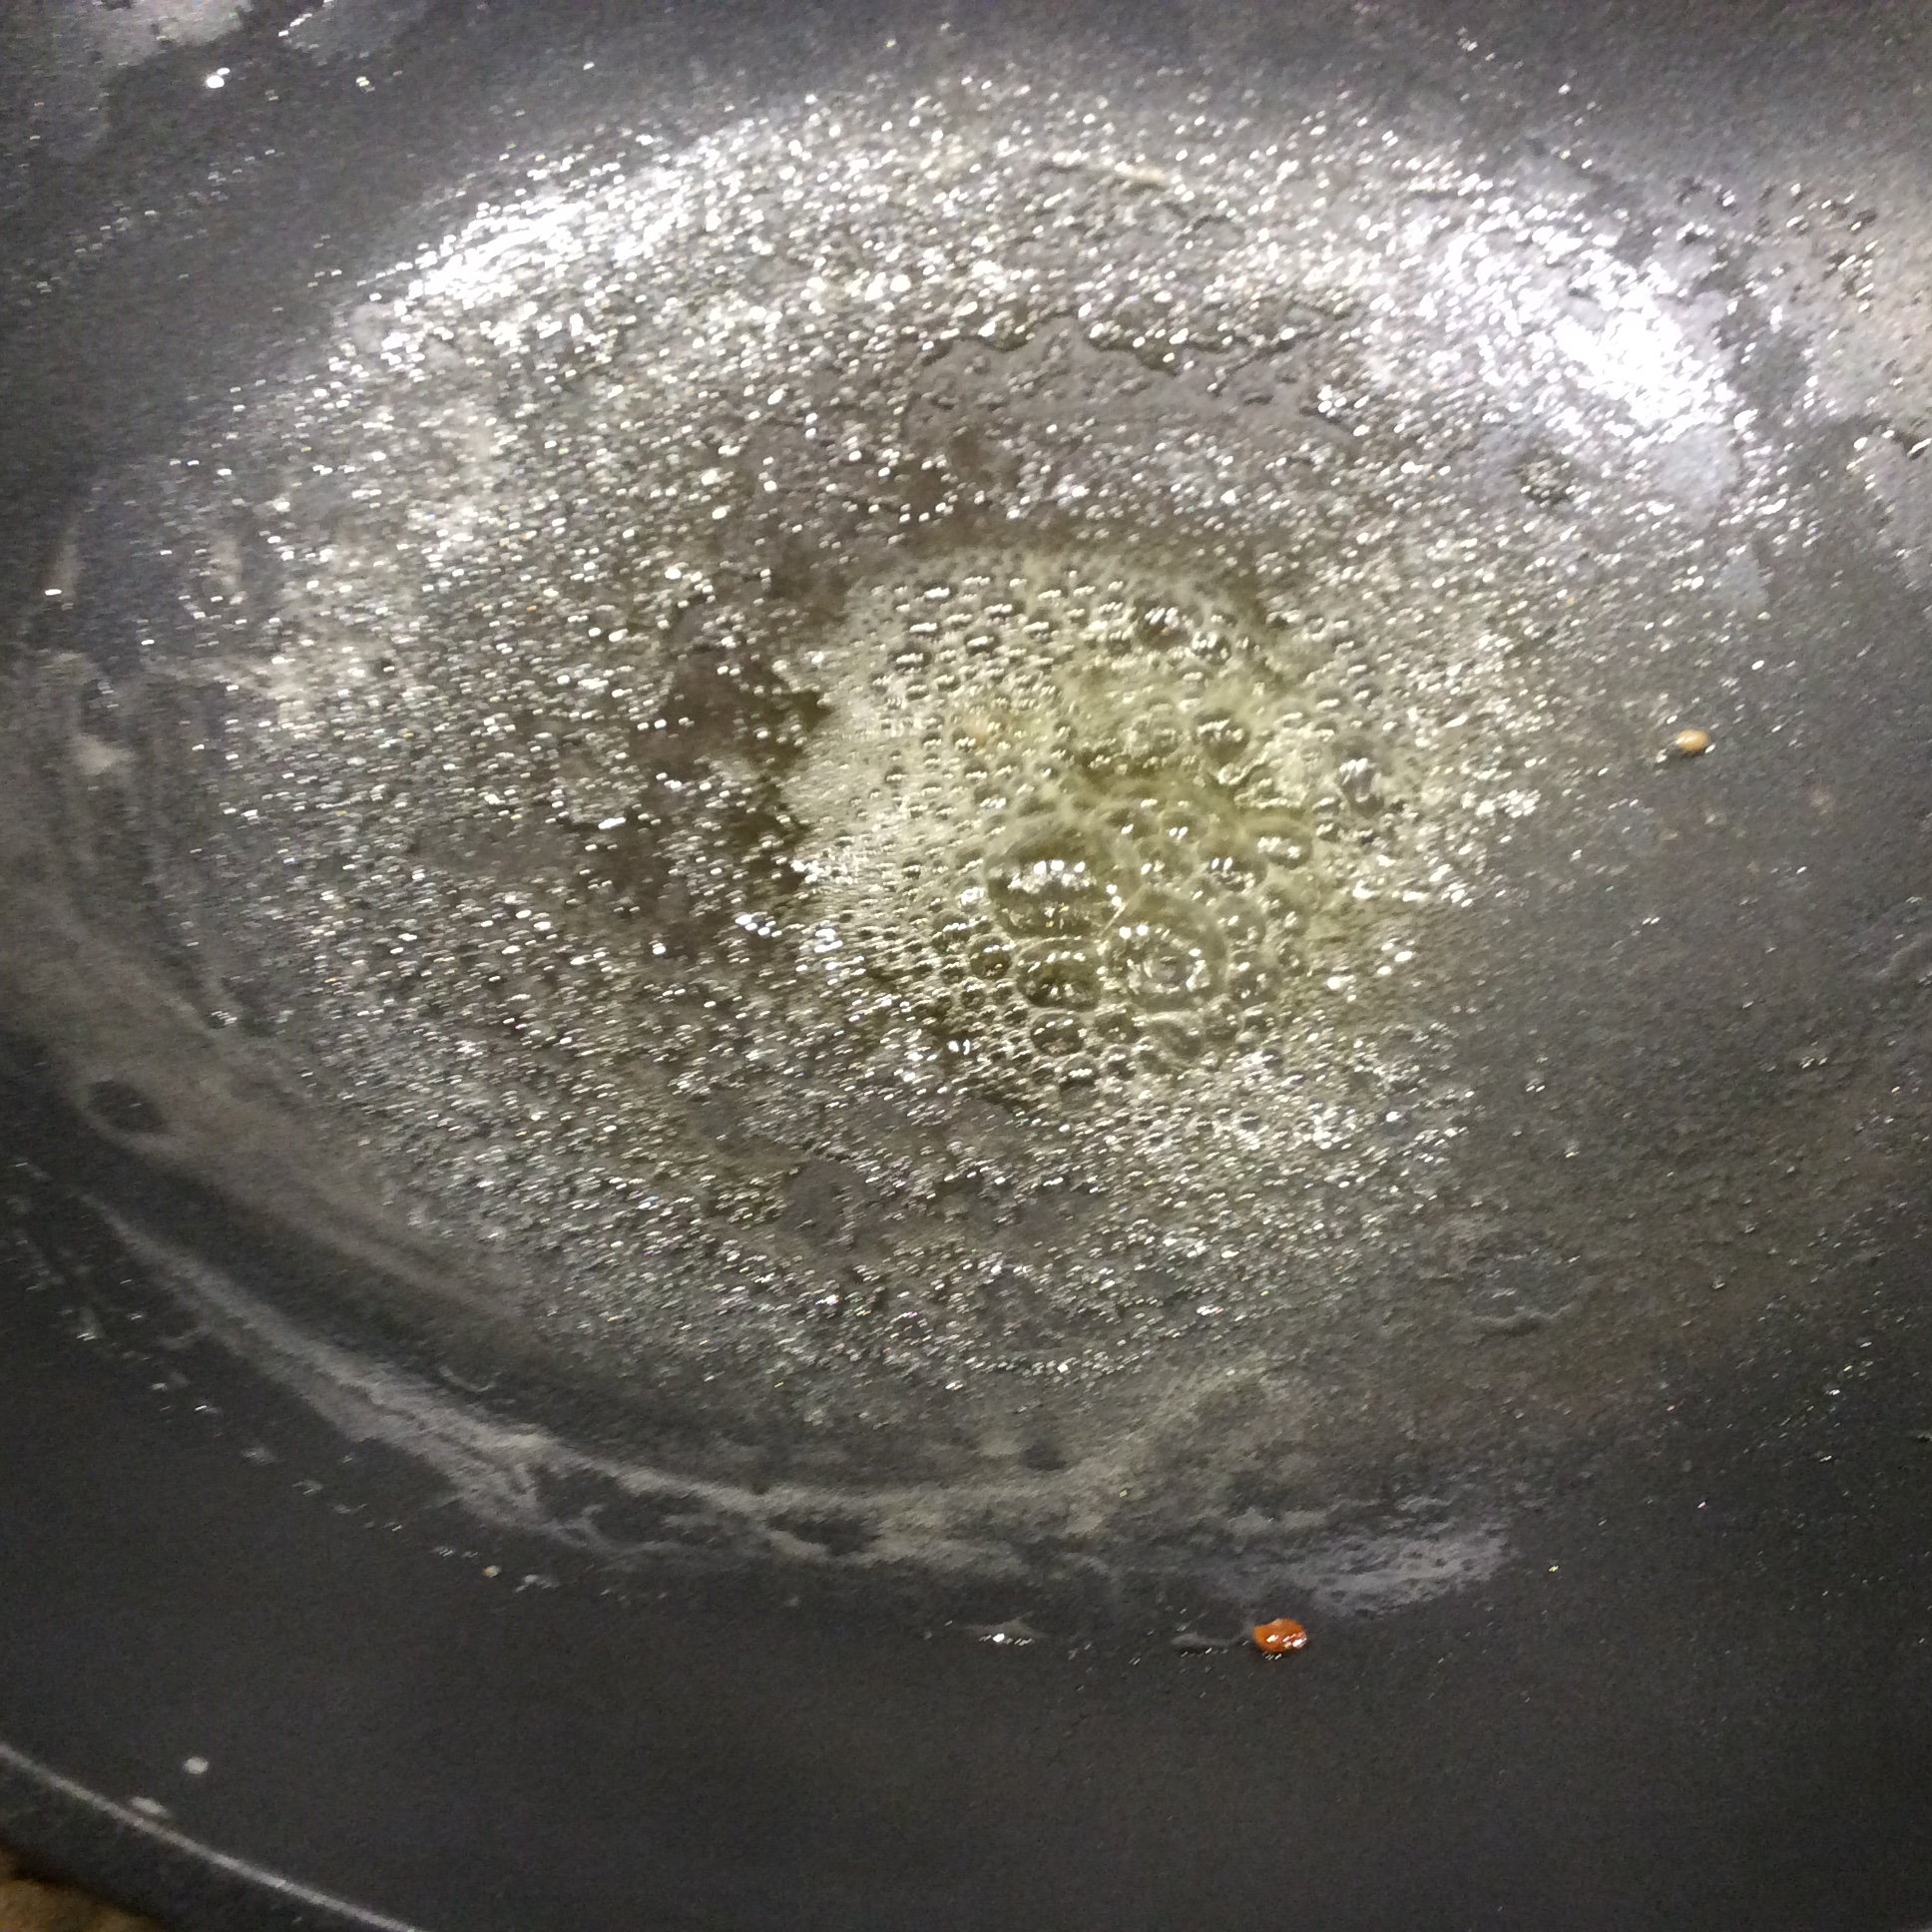
In a wok, melt the butter. Turn the heat onto Medium High (you want to get a good sear) and add in Chicken, searing both sides for about 2 minutes. (You aren’t cooking the chicken, just searing it).
Butter melting in the wok
Chicken going into sear
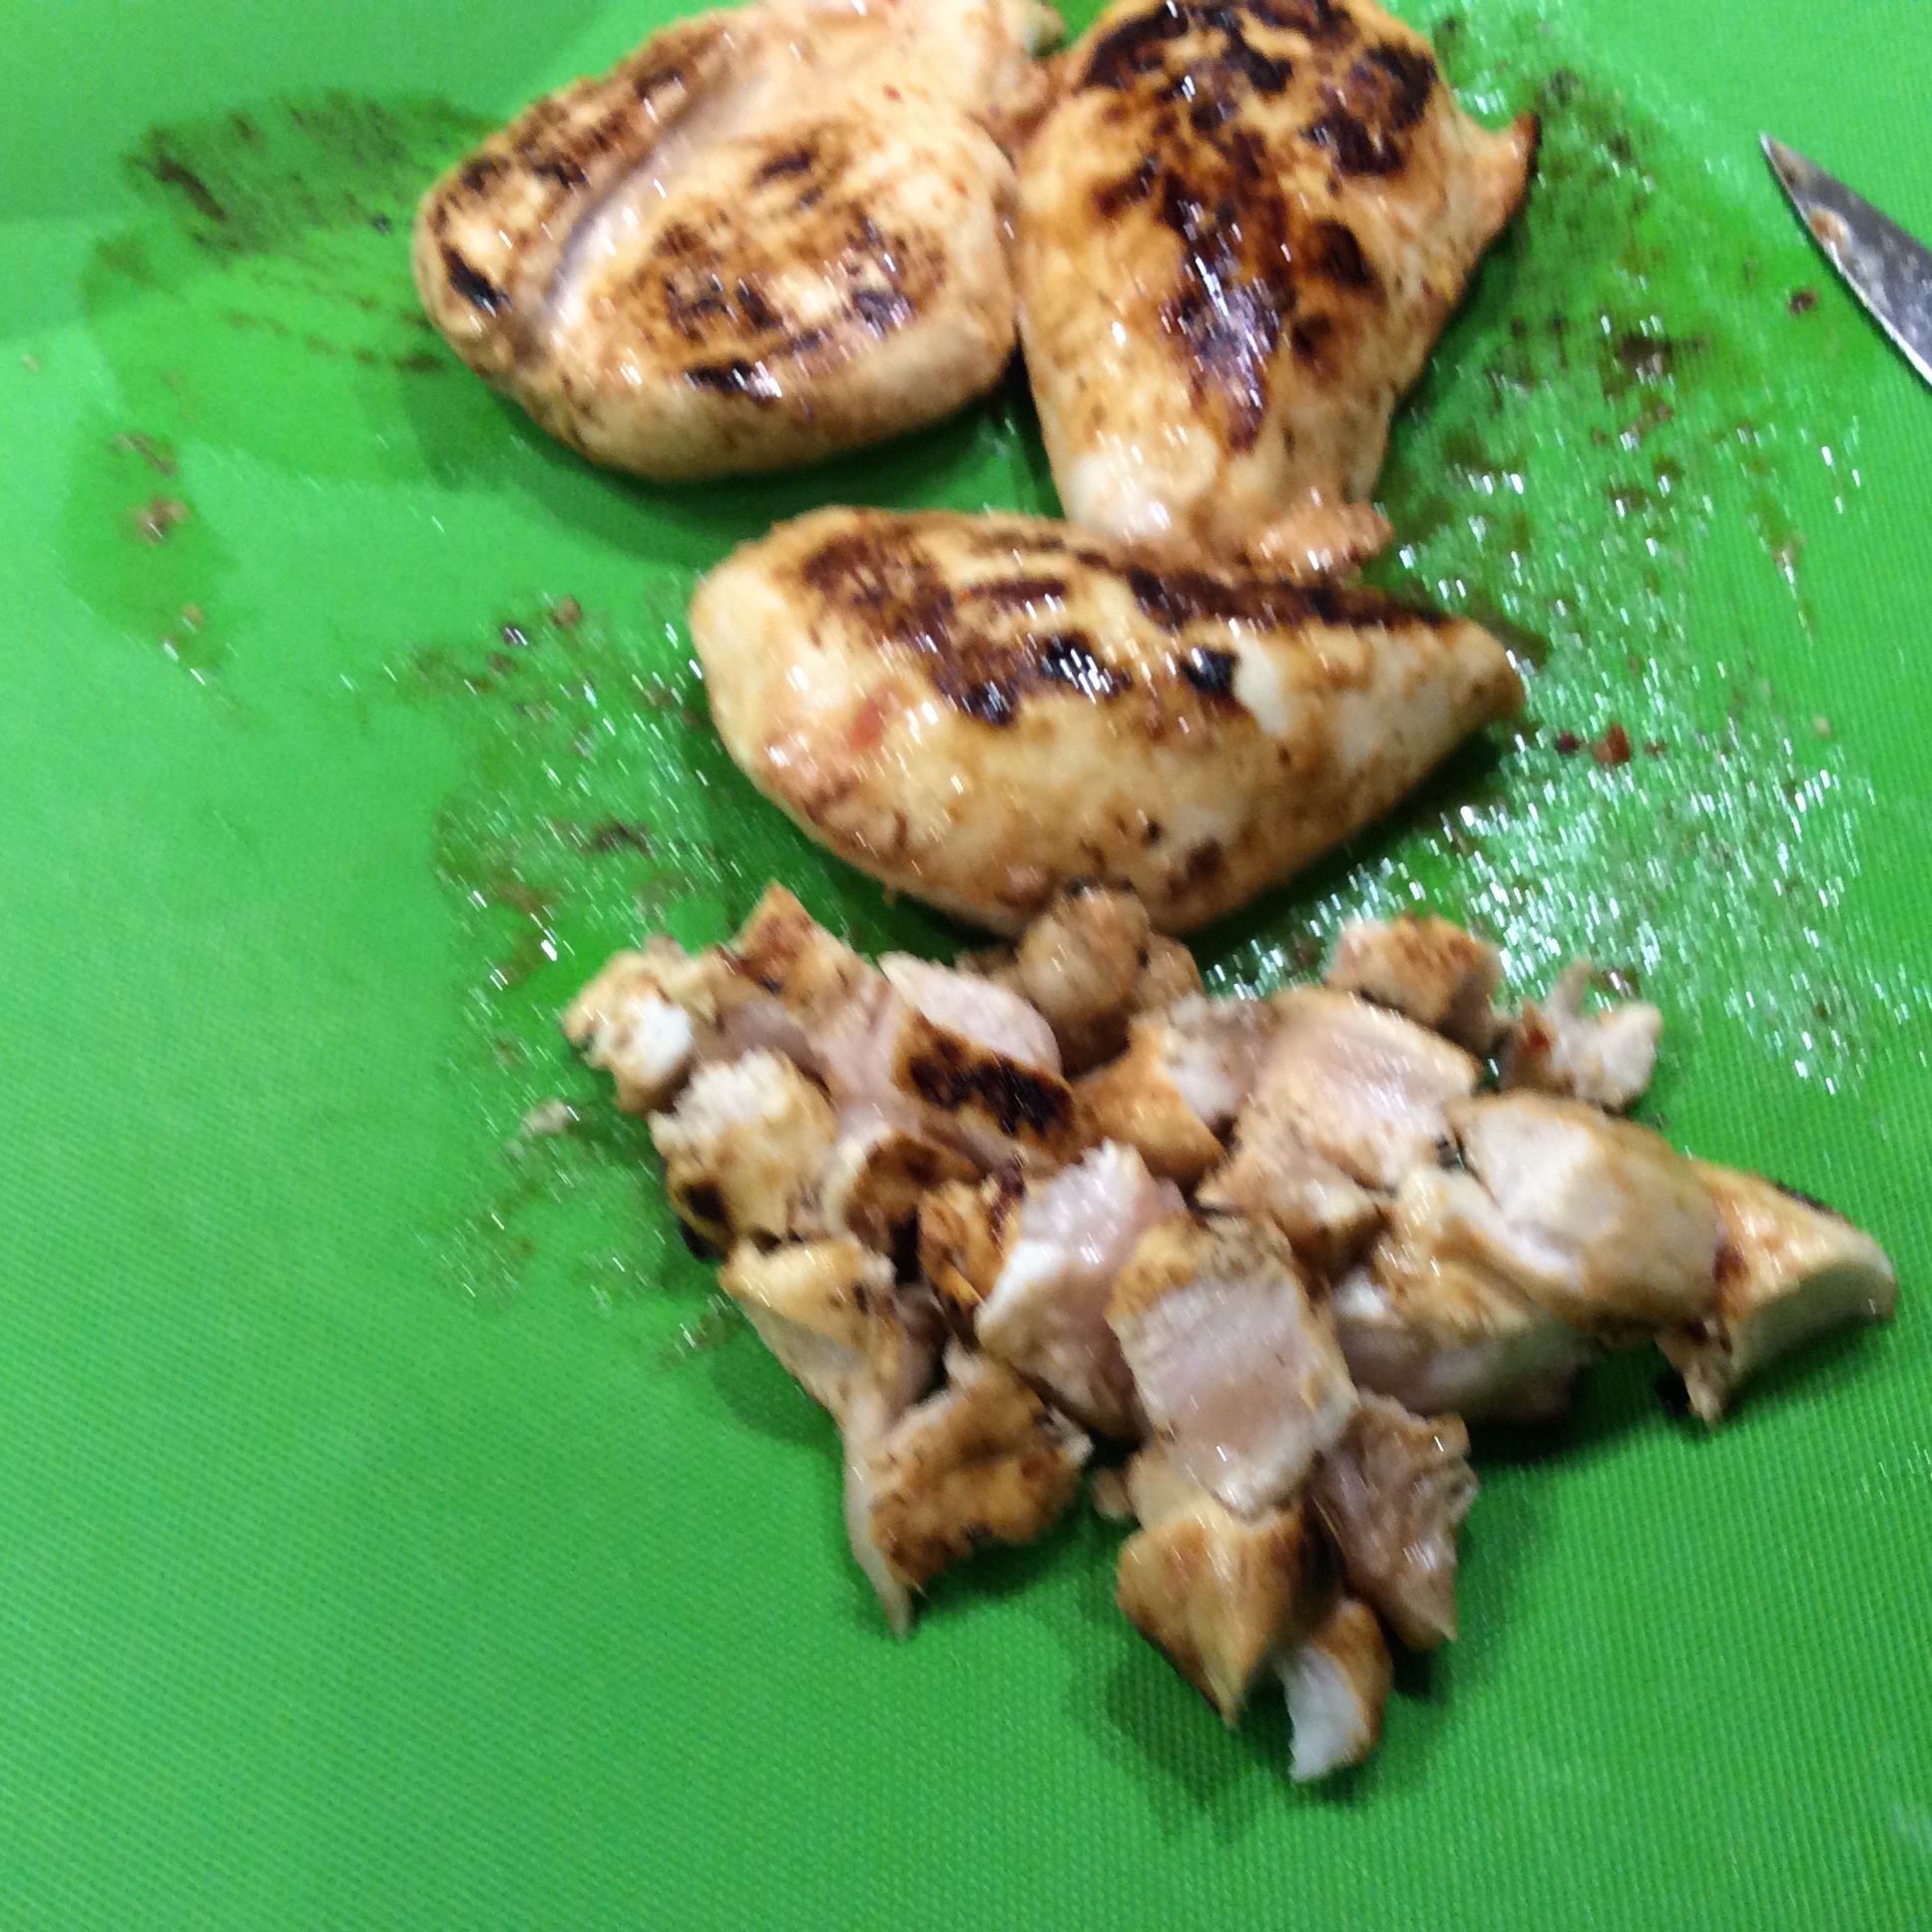
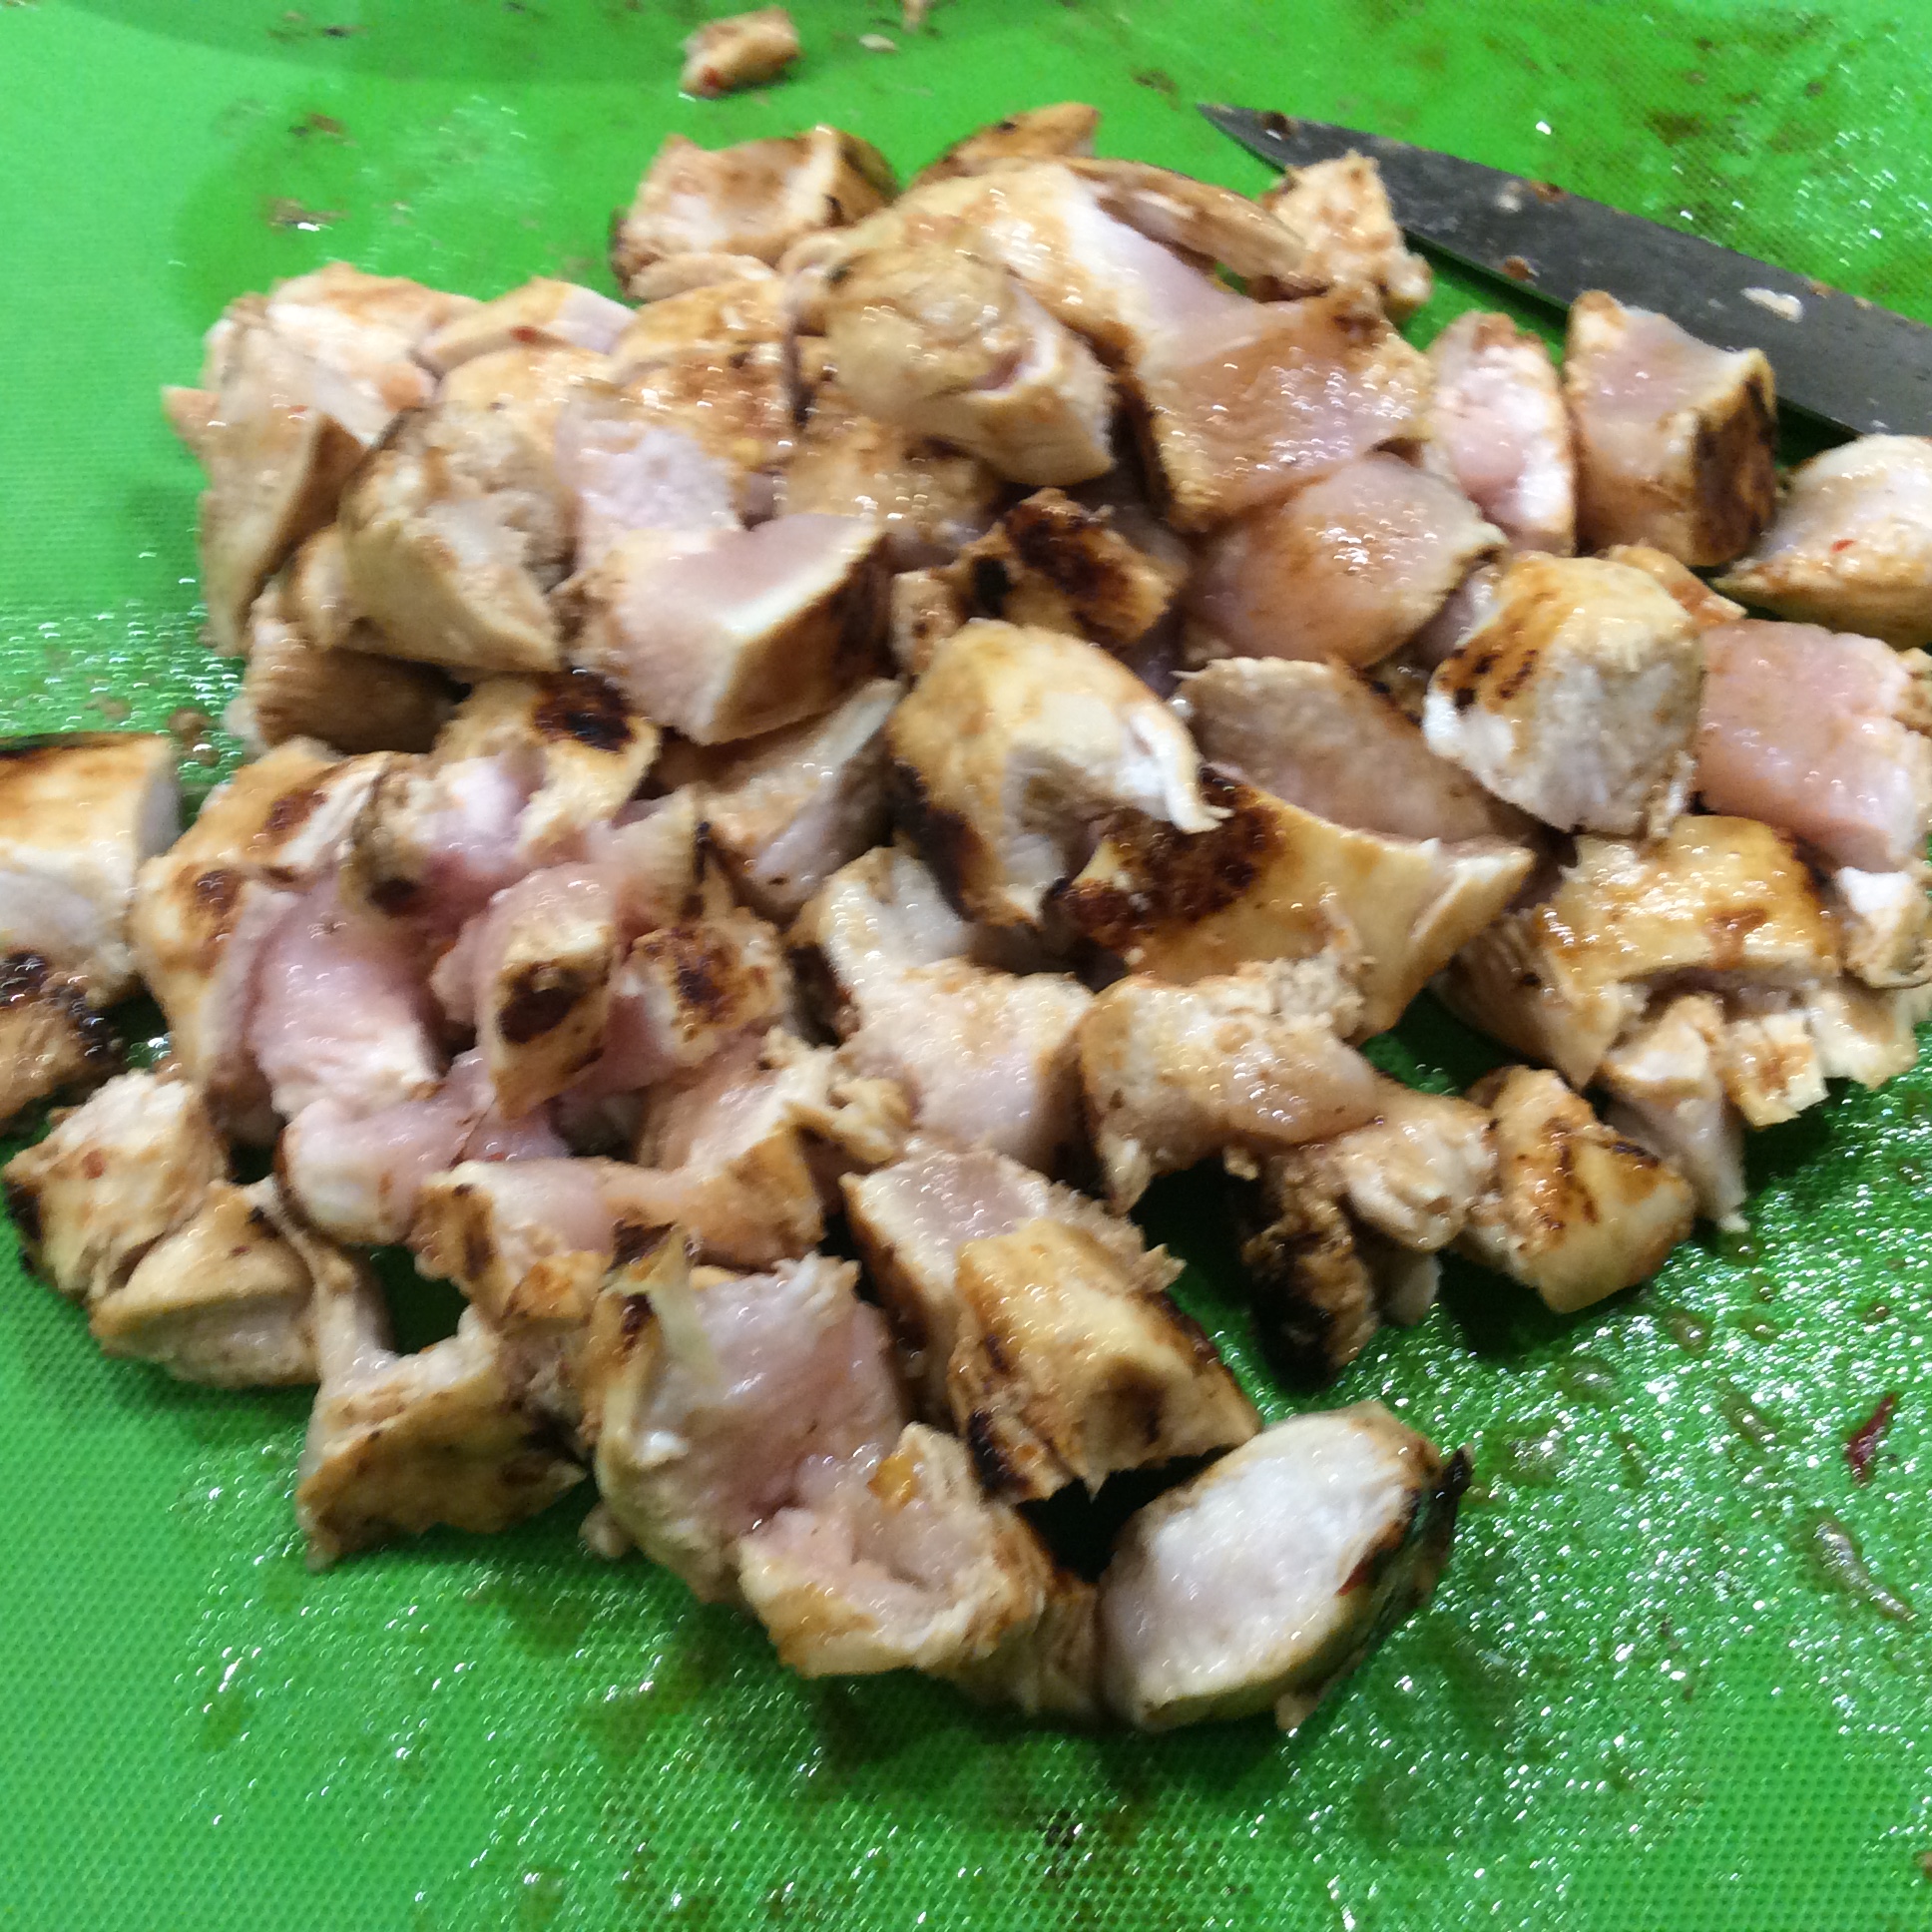
After the chicken is seared and browned on both sides, remove from pan and set aside. Chop into bite size pieces.
Chicken is seared and ready to chopChicken is chopped waiting its turn to go back into the pan
Add the Bok Choy, Sprouts, Chicken, Ponzu Sauce and Szechwan Sauce into the pan and mix well.
Combine remaining ingredients and saute 2-3 minutes over high heat
Cover with lid and allow chicken to fully cook (about 3-4 more minutes) and dinner is ready!
Szechwan Chicken Stir Fry with Fried Rice and Steamed Chicken and Shrimp Dumplings
Bottom Line: Simple, Delicious, and Pleasing to the eye! No need to order take out again when you can do this in your own kitchen. It doesn’t get better than this! I am Chef Frankie and until next time, “Love and Cook with Wild Abandon”!
Jalapeno Poppers….We have seen these yummy bites everywhere lately! They all include the same basic ingredients…jalapenos and cheese among other typical ingredients like bacon. You can find all kinds of recipes for poppers in cookbooks, online, or like I did, on Pinterest (my favorite recipe inspiration site!). However, it isn’t until you put your personal spin on them and make them your own, do they truly satisfy that sinful taste that you are craving. This is my jalapeno popper story….
“Smokey” Jalapeno Poppers
If you have been reading this blog, you know that tailgating at the University of Tennessee Football games is one of our favorite things to do in the Fall. That being said, I am always on the lookout for good tailgating recipes and I usually head to “Pinterest” to get some neat ideas. It was 3 years ago and I had just discovered “Pinterest” earlier in the year and I already considered myself an addict!
While perusing through the many beautiful pictures of appetizer choices, I kept seeing several on jalapeno poppers. My idea of these were what I had previously eaten in restaurants and they were usually fried, but these looked different. There was no breading and they were wrapped in bacon! This would go well with my tailgaters! I continued to look until I found several more pictures that even included sausages stuffed inside as well. That decided it…jalapenos, cheese, sausage, bacon….this had to be a winner!
Since the weather was still very nice here in the south, my jalapenos were still going strong so I didn’t even have to purchase any. I was pretty pleased with myself that I had found a recipe using some ingredients I already had on hand. I set to work following the directions exactly and they turned out really good and were loved by everyone at the tailgate! But, to me, the jalapeno to meat ratio was a little off. There was so much meat that you could hardly taste jalapenos and they just needed a more of a flavor punch. I knew I could make this recipe perfect and I am happy to say, I was triumphant!
Now, these poppers are my most requested appetizer and everyone wanted the recipe. My daughter, Ashleigh, did NOT want me to share my secrets. I had taught her how to make these and she was seeing the same “wow” reactions that I had so I would just share the basics when someone asked knowing they could find a similar recipe on Pinterest just as I had. Last year, I was in Charlotte, North Carolina where my husband and I were planning on seeing BB King and as we were sipping on some wine, I went to post a picture of us on Facebook. I noticed I had a private message. To my astonishment (and amusement), it was a former boyfriend of Ashleigh’s requesting the popper recipe. I might even say practically begging…ha, ha! Since they had parted on great terms, I decided to help him out…..well, sort of! I gave him the general ingredients as I had to all the others that had asked to satisfy his inquiry. I kept my “little tweaks” to myself! (Sorry, Scott!)
But as I near my goal of 10, 000 followers on my blog in one year (It looks like it might actually surpass that by the year mark), I decided it was time to give a gift back for all your support! So here it is…..
First, as I mentioned, I thought there was too much meat which overpowered the jalapeno. So I cut the sausages (aka smokies) in half before sautéing them. Also, the recipe called for wrapping the poppers with half a slice of bacon which I just thought was too much so I cut the bacon into thirds, instead. Finally, instead of regular full fat cream cheese, I used 1/3 less fat Philadelphia onion and chive cream cheese. These changes made a huge difference and created the perfect jalapeno popper.
“Smokey” Jalapeno Poppers”
Servings: 18 appetizer portions (2 poppers each); Makes 36 poppers
Note: You will probably want to make at least two batches!
Ingredients
18 jalapenos, cut in half & seeded
1 8 oz. container of Philadelphia Chive and Onion Cream Cheese (I used the 1/3 less fat….you will have some left)
1 tablespoon of olive oil
18 cocktail sausages, cut in half lengthwise (I use all beef…you may want to make a few extra just in case you are attempted to sample)
1 package of thin cut bacon (12 slices)
brown sugar (to sprinkle on top before baking)
36 toothpicks
Directions
Preheat oven to 350 degrees (if baking right away).
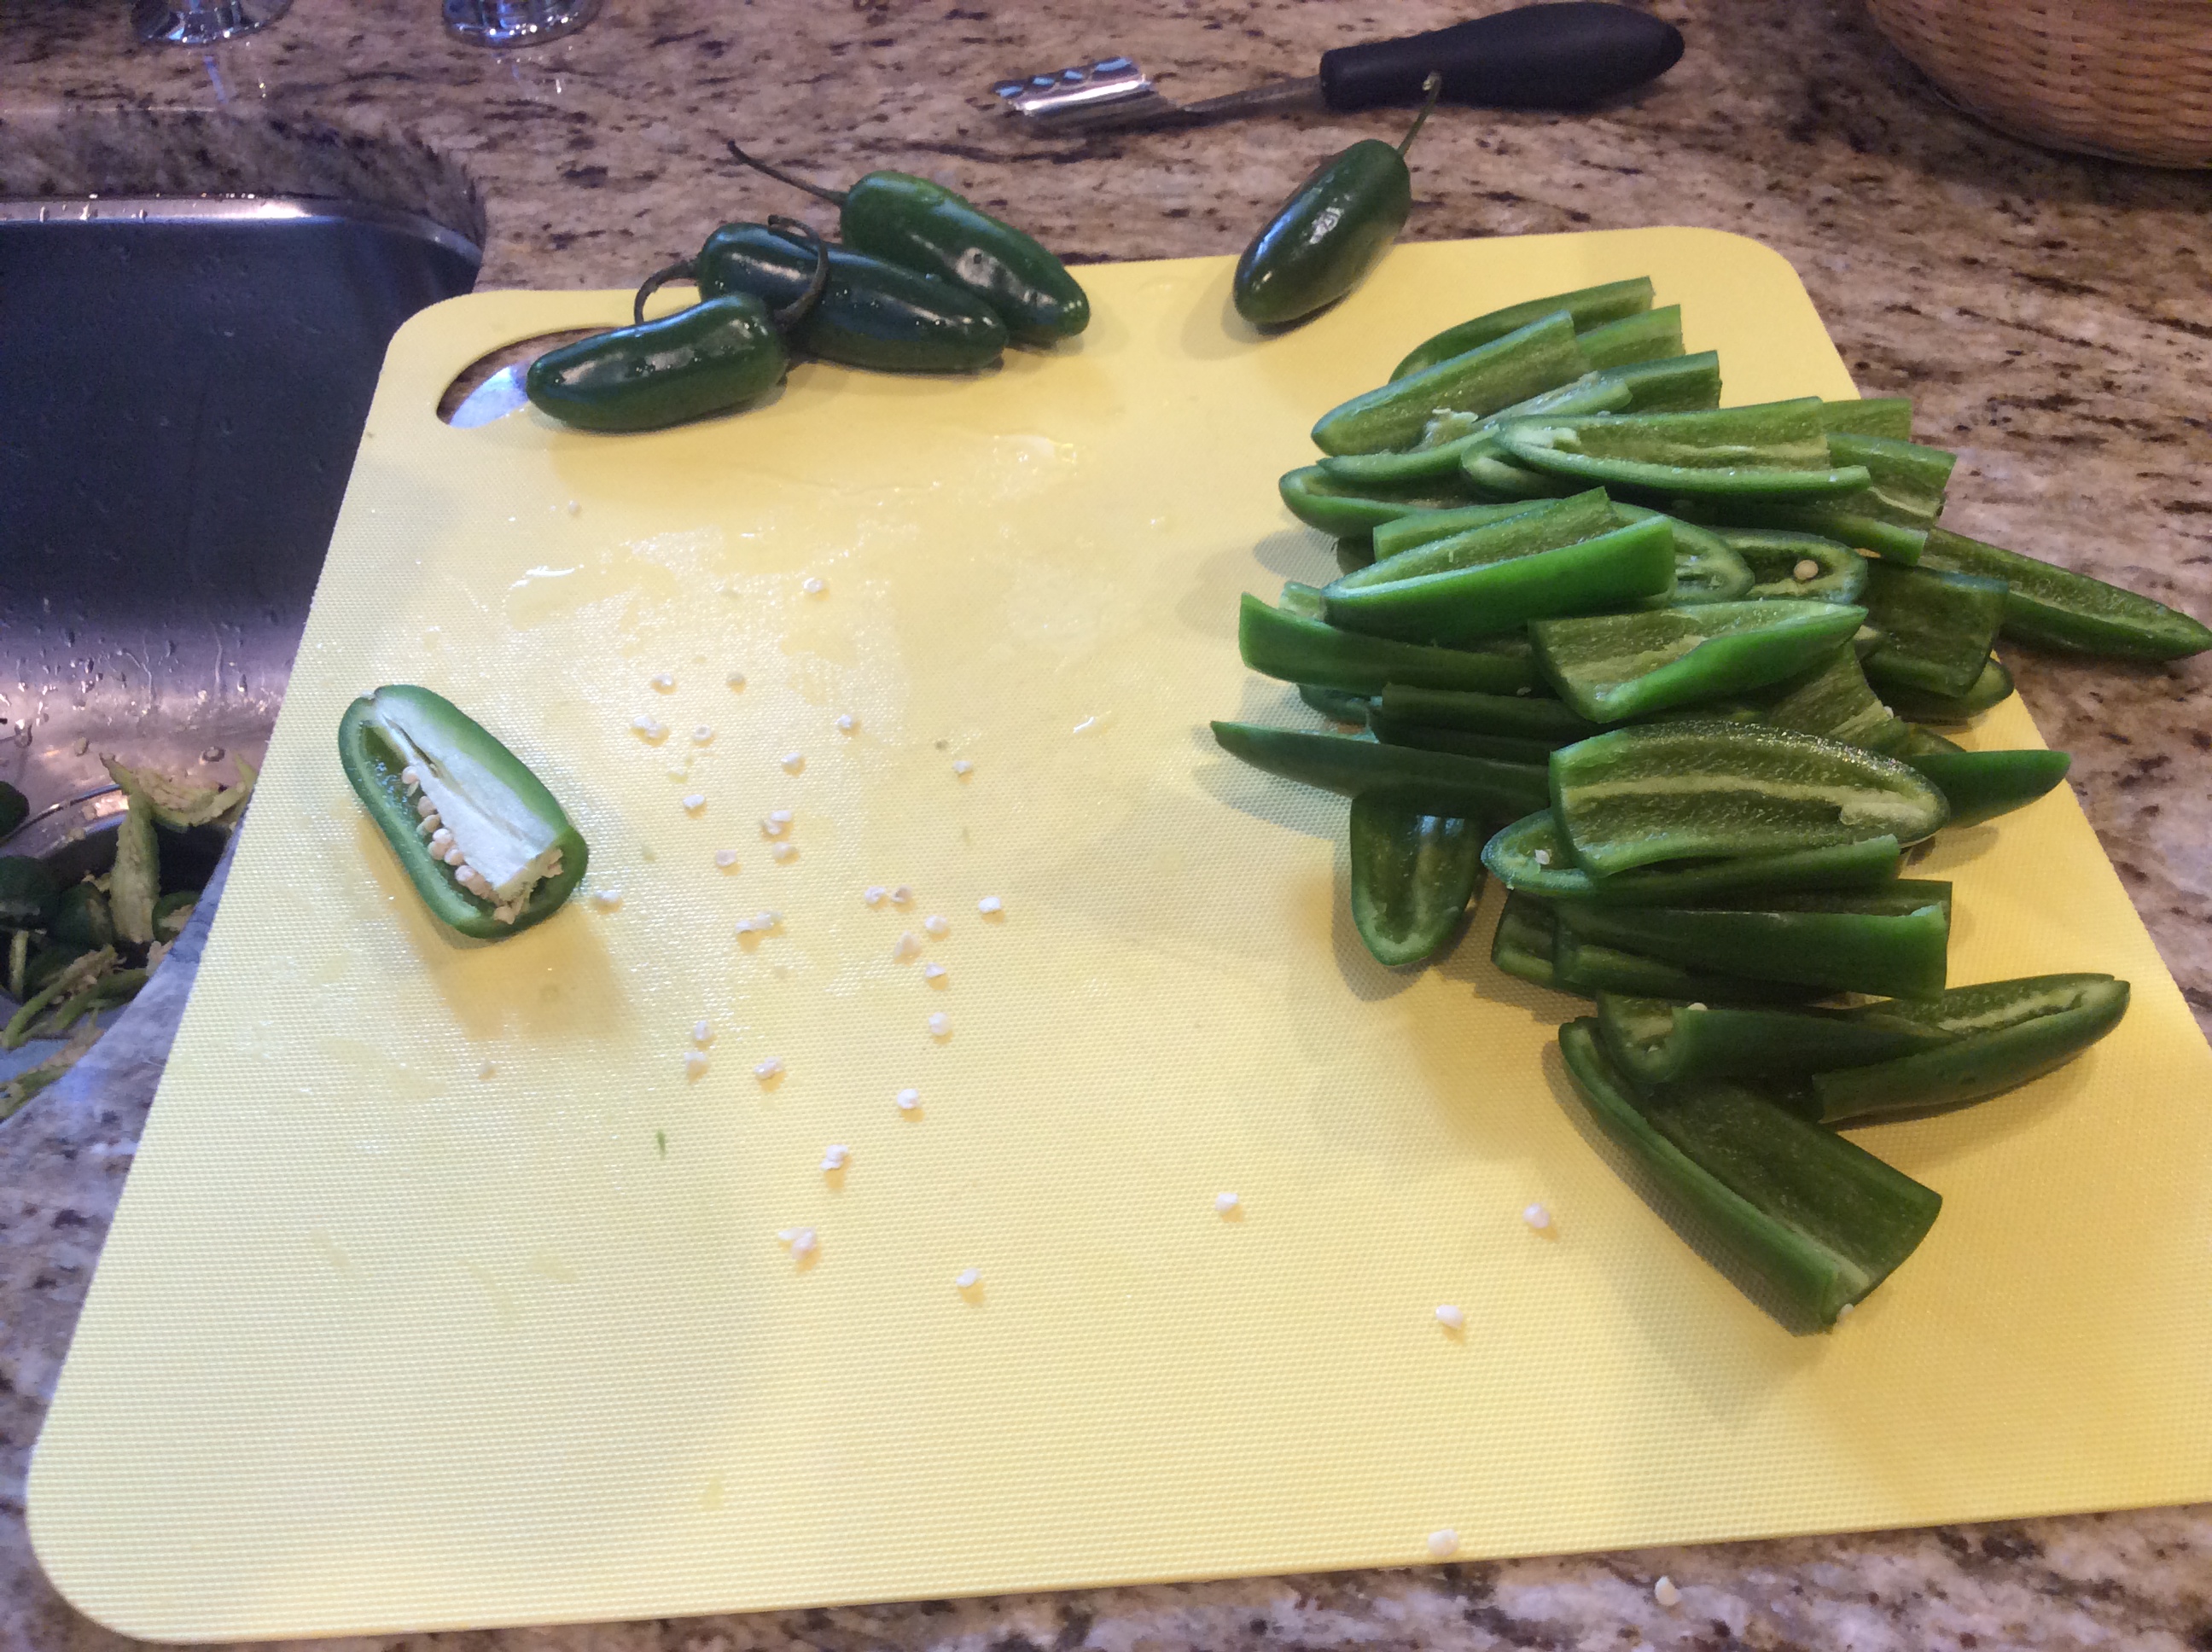
First, a note on preparing your peppers…When you are seeding them, make sure to wear gloves! Sometimes I even have to wear a little mask when I am using the jalapenos straight from the garden because the heat from the peppers actually makes me cough.
Preparing the peppers
Notice, the size of those peppers in the picture above…they are the perfect size and if they come from your own garden, they typically will be. However, the ones in the grocery store are usually quite a bit larger so I cut a bit of the top near the stem to make them just a little bit bigger than the cocktail sausage. (I usually use the extra bits in other recipes.) One word of caution…the jalapenos from your own garden are much hotter than the ones in the grocery so encourage your guests to take their first bite slowly…ha, ha!
Next, heat the olive oil in a saute pan and add the cocktail sausages. Stir and cook until heated through and browned well.
Cocktail sausages ready to go!
Next, I lay my peppers out like as assembly line…
Pepper ready to fill
And begin stuffing! First, the cream cheese…
To spread the cream cheese, I use my own (clean) fingers to get the cheese in the peppers deeply and evenly
Next, comes the sausage…
Place the sausage browned side down for a better fit into the cream cheese
And finally, the bacon…..
A perfectly stuffed jalapeno popper secured with a toothpick
One helpful hint on the bacon…Pull it out from the refrigerator 10 minutes before slicing into thirds. This helps “stretch” the bacon for the perfect fit around the stuffed pepper.
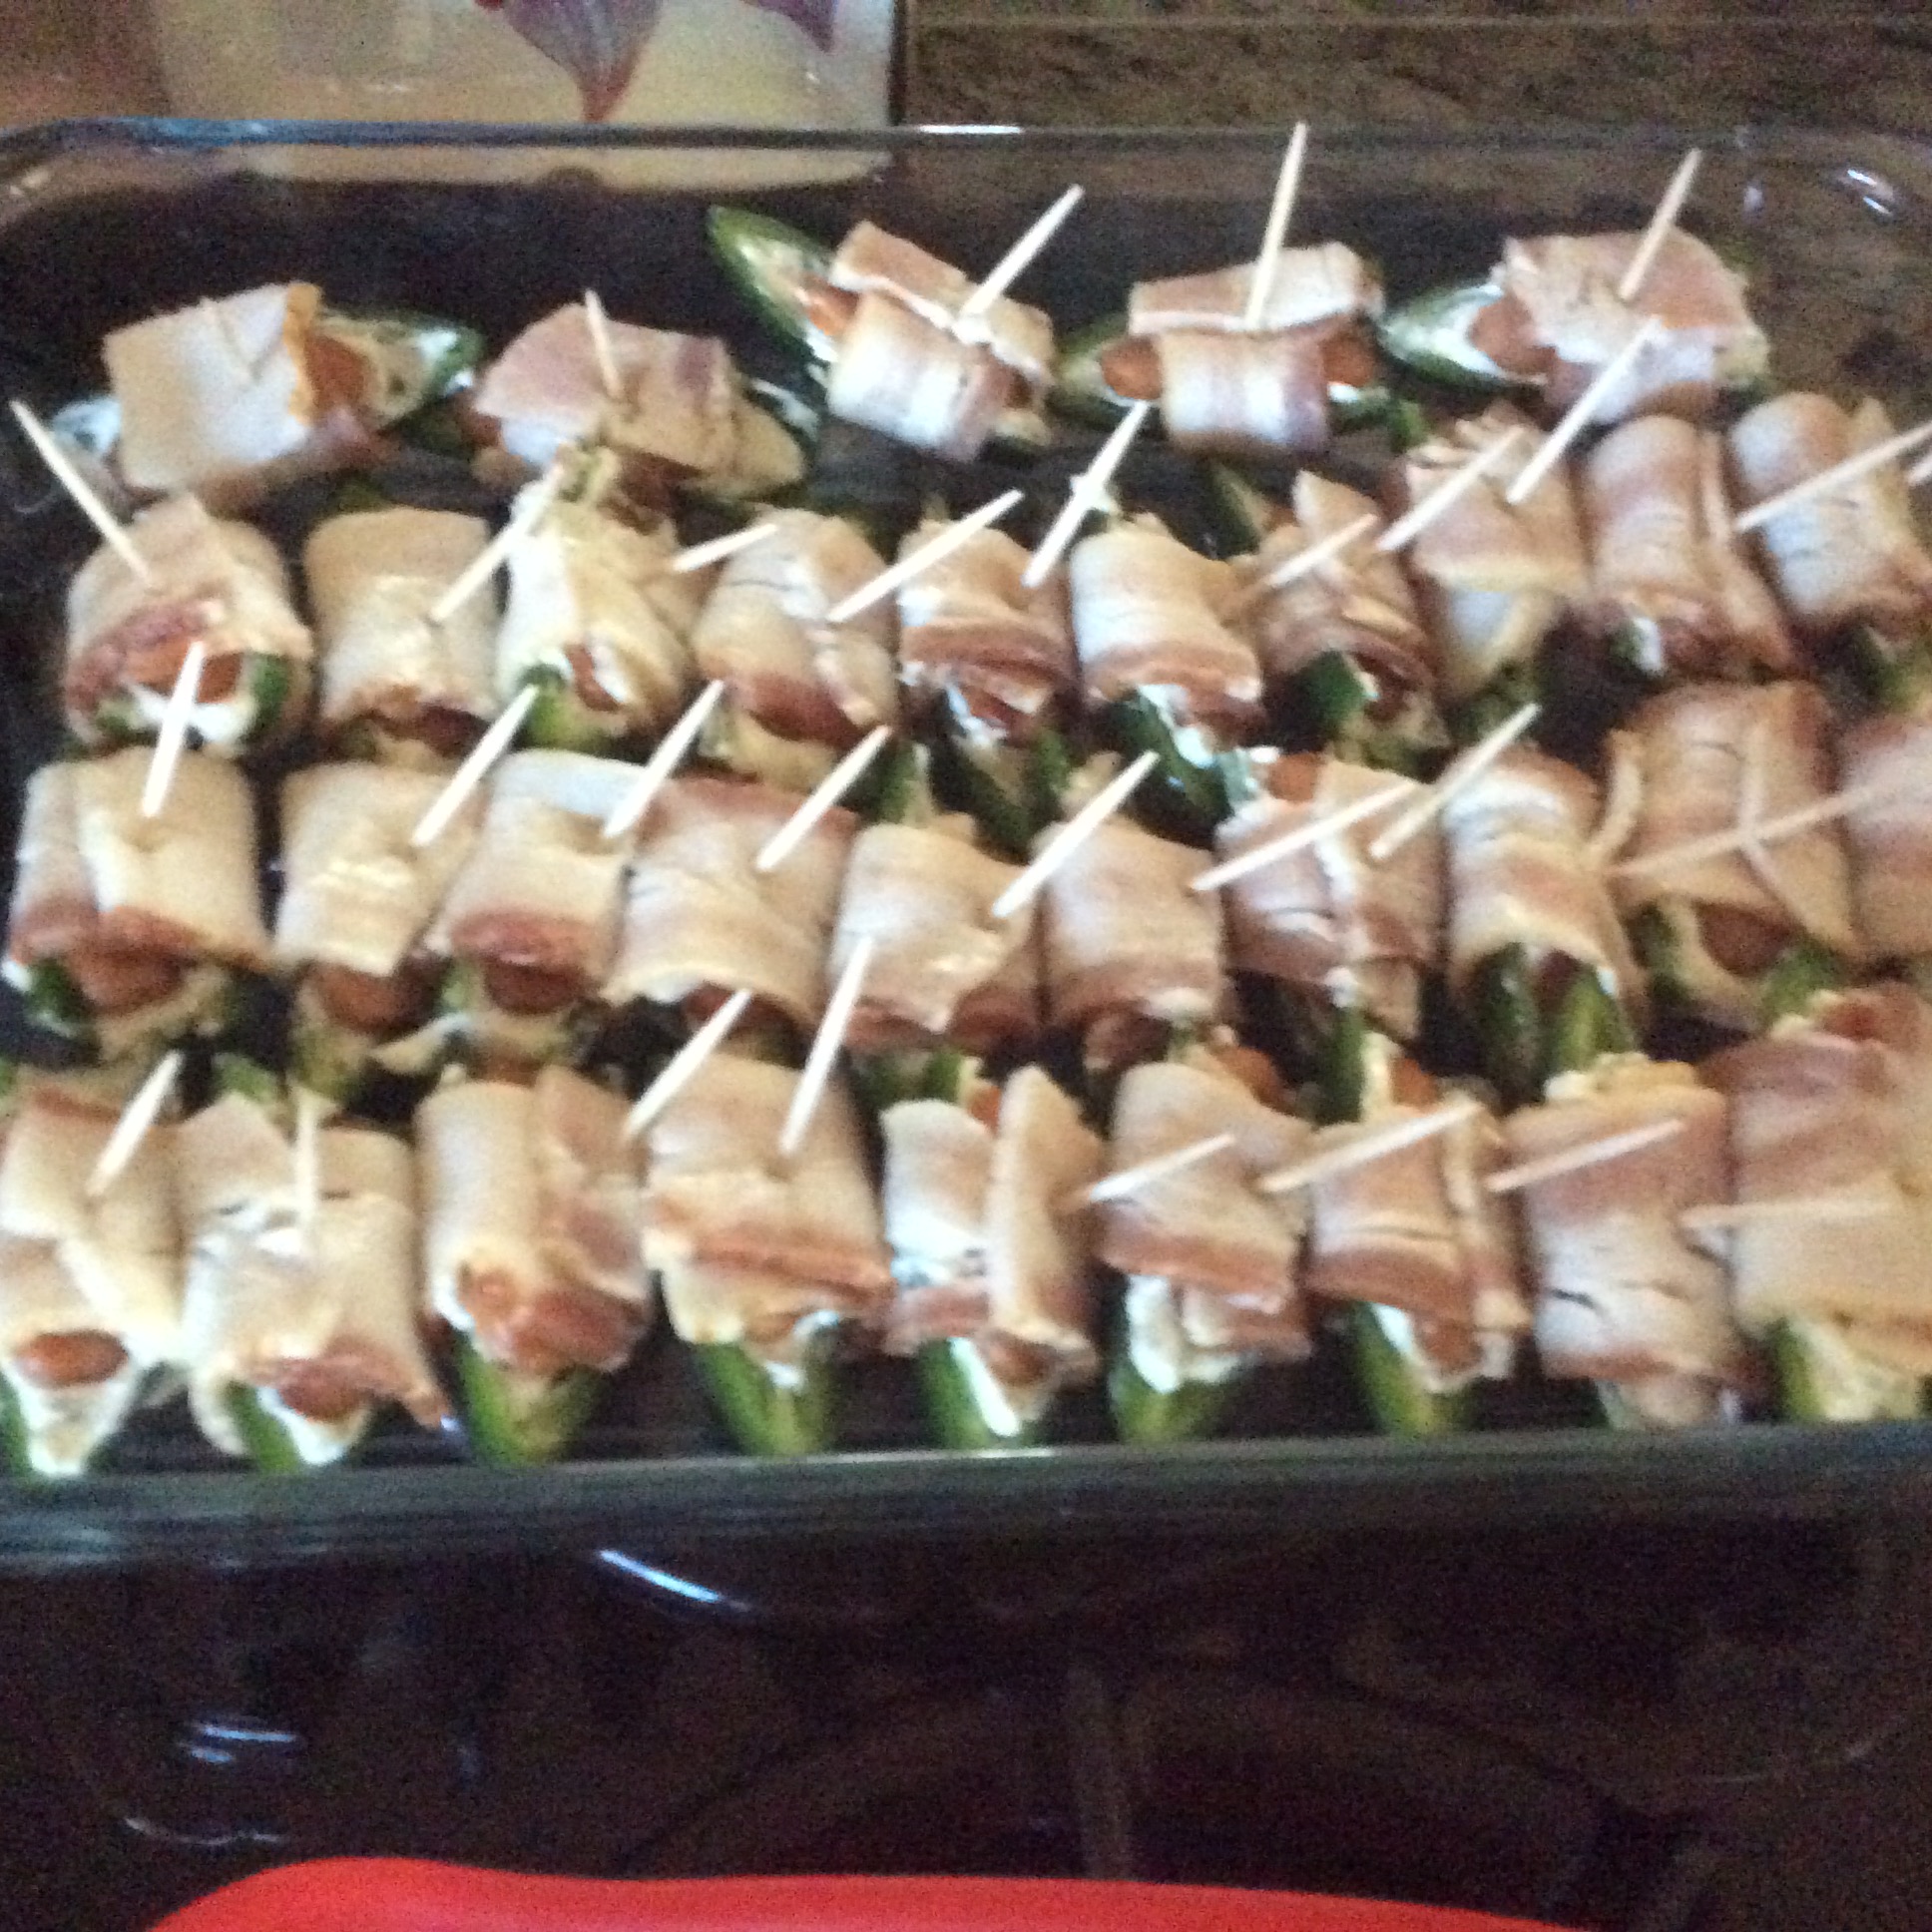
To make these ahead, simply put all the assembled peppers in a 9 x 13 pan, cover with foil, and keep in the refrigerator for up to days..
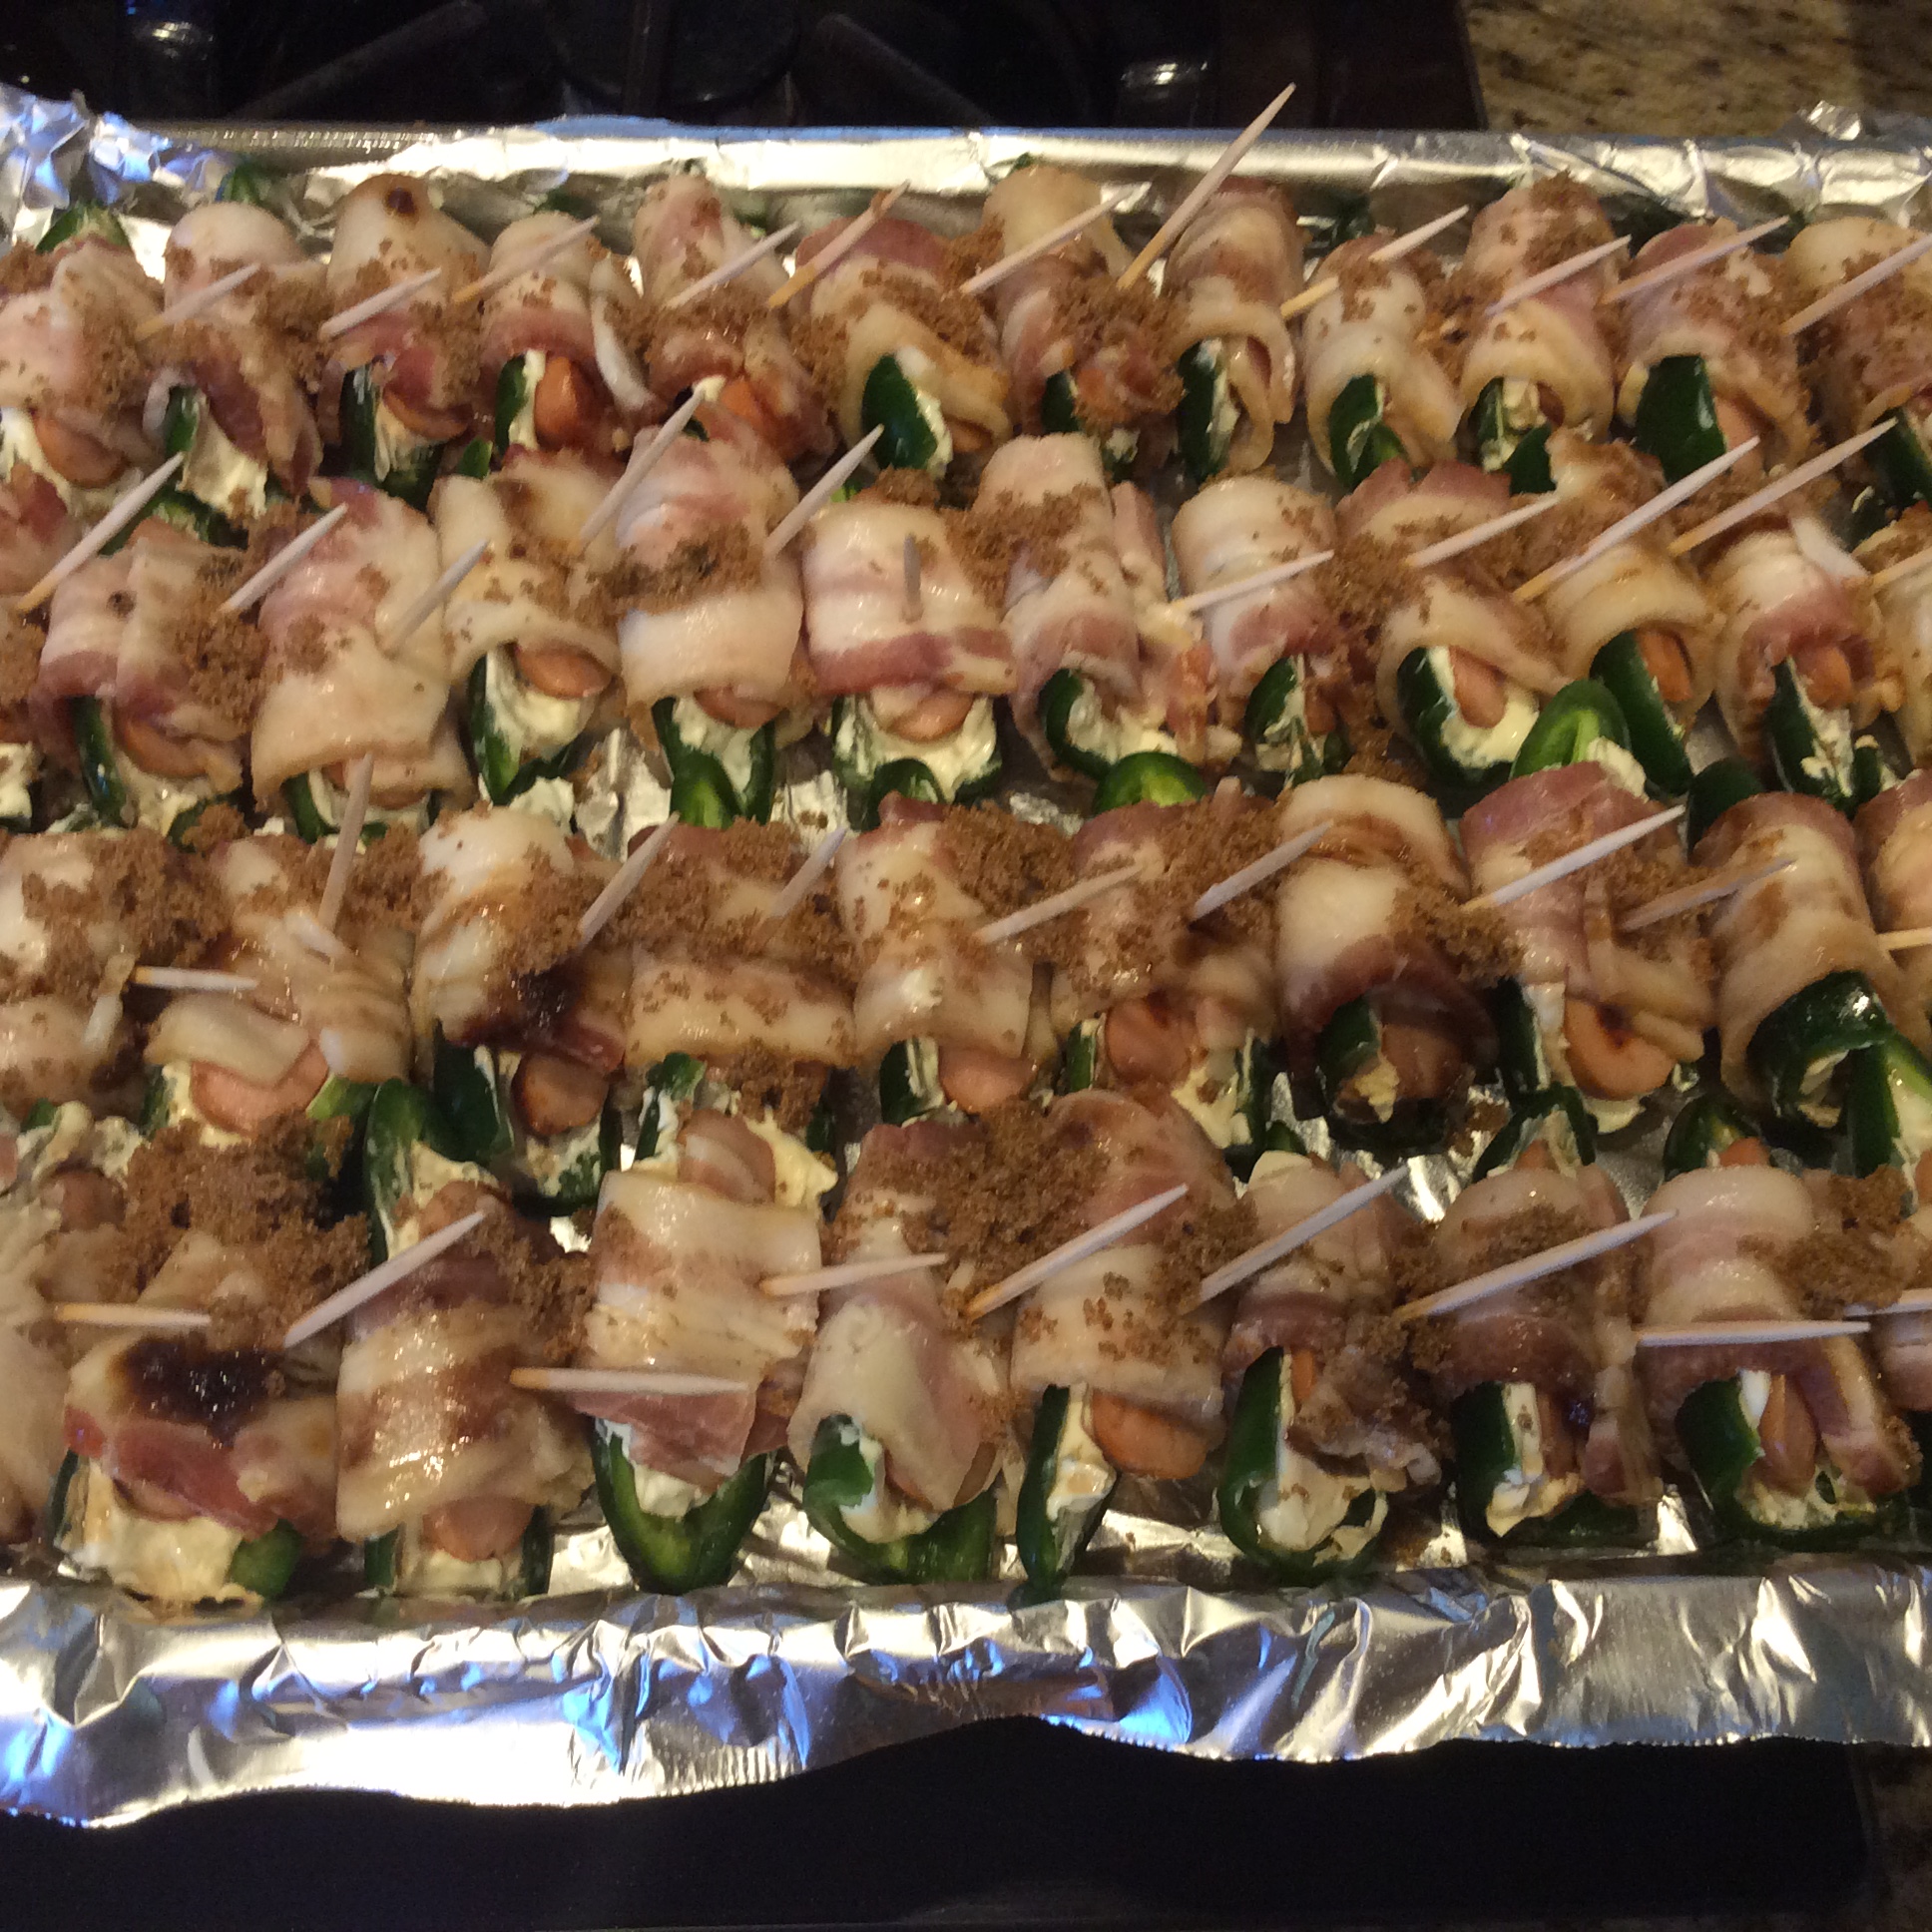
I usually like to make these ahead…ready to go into fridge until I am ready to finish
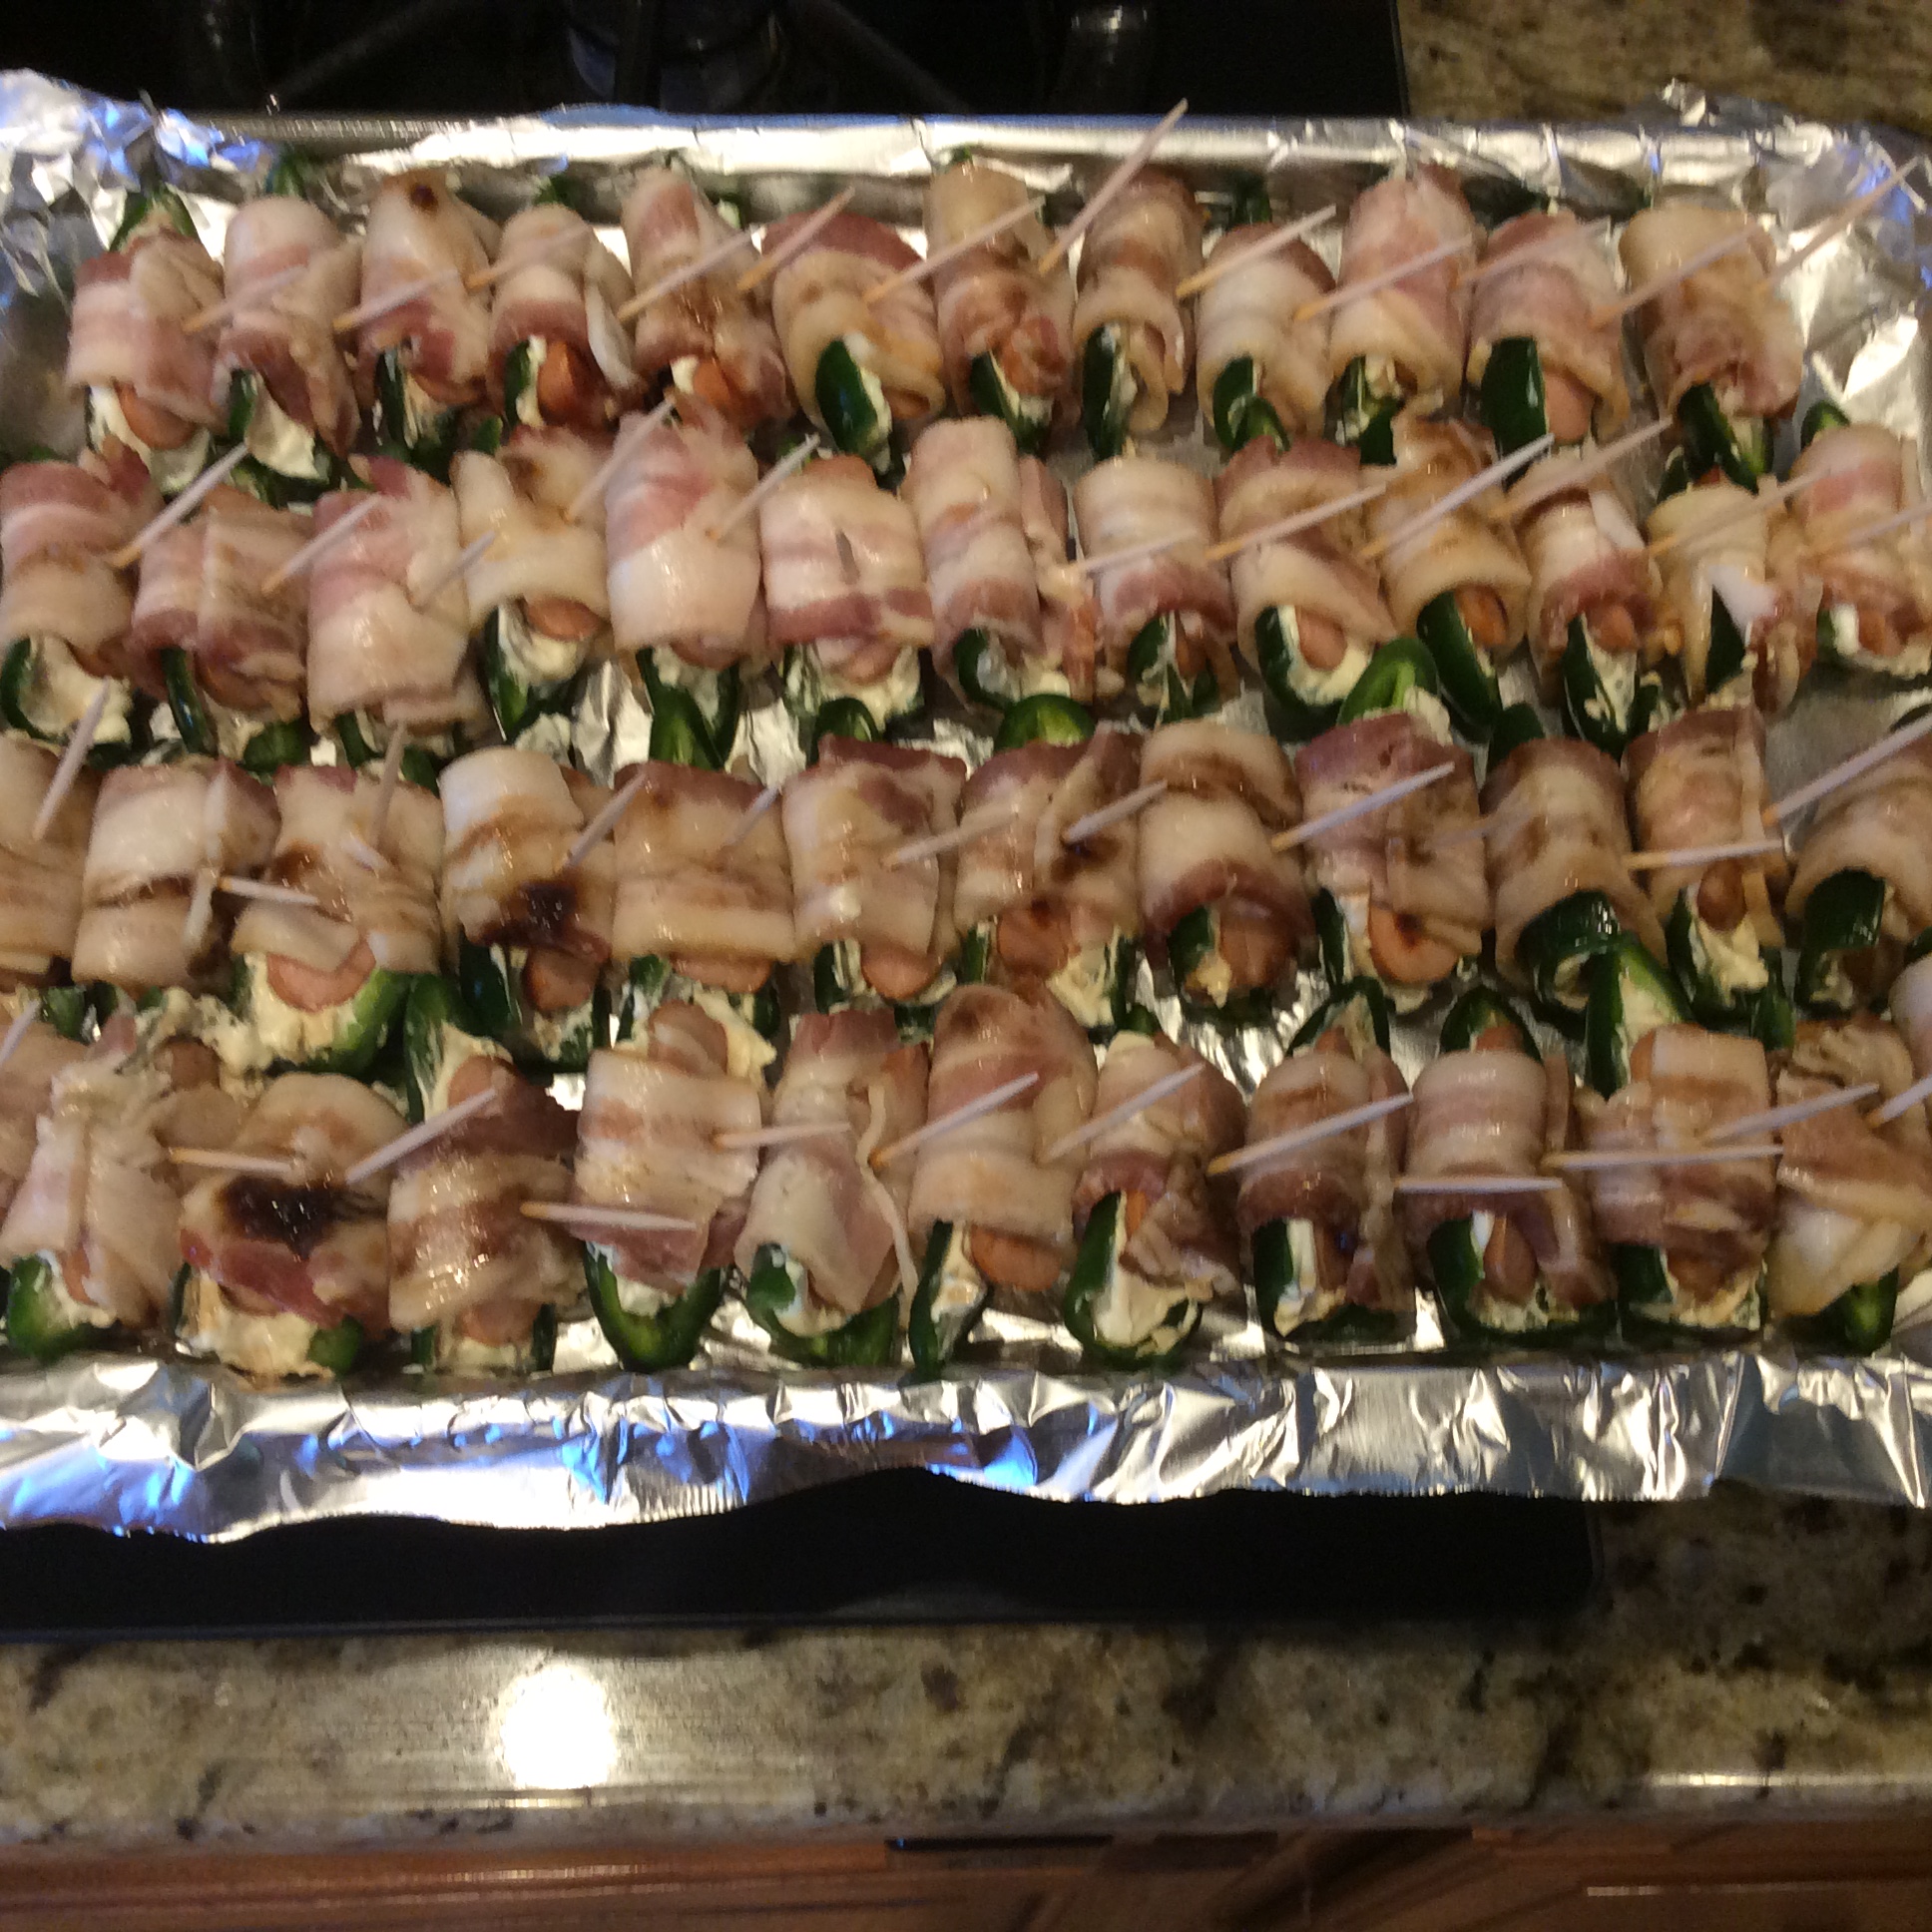
When you are ready to bake, place poppers on a large cookie sheet covered with foil..
on the foil covered cookie sheet (for easier cleanup)
The next step is VERY important….sprinkle the poppers liberally with brown sugar. It won’t make them sweet but it actually it the key to get a carmelized, crisp crust on the bacon.
Brown sugar covered poppers
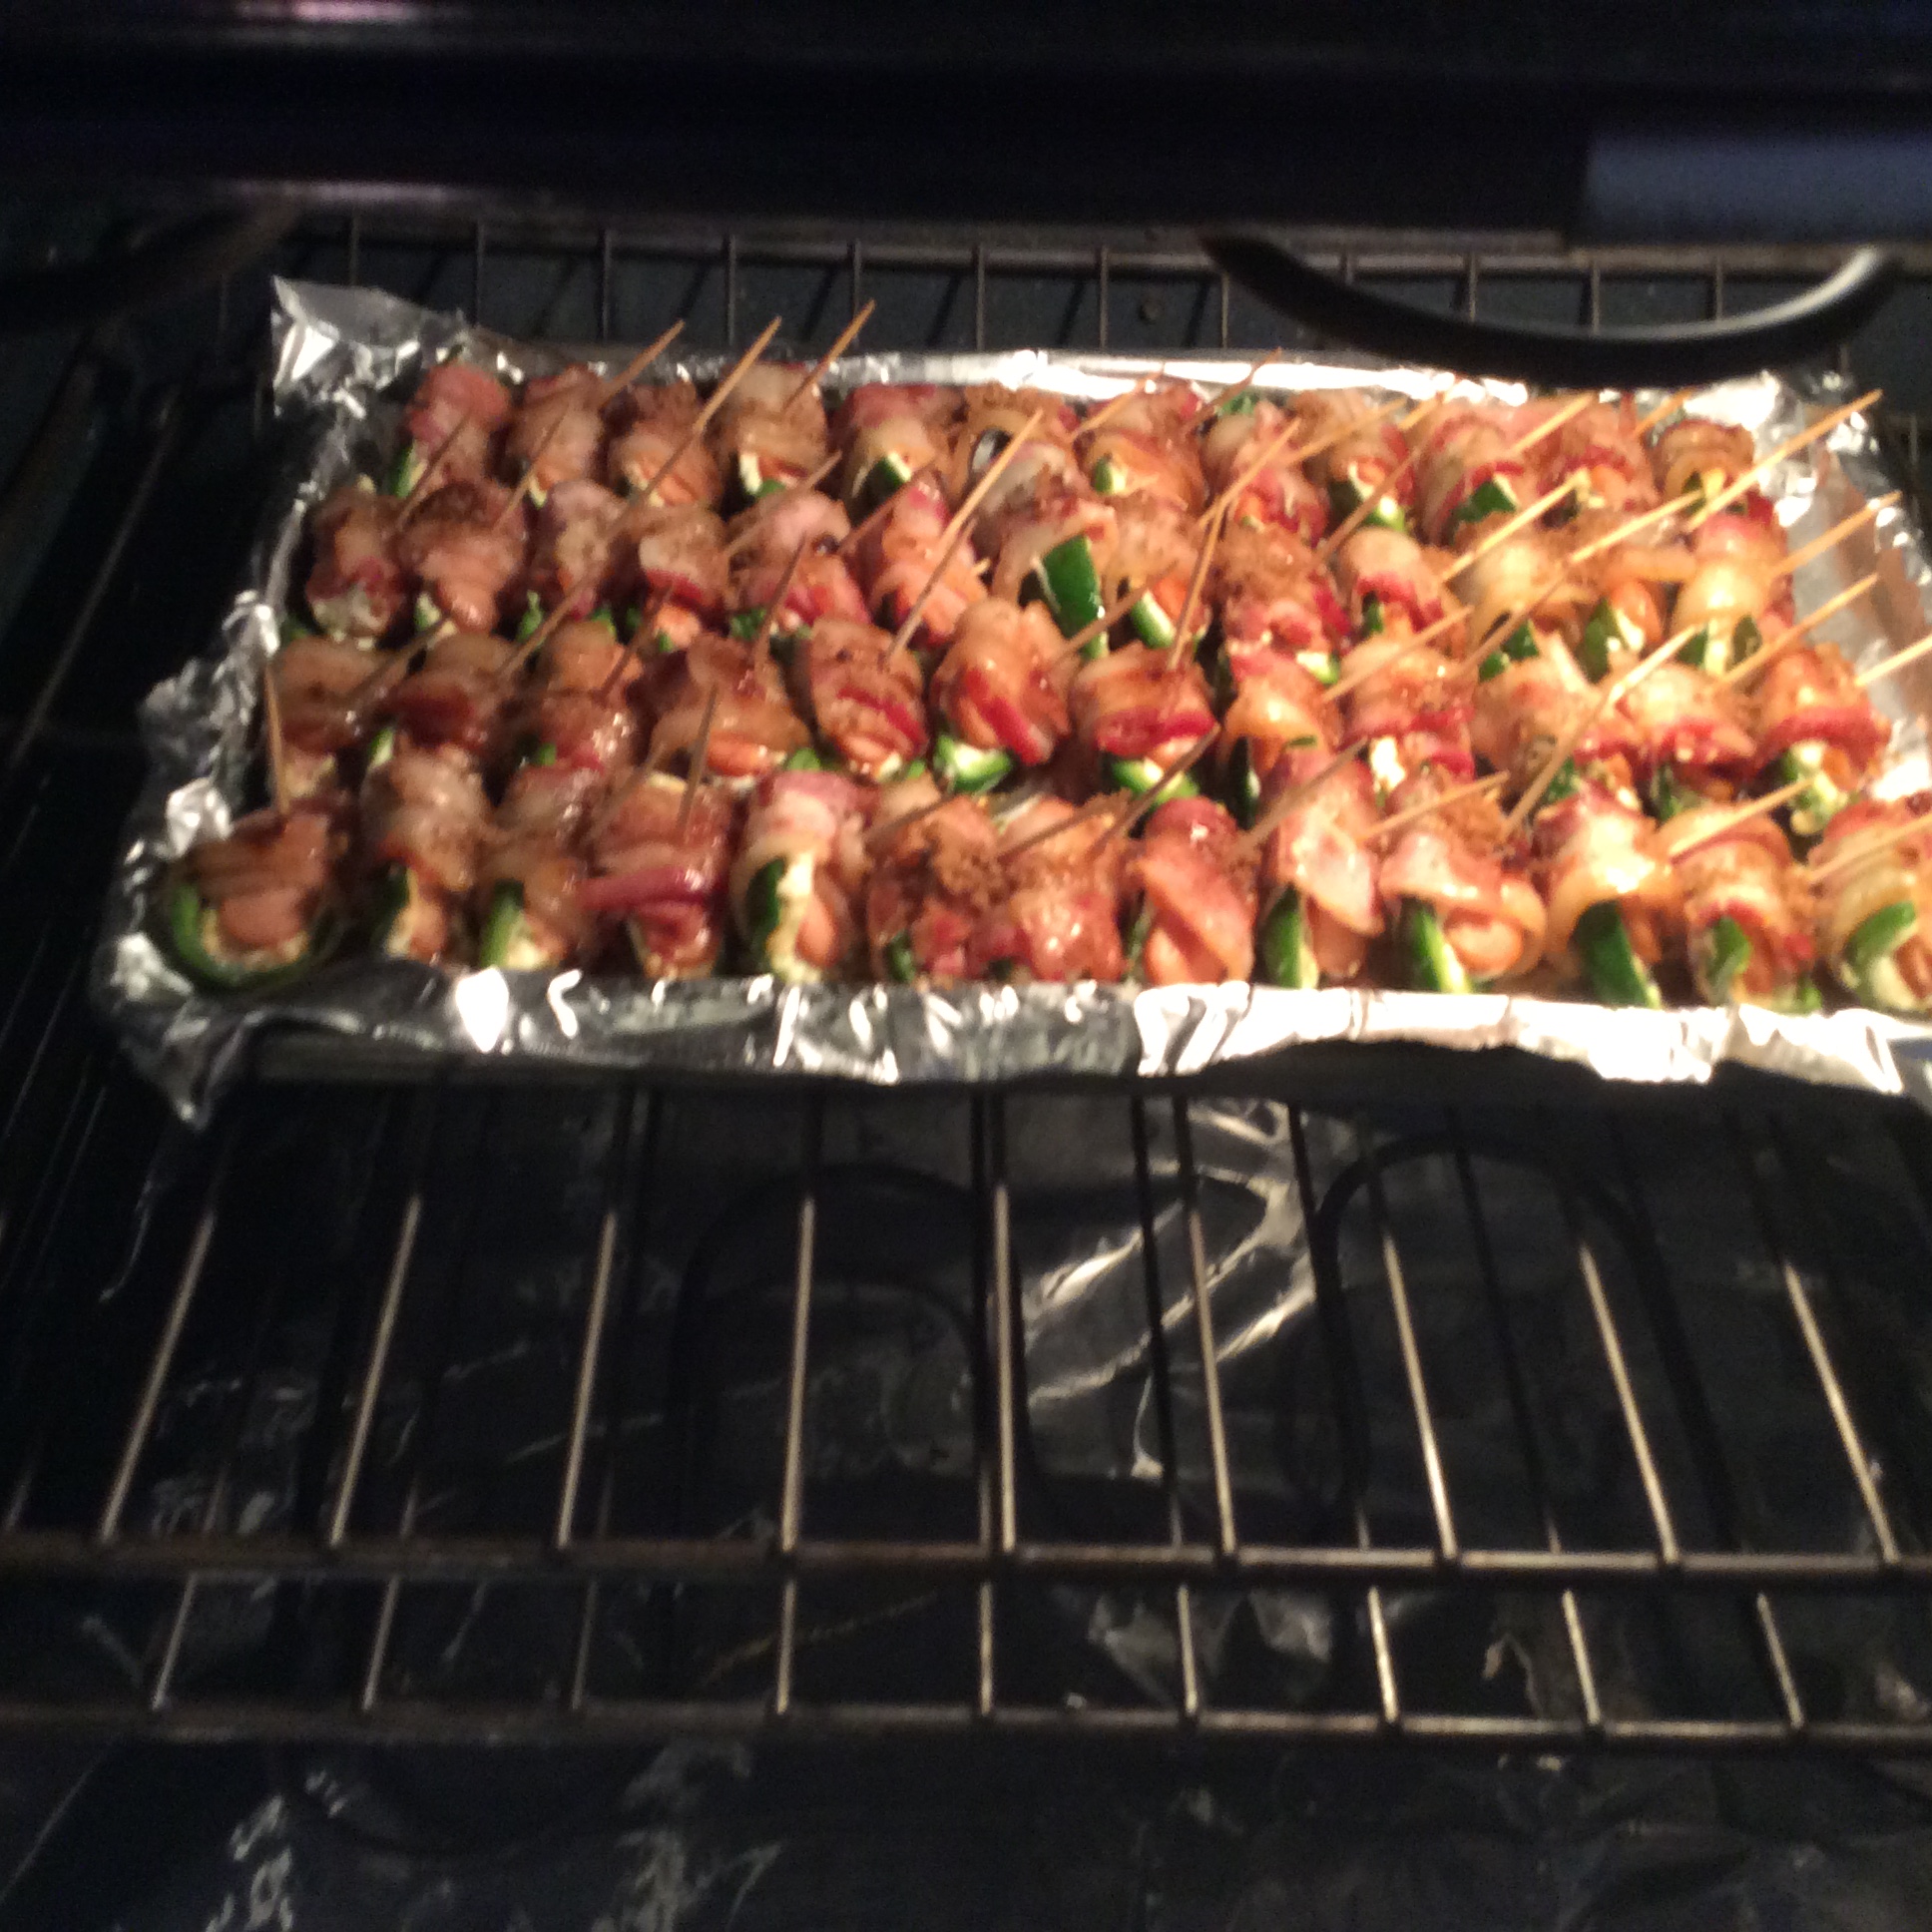
Pop into a 350 degree oven for 45 minutes, turning over halfway…
Into oven…Don’t forget to turn them over halfway through
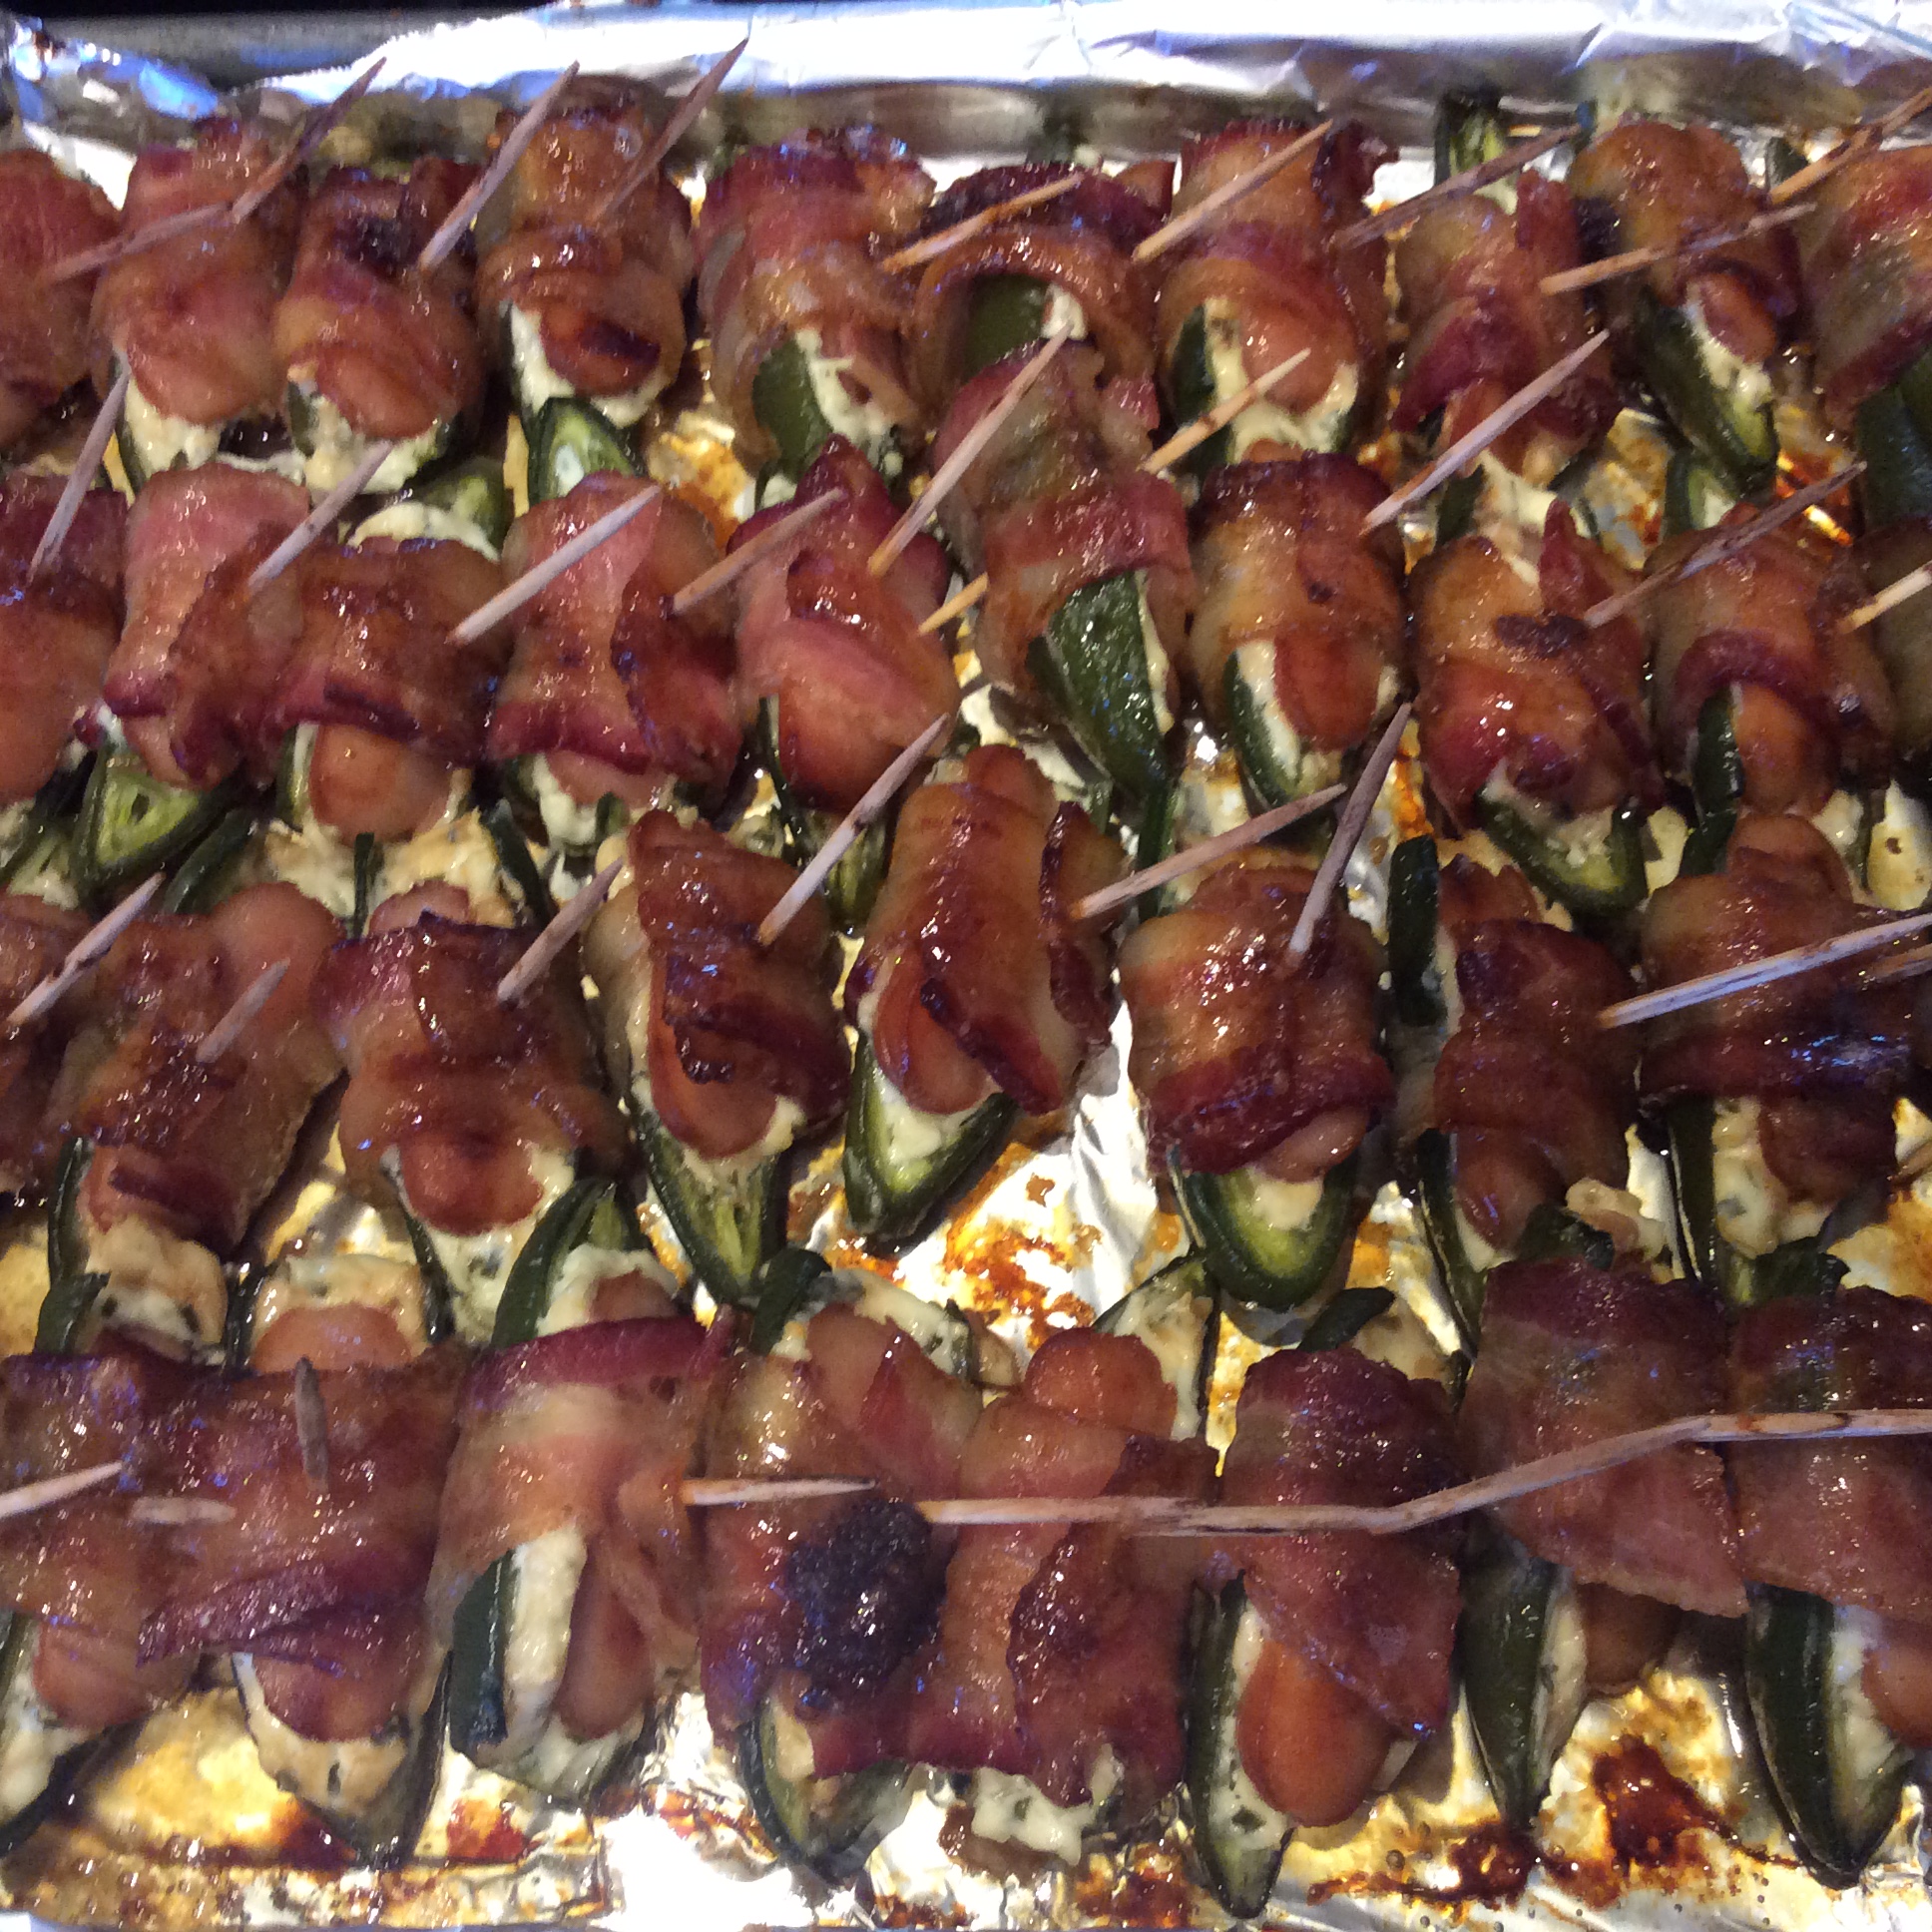
They are finally ready!
Yum!
Ready to serve! Be careful taking that first bite because they are extremely hot coming right out of the oven. (If you are taking them to a tailgate or a party, just cover them with foil and keep warm in an insulated carrier.)
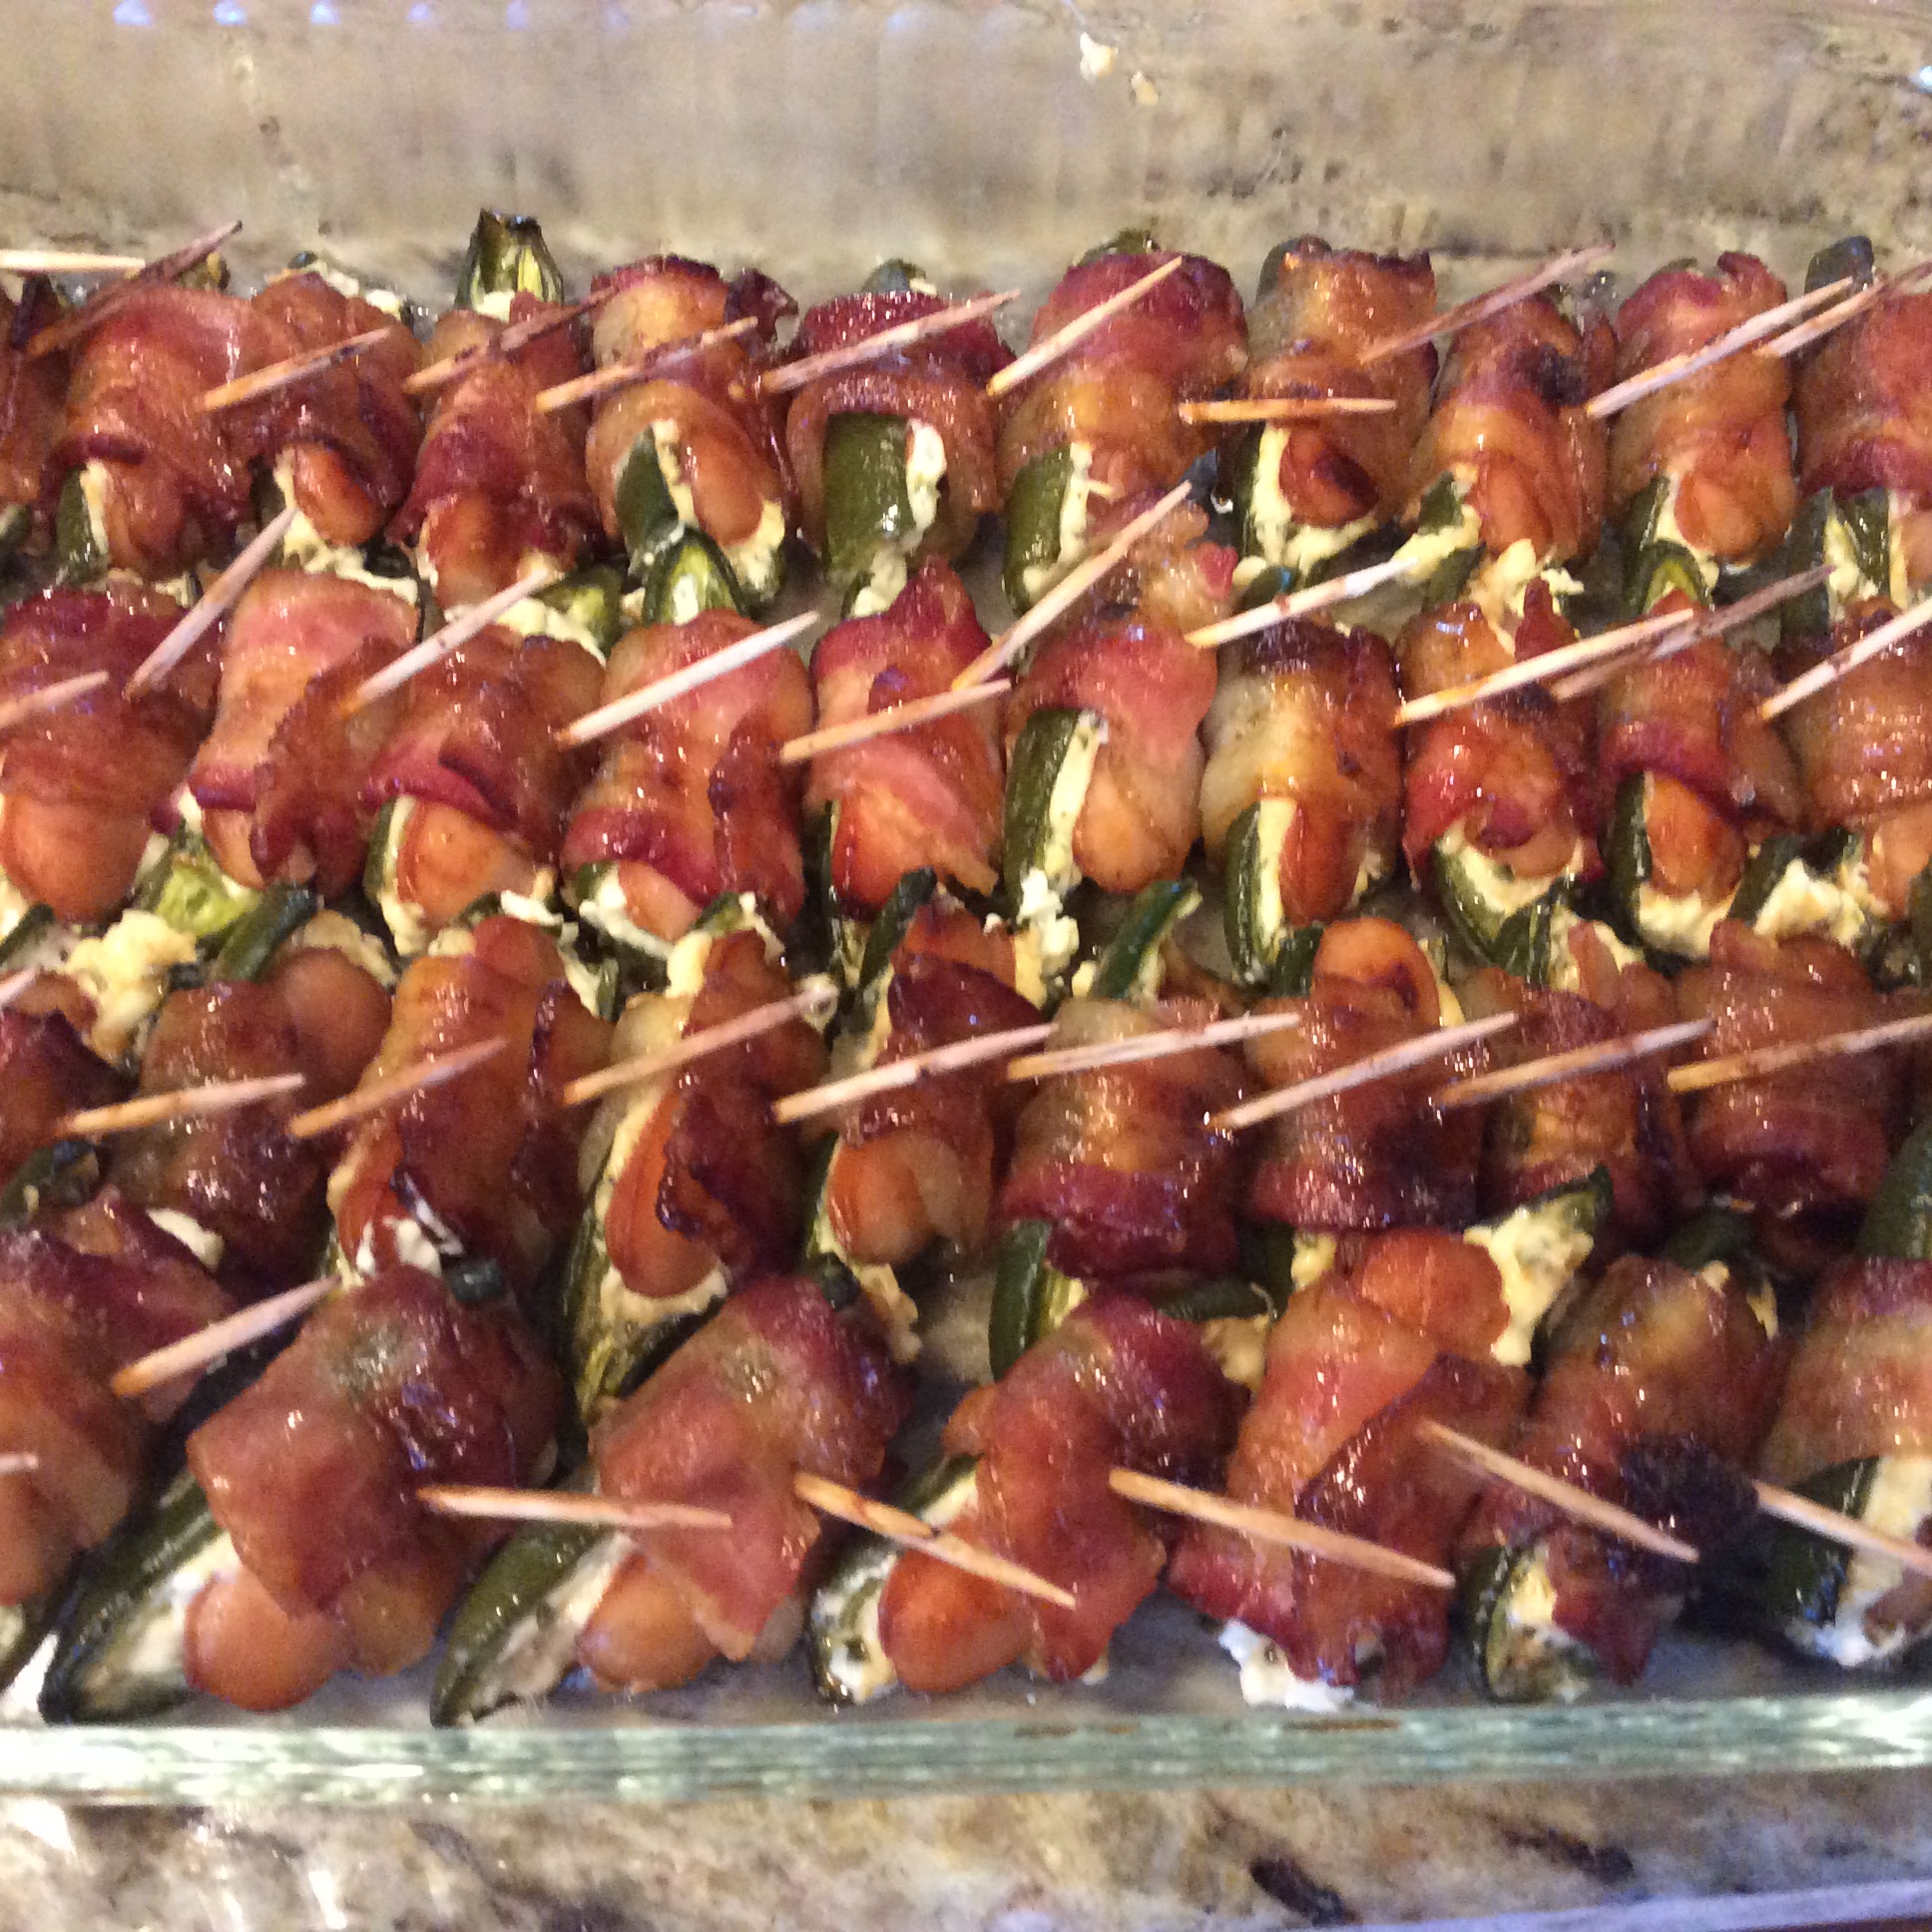
Dig in!
Bottom Line: This will be the hit at your next event…they are absolutely incredible! I never seem to make enough! In fact, earlier this month atthe Tennessee-Alabama game, I made 3 batches and they only lasted 15 minutes! My son, Jarrod, and Ashleigh’s beau, Hunter, just stood there and popped one after another into their mouths (yes. there was a lot of other food there)! You may even want to hold off putting these out until your guests have sampled the other appetizers just to fill them up a bit! Share your results and pictures with me and let me know what your fellow tailgaters think!
As to how they got their name, of course, the Tennessee Volunteer Mascot…Smokey, a Tennessee Blue Tick Hound! The best appetizer named for the best mascot!
“Smokey”…The University of Tennessee’s beloved mascot
I am Chef Frankie and I love sharing recipes that will become favorites in your home…Until next time, “Love and Cook with Wild Abandon”!
Note: To see more of my future recipe blogging plans, follow Recipe Realities on Pinterest. If you see one you like, let me know and I will make sure that one gets tested and blogged!
It is the first week of November and in East Tennessee, we have already seen snow fall in our area from just a little dusting to up two feet in the mountains! With these blustery conditions becoming more and more frequent, we are in need of three components for our weeknight meals…easy, healthy, and comforting and I have the one for you! My Zippy Lentil Soup!
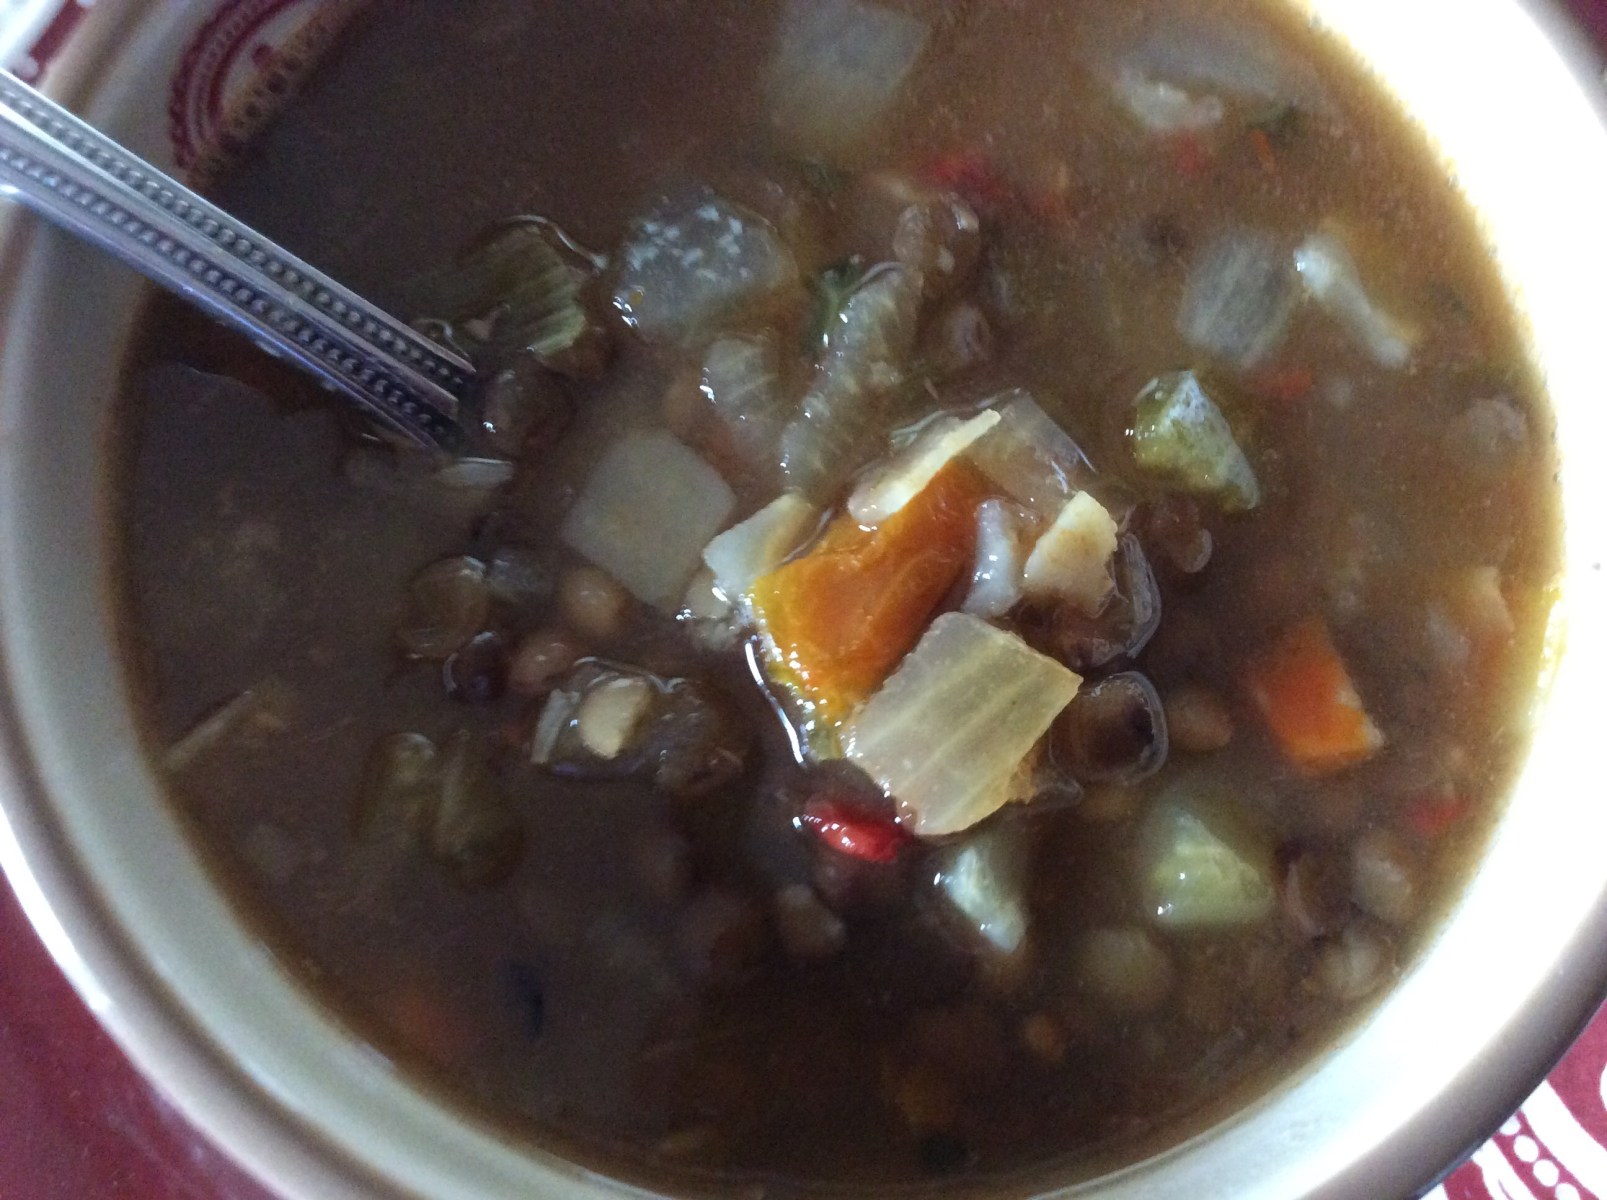
Chef Frankie’s Zippy Lentil Soup
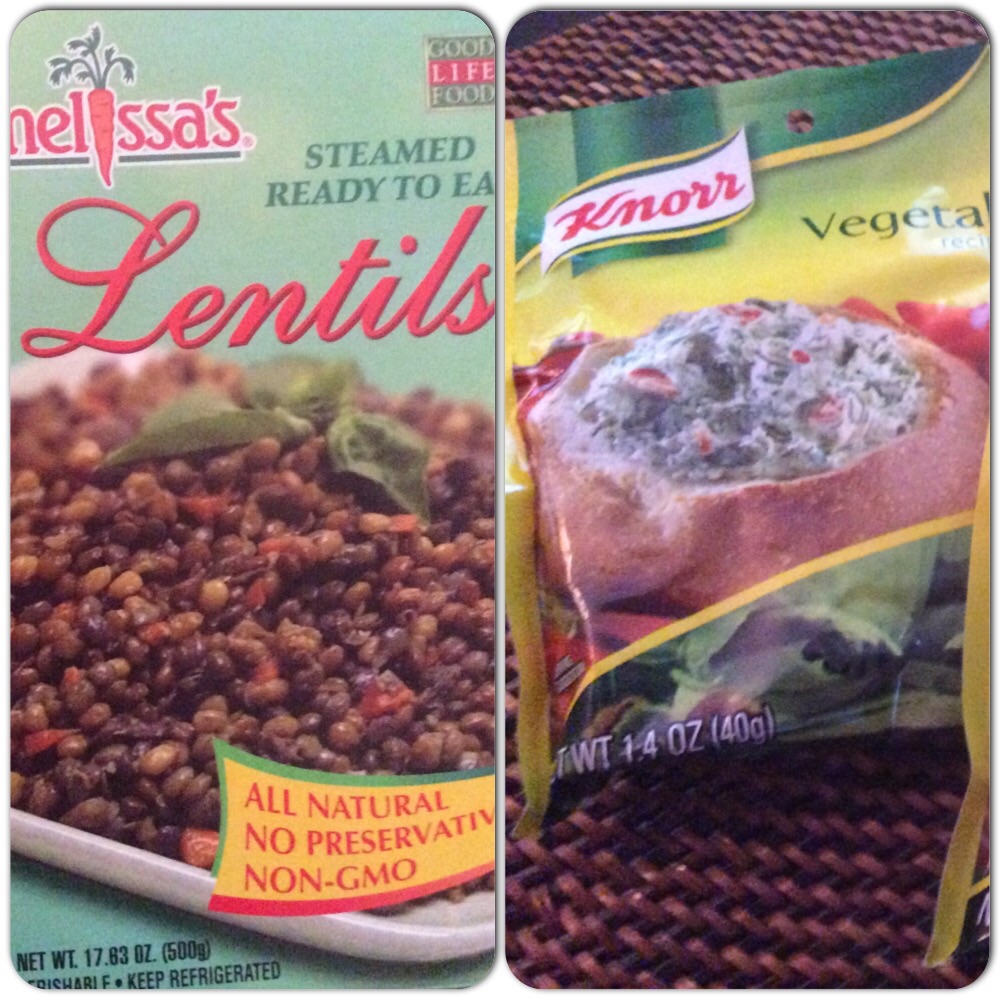
I am almost even hesitate to call this a recipe because I use so many shortcuts, but sometimes that is the best kind of recipe! It includes two of my favorite things….Knorr’s Vegetable Soup Mix and Melissa’s Precooked Lentils. Most of the work has been done for you so your job is only opening a few packages and adding a few extra touches.
Two of my favorite things!
Not only is this recipe easy and obviously comforting because of it’s warm yumminess, but it is extremely filling and low in fat and calories! Sometimes, I eat it as a light lunch or add some cheesy croutons and make it a more substantial evening meal. I also, like t0 serve it to guests as an appetizer in tiny soup bowls if we are eating in the dining room and having several courses in our meal. No matter how you choose to use this recipe, your family and friends will think you slaved in the kitchen for hours to create these flavors. It will be our little secret that it was this easy!
Chef Frankie’s Zippy Lentil Soup
Ingredients
2 14 oz packages of Knorr’s Vegetable Soup Mix
8 cups water
1 cup V-8 Juice (I prefer Low Sodium Hot & Spicy)
2 tablespoons of hot sauce (optional)
1-2 tablespoons of Red Pepper Flakes (based on your spice preference; you can omit if you like)
1 1/2 cups of onions and celery, sauteed
1 17 0z package of Melissa’s Steamed Ready to Eat Lentils
Salt and Pepper to taste
Directions
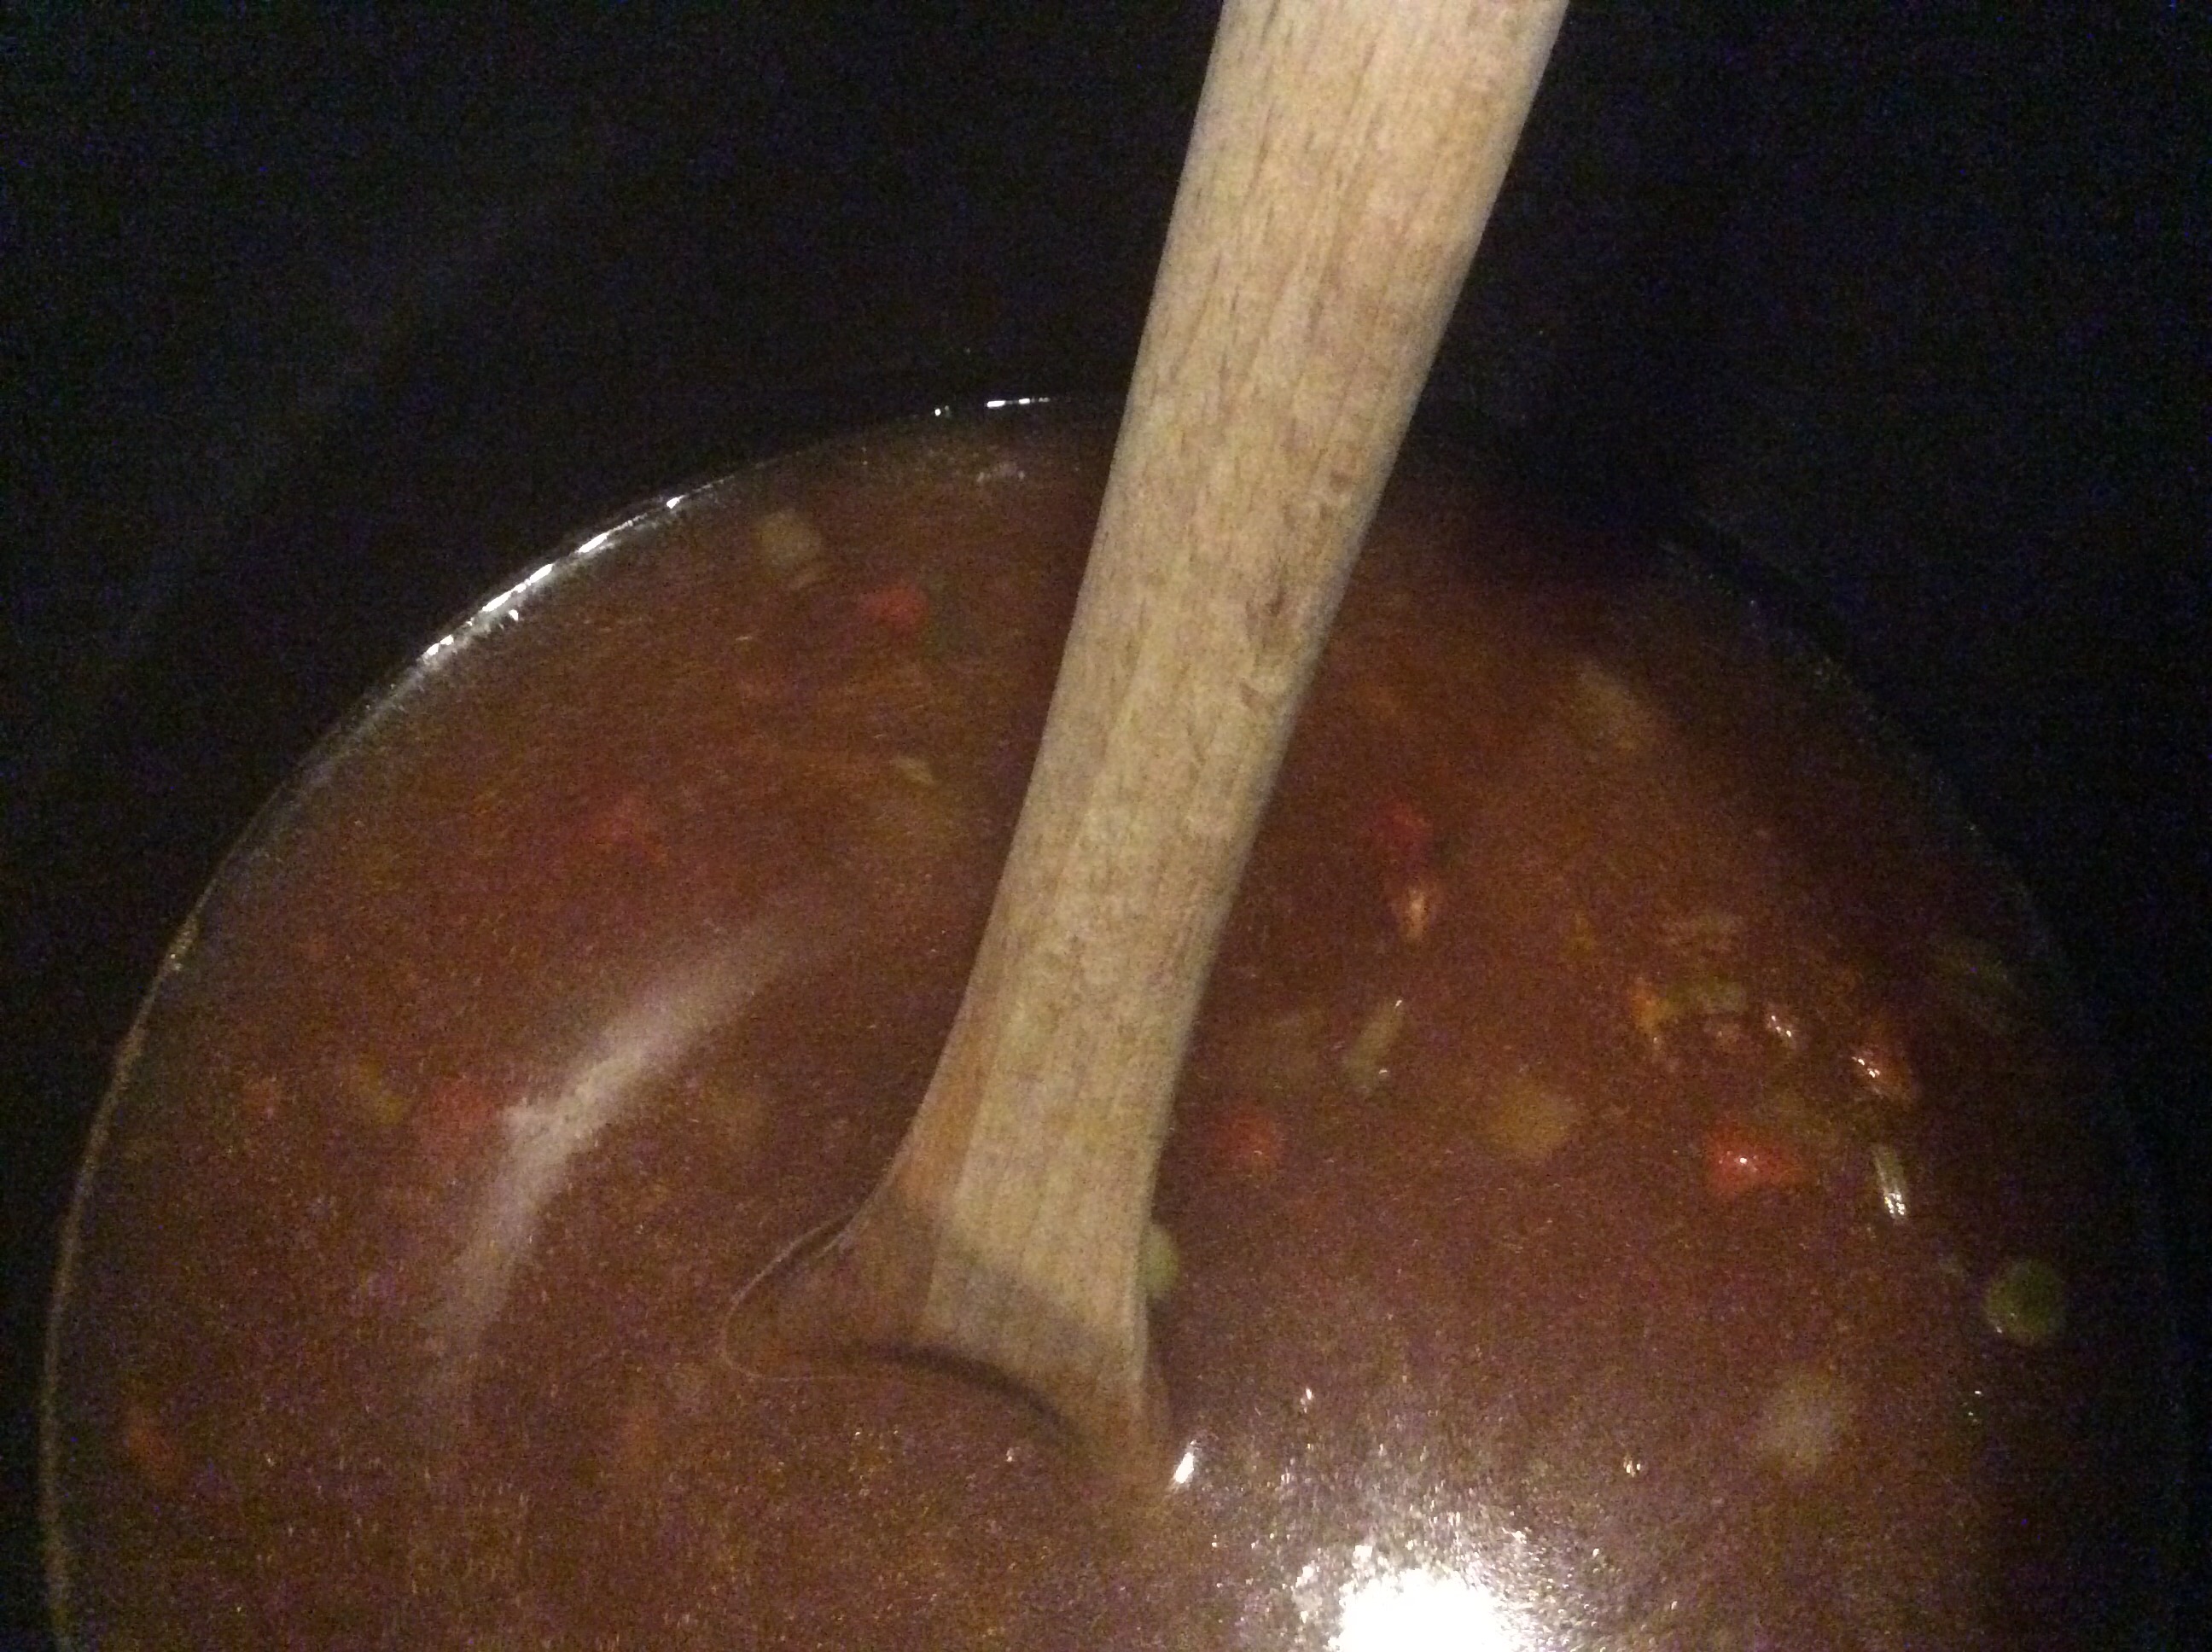
Combine the first 5 ingredients in a stock pan.
Mix together first 5 ingredients
Bring to a boil and then simmer for 30 minutes. Add in onions, celery, and lentils.
Add in onions, celery, and lentils
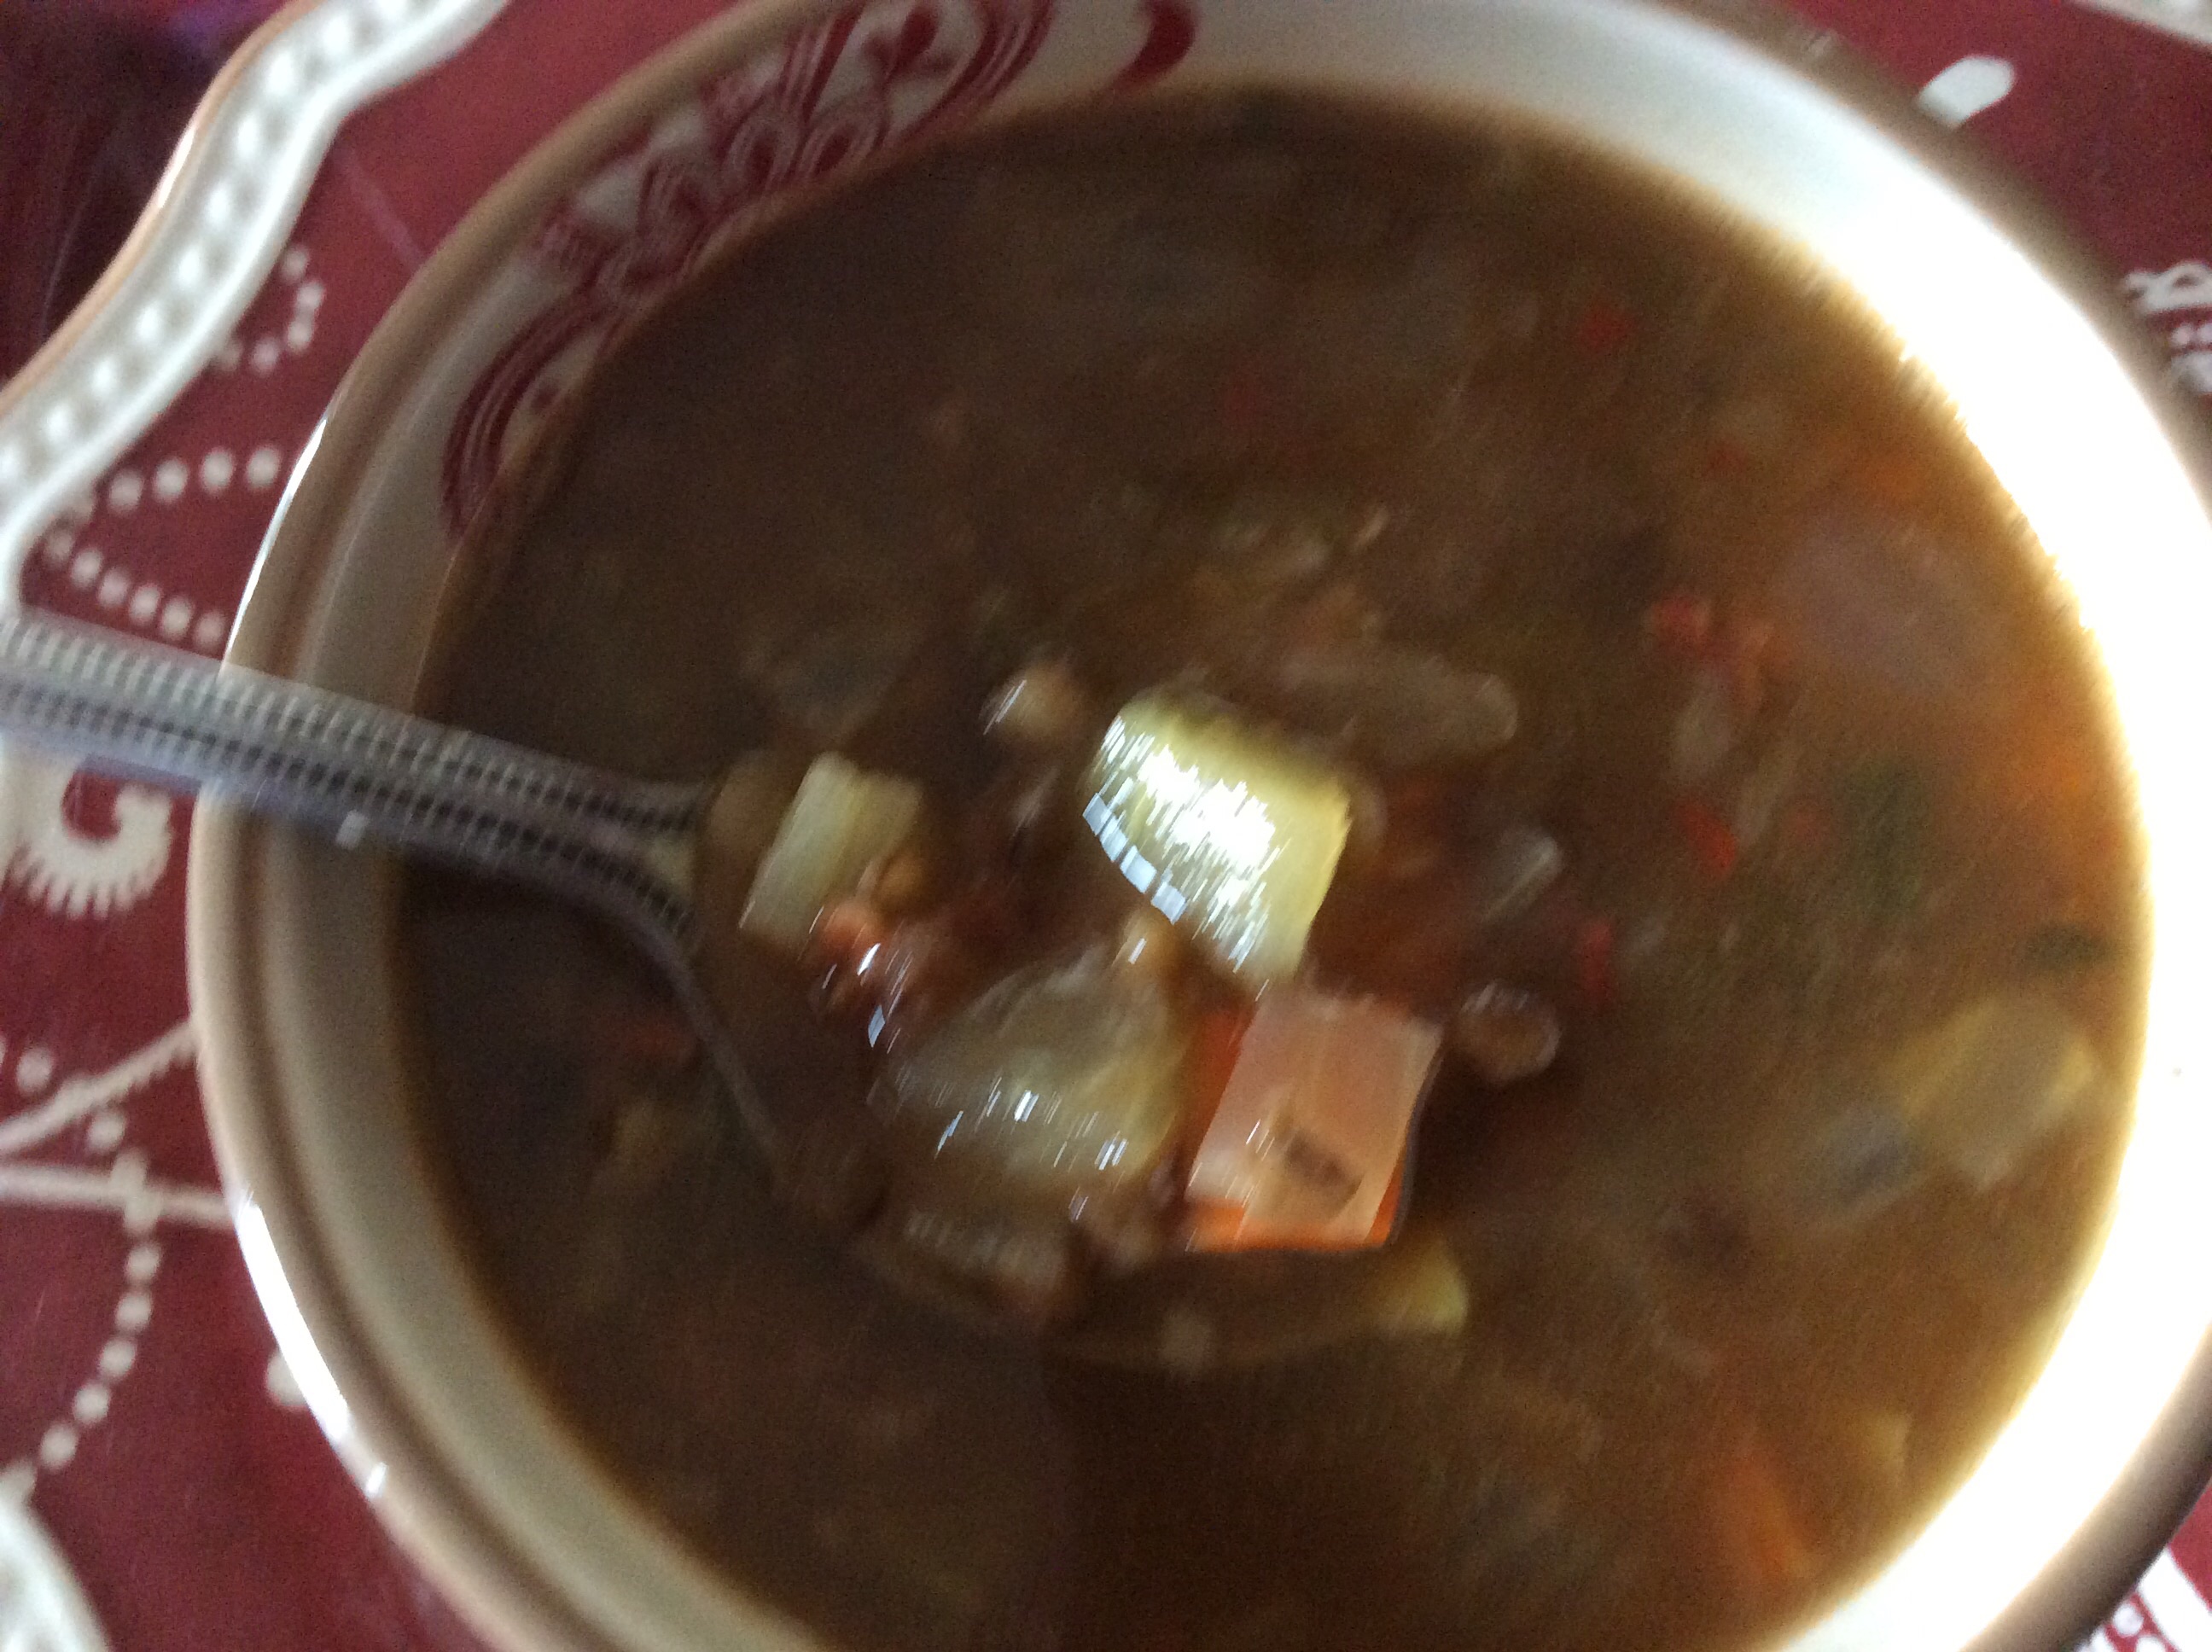
Simmer for at least 30 minutes..it will thicken slightly after cooking. Salt and Pepper to taste.
Ready to serve!
Bottom Line: Super Easy, Super Comforting, and Super Healthy! Only a few ingredients along with some store-bought shortcuts and you have dinner in a flash! Enjoy a few of my favorite things!
Over the last year, Jeff and I have taken an interest in preparing ourselves and family for an emergency. What if something as simple as a weather disaster leading to no power or food available even for just a couple of days actually happened? Or worse..what if it was something like one of the scary headlines that we hear on our national news such as the Eboli Crisis, Isis, or the possibility of nuclear weapons affected us? Would you be prepared? While these events seem unlikely, we believe it is important for every family to be prepared and have a plan.
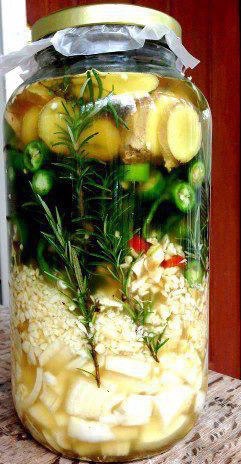
Part of this plan includes natural healing, so this morning when I saw shared Facebook post on a blog called “Heal Thyself” hosting an online Master Tonic Party on October 23rd, I knew this was a must try! (Thank you, Cindy DuBois!)
Master Tonic by Heal Thyself
The actual facebook post by Heal Thyself was a bit confusing as it advertised the Master Tonic Party but the picture was for a recipe called Fire Cider adapted by another wonderful natural healing blog, “Mountain Rose”. So, step 1 will be to attend the party, investigate both recipes and determine which one I am going to make and test for this upcoming cold/flu season!
Growing up, lasagna was not my favorite thing…In fact, I can actually say I didn’t like it at all. My aversion to it was all the variations that I had tried included cottage cheese and something about its consistency didn’t jive with my palate. As I grew older and began cooking in the kitchen myself, I learned that authentic Italian Lasagnas didn’t have cottage cheese in them at all but, in fact, used Ricotta Cheese. I now know that the primary reason cottage cheese was used so readily in my younger years was because we did not have the supermarkets of today and ricotta was usually found only in specialty markets. Still, memories stick with you and I wasn’t overly anxious to make lasagna.
Lasagna is one of Jeff’s favorite meals and if he is going to the hunt camp after work on a Friday, he will stop by the Fresh Market and get some of theirs to reheat in his outdoor oven at the camp. Since I often send food with him, I knew I should really try lasagna again since taste buds change so much as you get older. Then, last week, as I was sitting on my front porch on a beautiful fall day reading the latest edition of Cooking Light Magazine, it just jumped out of the pages…a recipe for Classic Lasagna with Meat Sauce! And guess what? The recipe had NO Cottage Cheese!
Classic Lasagna with Meat Sauce by Cooking Light
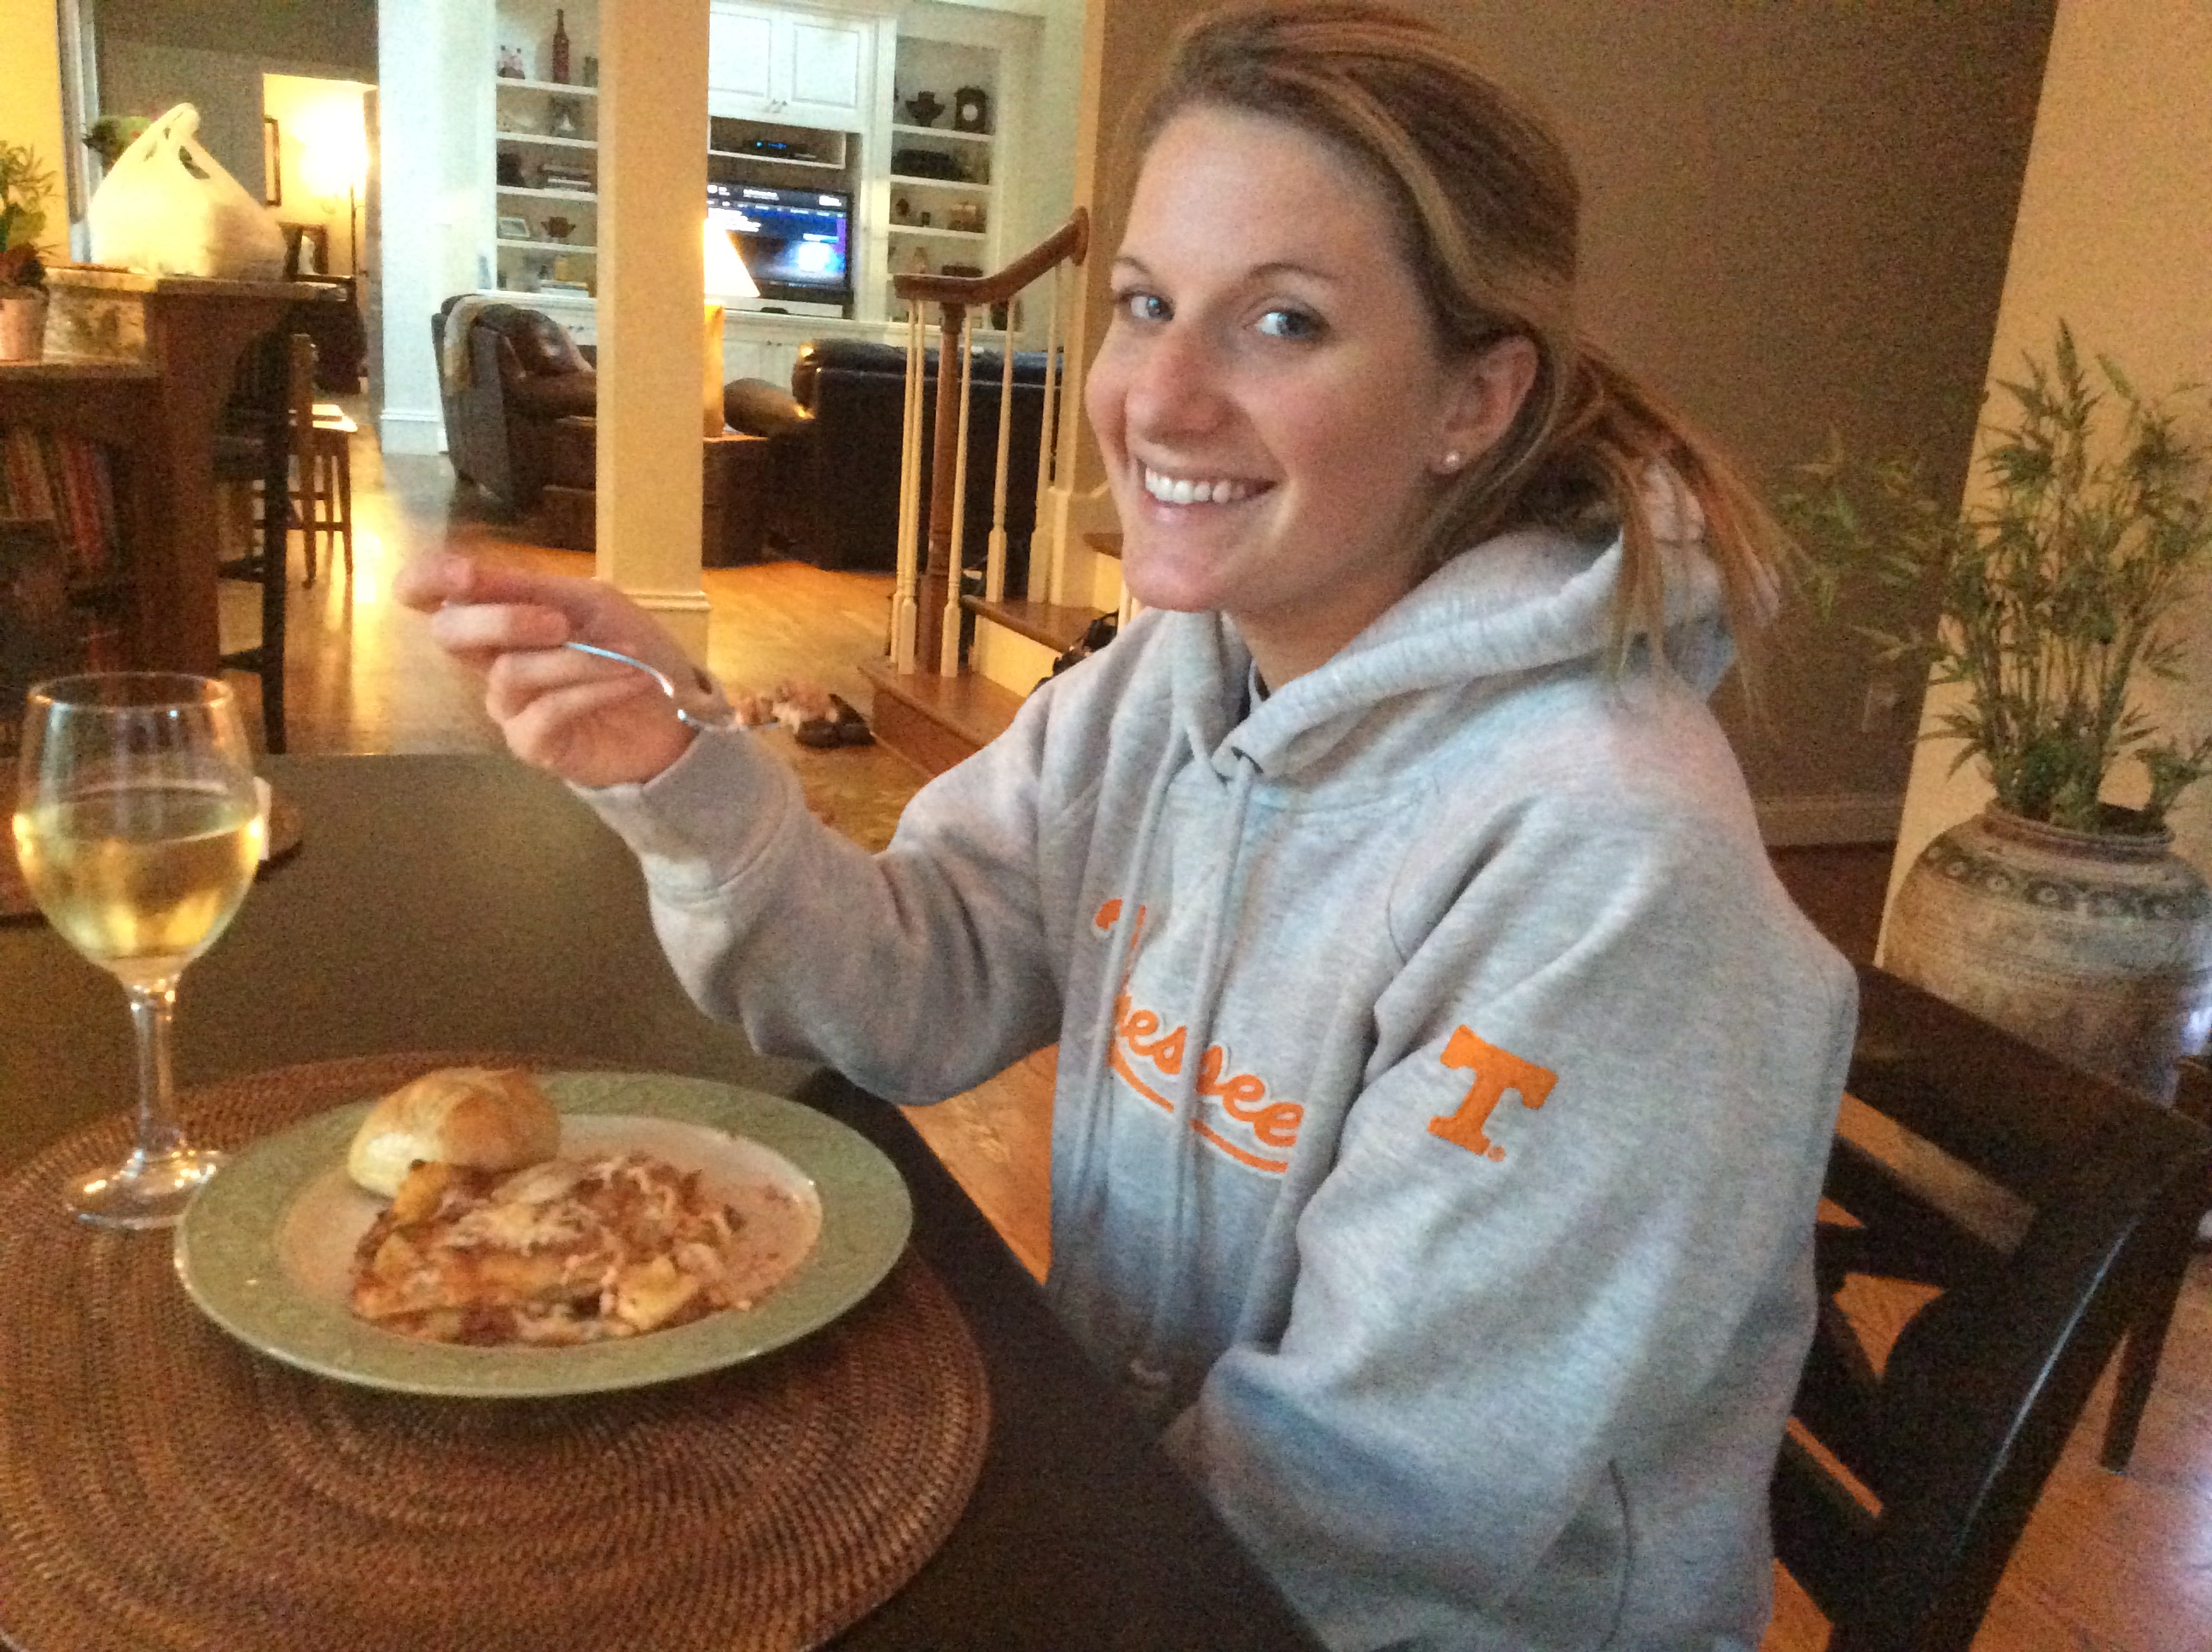
My daughter, Ashleigh, always watches what she eats and she prefers when I cook for her to keep it somewhat healthy. So when I found out that she was coming over for dinner and saw that this recipe only had 378 calories, I knew I was going to try it out on this rainy weekday evening. Not only that, I was truly going to try to stick to the recipe and make it with no adjustments…unusual for me.
Well, there in lies the problem…good cooking is being able to adapt and recover in the kitchen and while I followed the ingredients the best I could, I didn’t have an 11 x 7 pan size so my recipe was going to have to be adjusted to fit a little larger 2.5 quart lasagna pan changing the servings from 6 to 8 but not affecting the calorie count. (I did have to add a little more ricotta, cheese, and meat sauce to the recipe to reflect this change.) It also changed how I cut my noodles and I could not find fat-free ricotta so I used low-fat but did not add the melted butter the recipe stated to keep the integrity of the calorie count. The recipe that follows is my adapted version but if you do have an 11 x 7 pan, I have included the original recipe below.
(Note: In my pictures, you will notice that there is a lot more sauce and ricotta than indicated in the recipe. That is because I was making two lasagnas…one for my personal chef family & one for mine.)
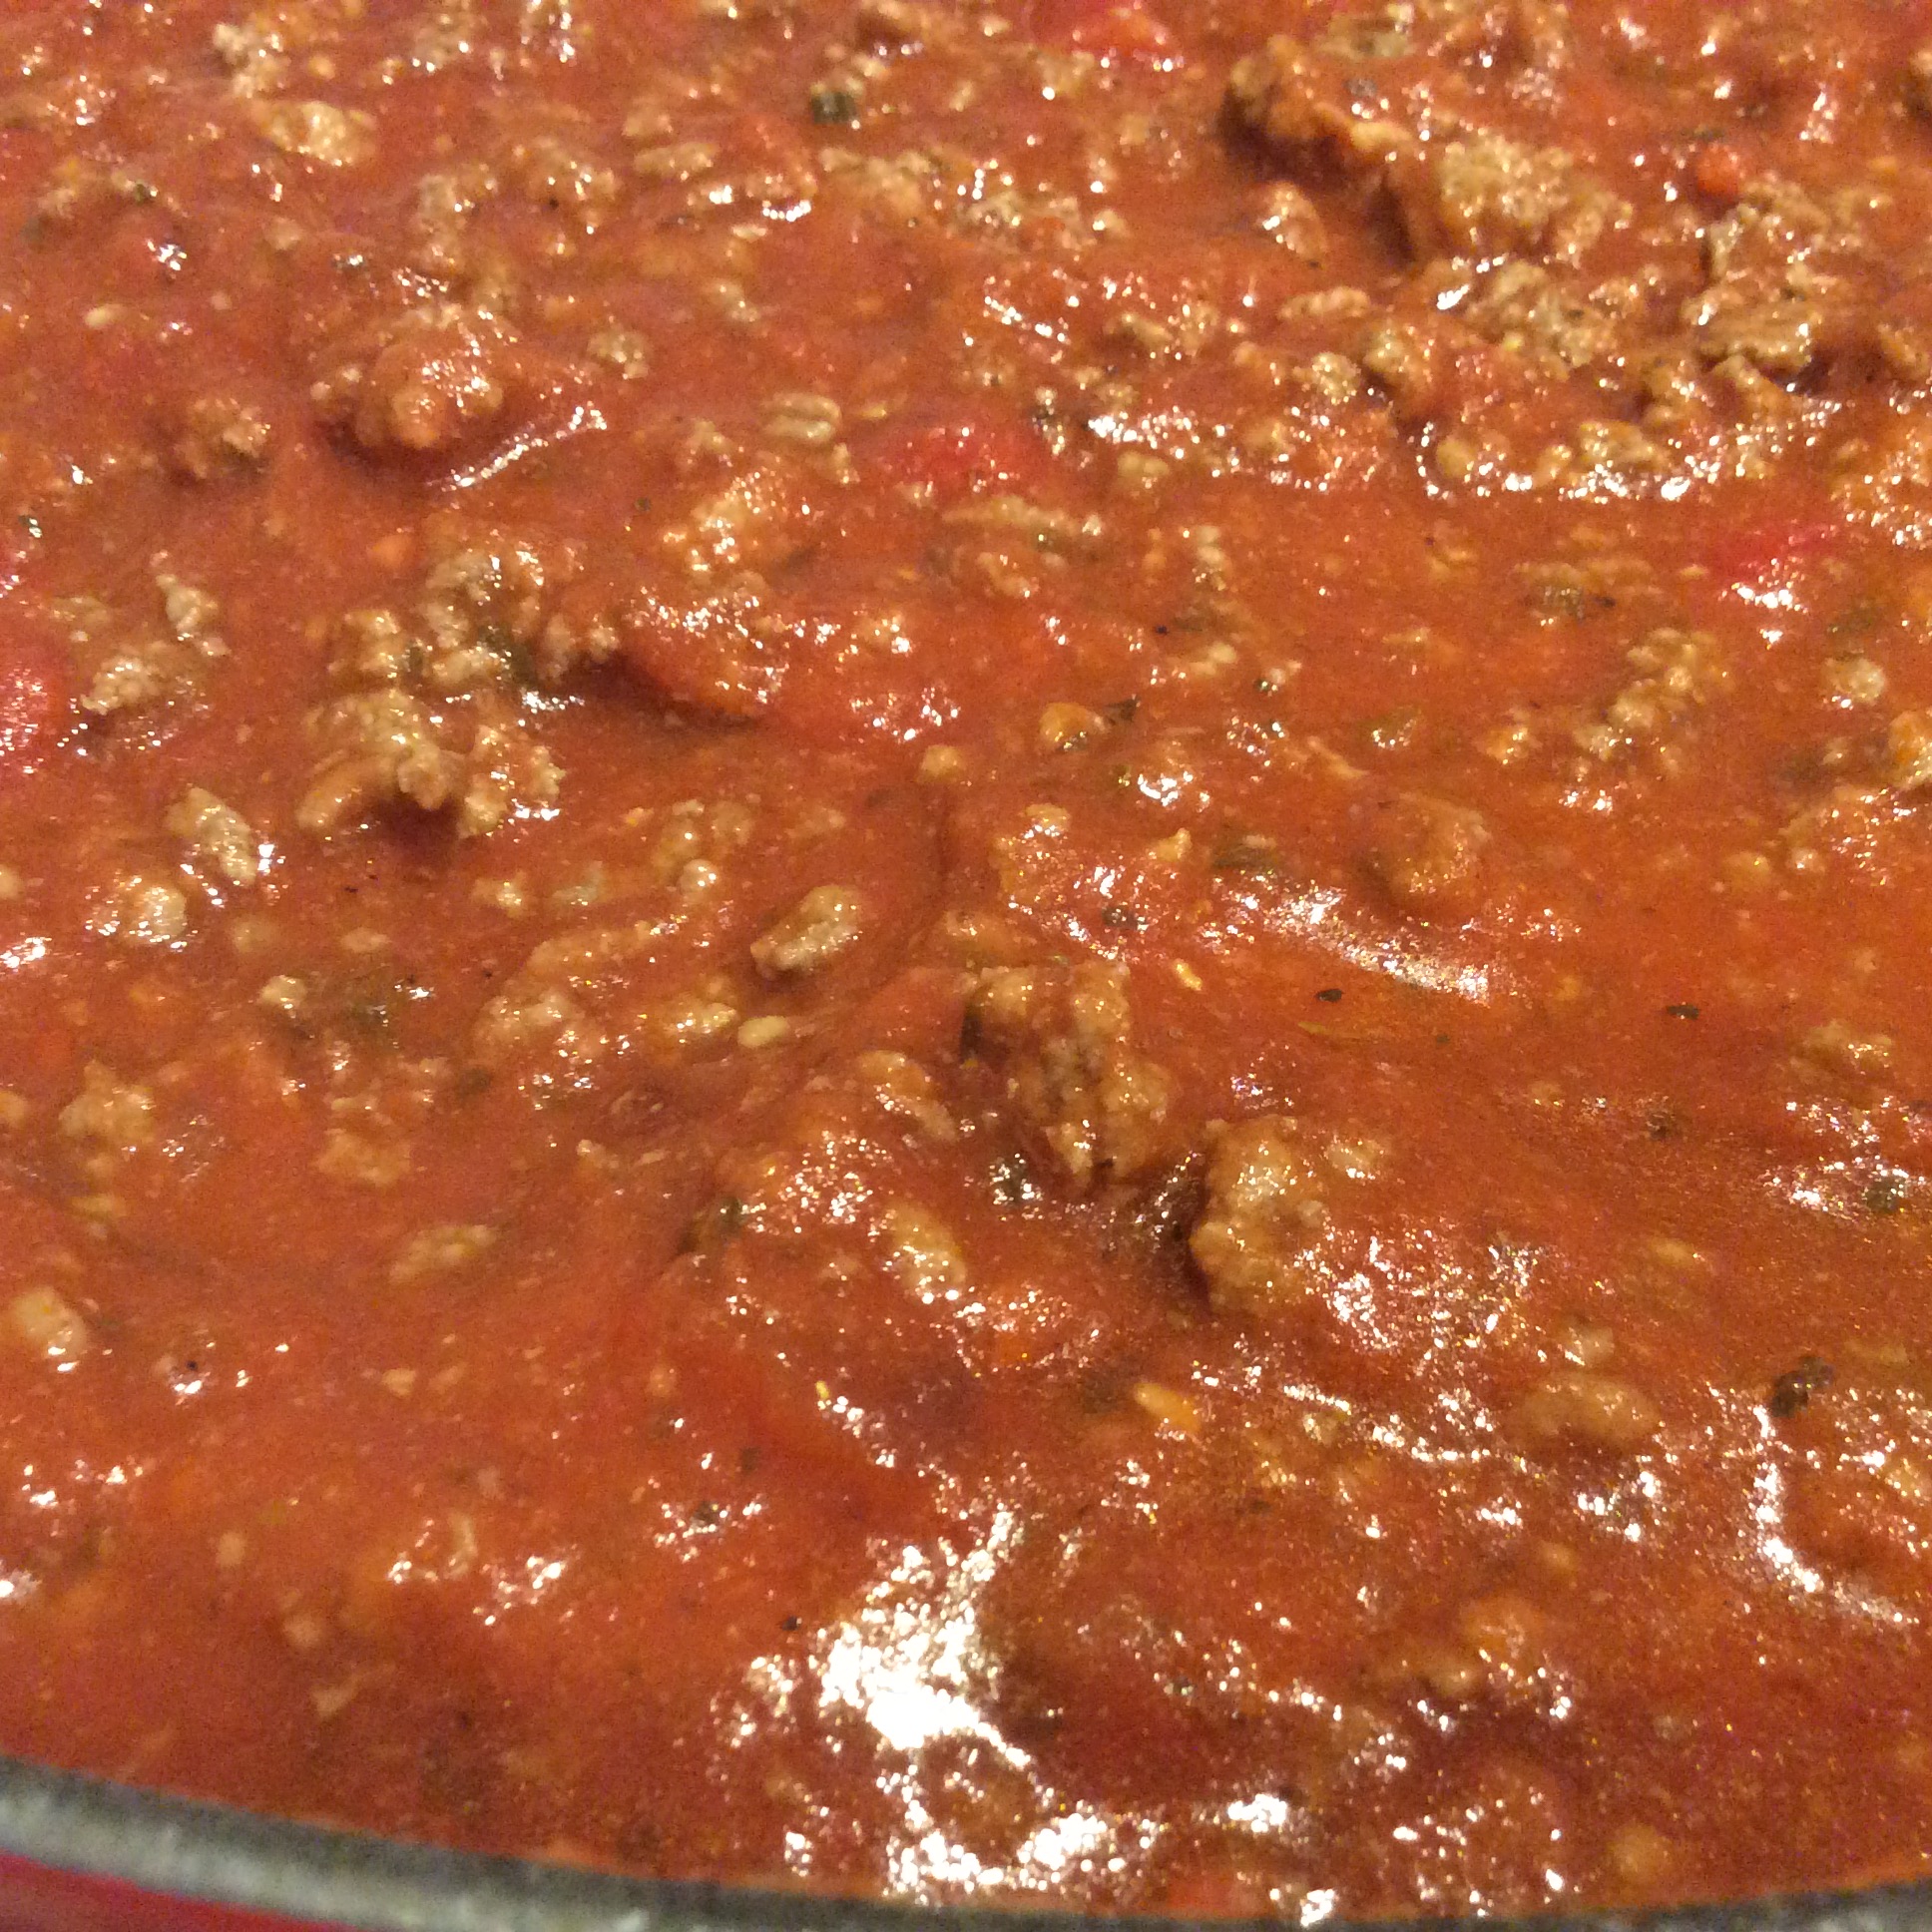
3. Place ground beef in a large nonstick skillet over medium-high heat; sprinkle with peppers and remaining 4 garlic cloves. Cook for 9 minutes or until beef is browned, stirring to crumble; drain. Return beef mixture to pan; stir in marinara sauce, and let simmer until heated through.
Meat Sauce
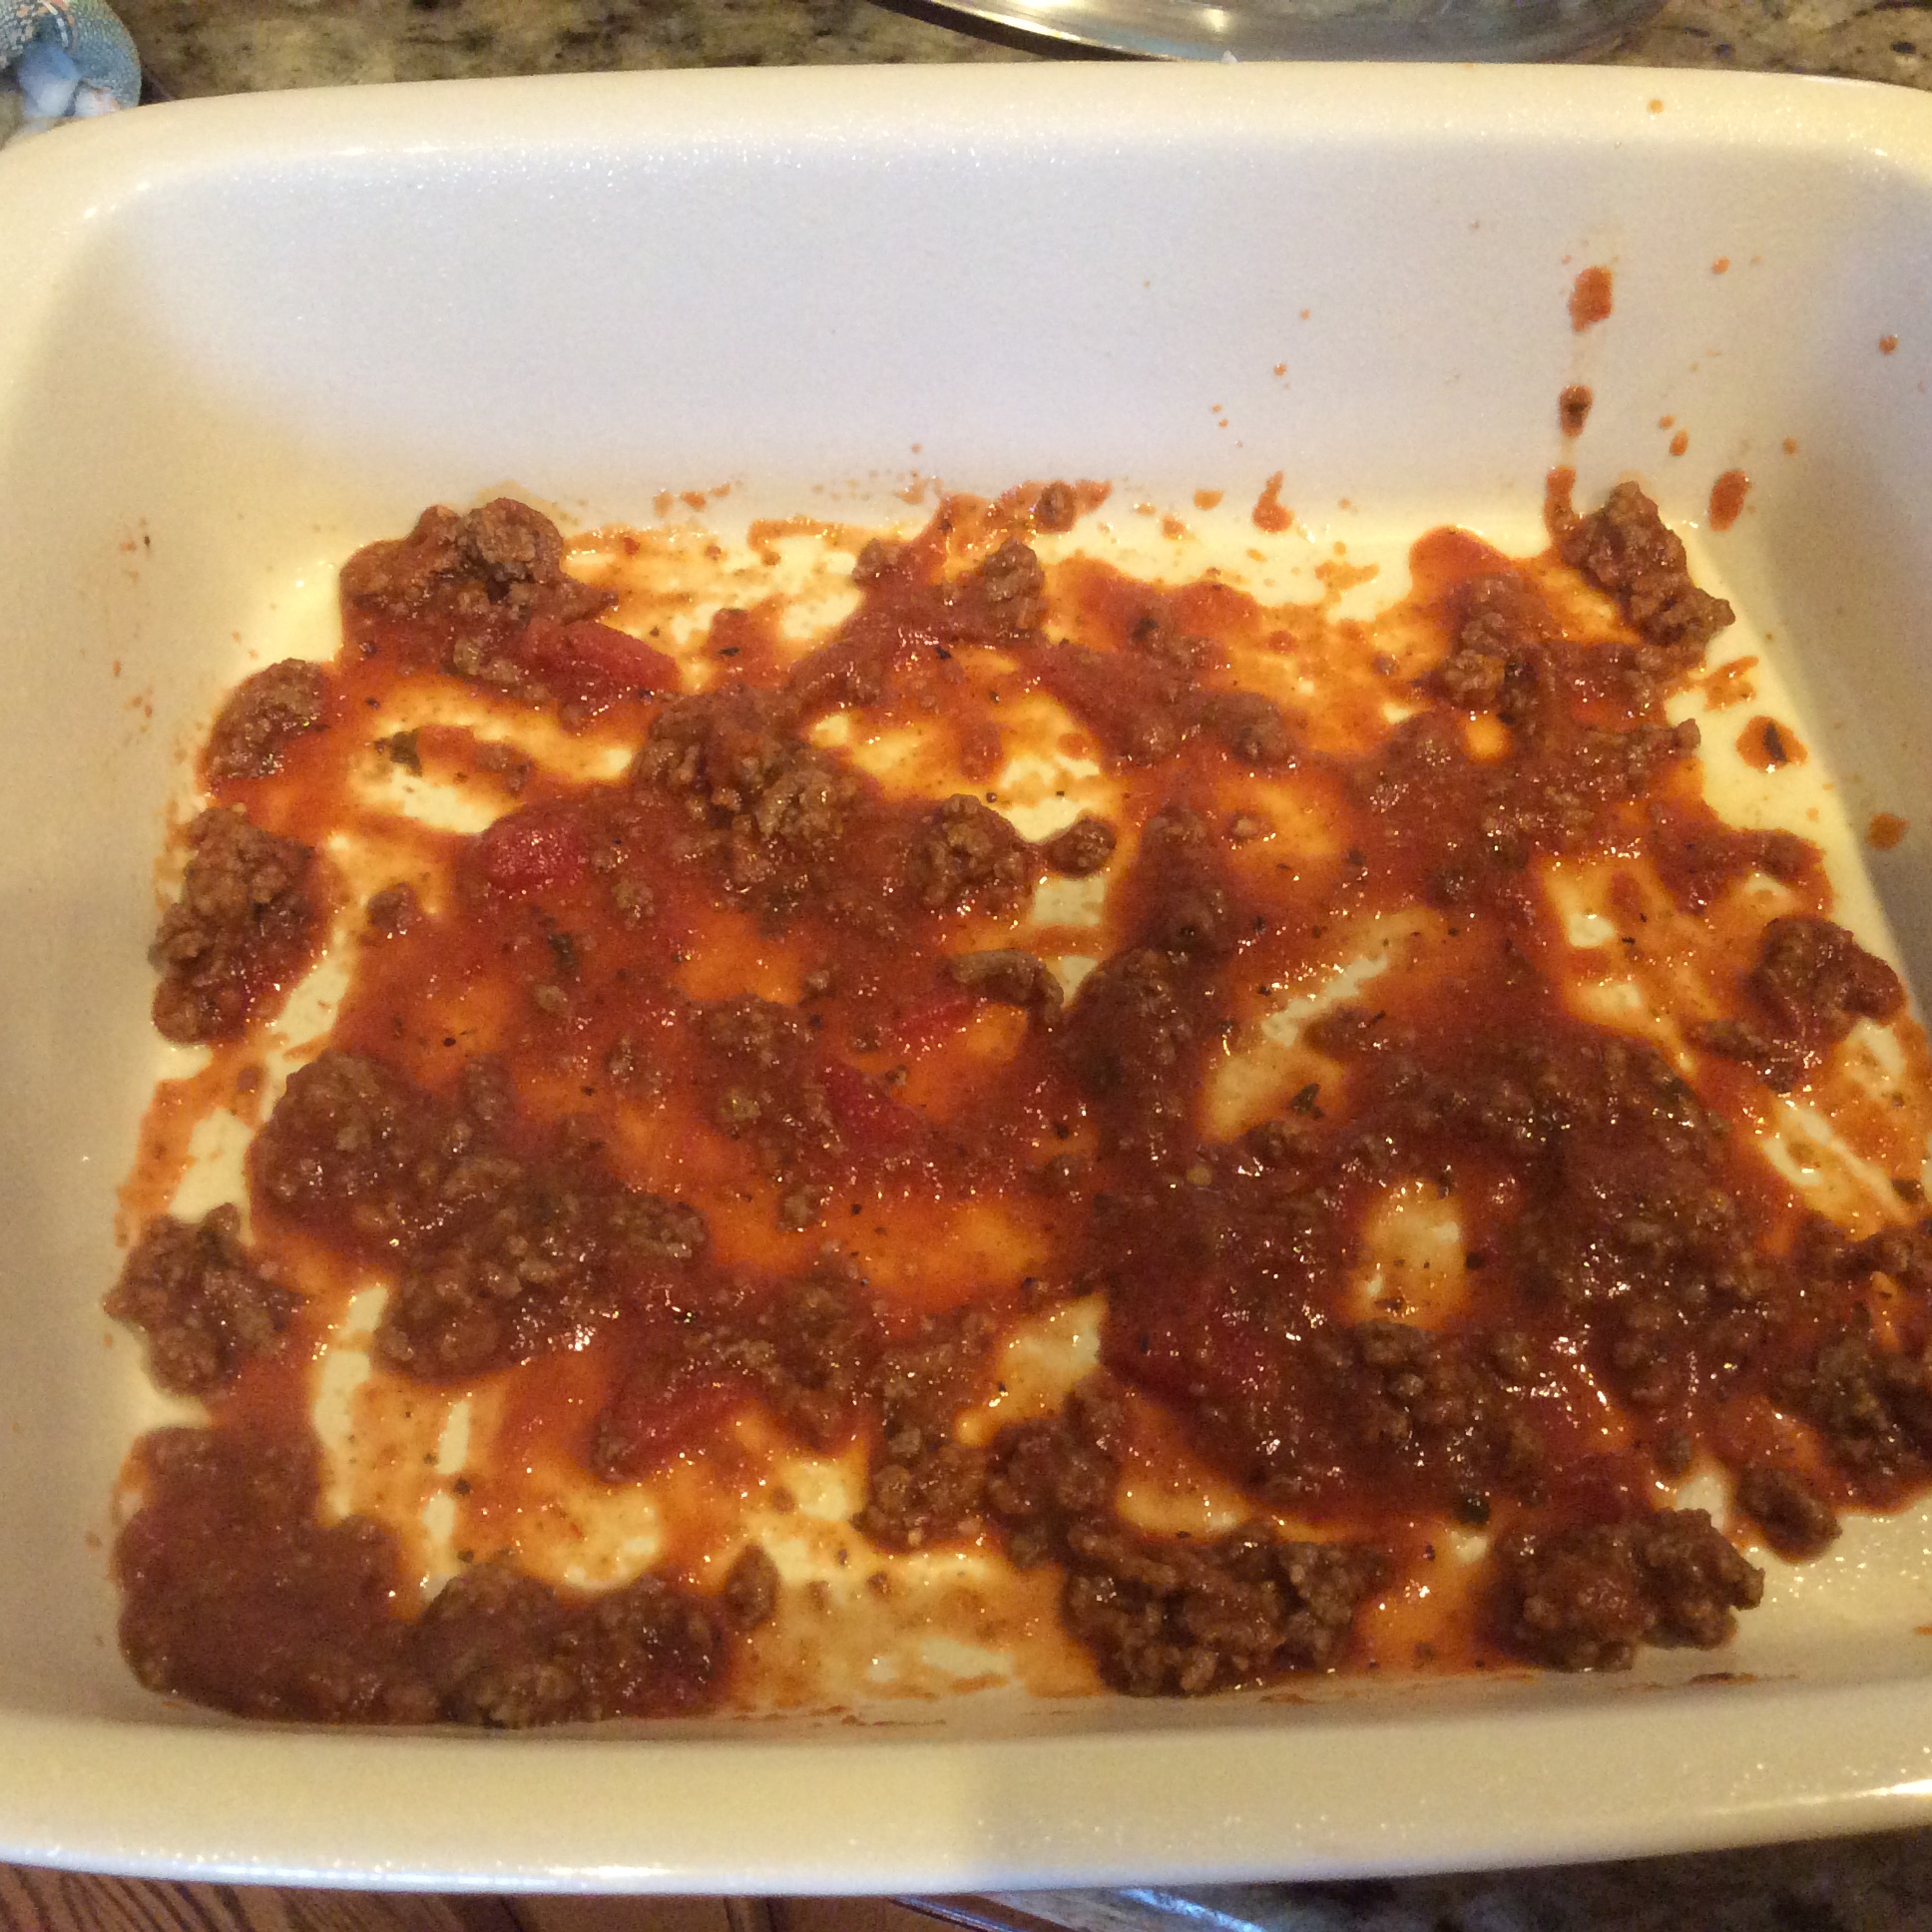
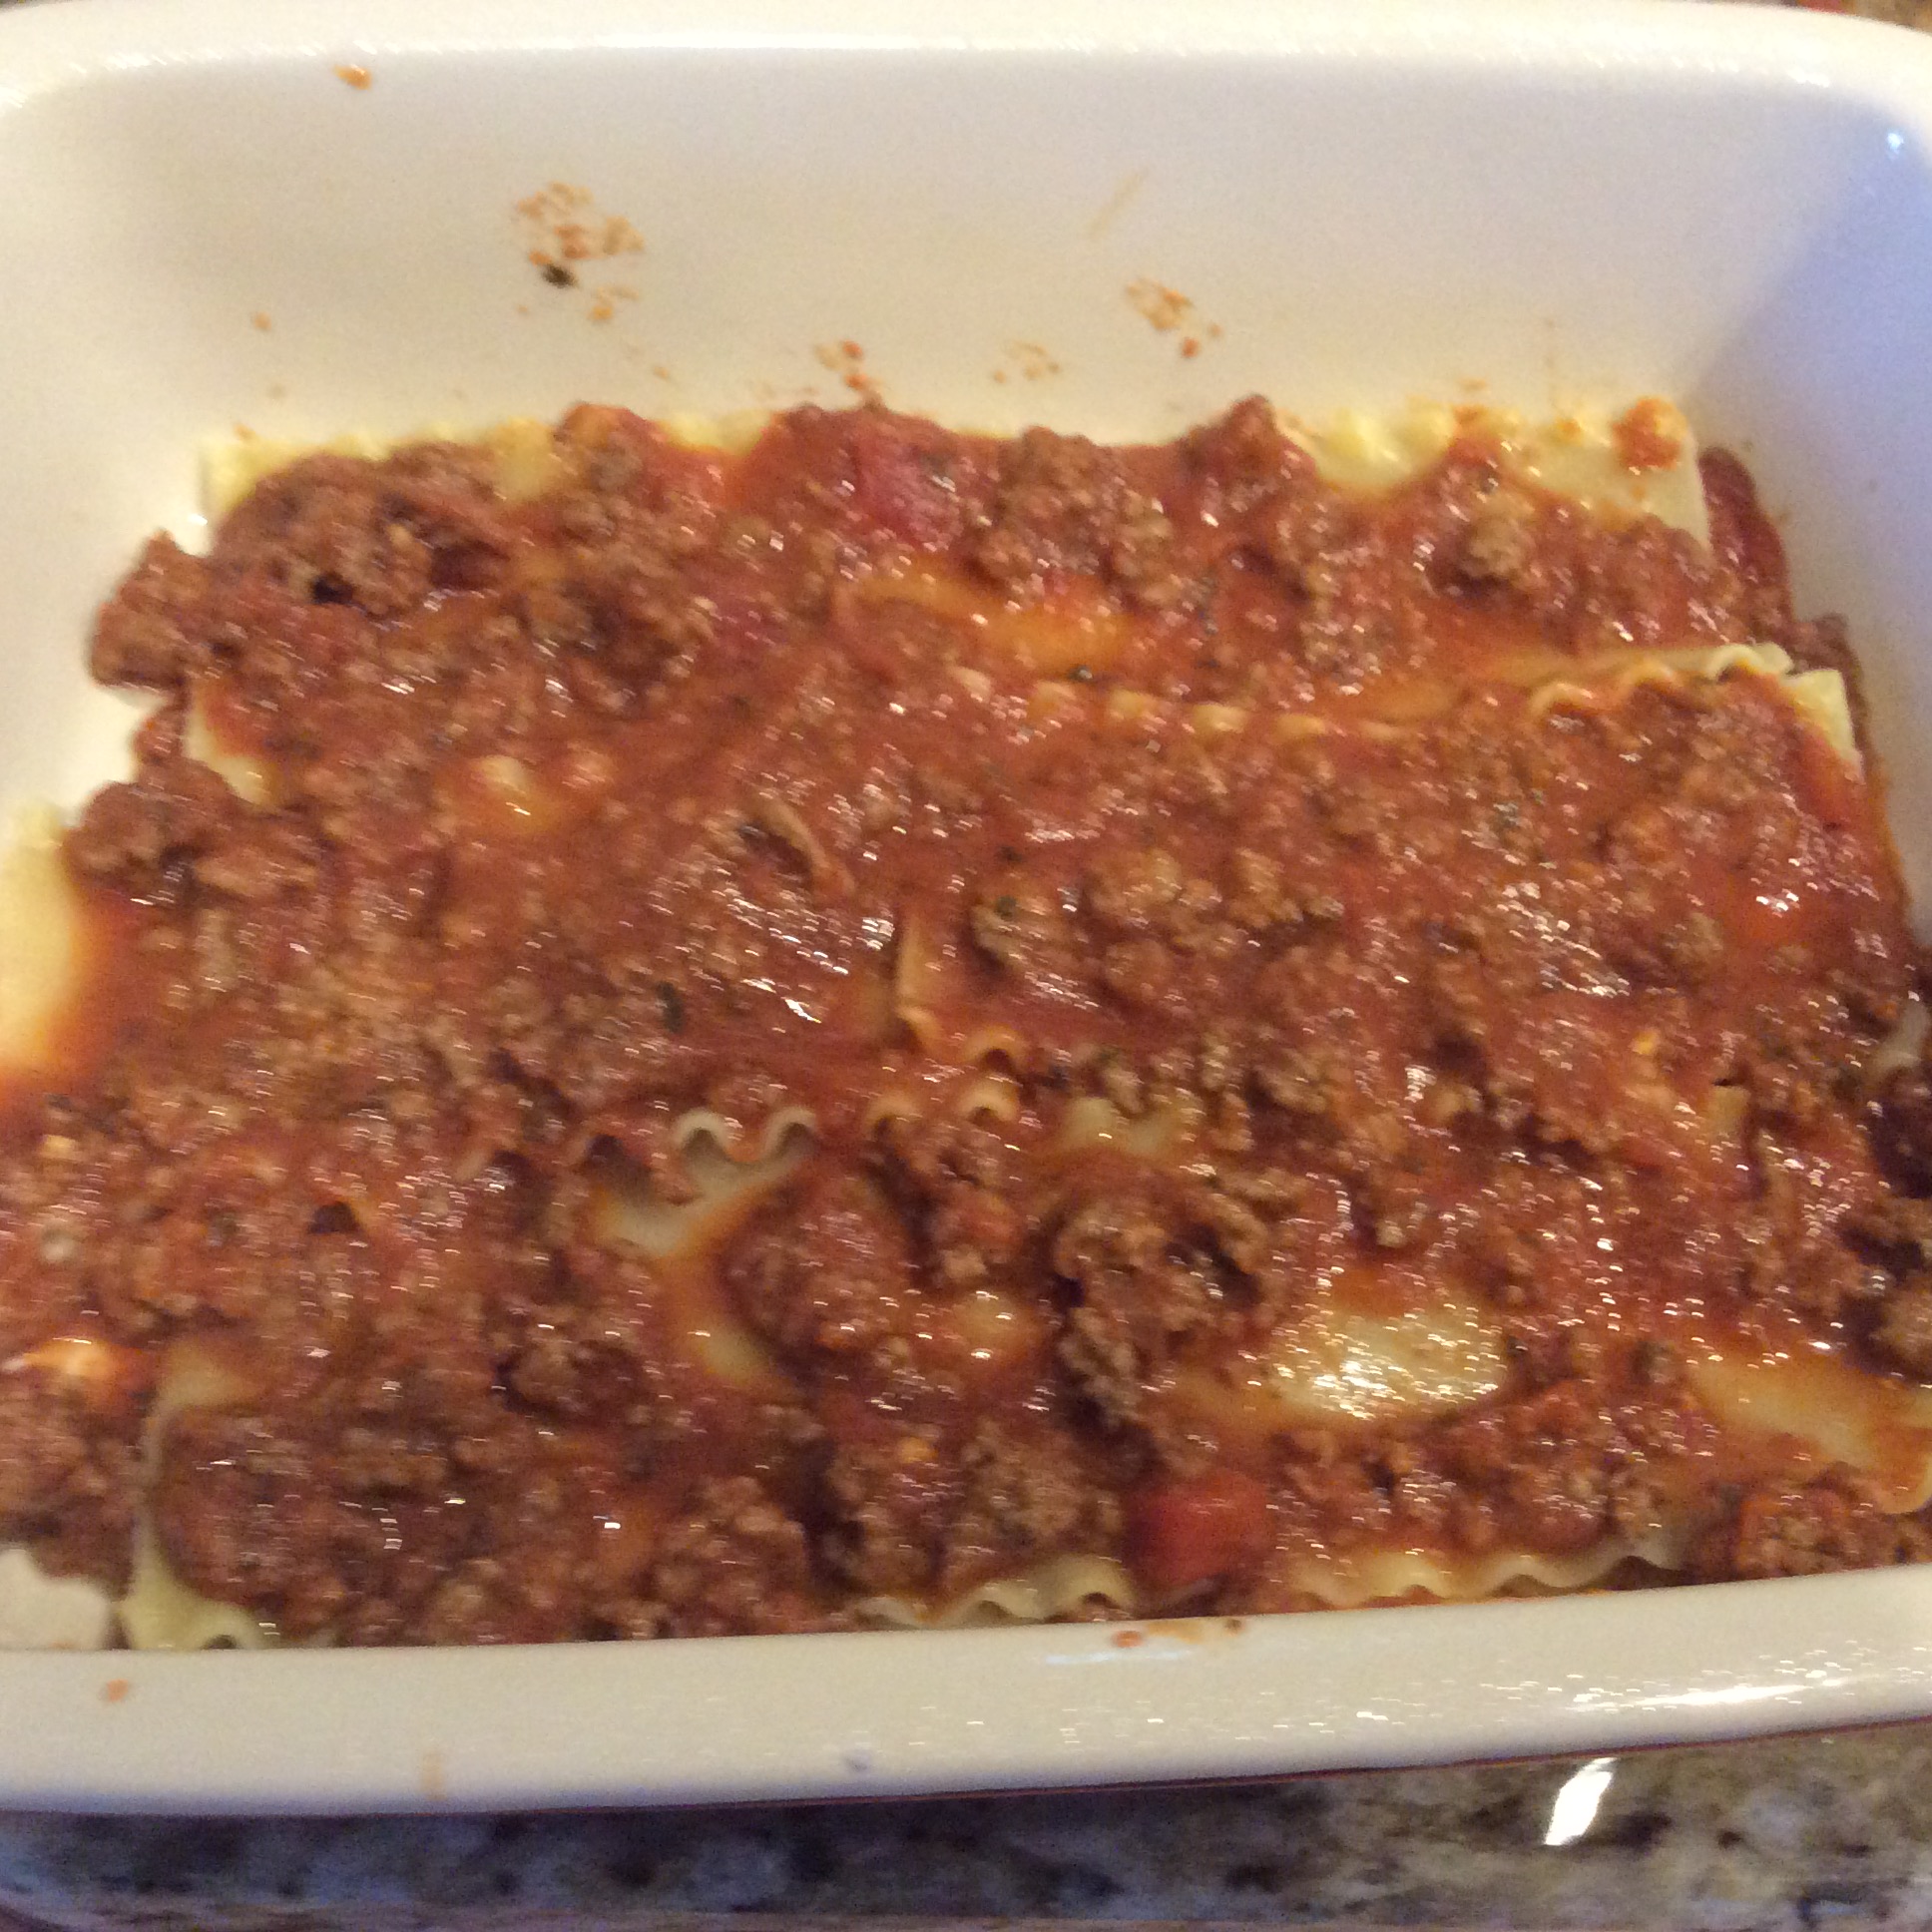
4. Spread 1/2 cup meat sauce in bottom of a broiler-safe 2.5 glass or ceramic baking dish coated with cooking spray.
Meat Sauce in the bottom of baking dish
Place 3 noodles on top of meat sauce and cover noodles with another 1 1/4 cups meat sauce.
Add 3 noodles and another layer of meat sauce
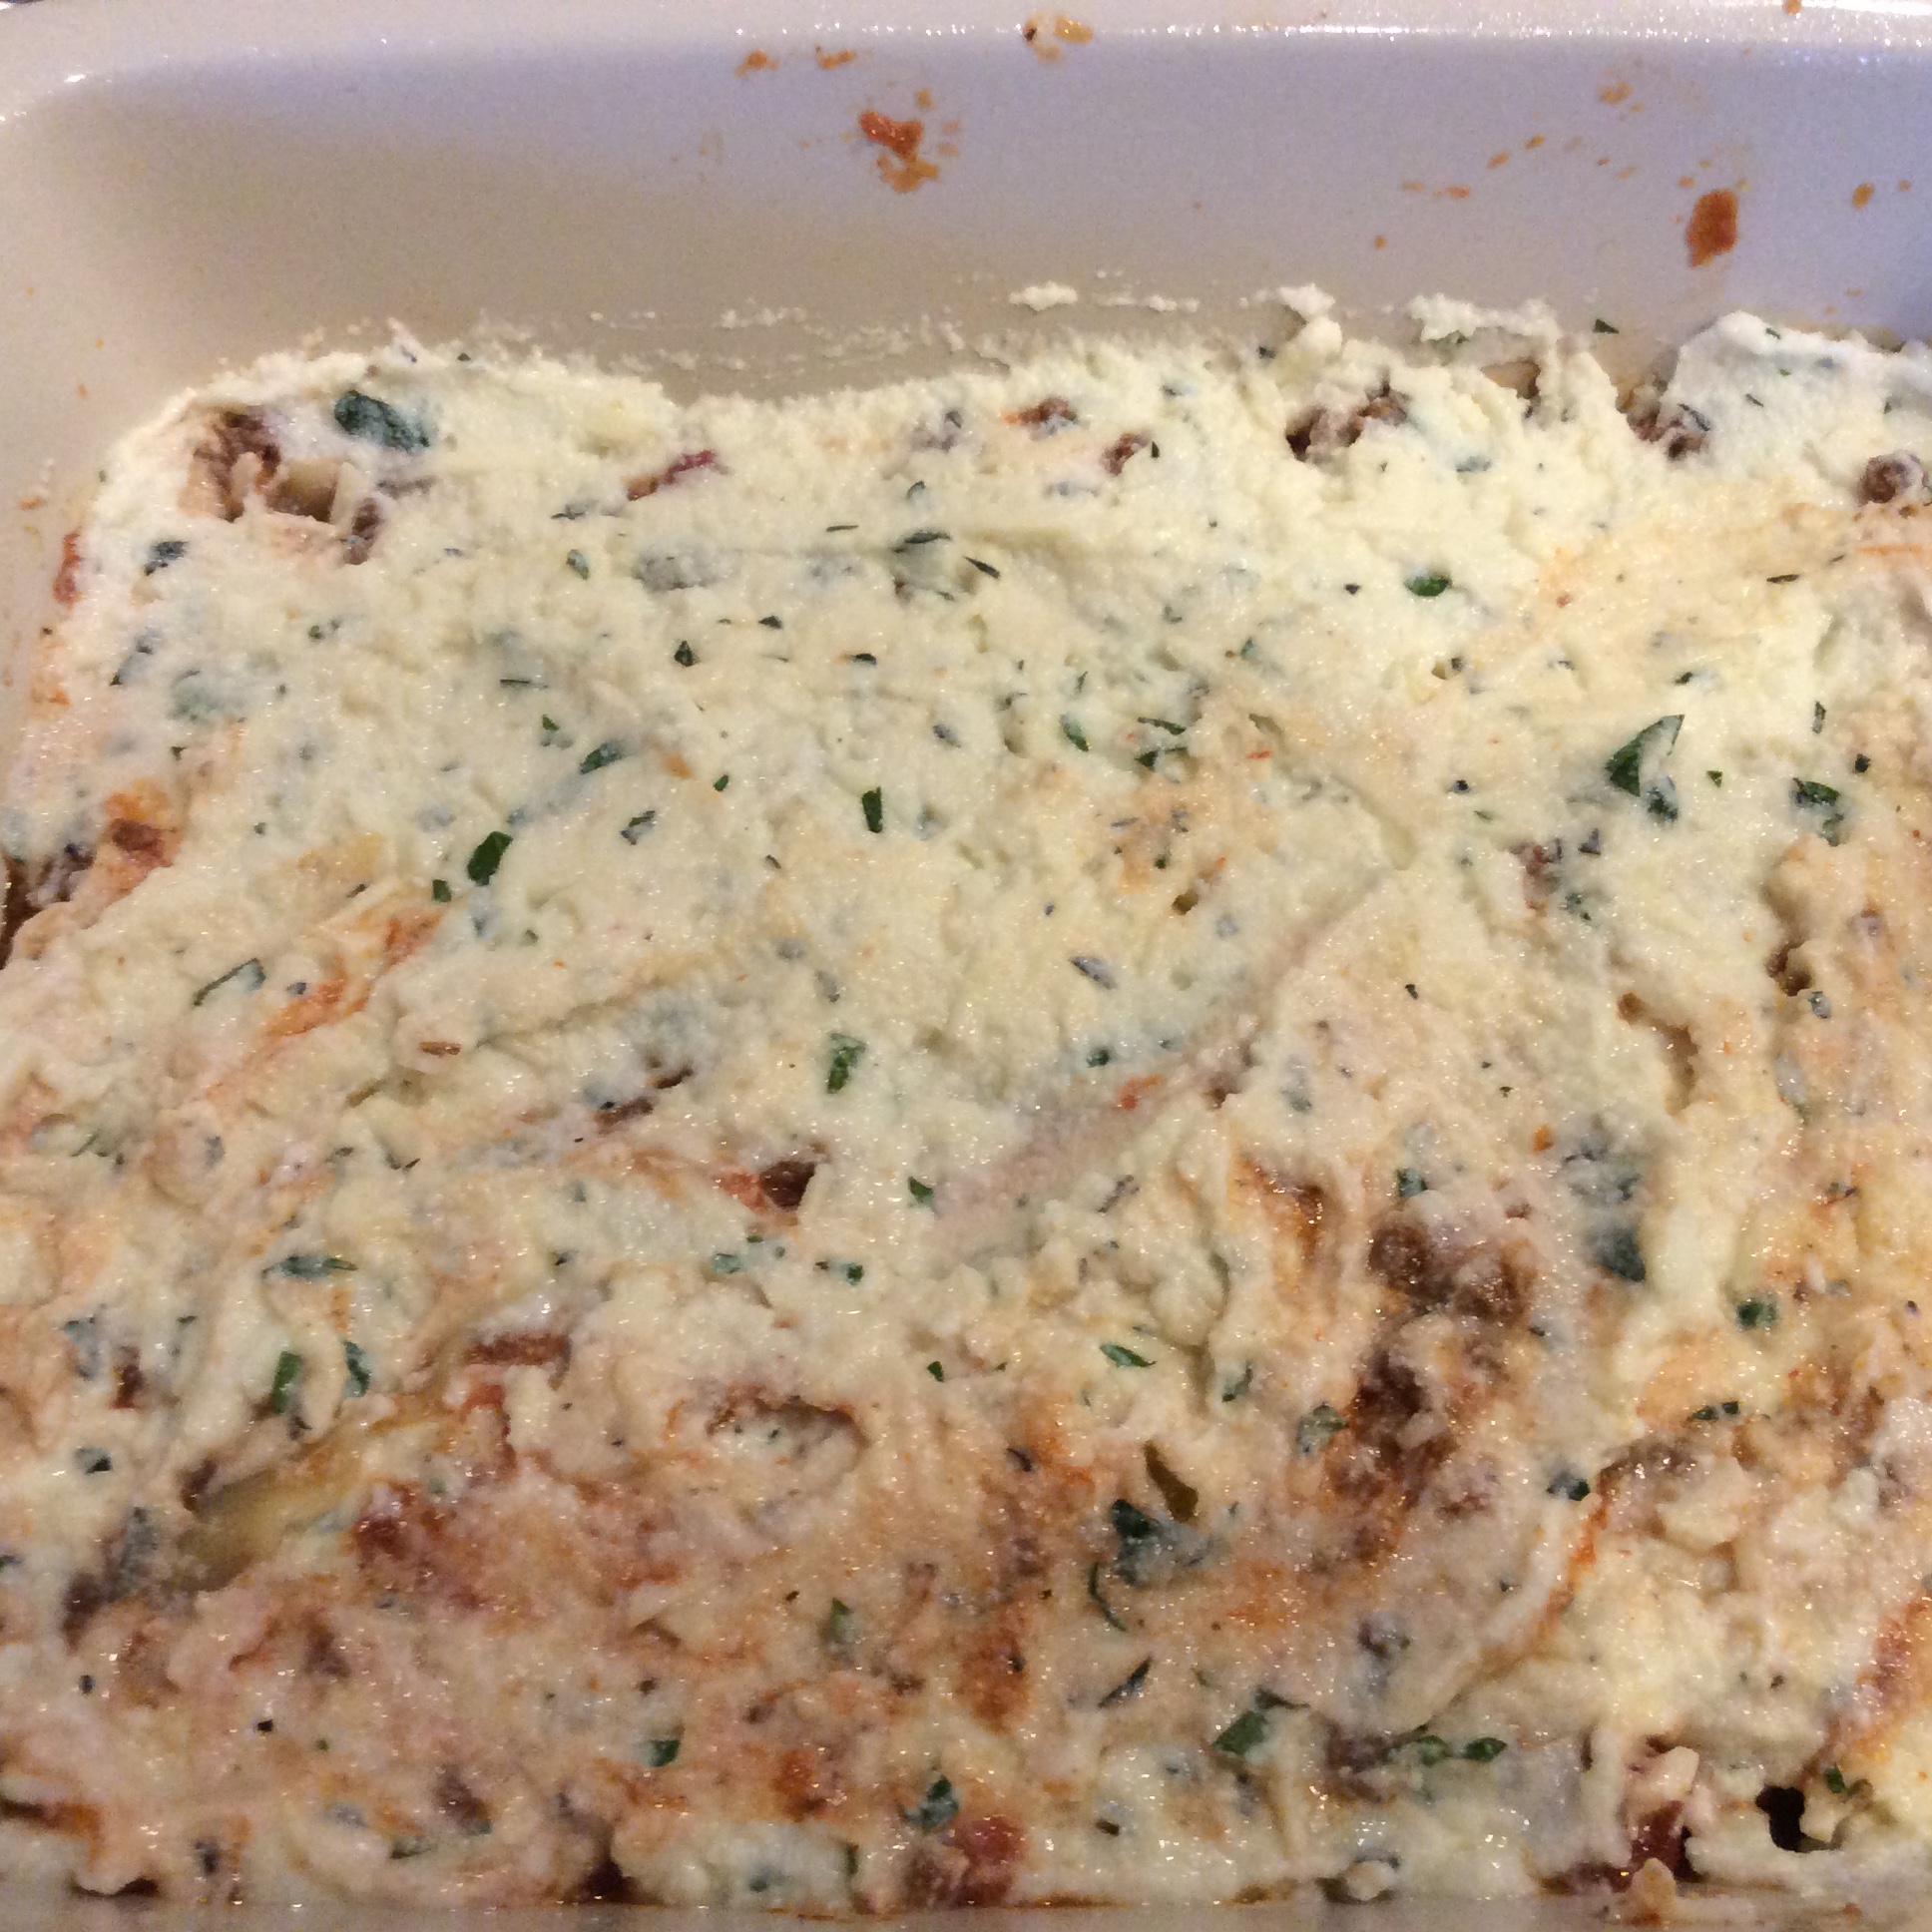
Top with 3 noodles and ALL of ricotta mixture.
Second layer of noodles and ricotta mixtureAdd more meat sauce on top of ricotta mixture
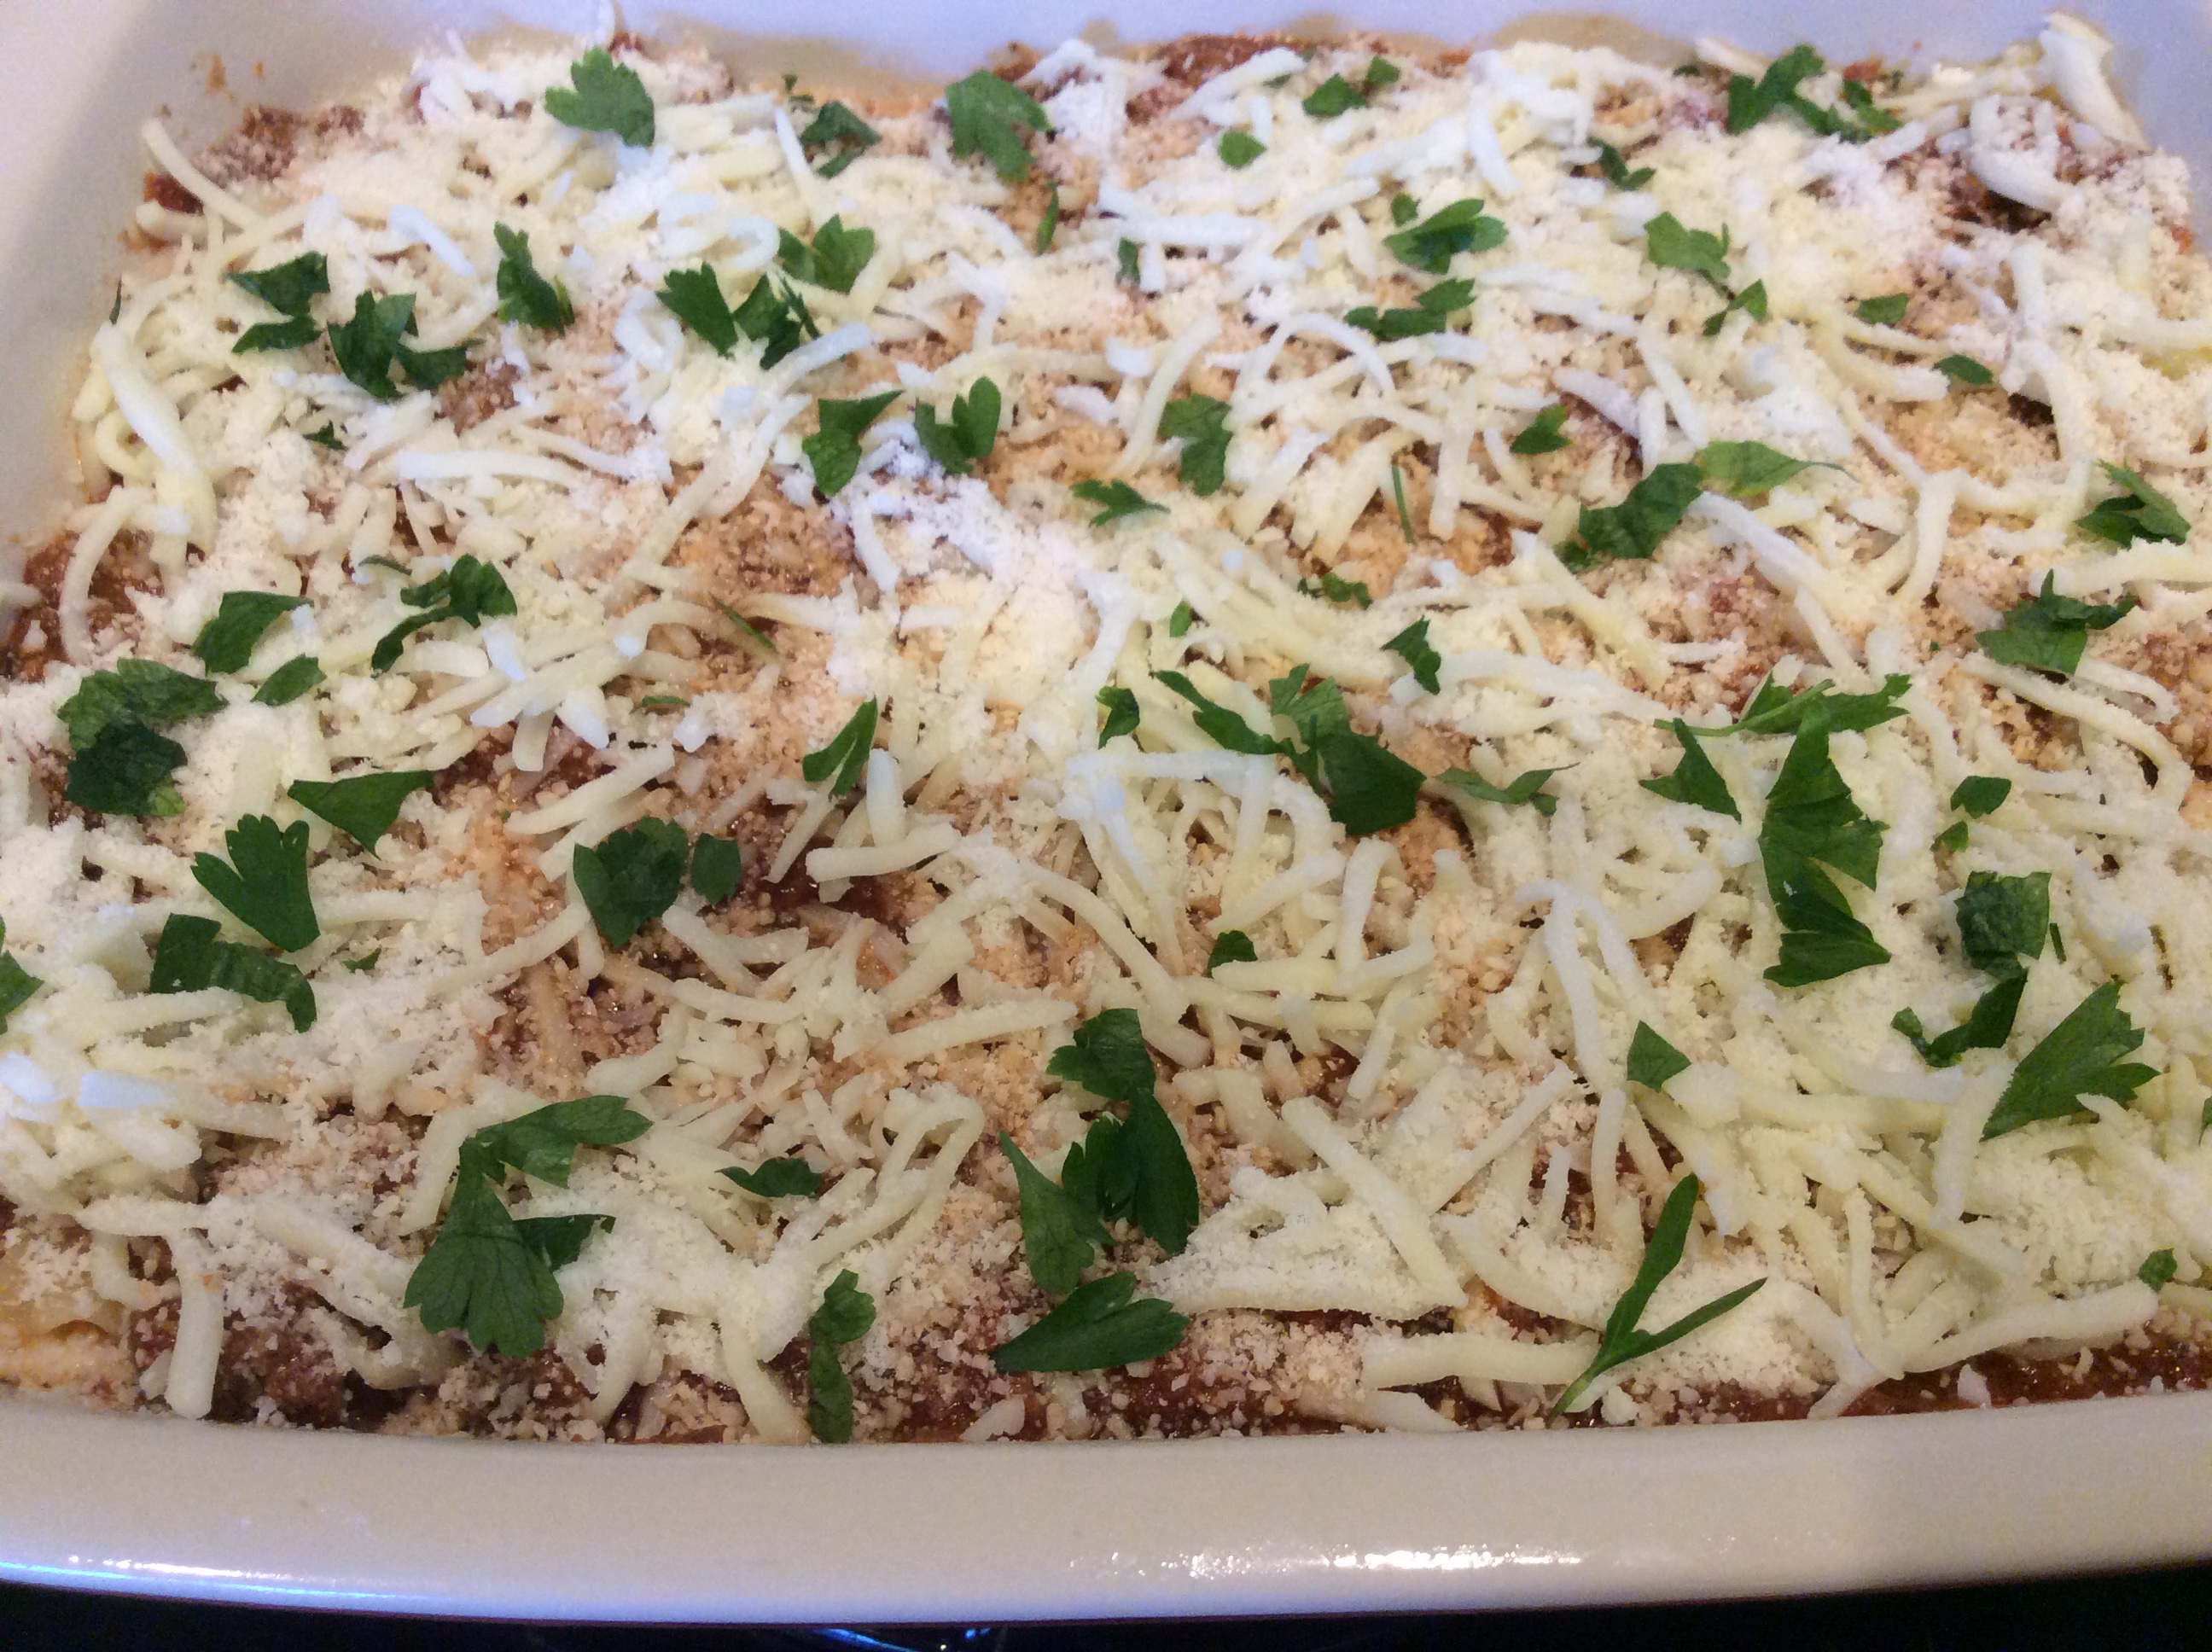
Finally, add the remaining 3 noodles. Spread remaining meat sauce over top noodles. Sprinkle evenly with remaining mozzarella cheese and parmesan cheese and top with chopped parsely.
Ready to go in the oven!
Cover with foil coated with cooking spray. Bake at 375° for 45 minutes. (The recipe called for 30 minutes but I found that it needed longer to heat through). Uncover and bake for an additional 10 minutes or until bubbly.
(Note: I skipped the next two steps since my lasagna was already perfectly browned and bubbly)
5. Preheat broiler to high. (Keep lasagna in oven.)
6. Broil lasagna for 1 to 2 minutes or until cheese is golden brown and sauce is bubbly.
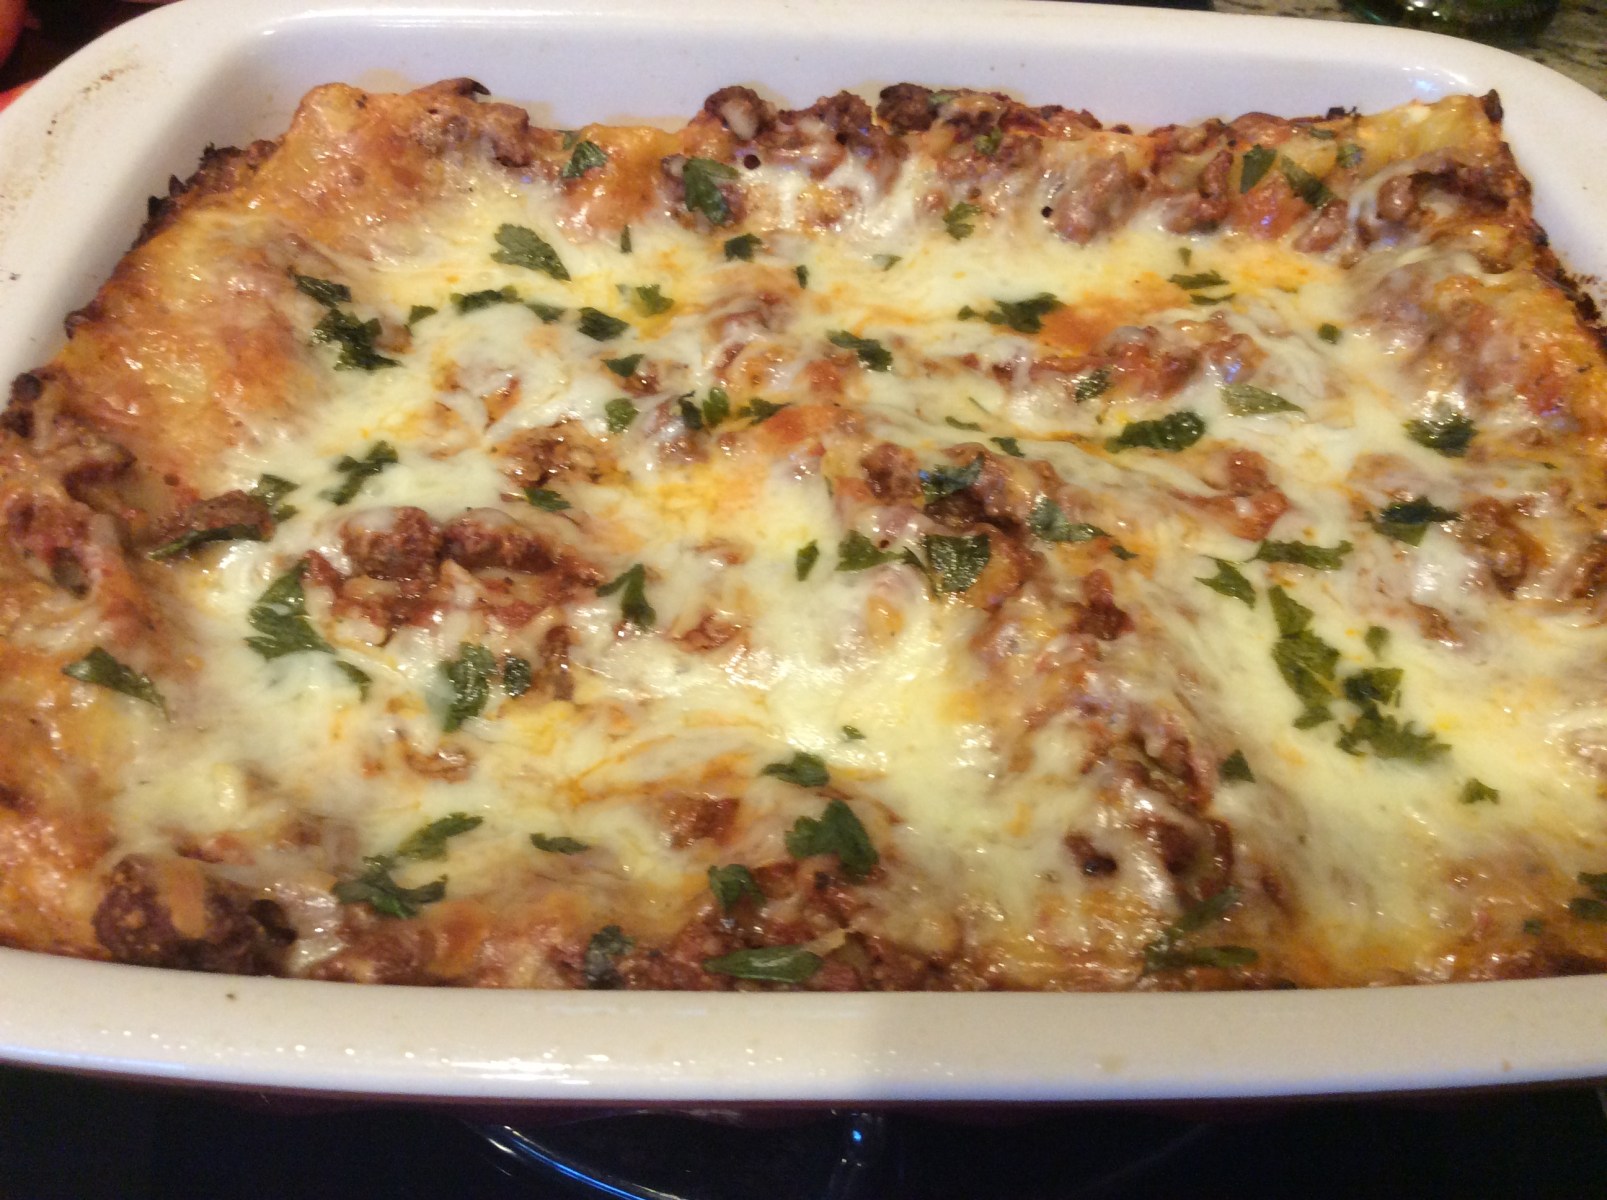
Out of the oven…It looks and smells amazing!
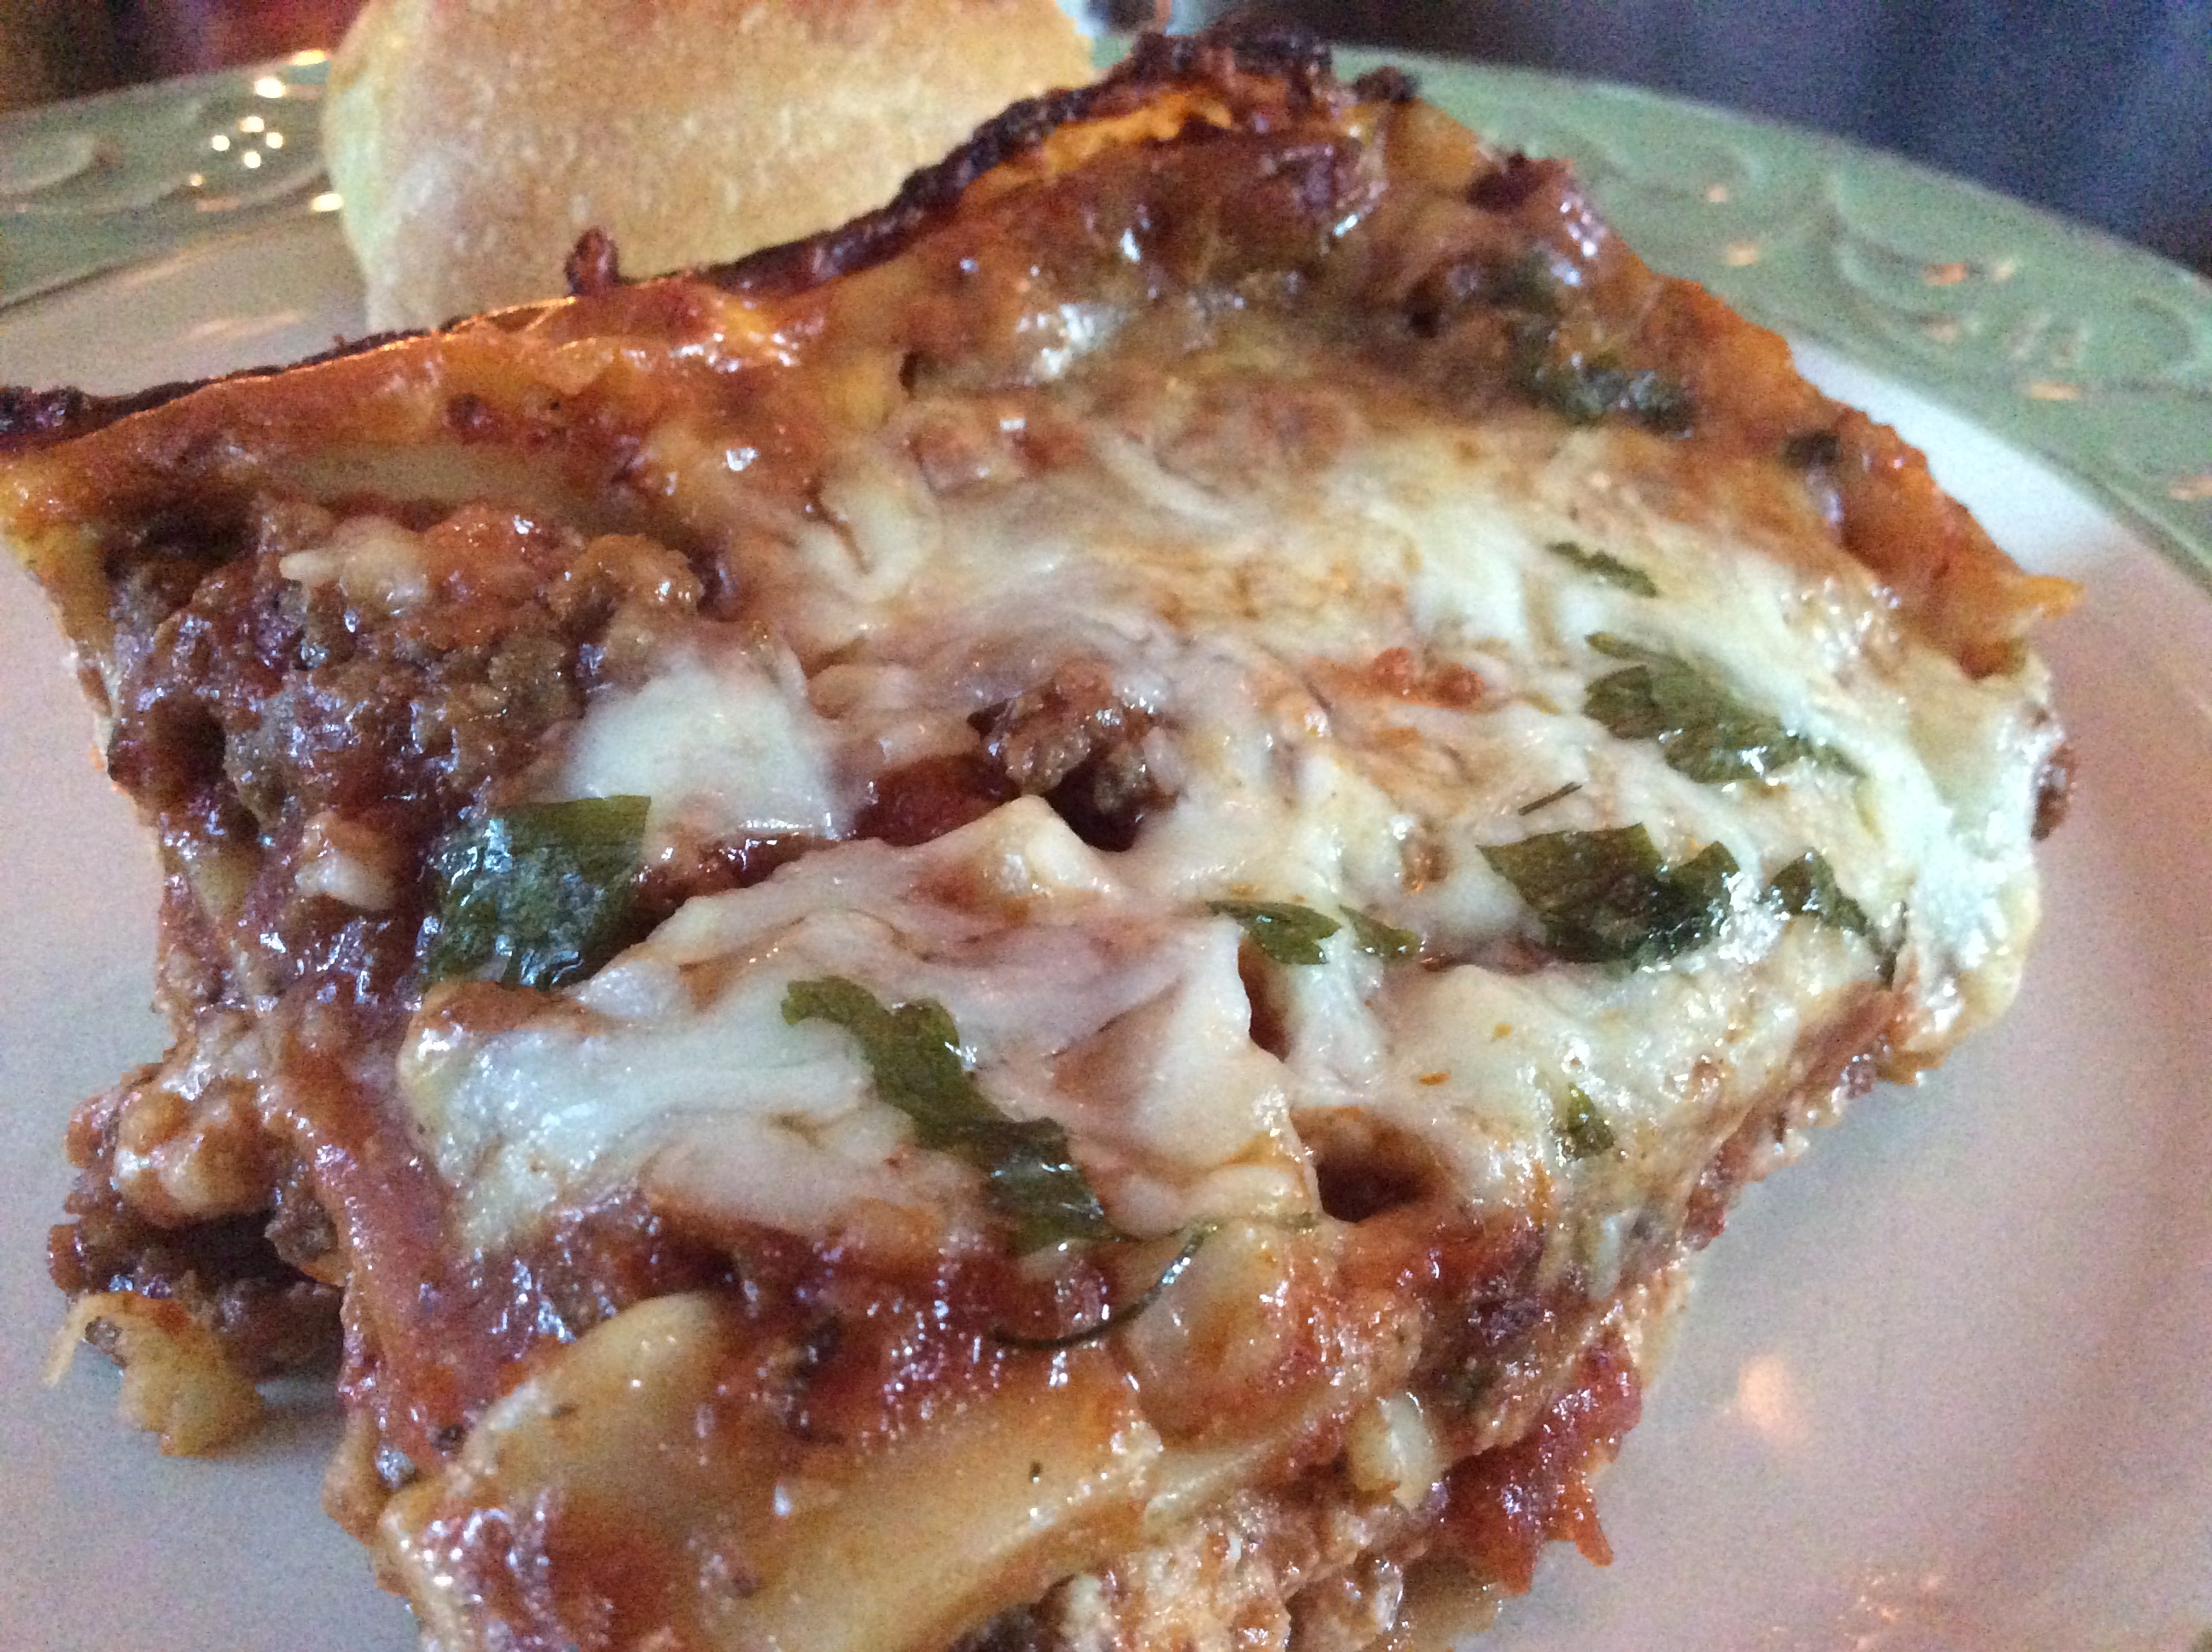
Remove from oven; let stand 10 minutes (I only did 5) and cut into 8 pieces.
The perfect slice at only 378 calories!
Bottom Line:
I now love lasagna and can’t wait to make this again! Jeff and Ashleigh said they couldn’t tell at all that it was a low-calorie recipe and it was one of their favorite dishes. Jeff had 2 servings and Ashleigh and I had one. She took the leftovers home to her sick brother, Jarrod, who ate the remaining 4 servings in one sitting! (Yes, that does defeat the purpose of making a “light” lasagna..ha, ha!) My personal chef family loved it as well! I think the only thing I would do different at all is maybe add a bit more seasoning to my meat when I am browning and maybe add in some sauteed onions but other than that, this recipe is a real WINNER! This is definitely one to try in your kitchen and you won’t even have to tell your family that it is a “light” recipe! I am Chef Frankie and until next time….”Keep on Cooking”!
Fr
F
Ashleigh, enjoying her dinner very much! (FYI…I adore her!)
Fall is probably my favorite season! The anticipation of seeing the leaves on the trees transform into a collage of color, watching my favorite football team amongst a sea of orange fans, and of course, there is the ultimate image of Fall…the Pumpkin!
When I was growing up, the pumpkin meant that “The Great Pumpkin, Charlie Brown” was coming on television soon and Halloween was just around the corner.
Remember when this was one of the most anticipated television events growing up??
As an adult with grown children, it now symbolizes memories of pumpkin carving, roasting seeds, and filling the house with the smell of Pumpkin Bread baking in the oven!
My babies are grown but they still come back for some pumpkin carving…this pic is from a couple of years ago
The pumpkin also allows me to get in touch with my creative side as seen here with my Pumpkin Topiaries.
My Pumpkin Topiary…I am not creative when it comes to decorating but this I can do!
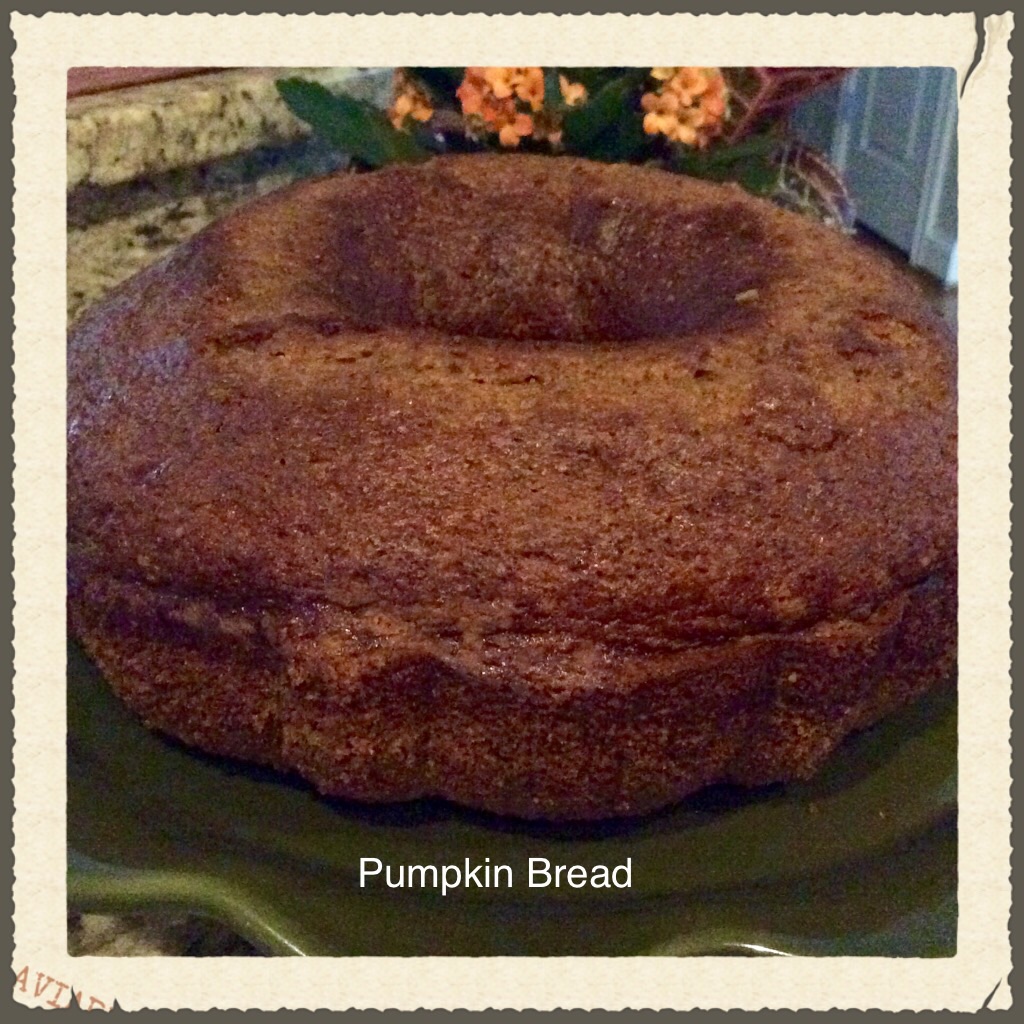
So, in honor of the Pumpkin…I am sharing two recipes with you today. First, the moistest Pumpkin Bread you have ever tasted and a little bonus recipe of my spicy version of Roasted Pumpkin Seeds ….this is my take on using fall pumpkins in the kitchen!
Let’s start with the Pumpkin Bread….a very seasonal treat in our house. I got this recipe several years ago from Ree Drummond’s cooking community website…The Tasty Kitchen. I particularly love this site because it gives home cooks like me a place to share their favorite recipes. I was looking for a solid pumpkin bread recipe to take make and share at our tailgate that following weekend and sure enough, I hit gold with this one!
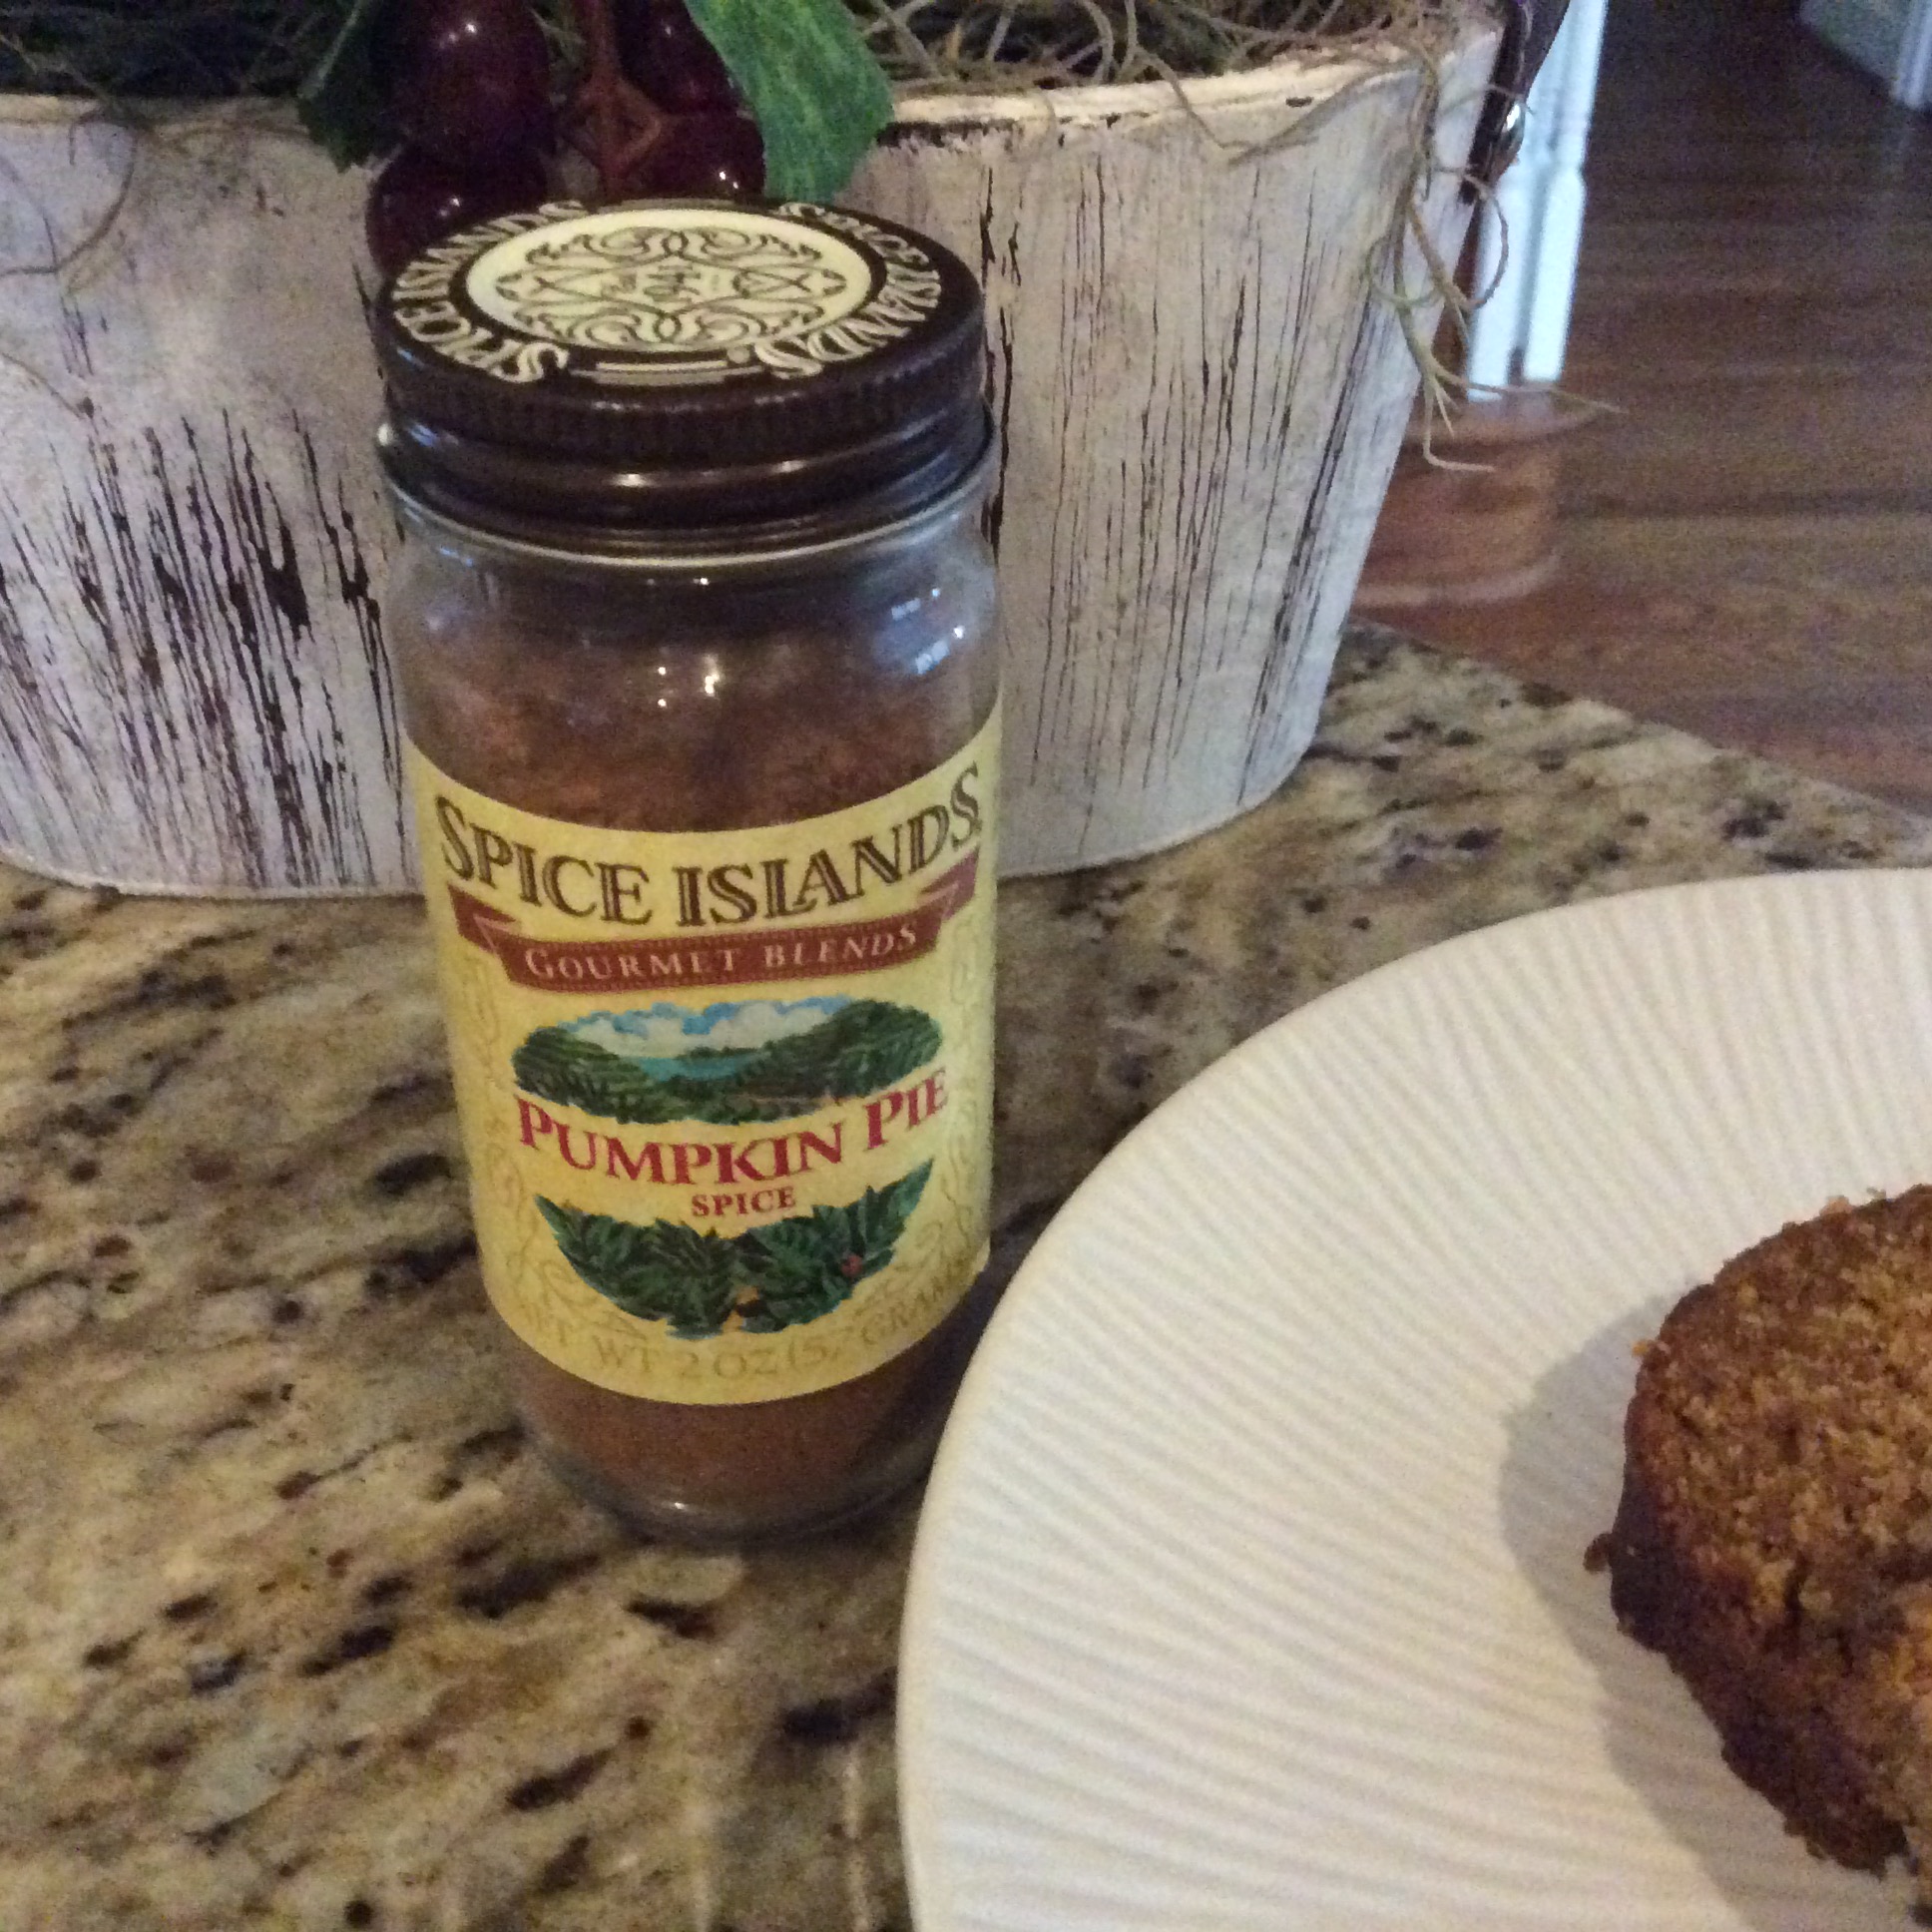
The only change I made to the recipe through the years is what I call one of my secret weapons in the kitchen…Pumpkin Pie spice! It includes all the spices called for in the original recipe as well as a few more fall-like spices such as ginger, allspice, and mace. Pumpkin Pie Spice took an already great recipe up a little notch!
Pumpkin Pie Spice by Spice Islands
The original recipe makes 3 loaves but I like to switch it up sometimes. I love having a baked treat sitting on my counter covered in a cake dish just in case I have unexpected guests stop by. So southern…and very welcoming! I also like to make a “mini pumpkin bread” to take to a friend so when making this recipe just know you can do a variety of things with it!
Fall Pumpkin Bread
Fall Pumpkin Bread
Ingredients
3 cups Sugar
3-⅓ cups Flour
2 teaspoons Baking Soda
½ Tablespoons Baking Powder
1-½ teaspoon Salt
3 teaspoons of Pumpkin Pie Spice
4 whole Eggs
1 can Pumpkin (15 Oz.)
1 cup Oil
1 cup Water
Aluminum Foil
Directions
Preheat oven to 350 degrees.
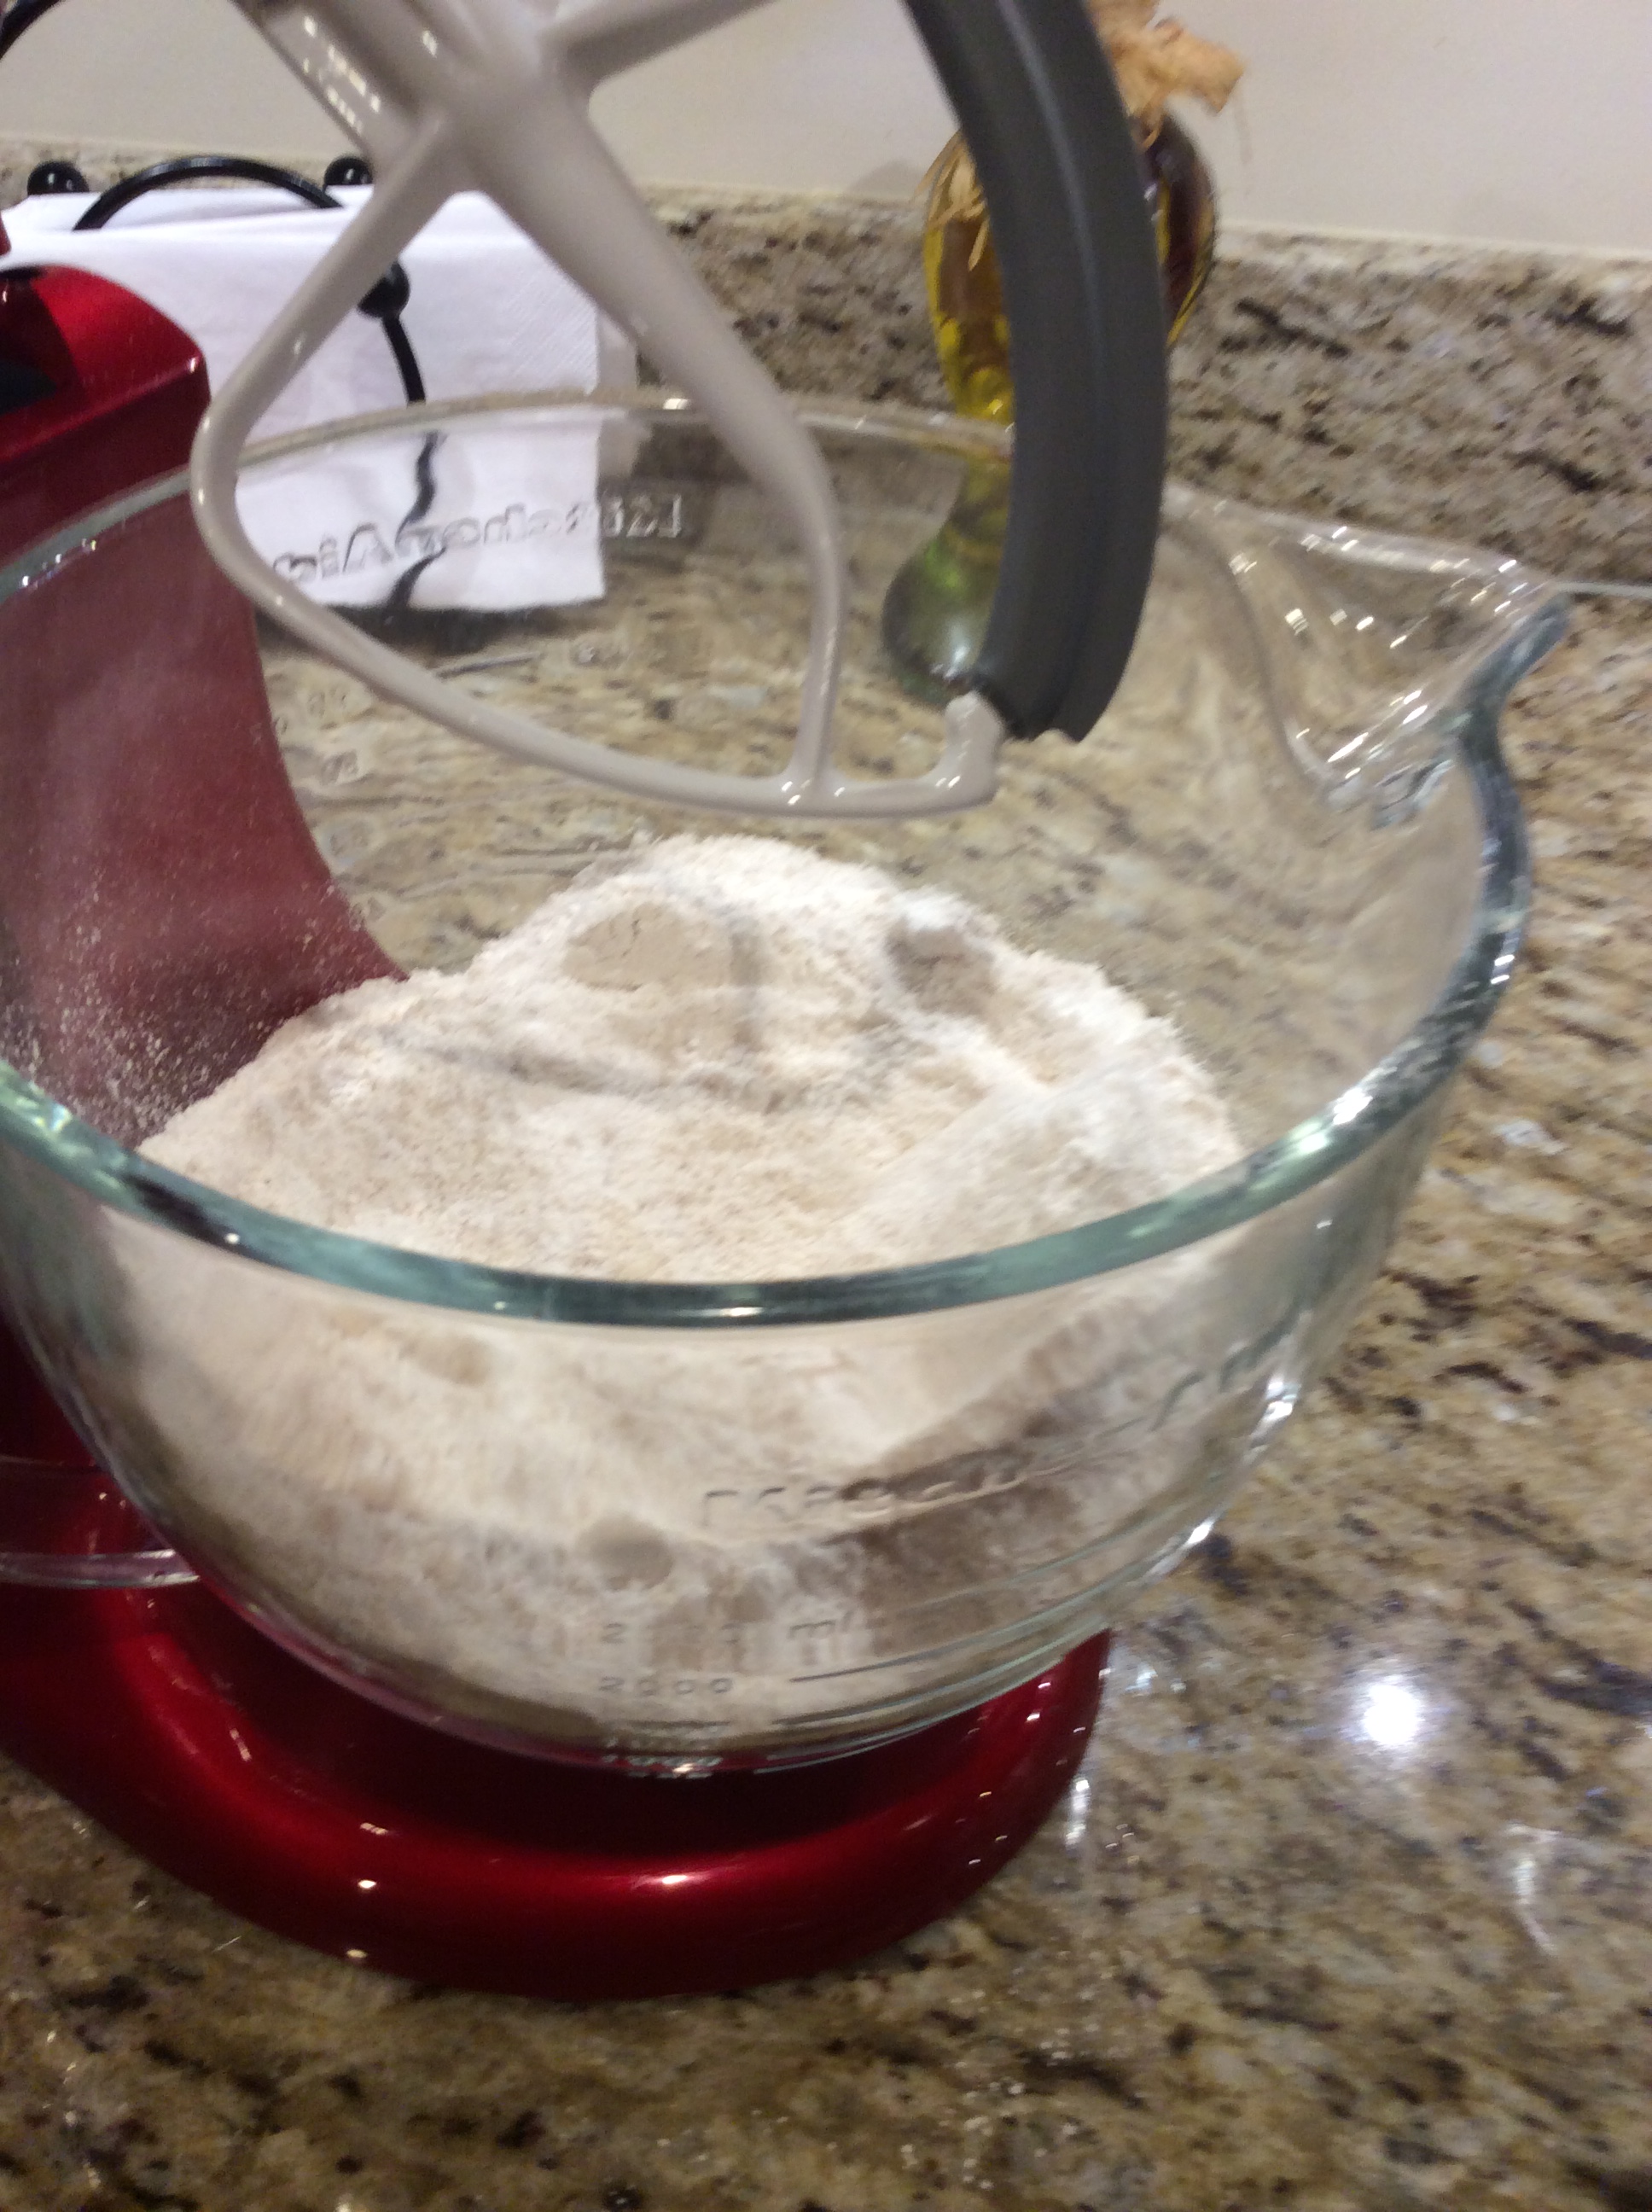
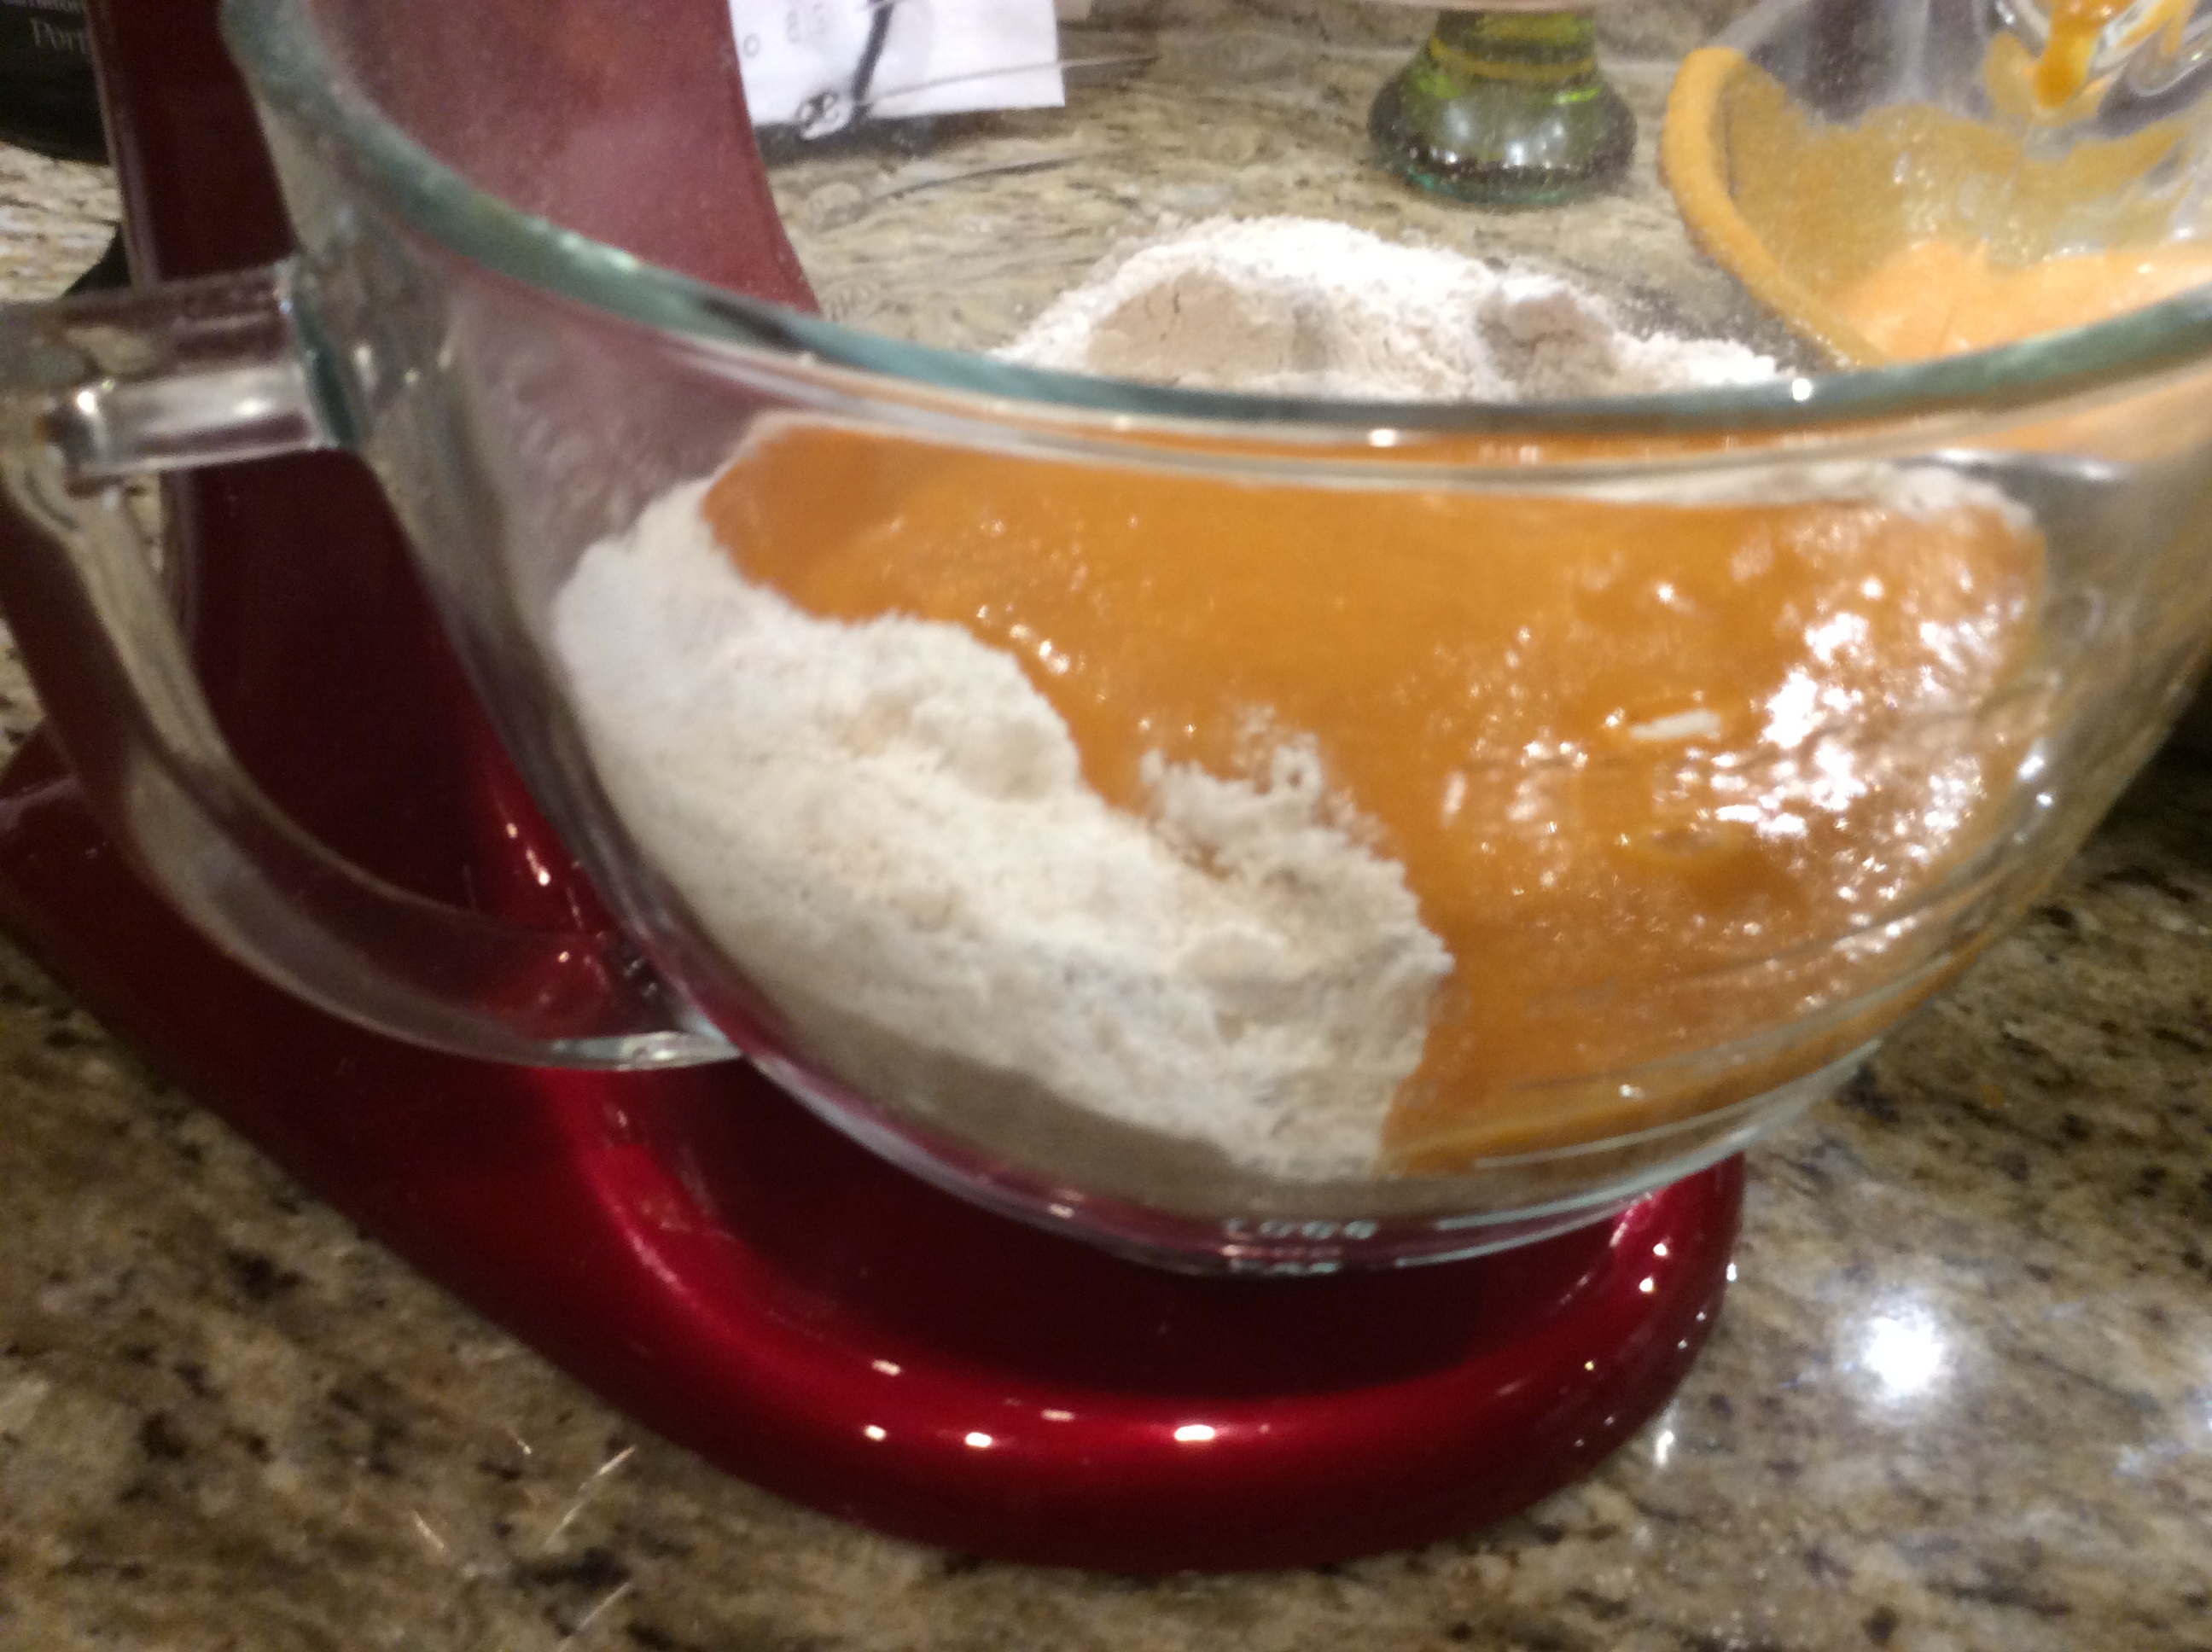
Mix dry ingredients together (Sugar, Flour, Baking Soda, Baking Powder, Salt, and Pumpkin Spice) in a large bowl.
Dry ingredients go in the mixer
Mix wet ingredients (eggs, pumpkin, oil, water) together in a small bowl and add to the dry ingredients.
Wet ingredients added to the mixture
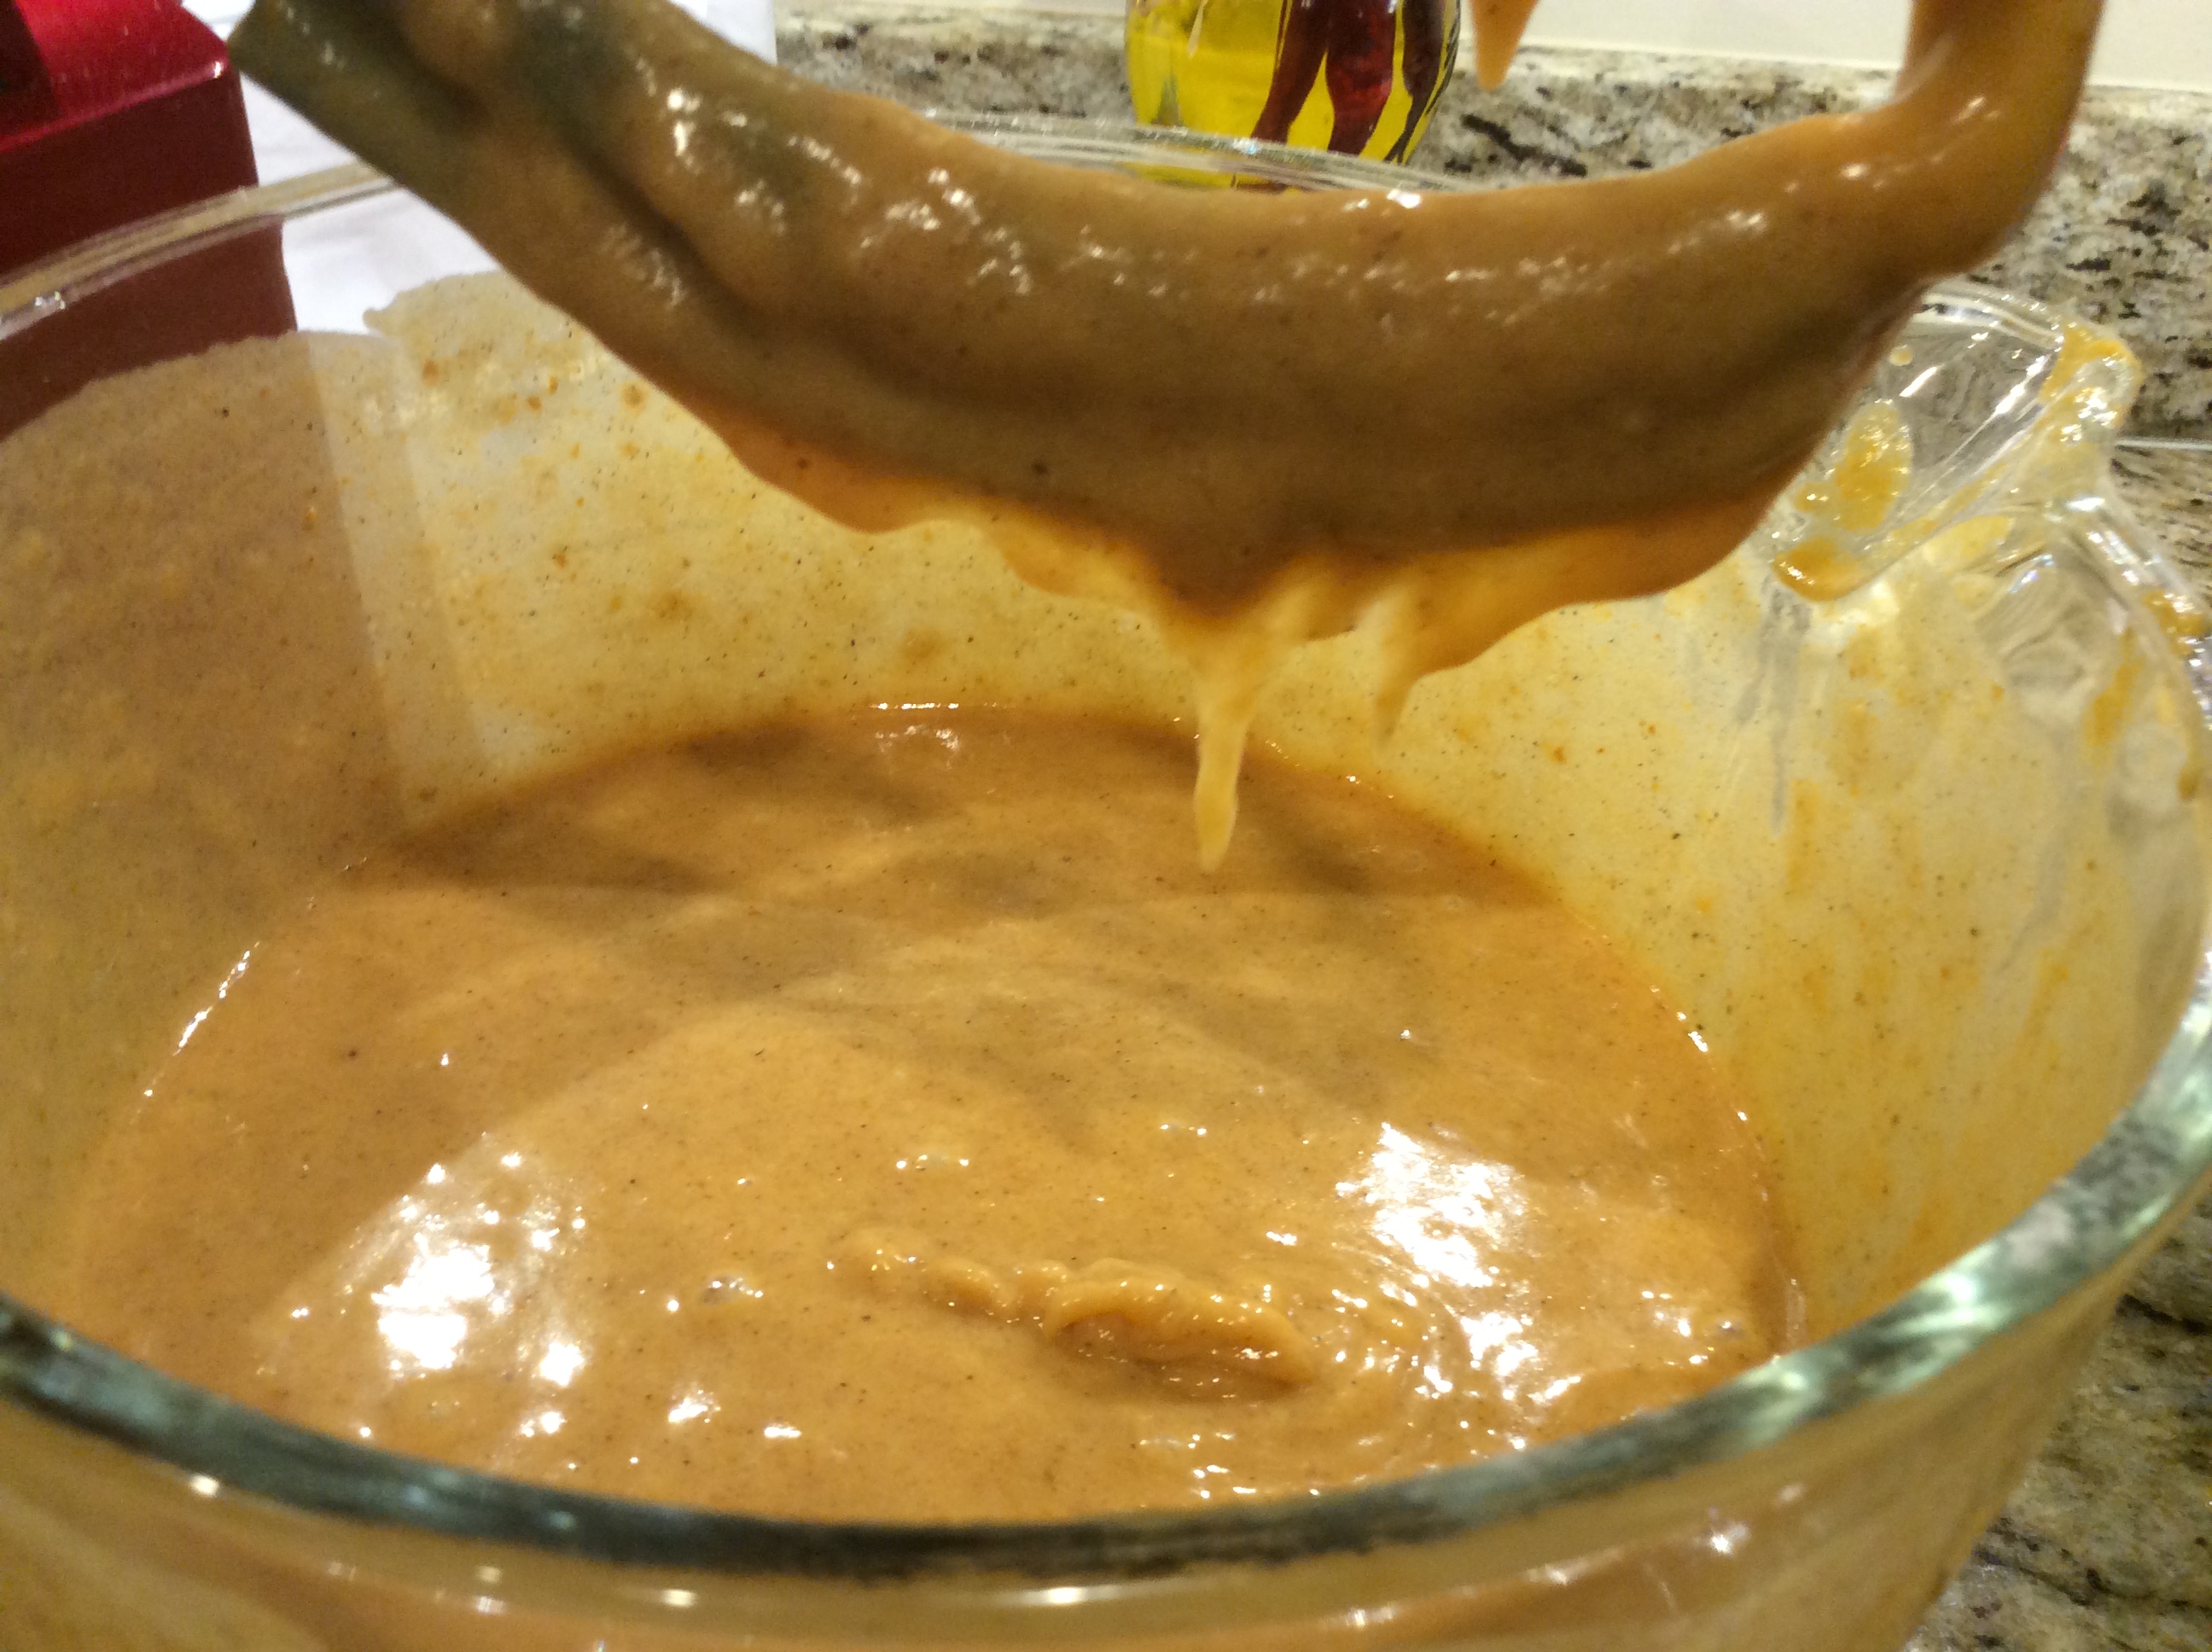
Mix well with a mixer till smooth and the delicious smell makes you start drooling slightly.
You will seriously start to smell fall as you mix this
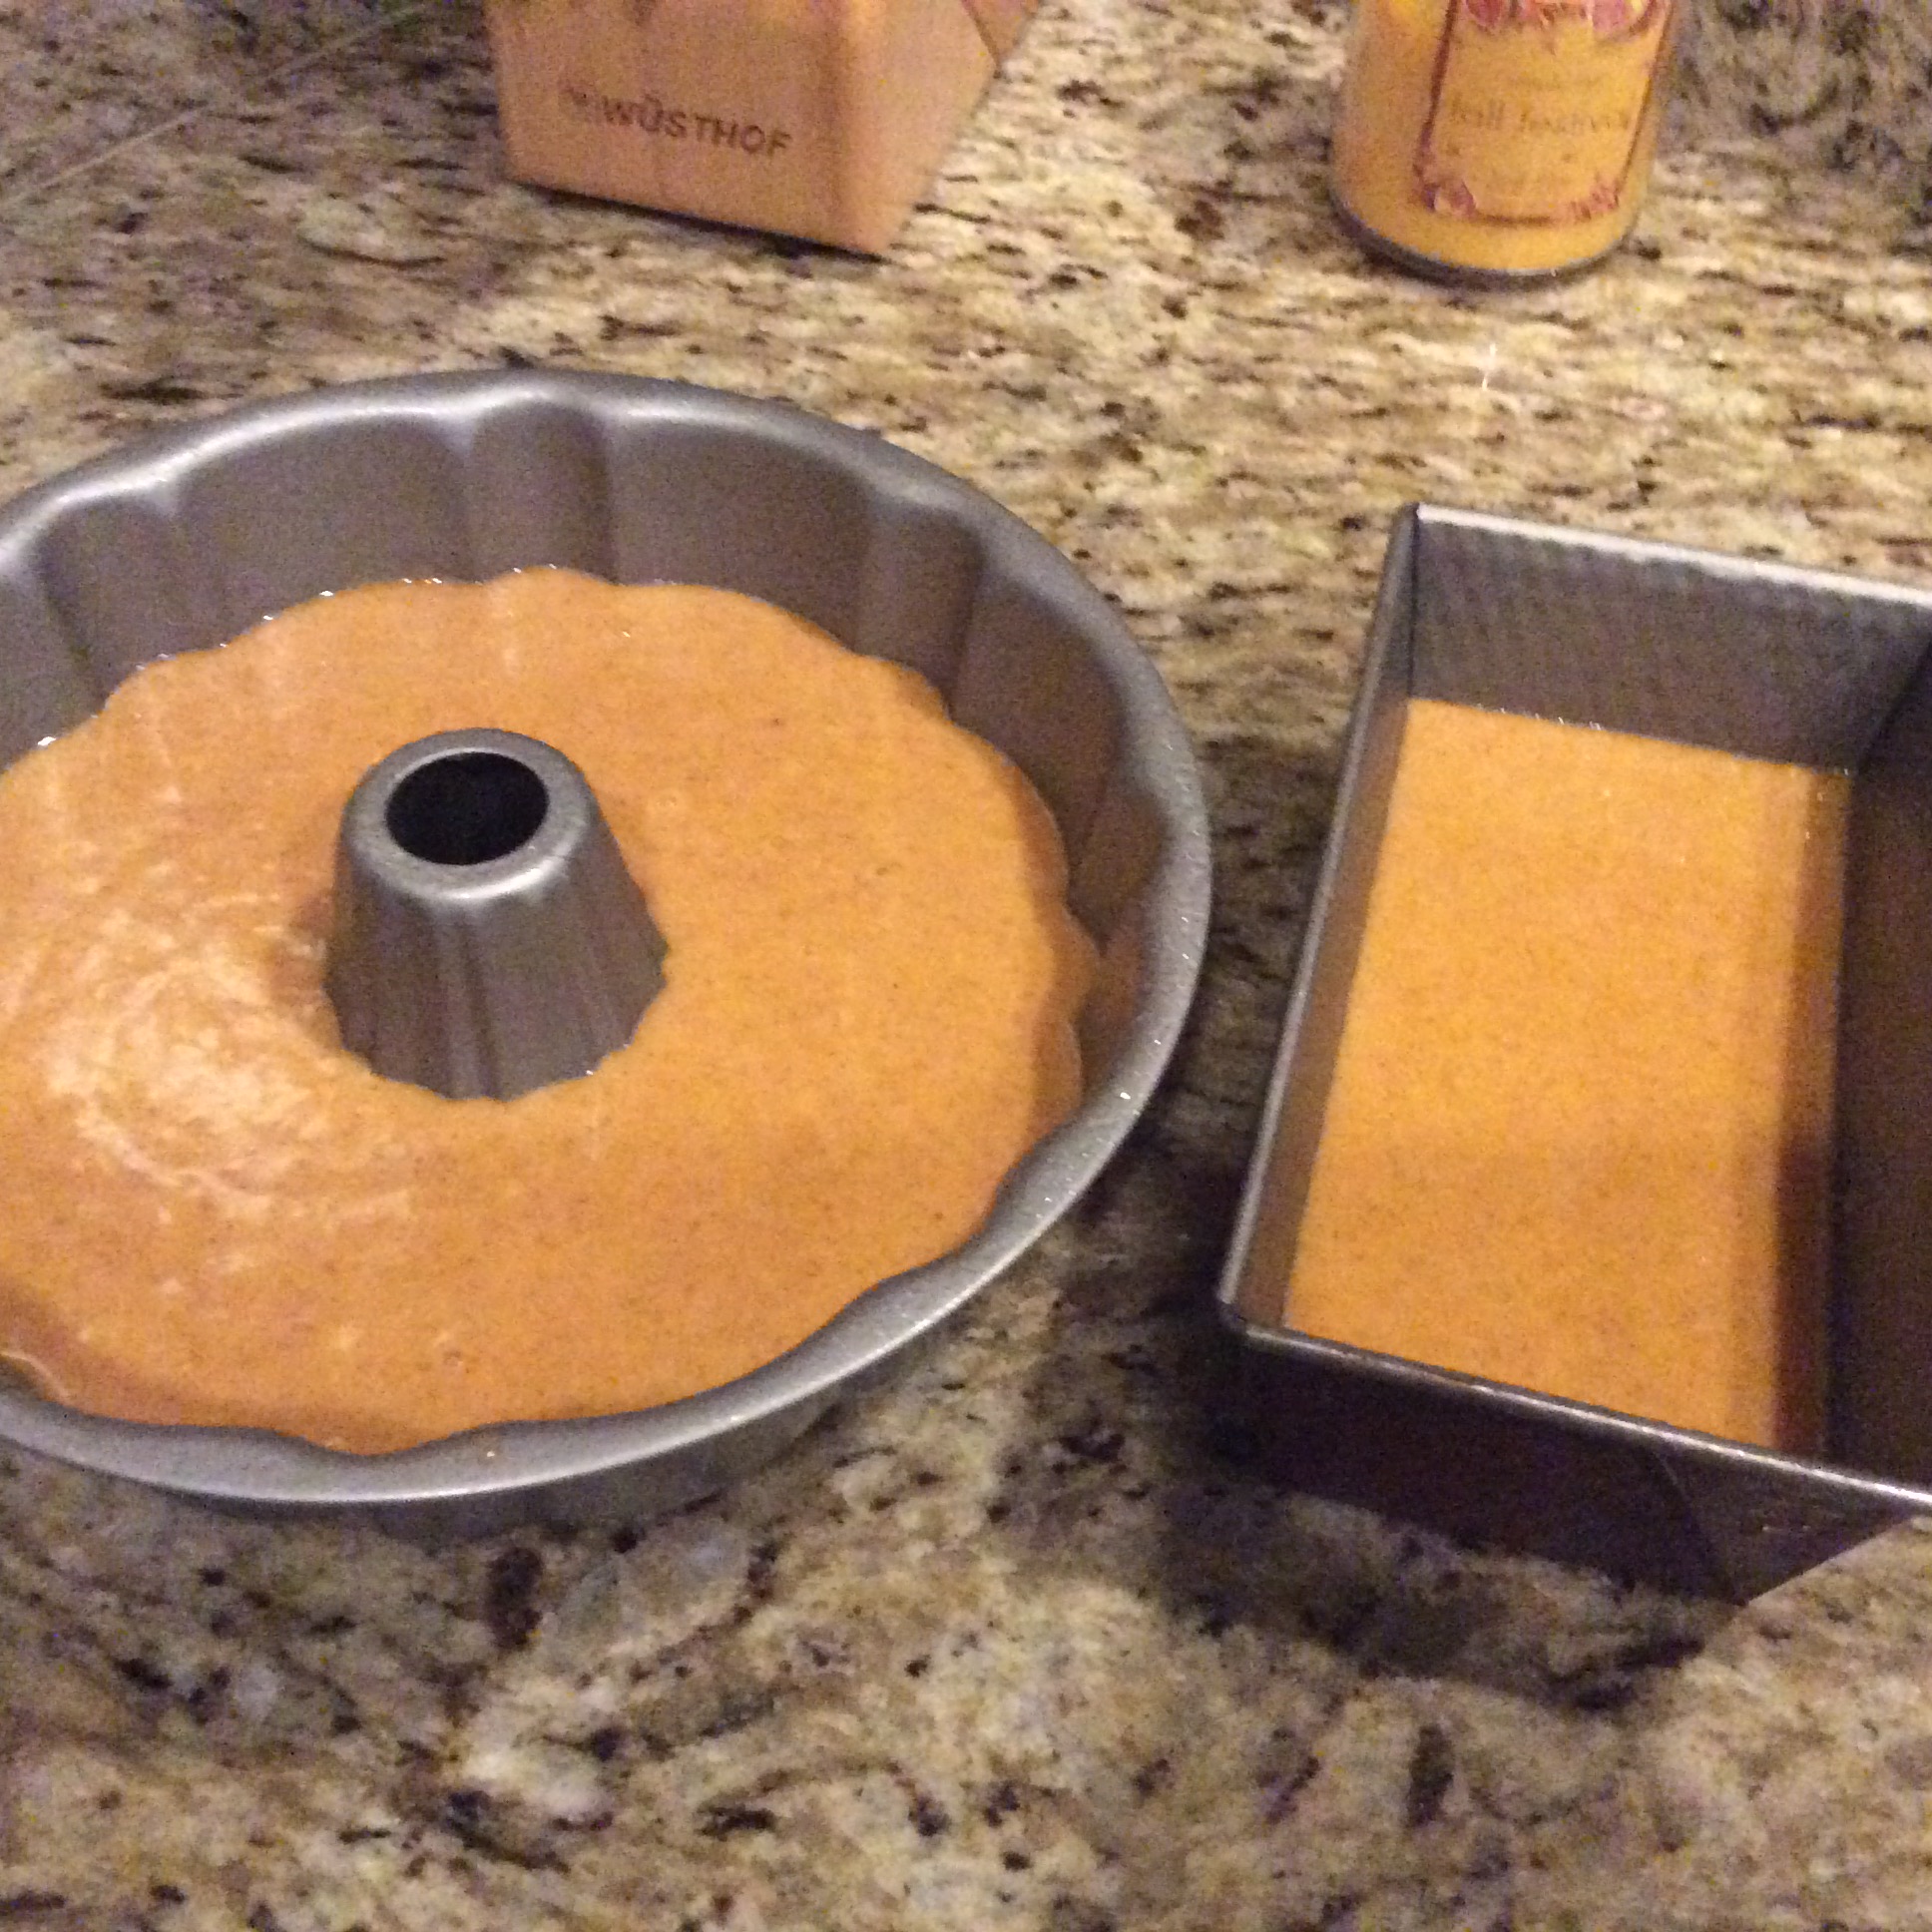
Either grease a Bundt pan and a mini loaf pan for follow the original recipe by greasing 3 loaf pans (9×4) and pour equal amounts of the batter into each pan.
greased bundt panMixture poured evenly into both pans
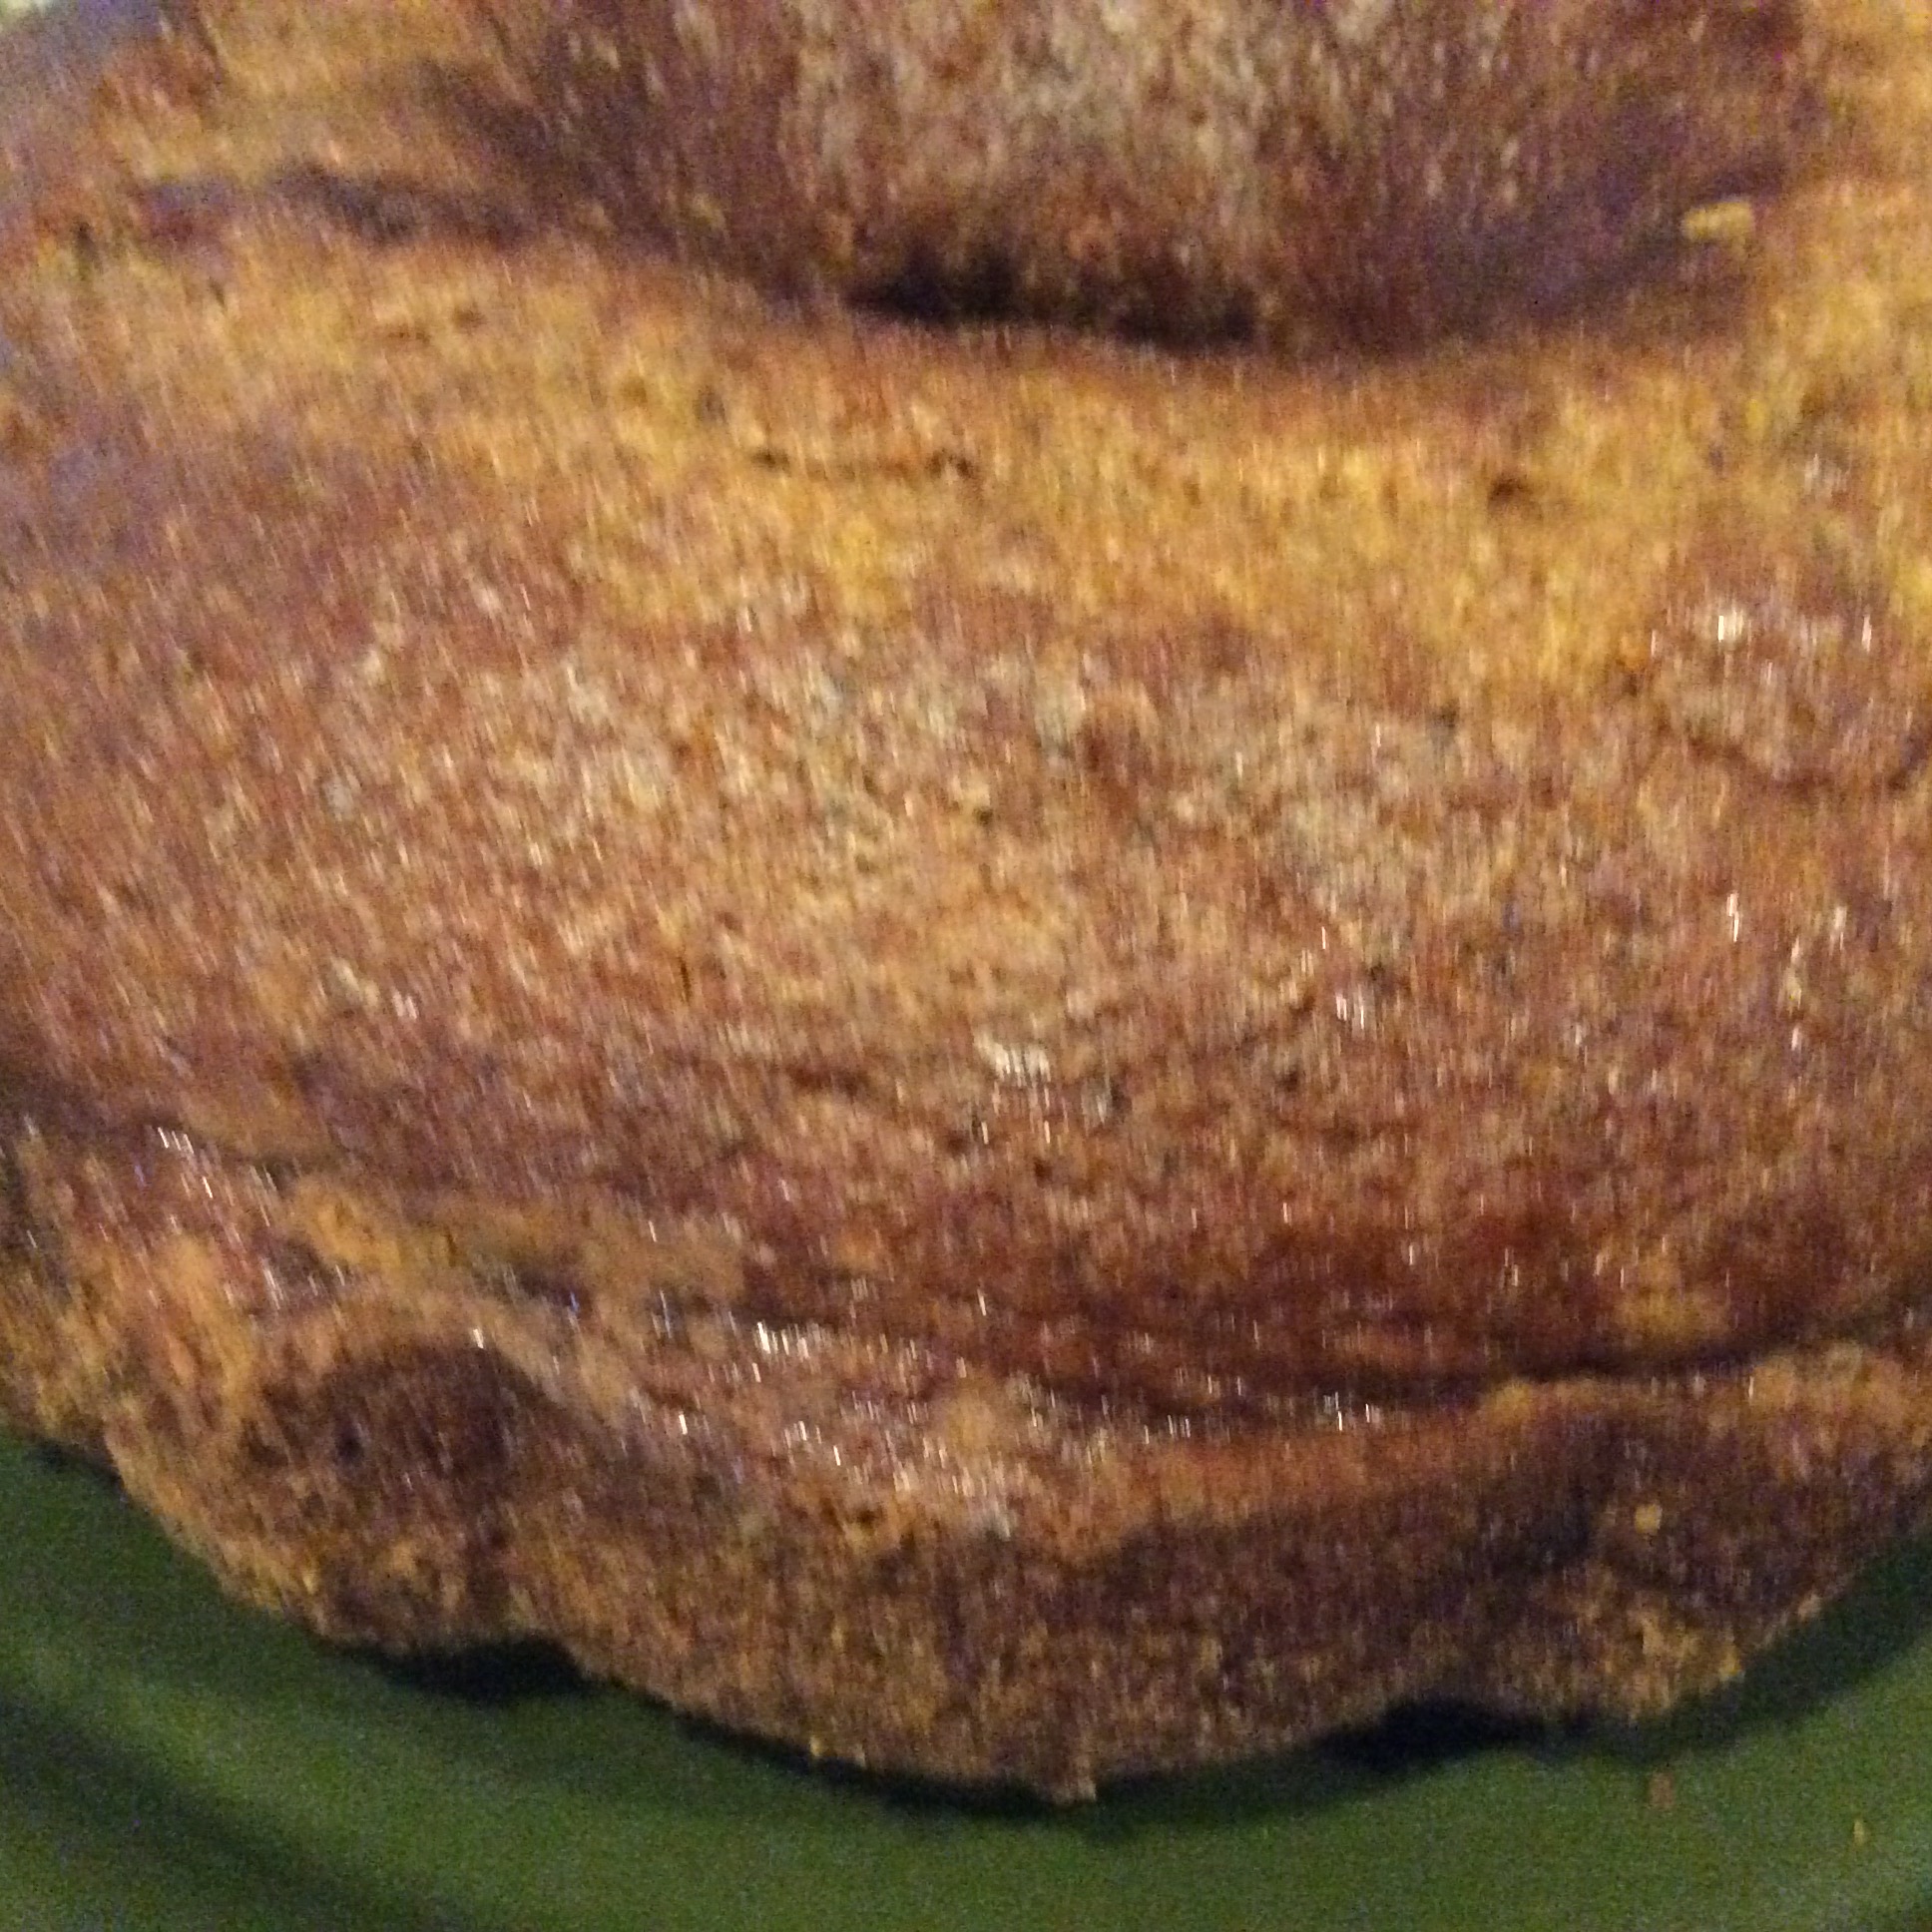
Bake separately or in two different ovens at 350 degrees for 45 minutes to an hour. You’ll know it’s ready when the top will start cracking and when you put a toothpick/knife in, it comes out clean. Set out to cool for about 5 minutes.
Out of the oven and baked to perfection
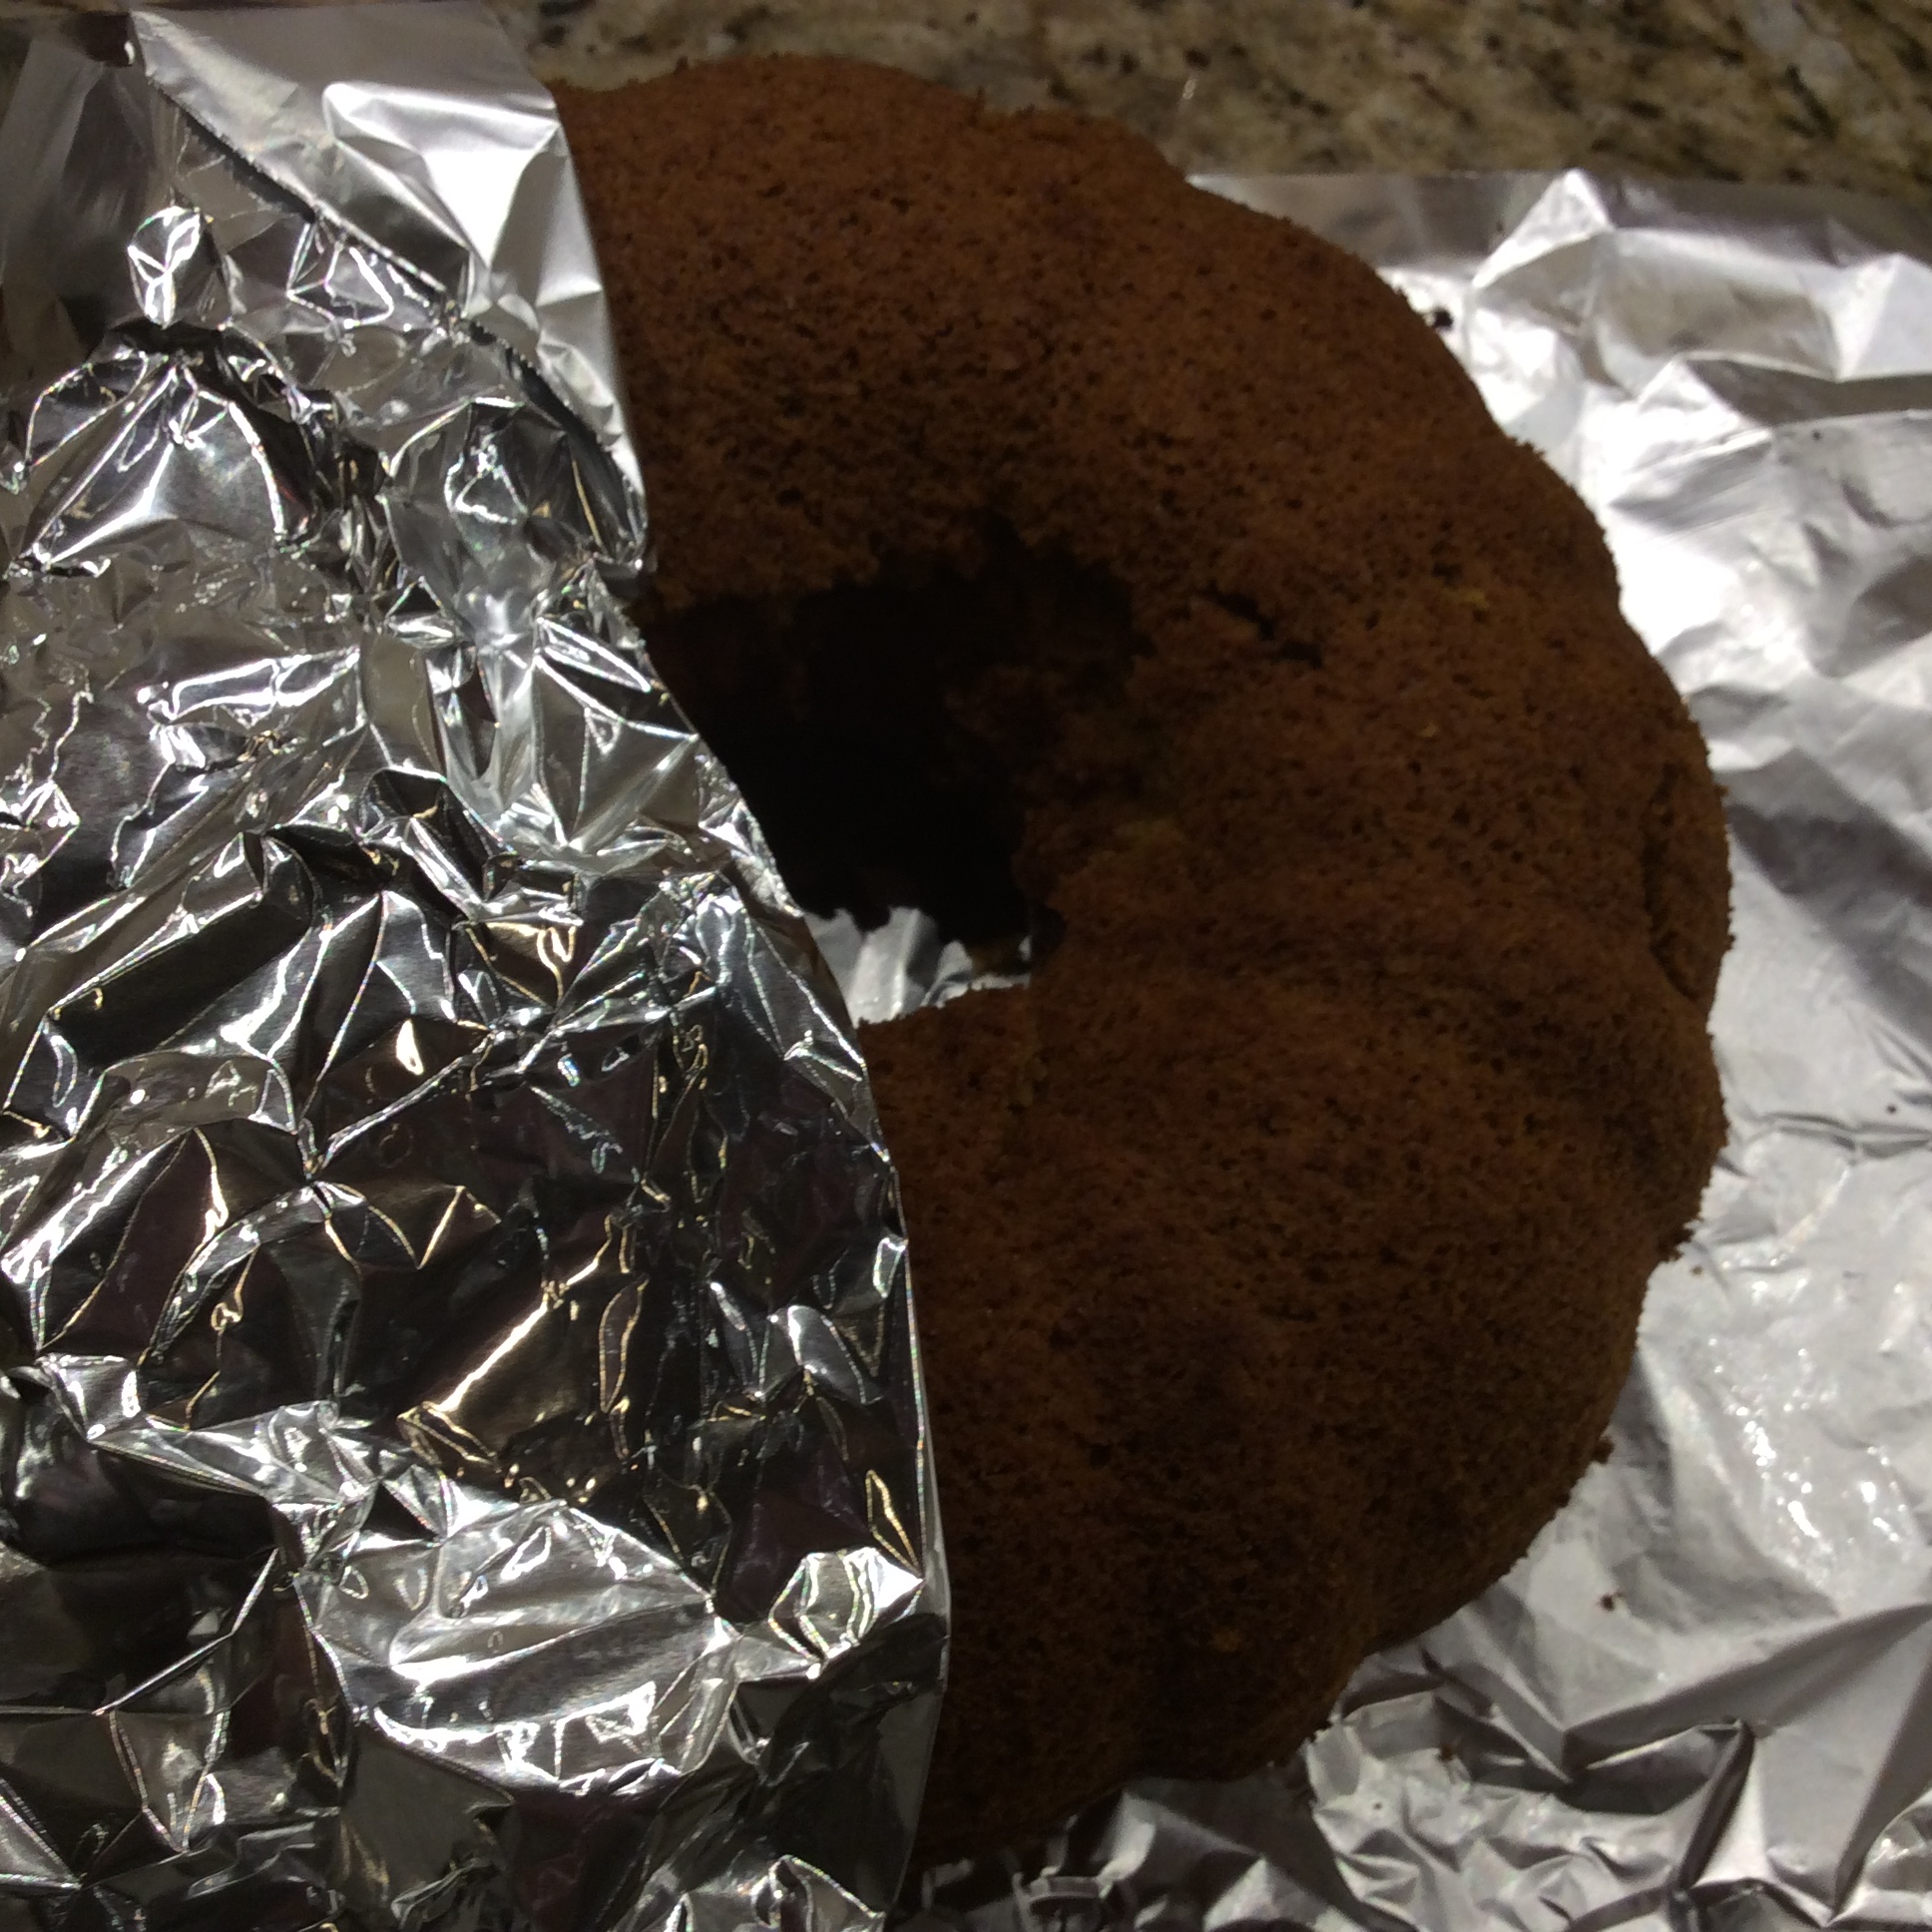
Here’s the trick on keeping it SUPER moist.
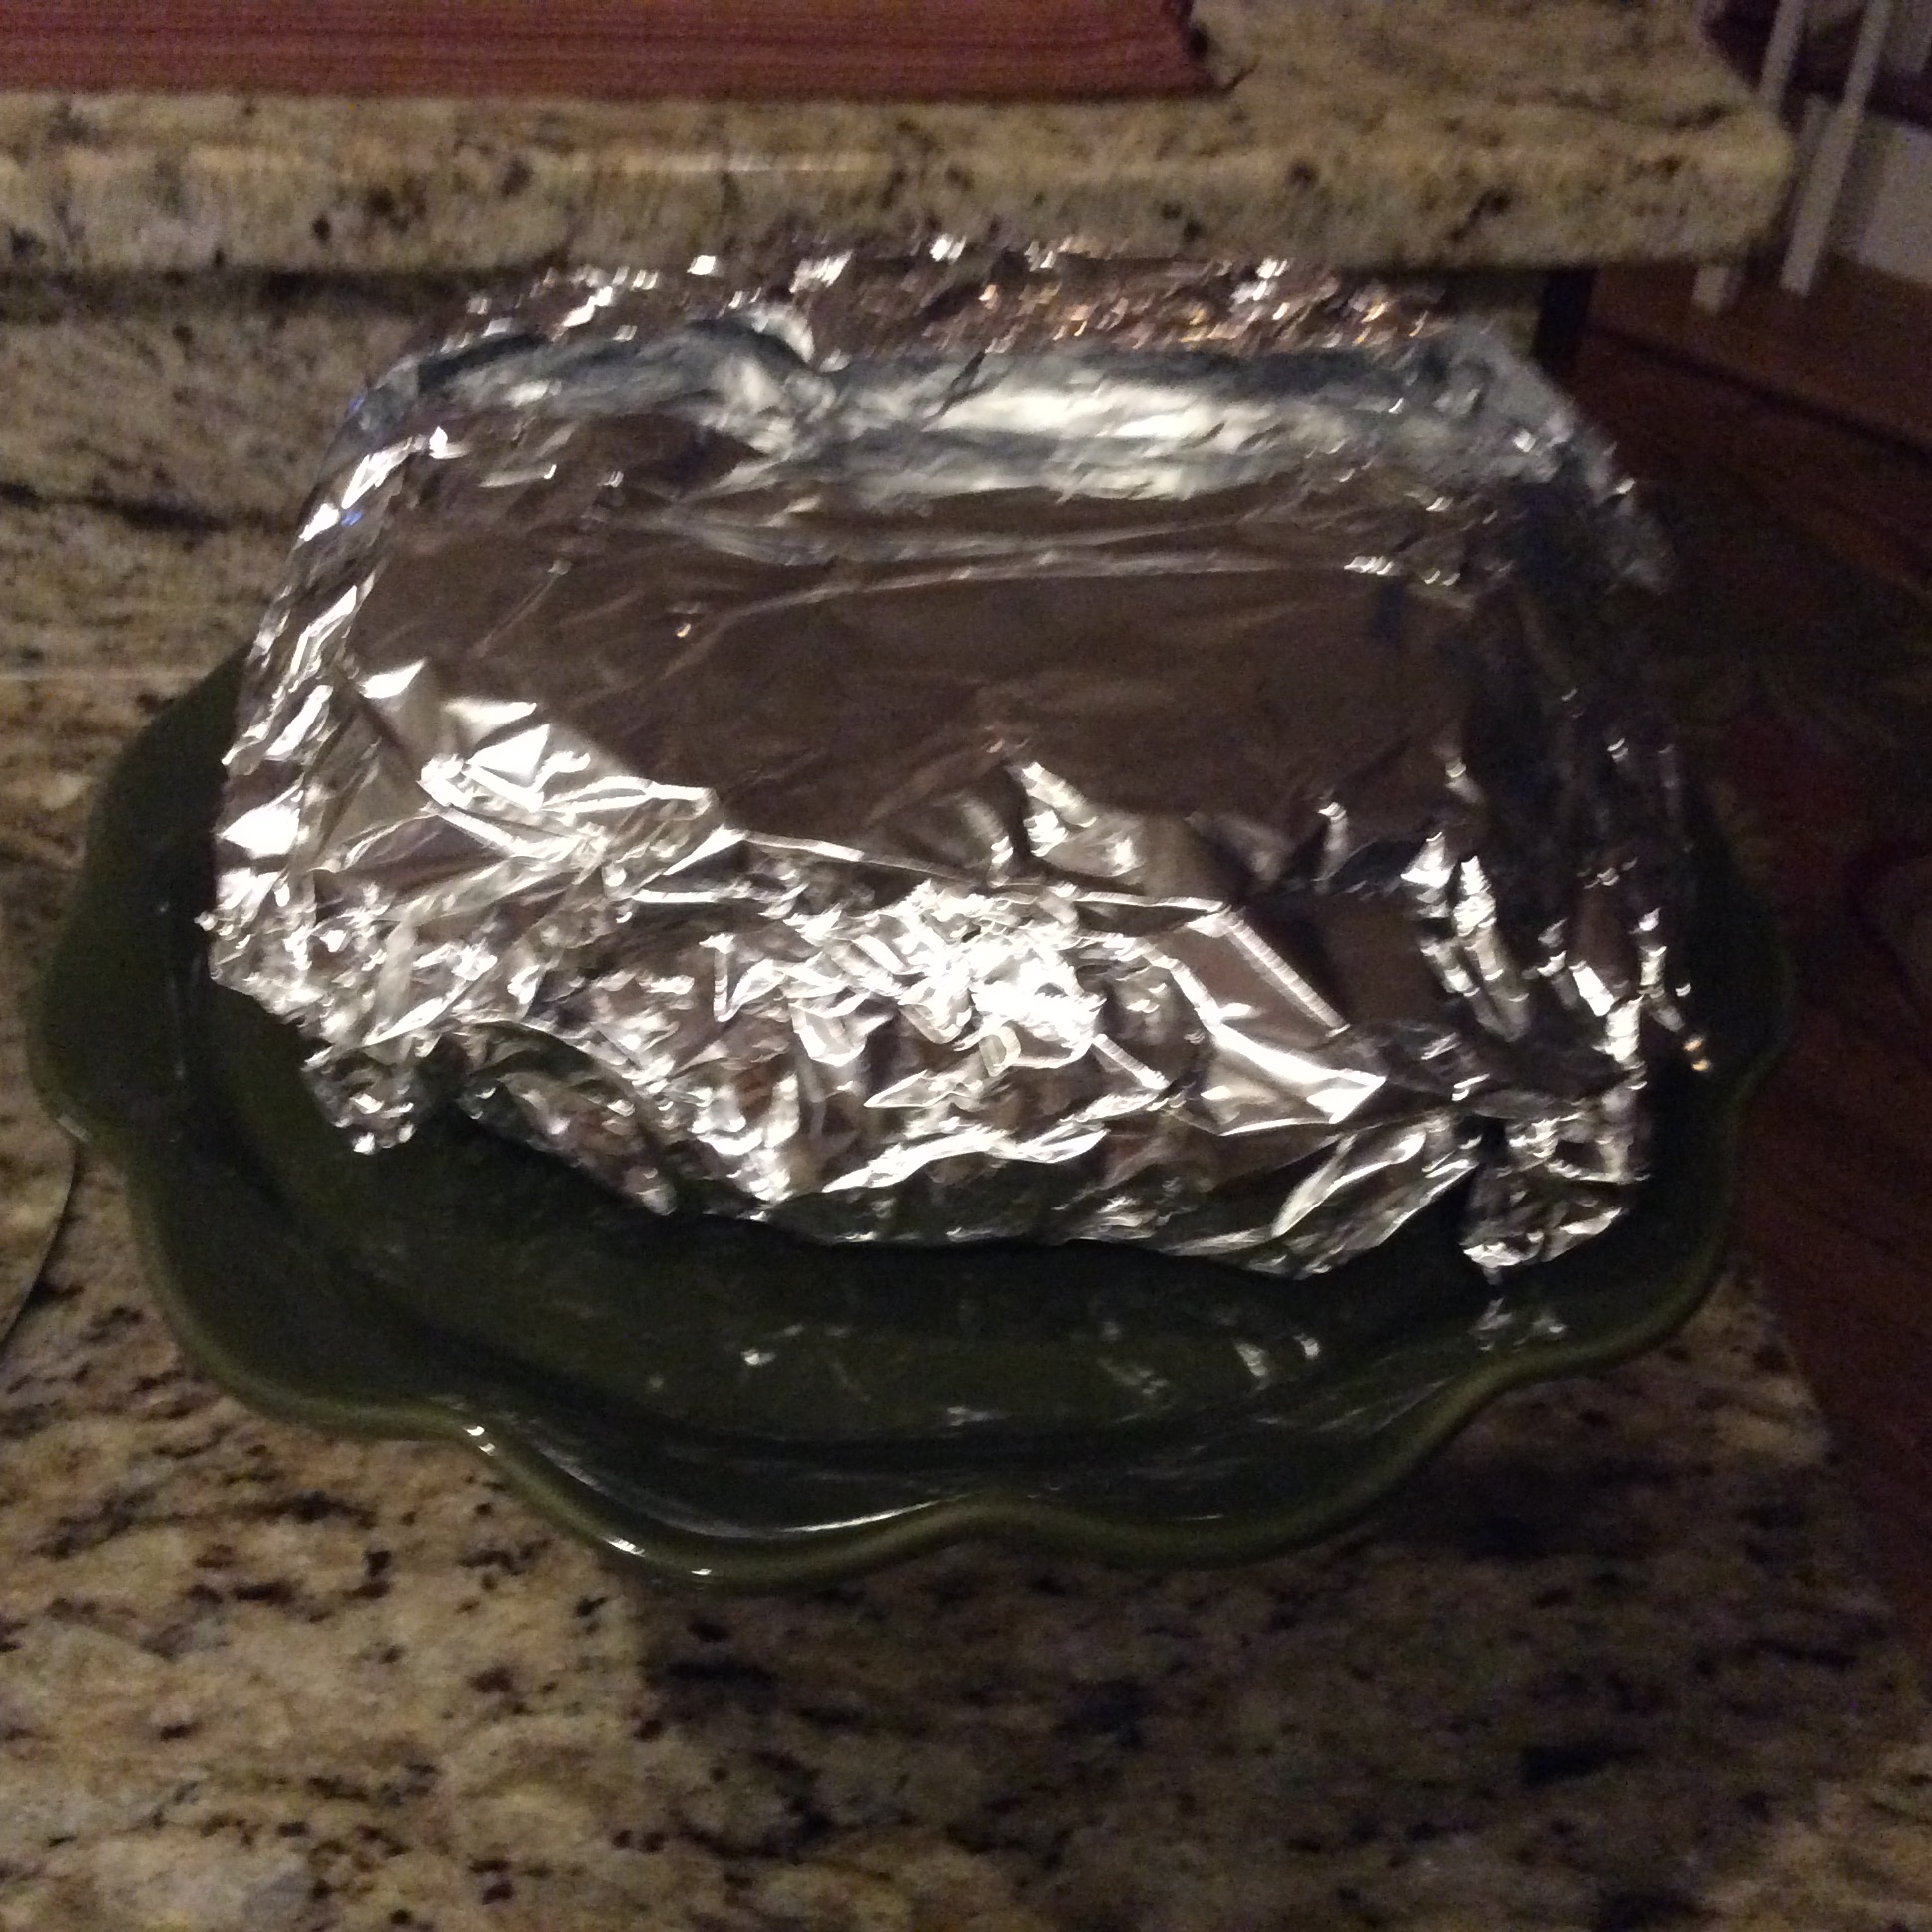
After letting it cool for about 5 minutes, take out a roll of aluminum foil. Pull out a large piece and then turn over the pan to drop one of the loaves right smack in the middle. Quickly fold the foil over (taking care not to burn the crap out of your fingers) and secure very tightly. Then set aside and let it cool off while being wrapped in the foil. Repeat and do the same to the other pans.
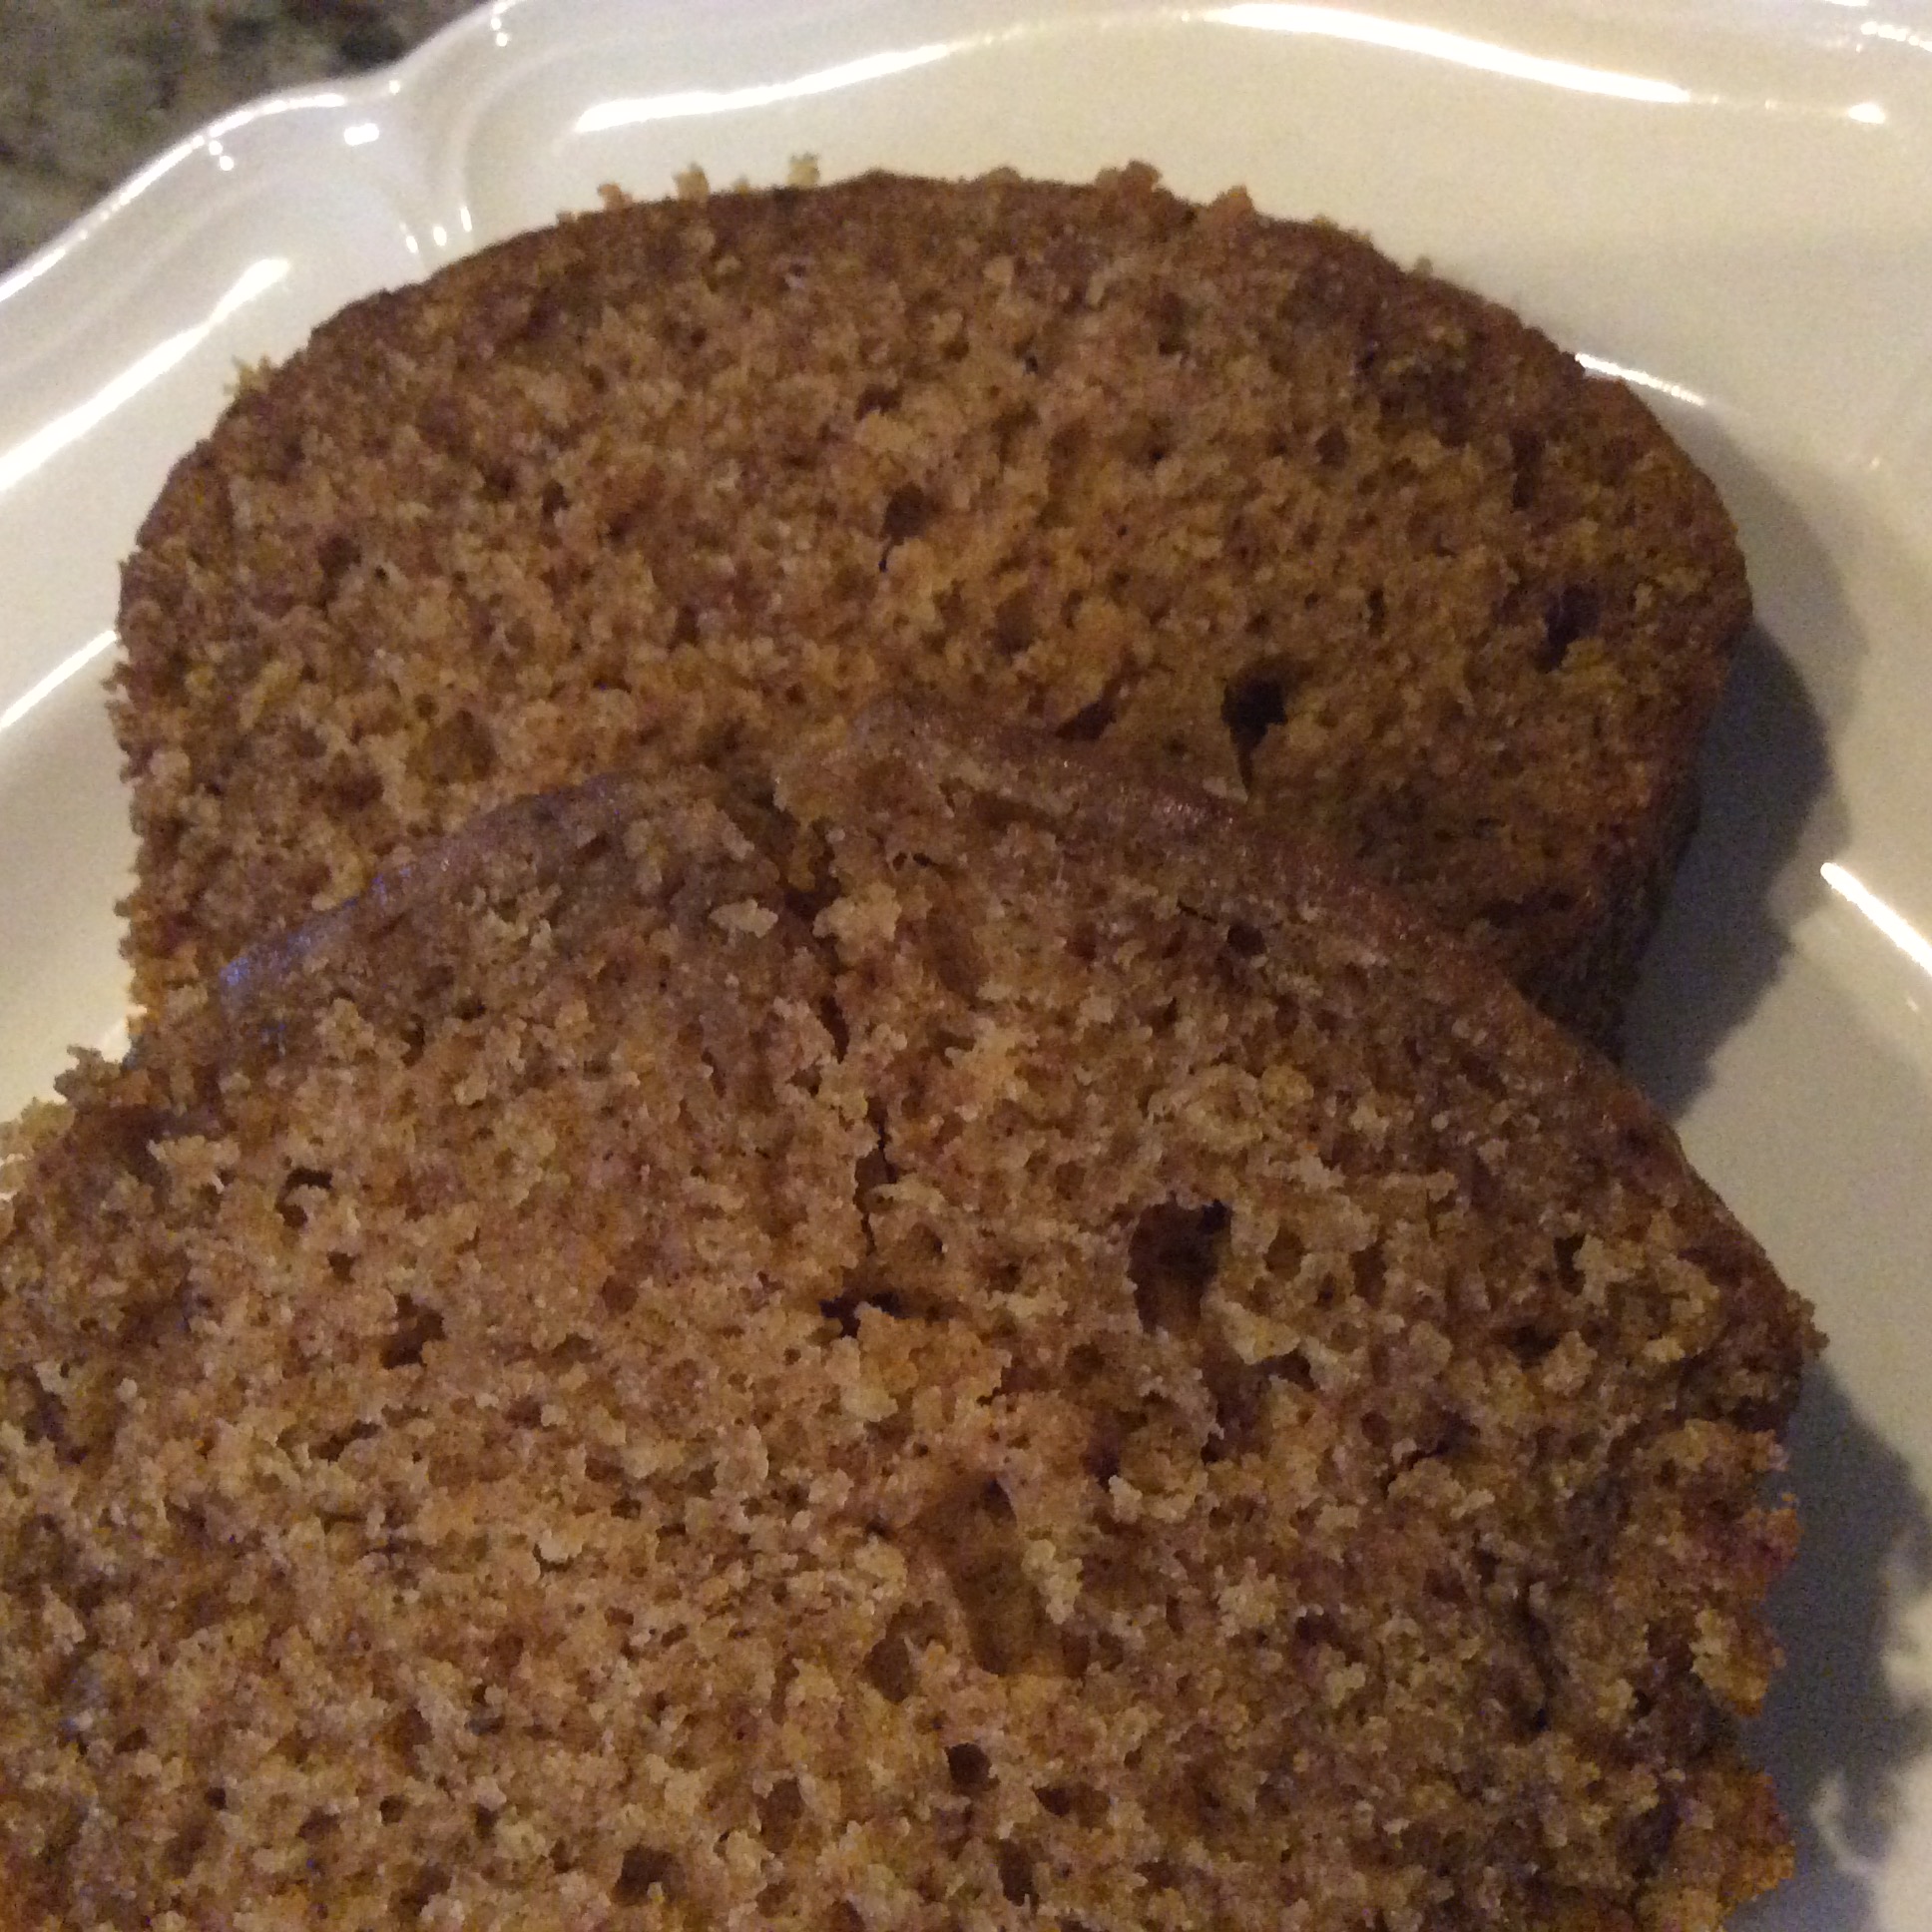
Turn upside down on a piece of foilWrap completely in the foil and keep it this way for several hours until completely cooledCooled and ready to sliceMoist Pumpkin Bread…oh my!
Just a little note…as I’m writing this blog, my husband just texted me about how amazing the bread was….all he needed was about a gallon of milk..ha, ha! I made it on Saturday and sent some leftovers with him this morning to share at work and it is still as moist as the first day! A must try in your kitchen….even add some chocolate chips in there for an extra sweet treat!
Bonus Recipe: Spicy Roasted Pumpkin Seeds
Every year when we carve our pumpkins, I make one of my favorite treats…roasted pumpkin seeds. Fortunately, I am the only one in my family who likes them so they are all mine and I can make them as spicy as I like!
Since I know you may want to make these before I actually carve my pumpkins this year, I thought I would go ahead and share my recipe even though I don’t have pictures yet. So here is the recipe and I will post the pictures in another blog later this month. This is a winning recipe from Taste of Home (with a little secret of my own added) if you like spice and pumpkin seeds!
Ingredients
2 cups fresh pumpkin seeds, cleaned
2 tbsp of canola oil
1 tsp Worcestershire sauce
1/8 to 1/4 tsp hot pepper sauce (depending on your heat tolerance)
1/2 tsp salt
1/2 tsp paprika
1/4 tsp ground cumin
1/4 tsp cayenne pepper
1/4 cup salt (for soaking)
2 cups cold water (for soaking)
Directions
First, my little trick: Years ago I heard that soaking the pumpkin seeds for at least 12 hours and up to 24 hours will produce crisper and crunchier pumpkin seeds. Another bonus for soaking is it actually makes the seeds more digestible for those with “tummy issues”. I know it sounds crazy, but it really works!
In a large bowl, cover the seeds with water and a little salt (a couple of tablespoons) and allow them to sit at room temperature for 12- 24 hours.
Drain seeds well and line a baking sheet with paper towels. Allow the seeds to sit and dry for approximately 30 minutes.
In a small bowl, toss pumpkin seeds with oil, Worcestershire sauce and hot pepper sauce. Combine the salt, paprika, cumin and cayenne; sprinkle over seeds and toss to coat.
Line a 15-in. x 10-in. x 1-in. baking pan with foil; grease the foil. Spread pumpkin seeds in pan. Bake, uncovered, at 250 degrees for about an hour or until lightly browned and dry, stirring occasionally. Cool completely. Store in an airtight container.Yield: 2 cups.
Bottom Line:
Both of these fall pumpkin recipes are fool proof and delicious. Give them a try in your kitchen and let me know the results! I am Chef Frankie and until next time…”Keep on Cooking”!
As I have mentioned numerous times, one of my favorite cooking shows is The Chew on ABC. I love the way the co-hosts seem so relaxed while cooking in front of a live audience all along sharing personal tips and insights. It really is unlike any other show. Recently, I blogged on a pork chop recipe by Serious Eats which involved an overnight dry rub (delicious results). You can check that out by following this link:
If you ever watch The Chew, you know that Michael Symon and Mario Batali differ greatly on the debate of using a dry rub or brining pork and poultry. So, since I had recently tried a dry rub method, it was time to try Batali’s brining method in his recipe for Pork Chops with Peppers and Capers.
Mario Batali’s Pork Chops with Peppers and Capers
I’m no newbie when it comes to brining. In fact, I brine my Southern Fried Chicken overnight before preparing it and it turns out perfectly every time! (I promise to share soon!) However, this brine is a little different since it uses both salt AND sugar where mine typically just uses salt.
I have learned over time that you truly must read your recipe all the way through before beginning your grocery shopping much less your prep and this case was no exception. First, the recipe serves 6 and I was only feeding 2 so my version is a little smaller. I also thought that even serving 6, that was A LOT of peppers and onions so I reduced that a little more.
The brine seemed so much to me even cut down for 2 servings but I went with it exactly as written. Batali used a cast iron skillet on the show but I decided I wanted to do this in all one pan so I used one of my favorite pans…My Le Crueset Braising Pan. (It will be featured in “A Few of My Favorite Things” coming soon!) I knew the Braising Pan would be more successful for my vegetables and since this pan was made out of enameled cast iron, I felt like I could get a good sear on my chops.
Now, my purpose in recreating this recipe was two-fold…One, my husband LOVES pork chops and Two, we had a bit of a stressful week so I wanted a relaxing and romantic evening. To make this dinner even more special, I decided to go to one of my favorite markets in Knoxville…Butler and Bailey Market.
Butler and Bailey Market off Northshore Drive in Rocky Hill
On the outside this place doesn’t look like much but on the inside it is a hidden gem! They use local meats and produce and restaurants all across Knoxville get much of their meat directly from them. I went there looking for one thing….Frenched Cut Pork Chops! They would definitely take this special dinner up a notch!
So, this is my version of Mario’s dish…..
Pork Chops with Peppers & Capers
2 quarts Water
1/3cup Kosher Salt
1/3 cup Packed Brown Sugar
12 Black Peppercorns (I didn’t change this amount since they were whole peppercorns and were just for brining)
4 Bay Leaves
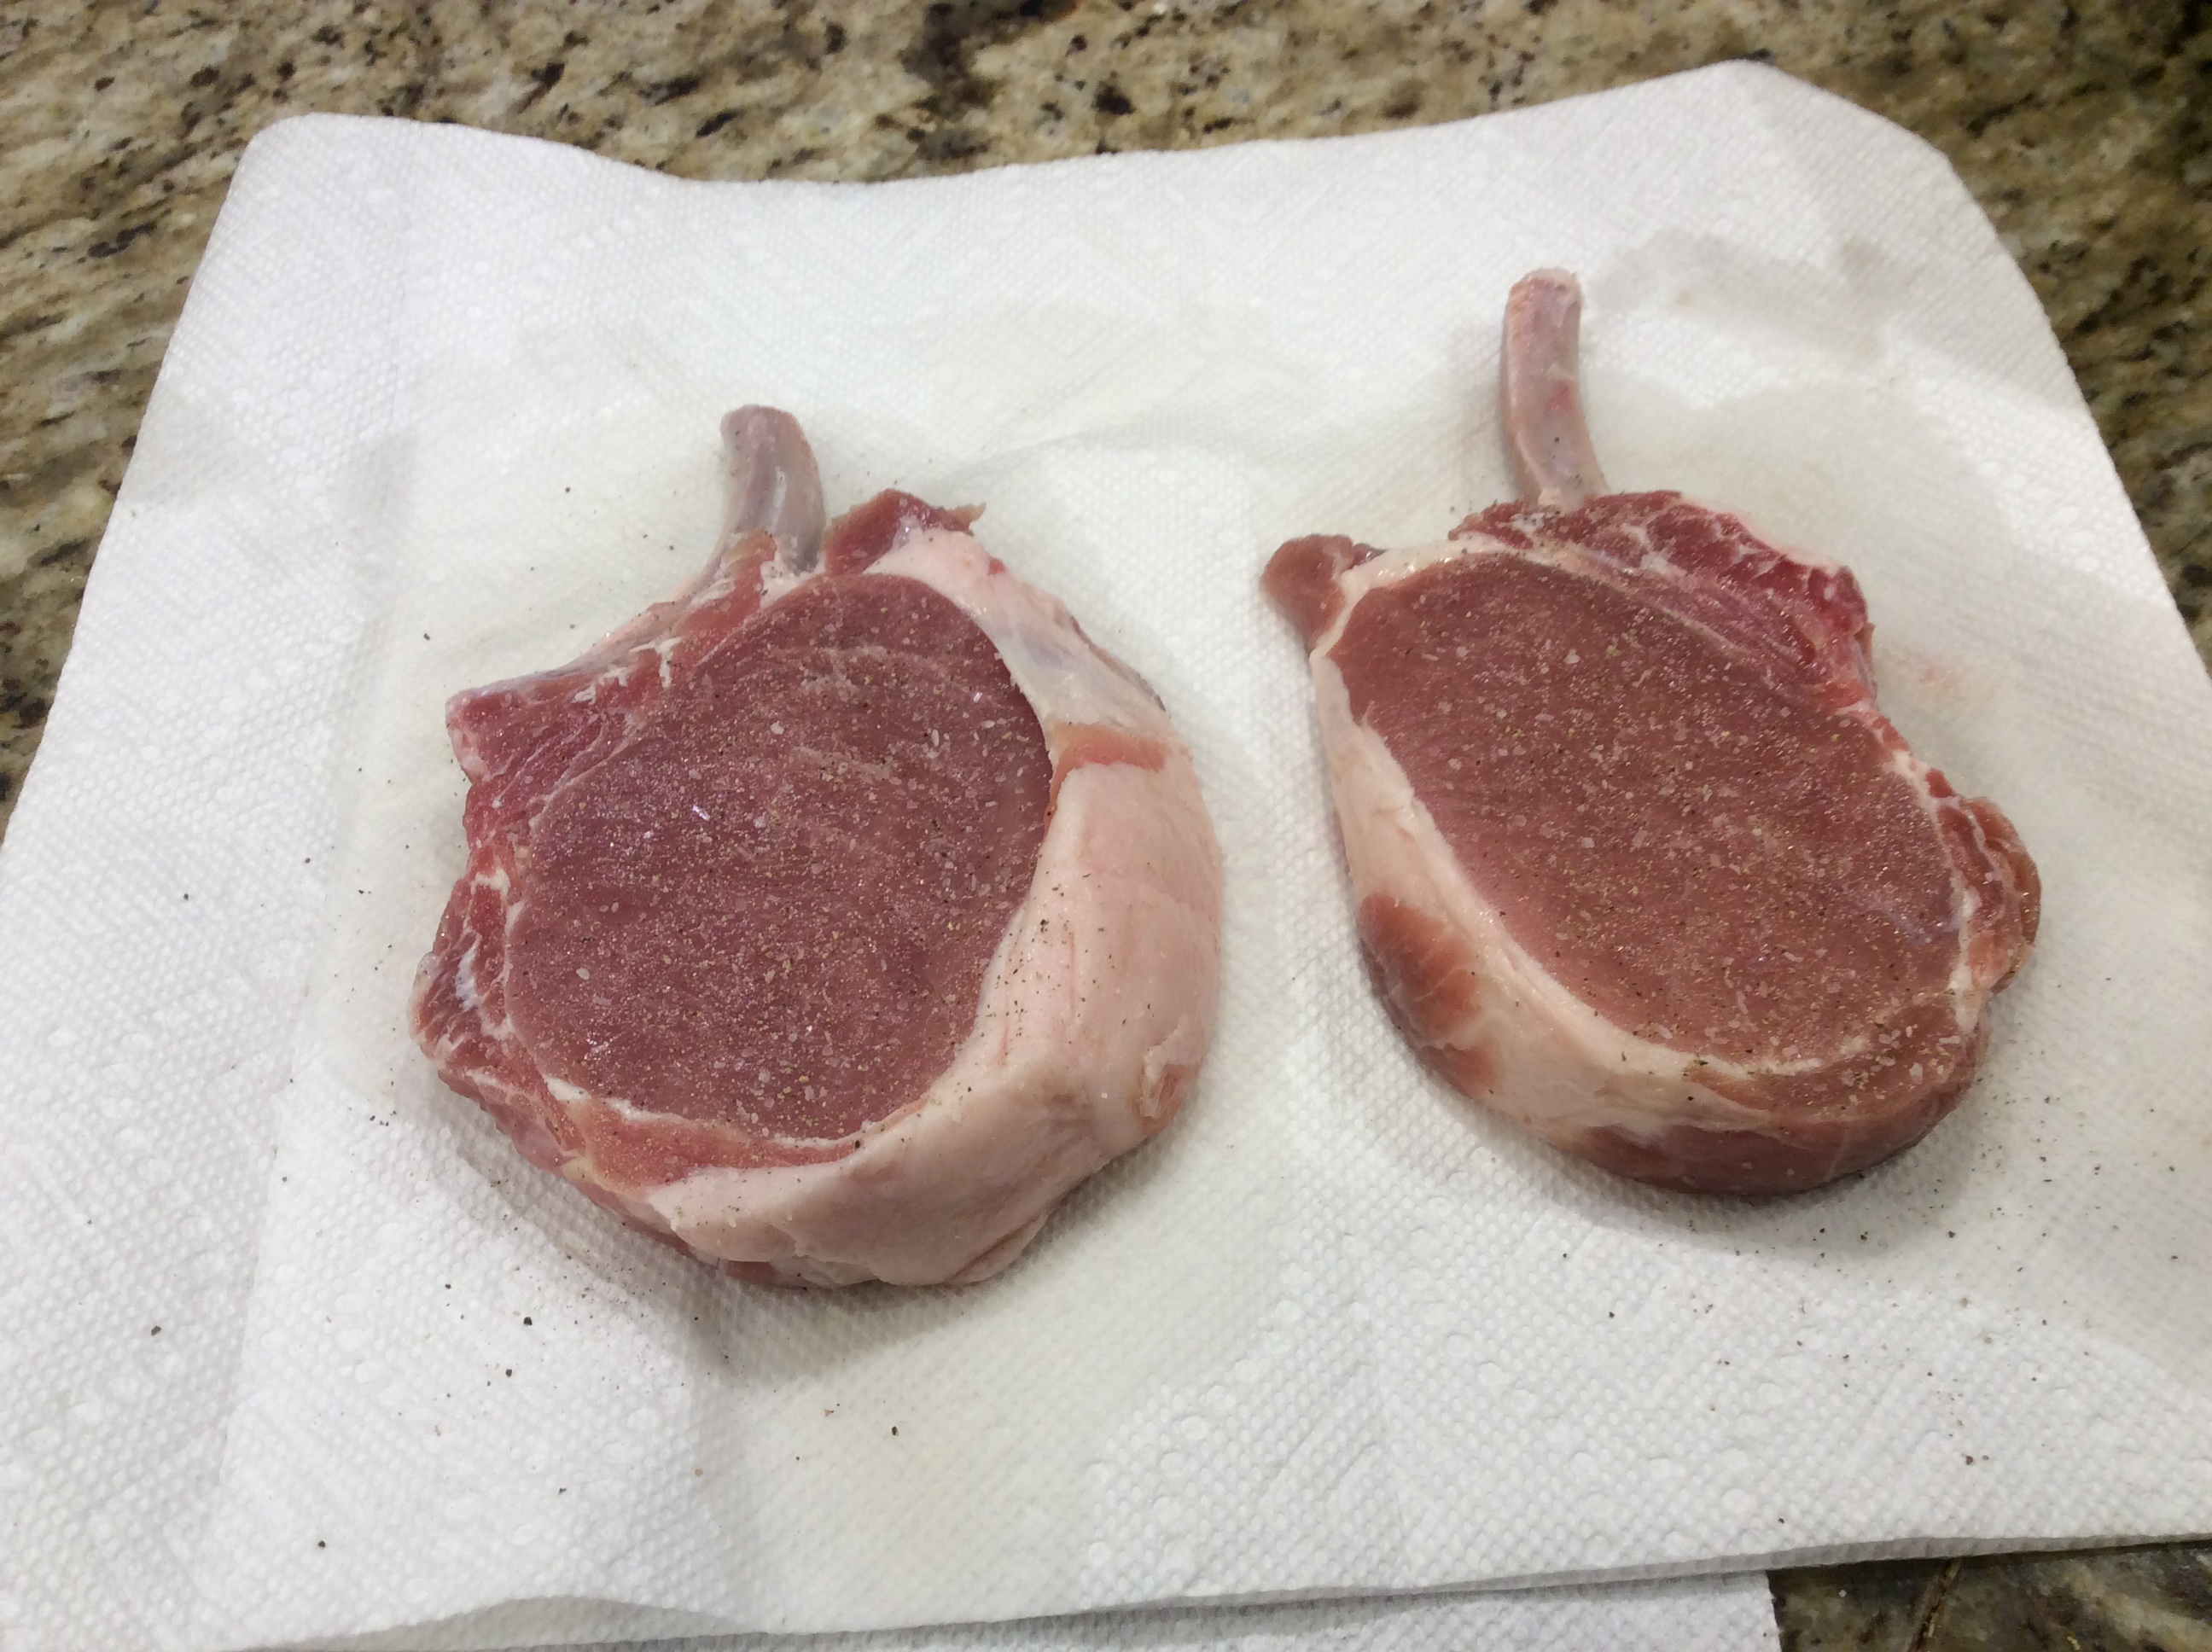
2 Pork Rib Chops (I used French Cut Pork Chops…either works well)
Salt and Freshly Ground Pepper
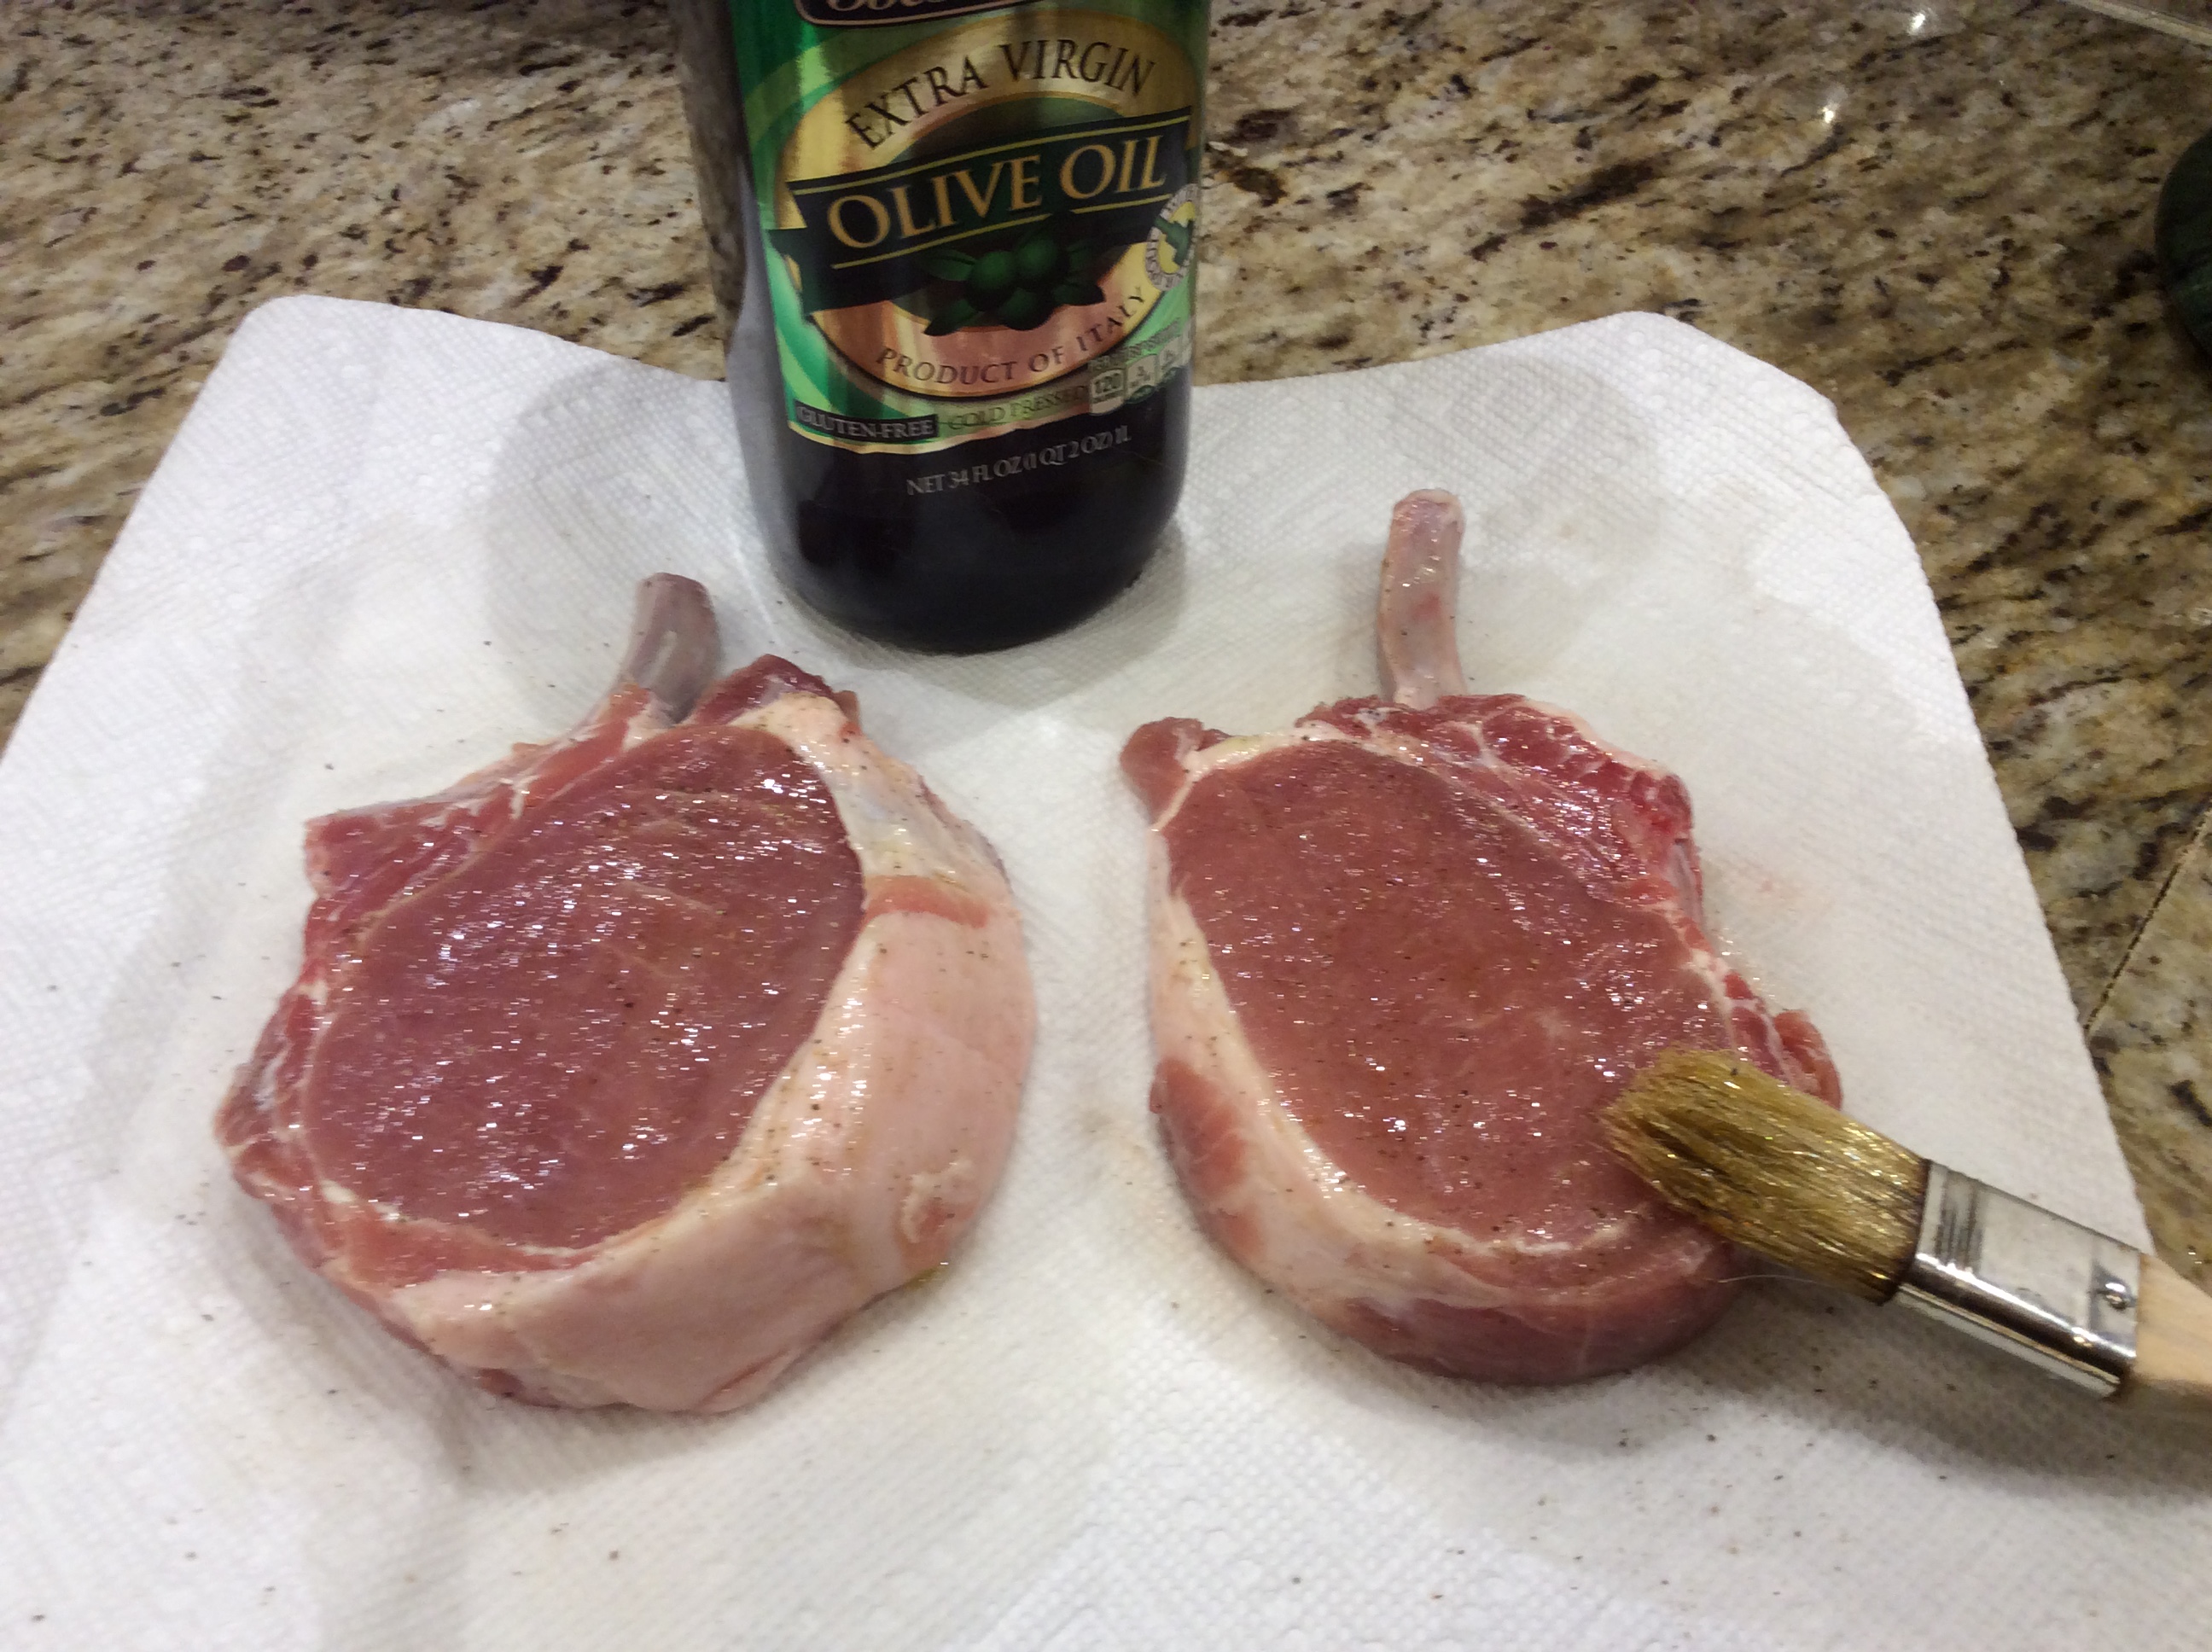
1-2 tablespoonsExtra Virgin Olive Oil
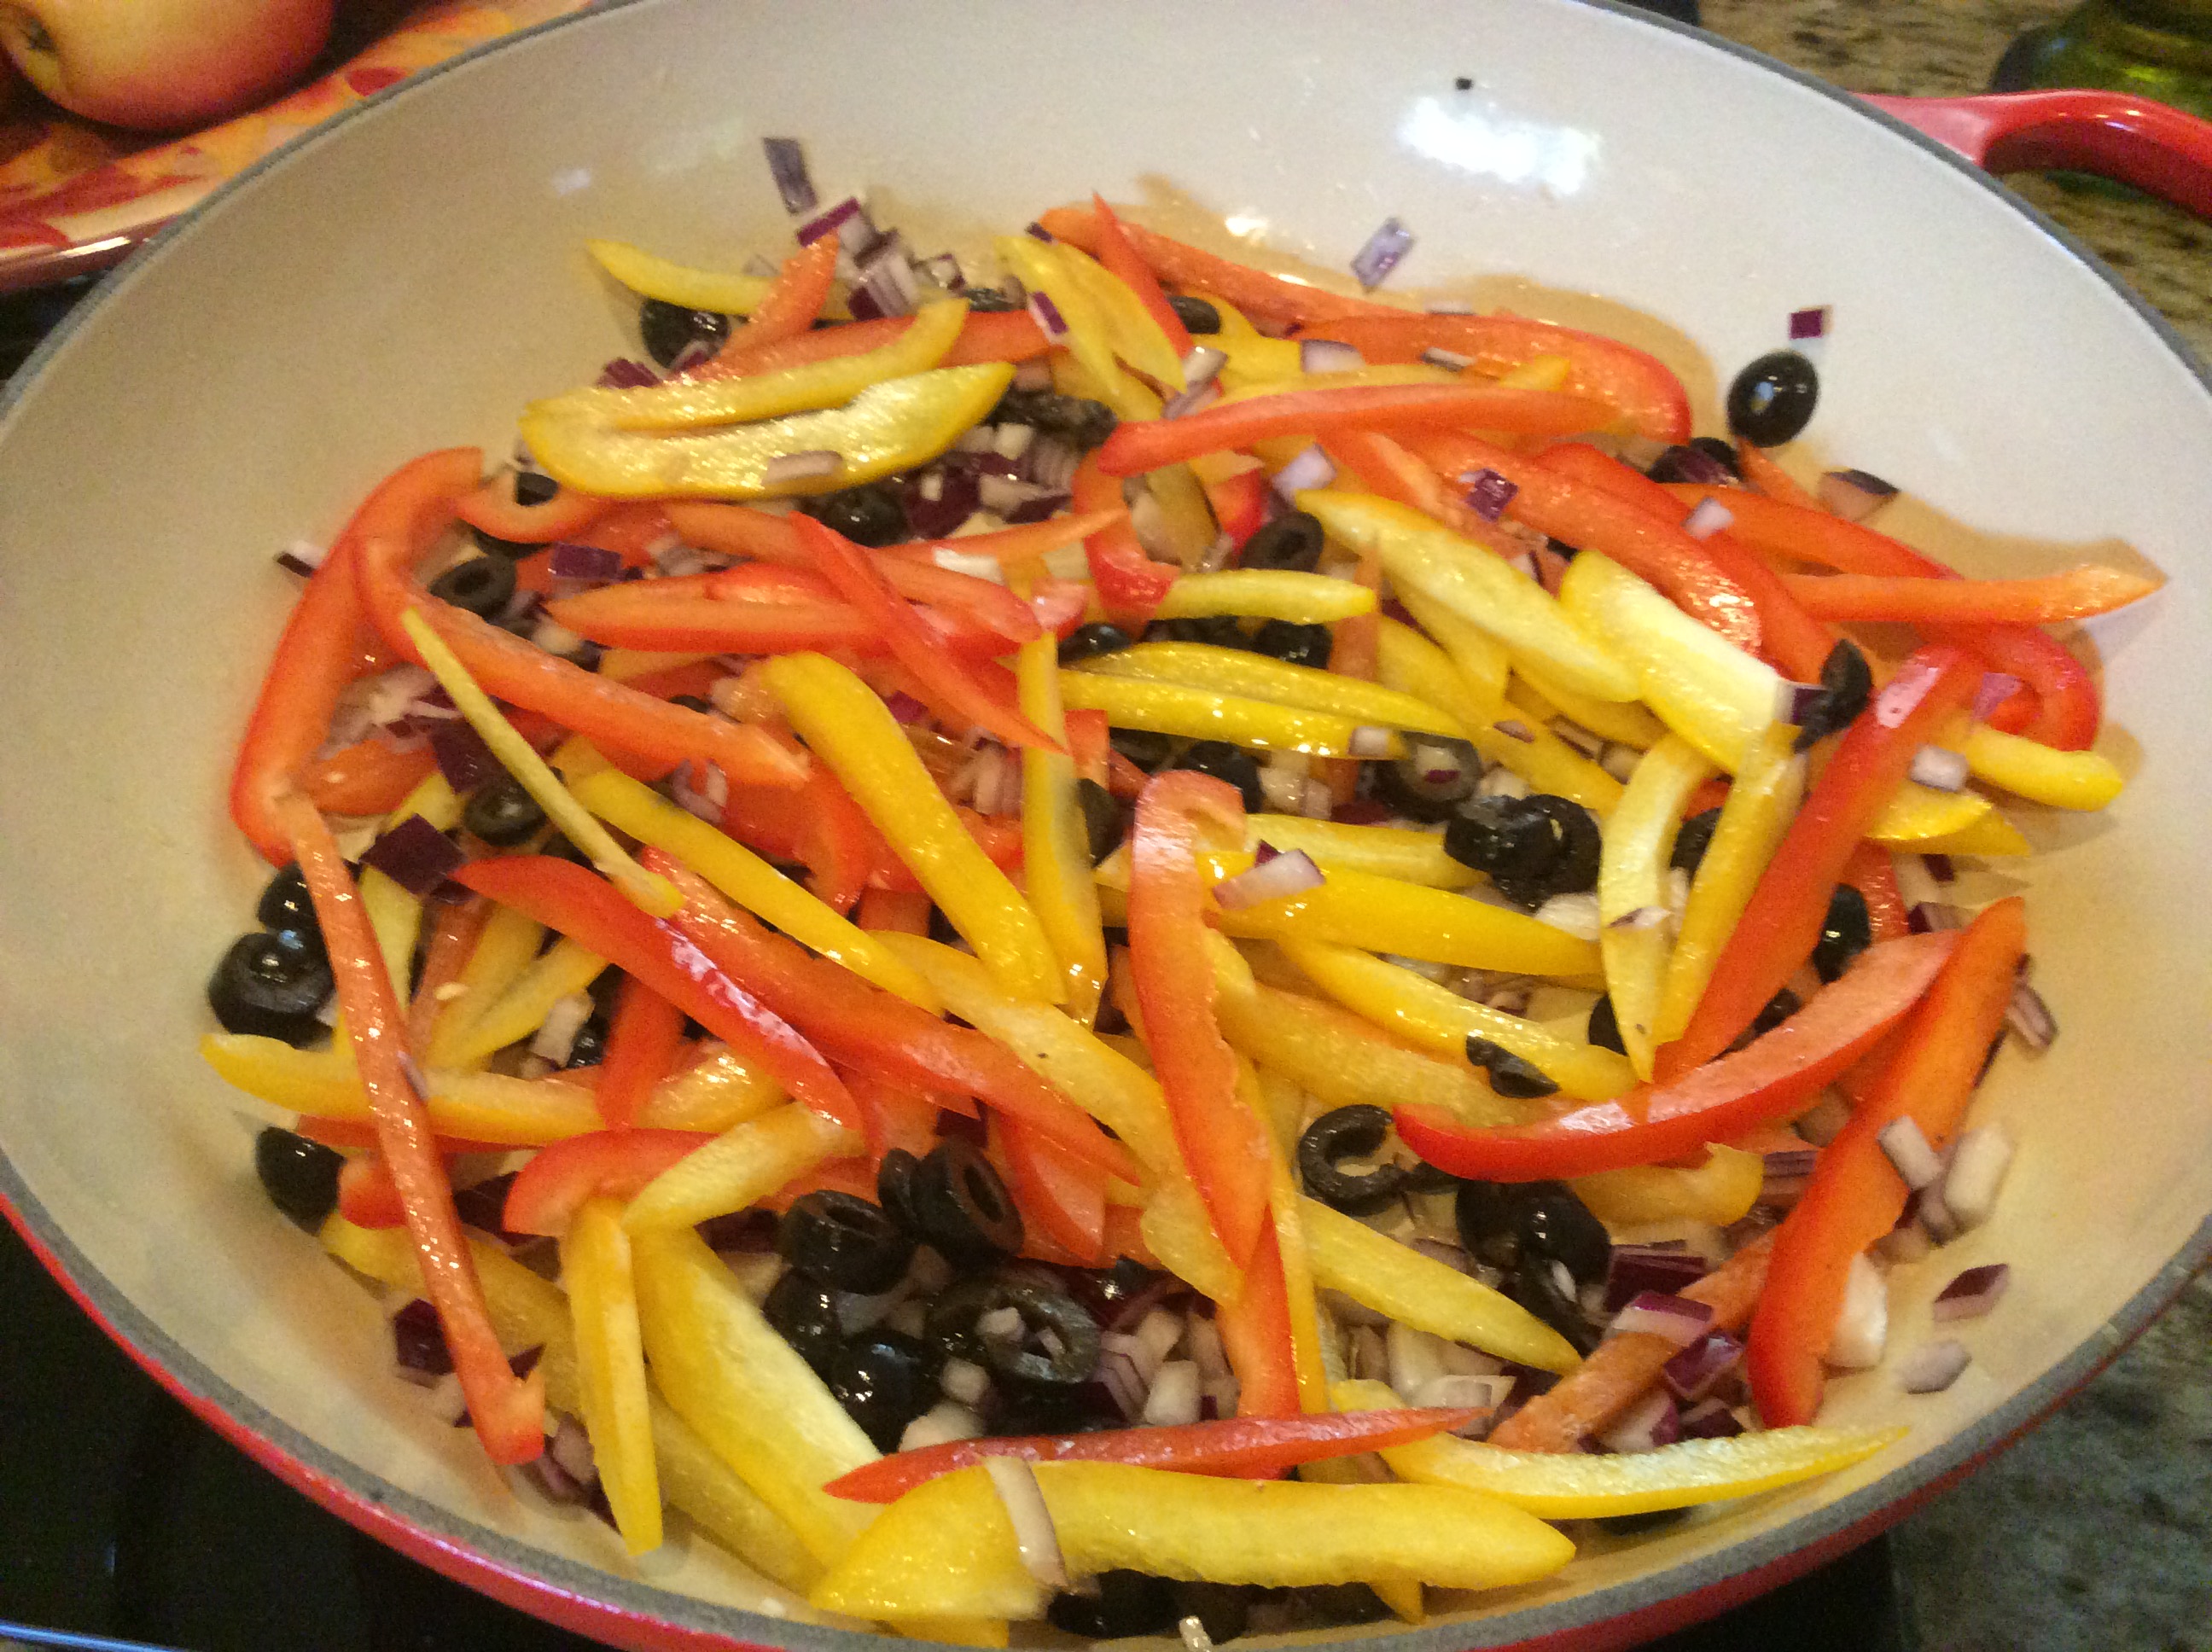
2 Bell Peppers – 1 each Red/Yellow (cored and then seeded and cut into thin strips)
1/2 red onion
1/4 cupBlack Olives (pitted and chopped)
1 tablespoon Hot Red Pepper Flakes
1 tablespoon Capers (with their brine)
1 cup Dry White Wine (plus a tablespoon more that I used to deglaze my pan)
1/4 cup scallions, chopped
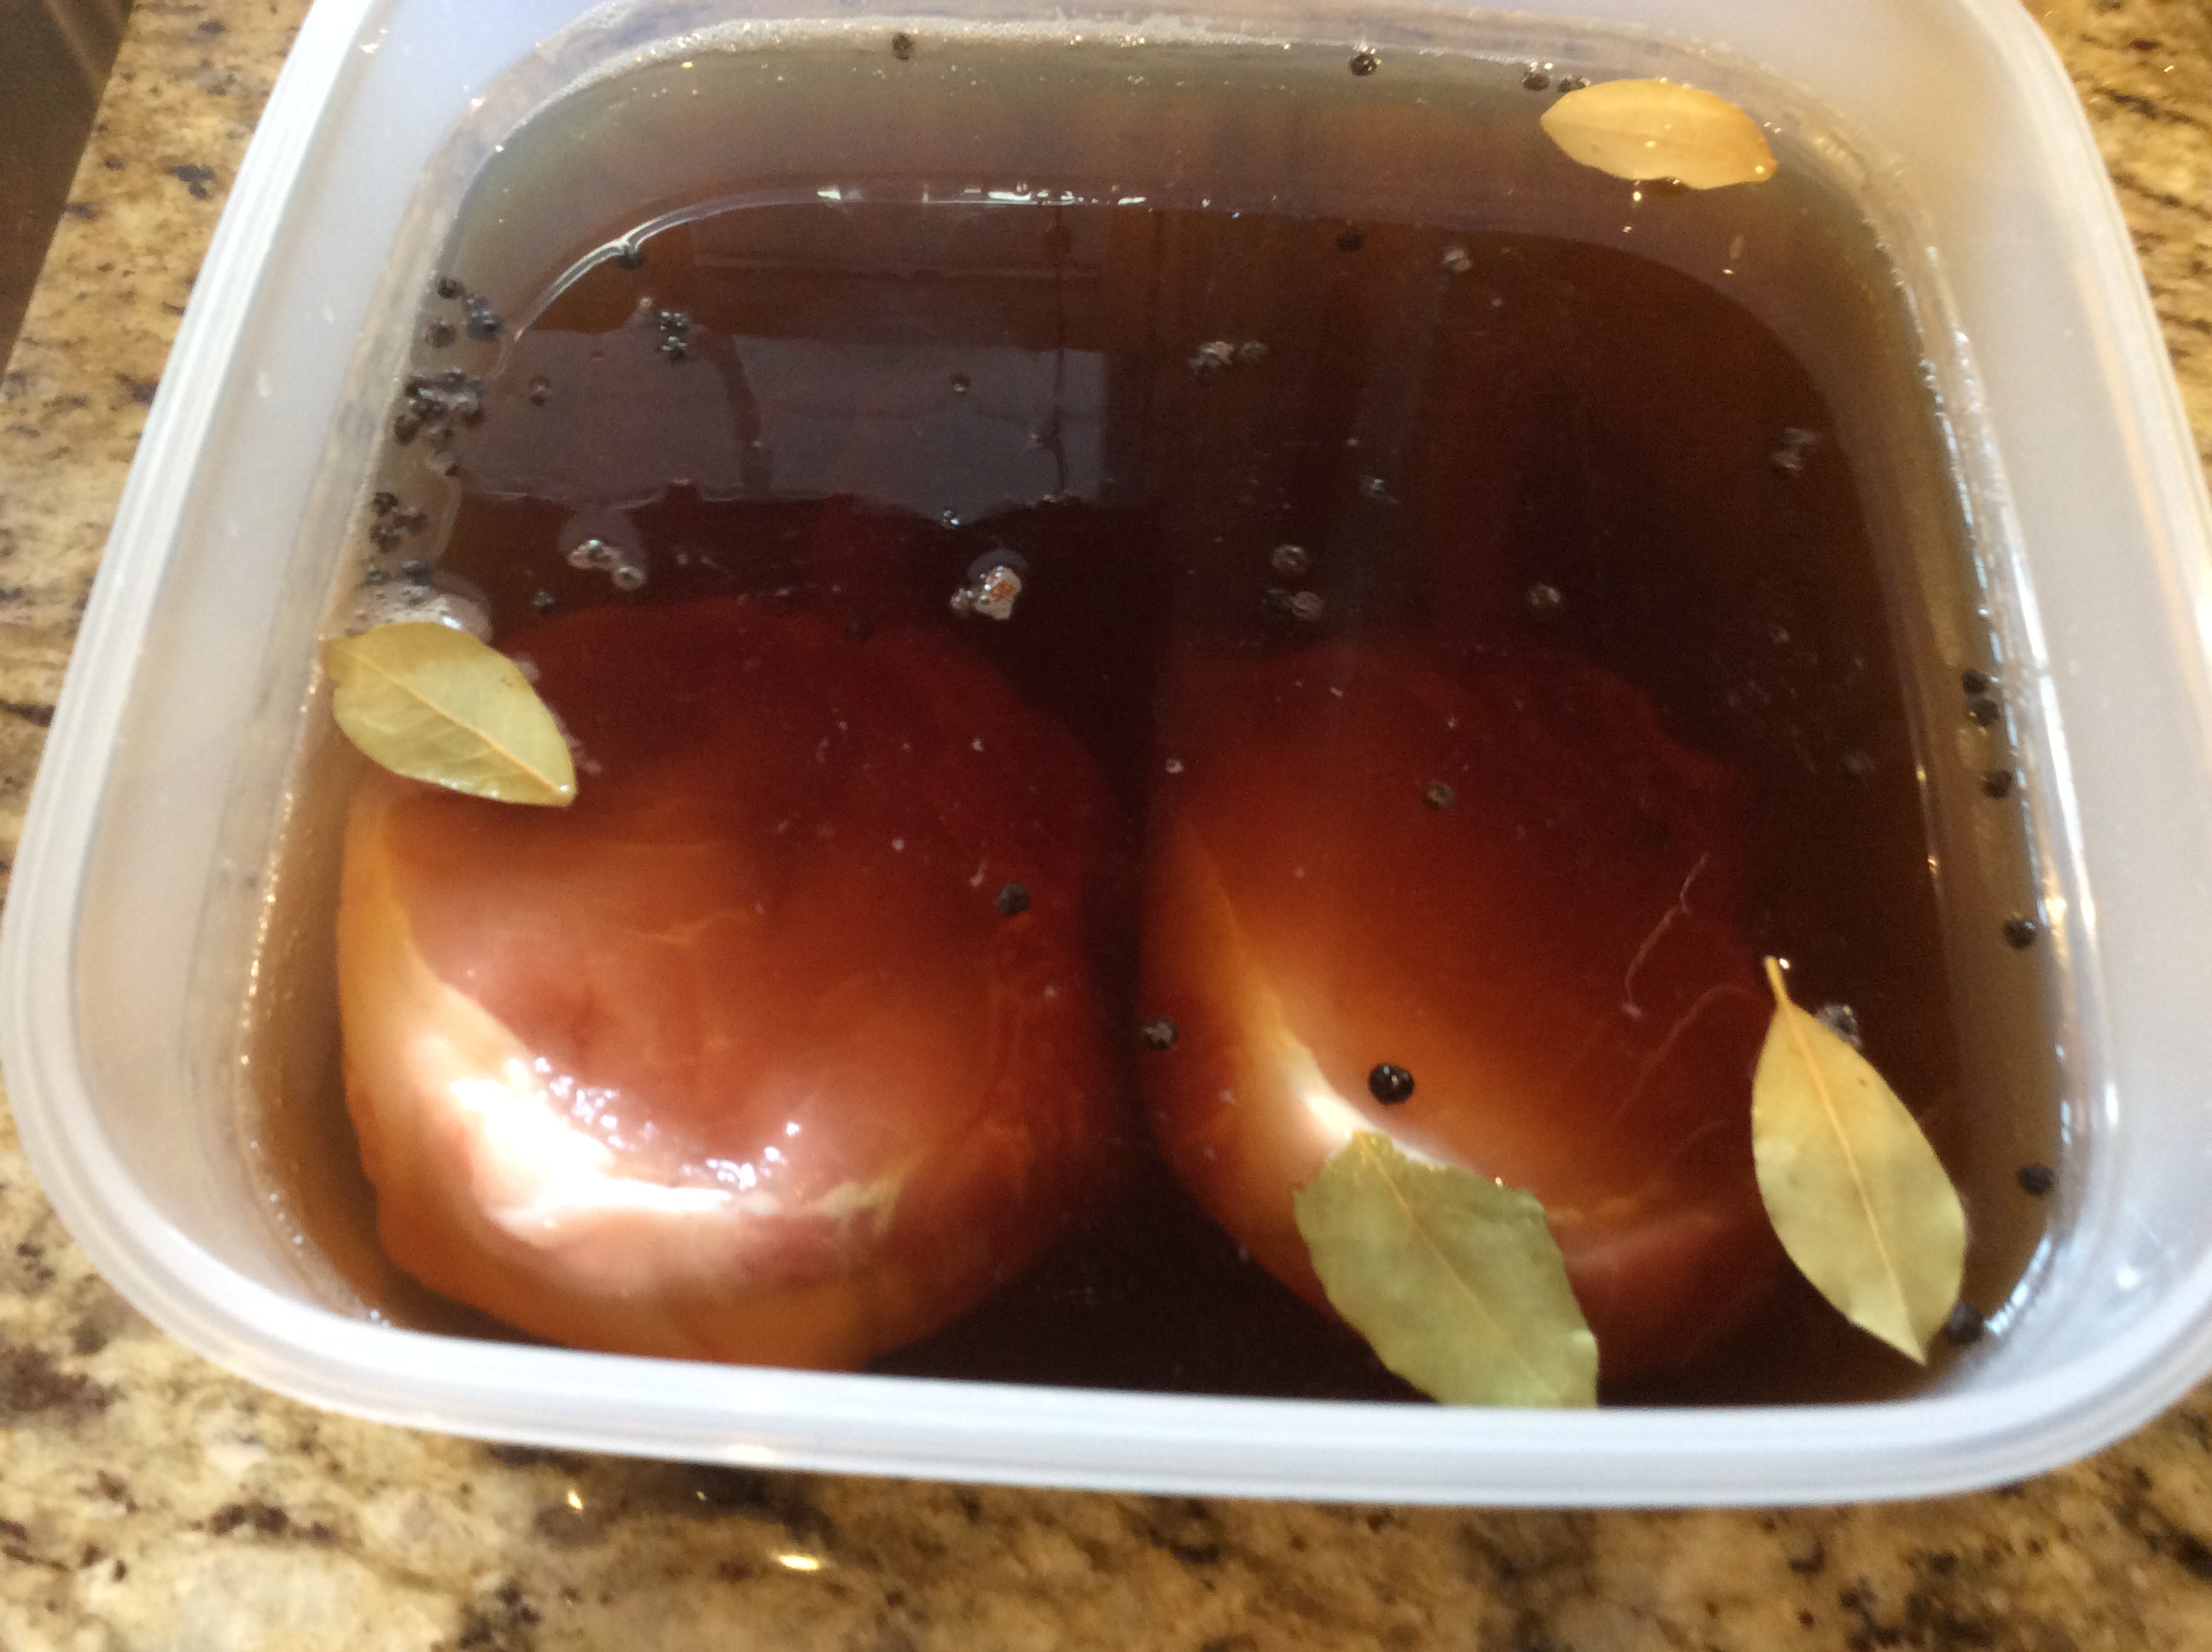
In a small saucepan, combine 2 cups of the water, the kosher salt, brown sugar, peppercorns, and bay leaves and bring to a boil over high heat, stirring to dissolve the salt and sugar. Pour into a large pot or other container and add the remaining water. Stir to mix well, cool, add the pork chops, cover, and refrigerate 1 to 6 hours. (Interesing note, here…the recipe on the website said that you could brine them up to 12 hours but Batali said on the show no more than 6 hours or they would become pickled. I brined mine for approximately 3 hours.)
Chops going into the brine
Drain the chops and pat dry with paper towels. Season the pork on both sides with salt and pepper. Brush each side of the chops with olive oil. Set aside while preparing vegetables.
Seasoned and brushed with olive oil
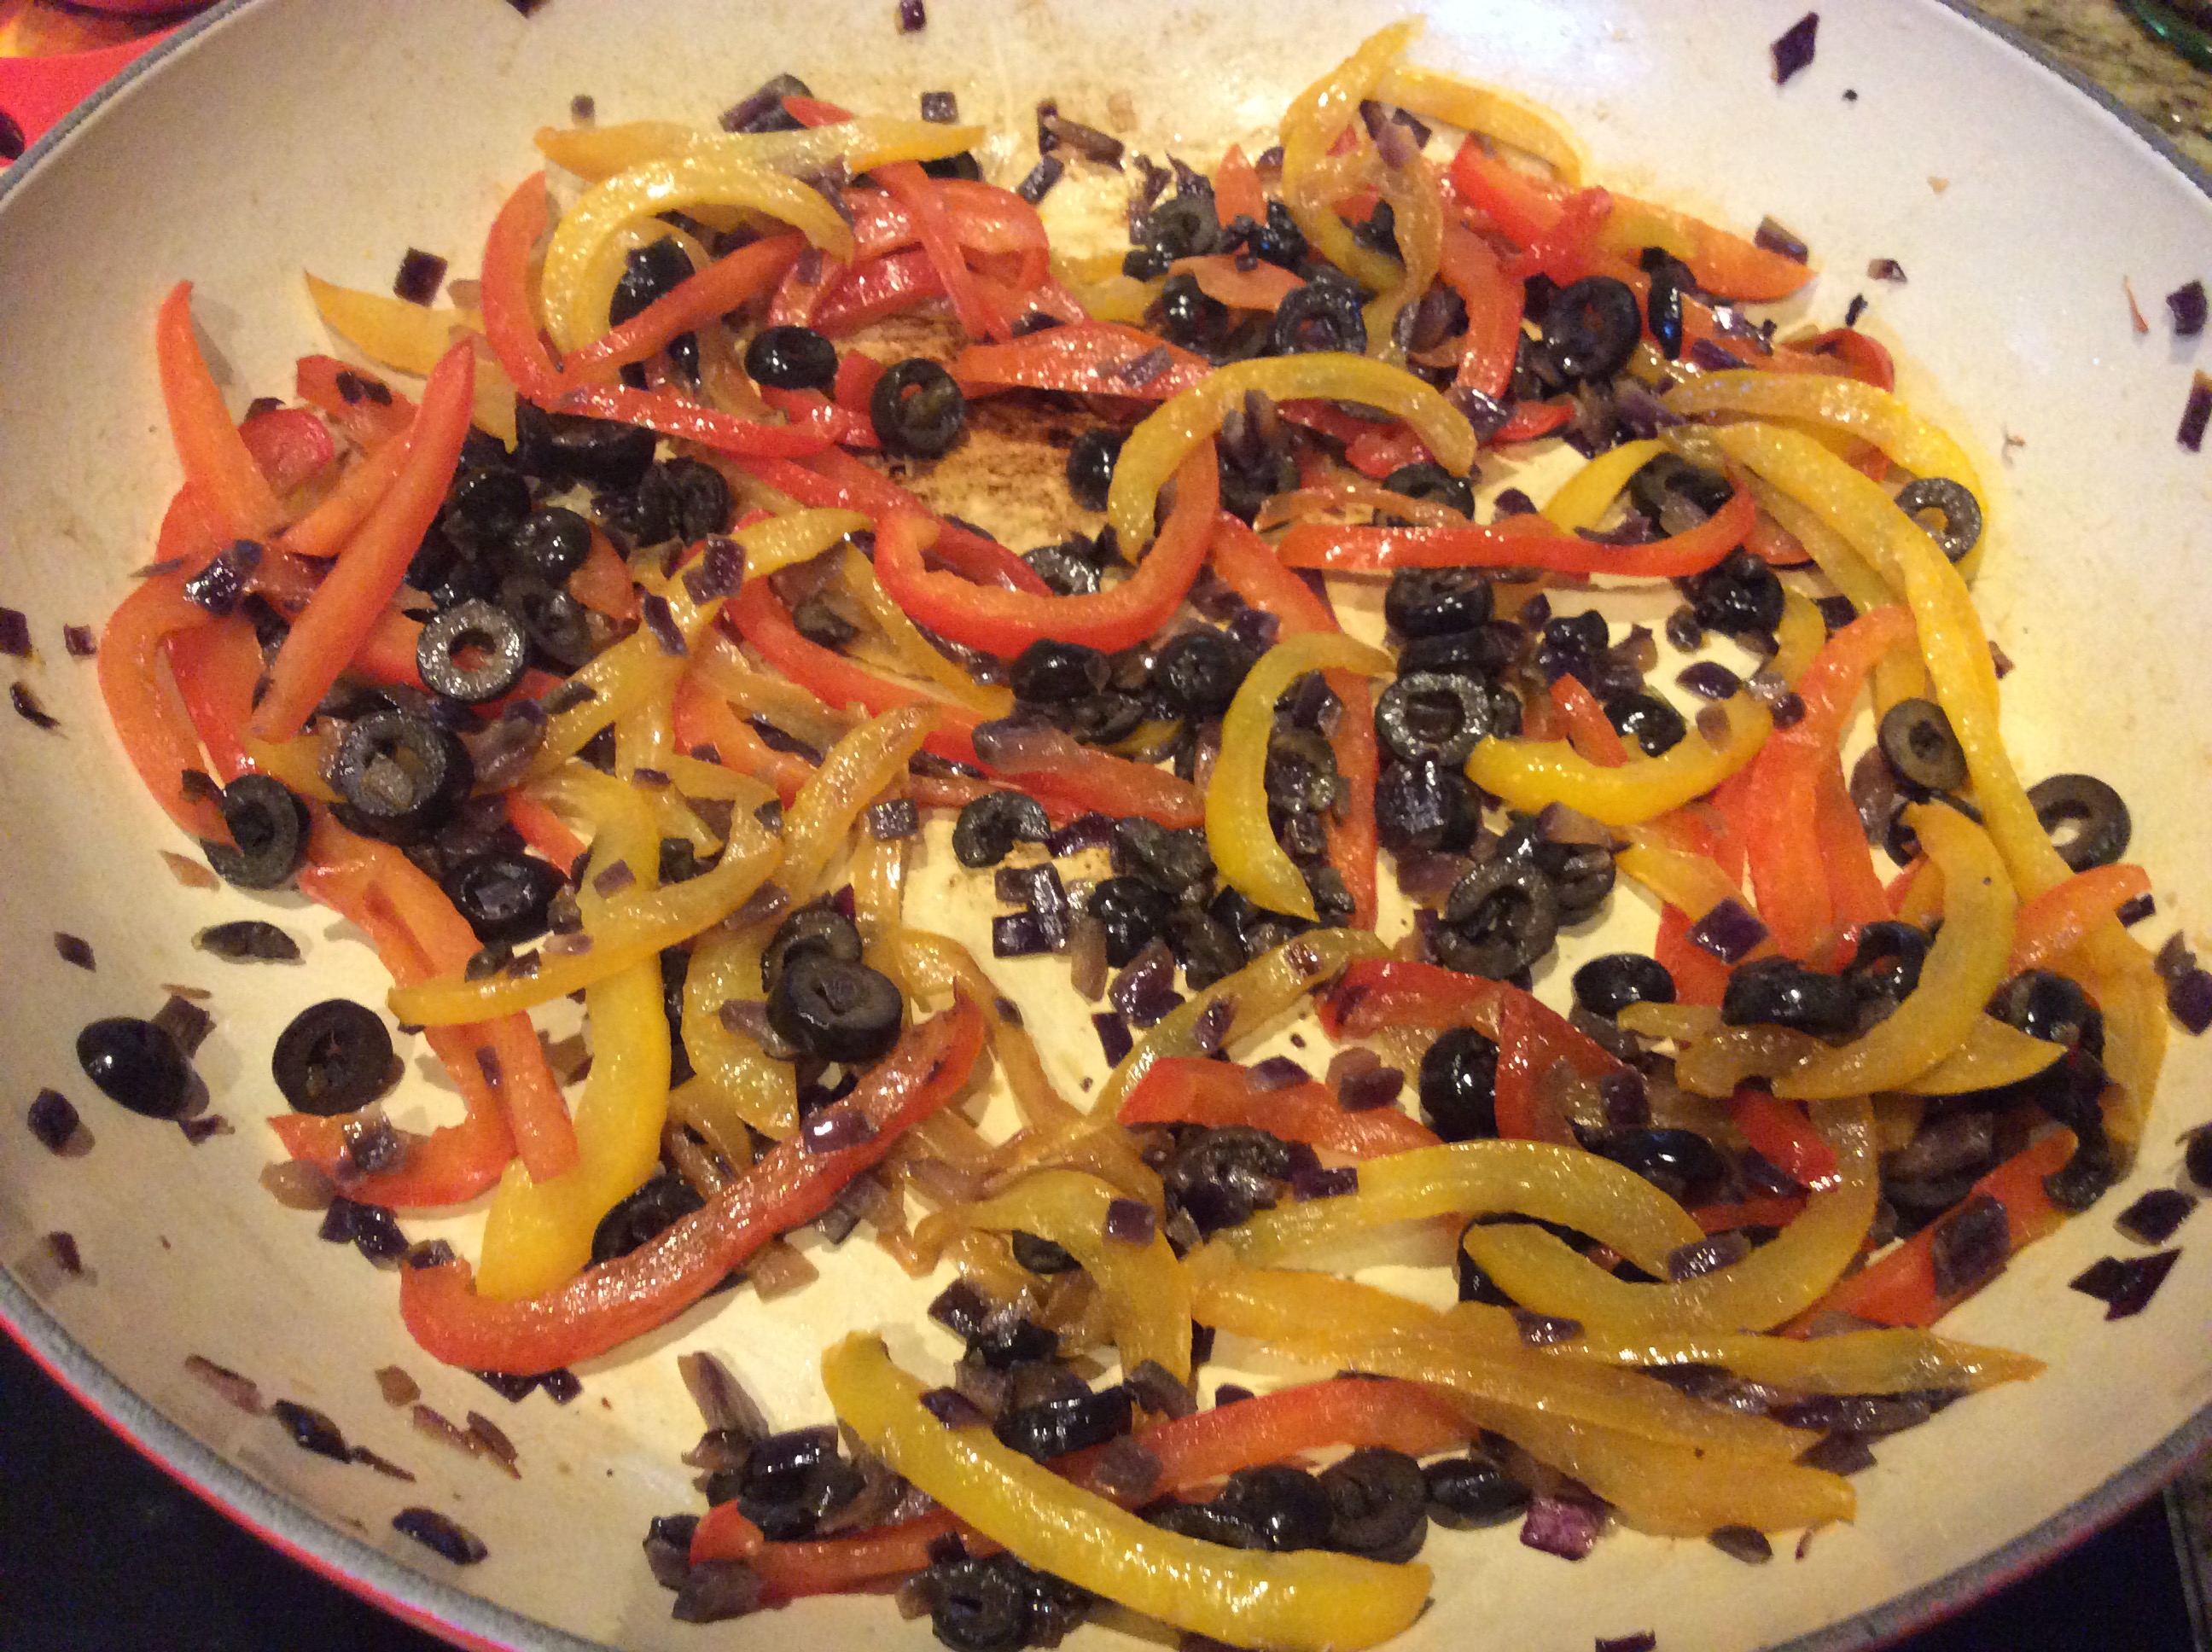
In a heavy skillet, heat 2 tablespoons of the Olive Oil over high heat until smoking. Add the Bell Peppers, Onions, Olives, and Red Pepper Flakes and cook, without stirring, for about 5 minutes or until the Peppers and Onions are slightly charred. Stir a couple of times and then cook for 5 minutes more.
Veggies going into the hot panStarting to get that golden char
Add the Wine and Capers and bring to a boil. Reduce the heat to maintain a simmer and cook for 10 minutes. Top with the scallions (The scallions were added at the end of Batali’s dish but I wanted them cooked a bit…either way will work just fine!)
Veggies are ready to go!
Remove from the heat; set aside. Deglaze the pan with 1 tablespoon of wine, scraping up the bits.
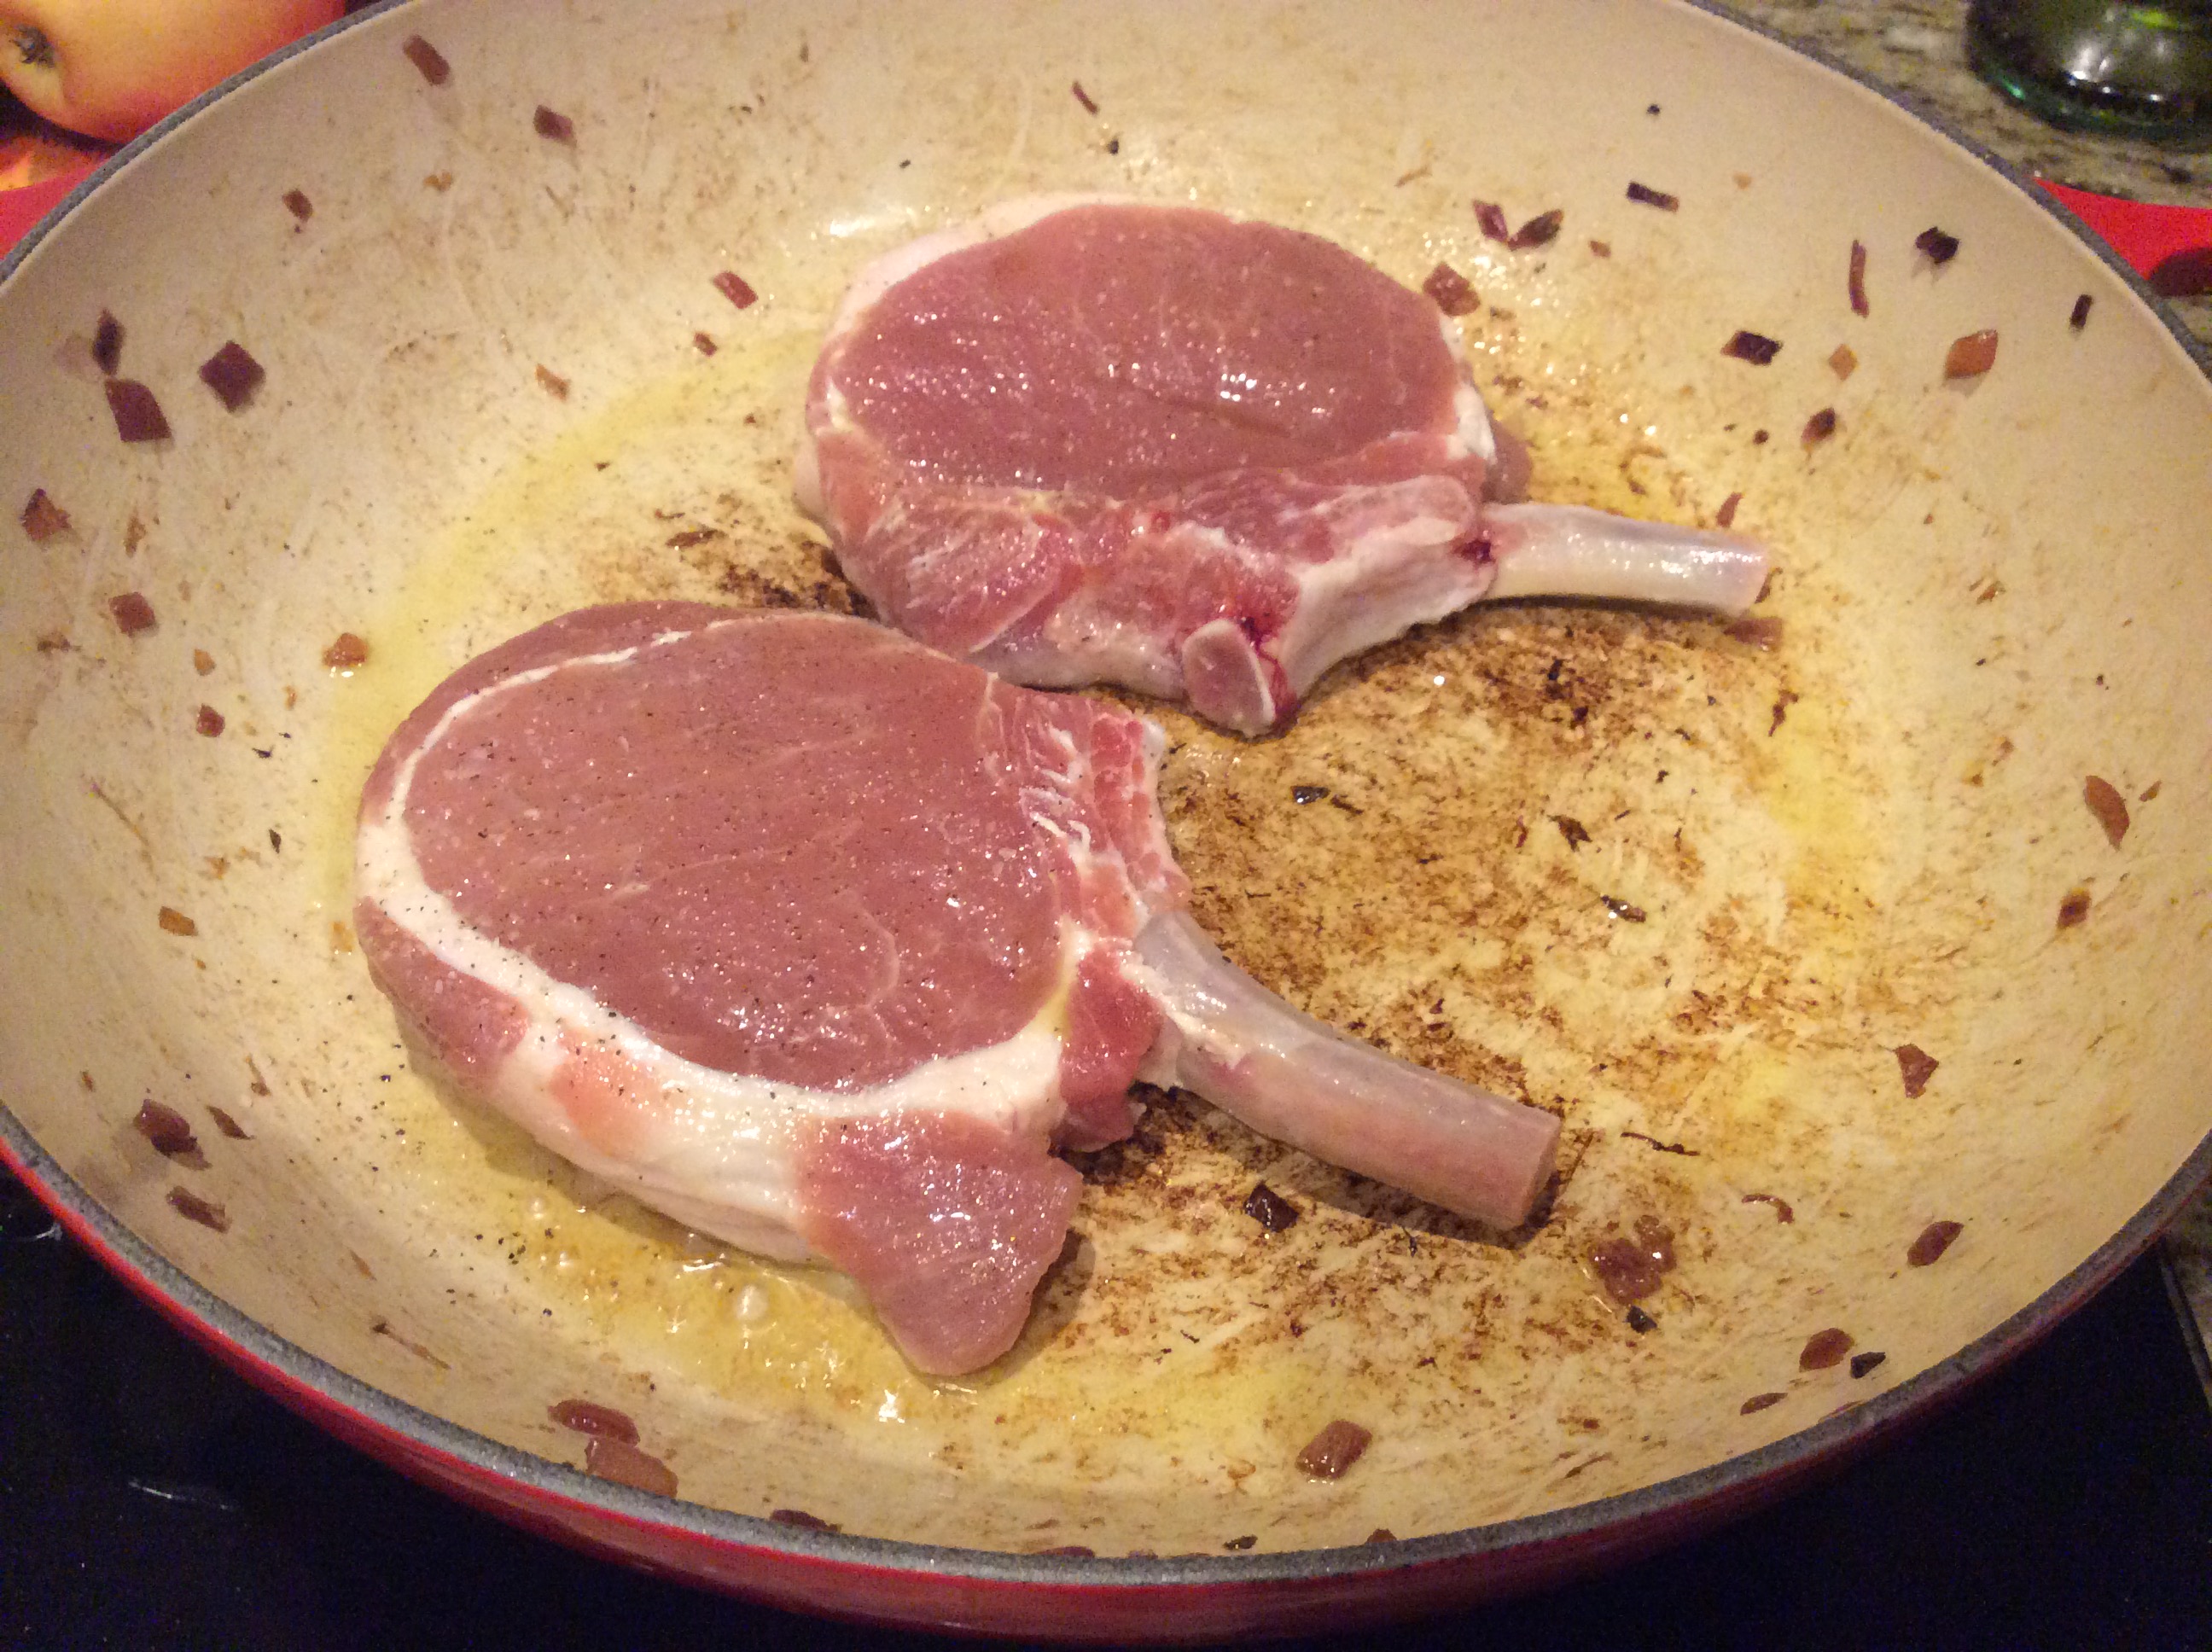
Heat the skillet over medium-high heat. Add in 1-2 Tablespoons of olive oil and place the chops into the skillet and cook, without moving them, for 6 minutes.
Chops go into the pan…remember do not move them so they will get that perfect sear!
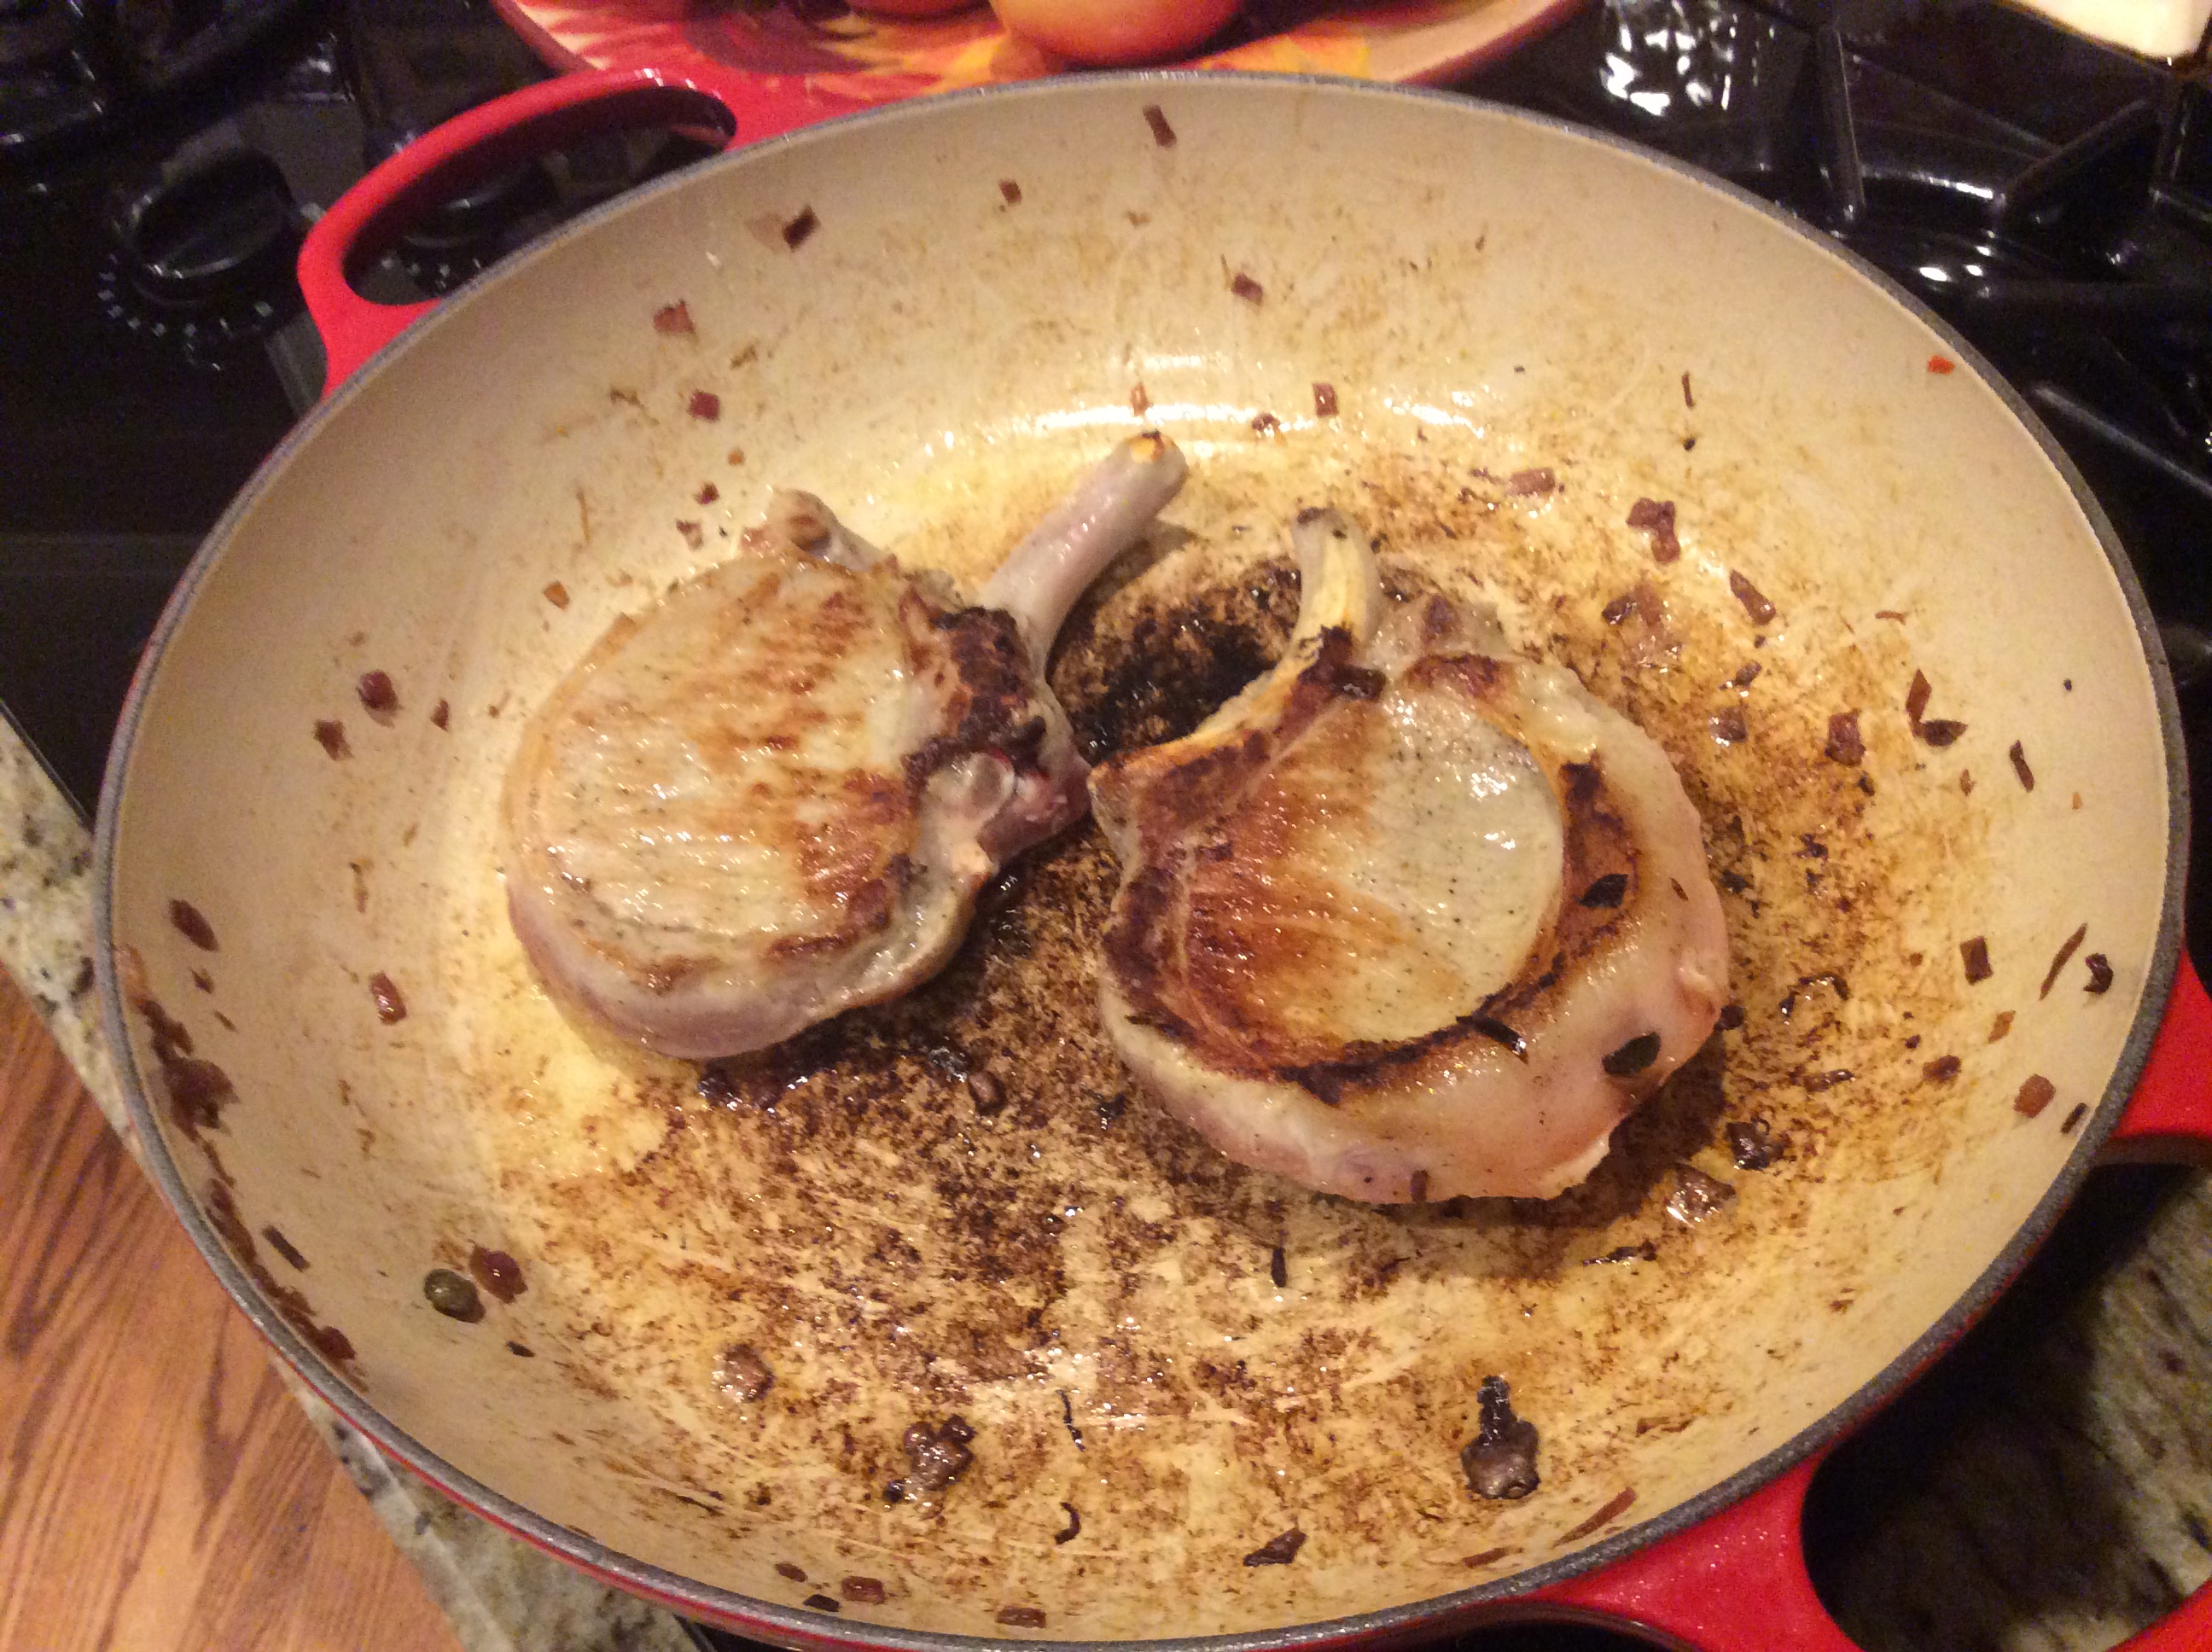
Turn the Chops over and cook for 5 minutes more or until they register 135°F on a meat thermometer.
Flip chops over and continue to cook. Note, I should have cut slits in the fat of the chop on the right so it wouldn’t have bowled up. Next time….
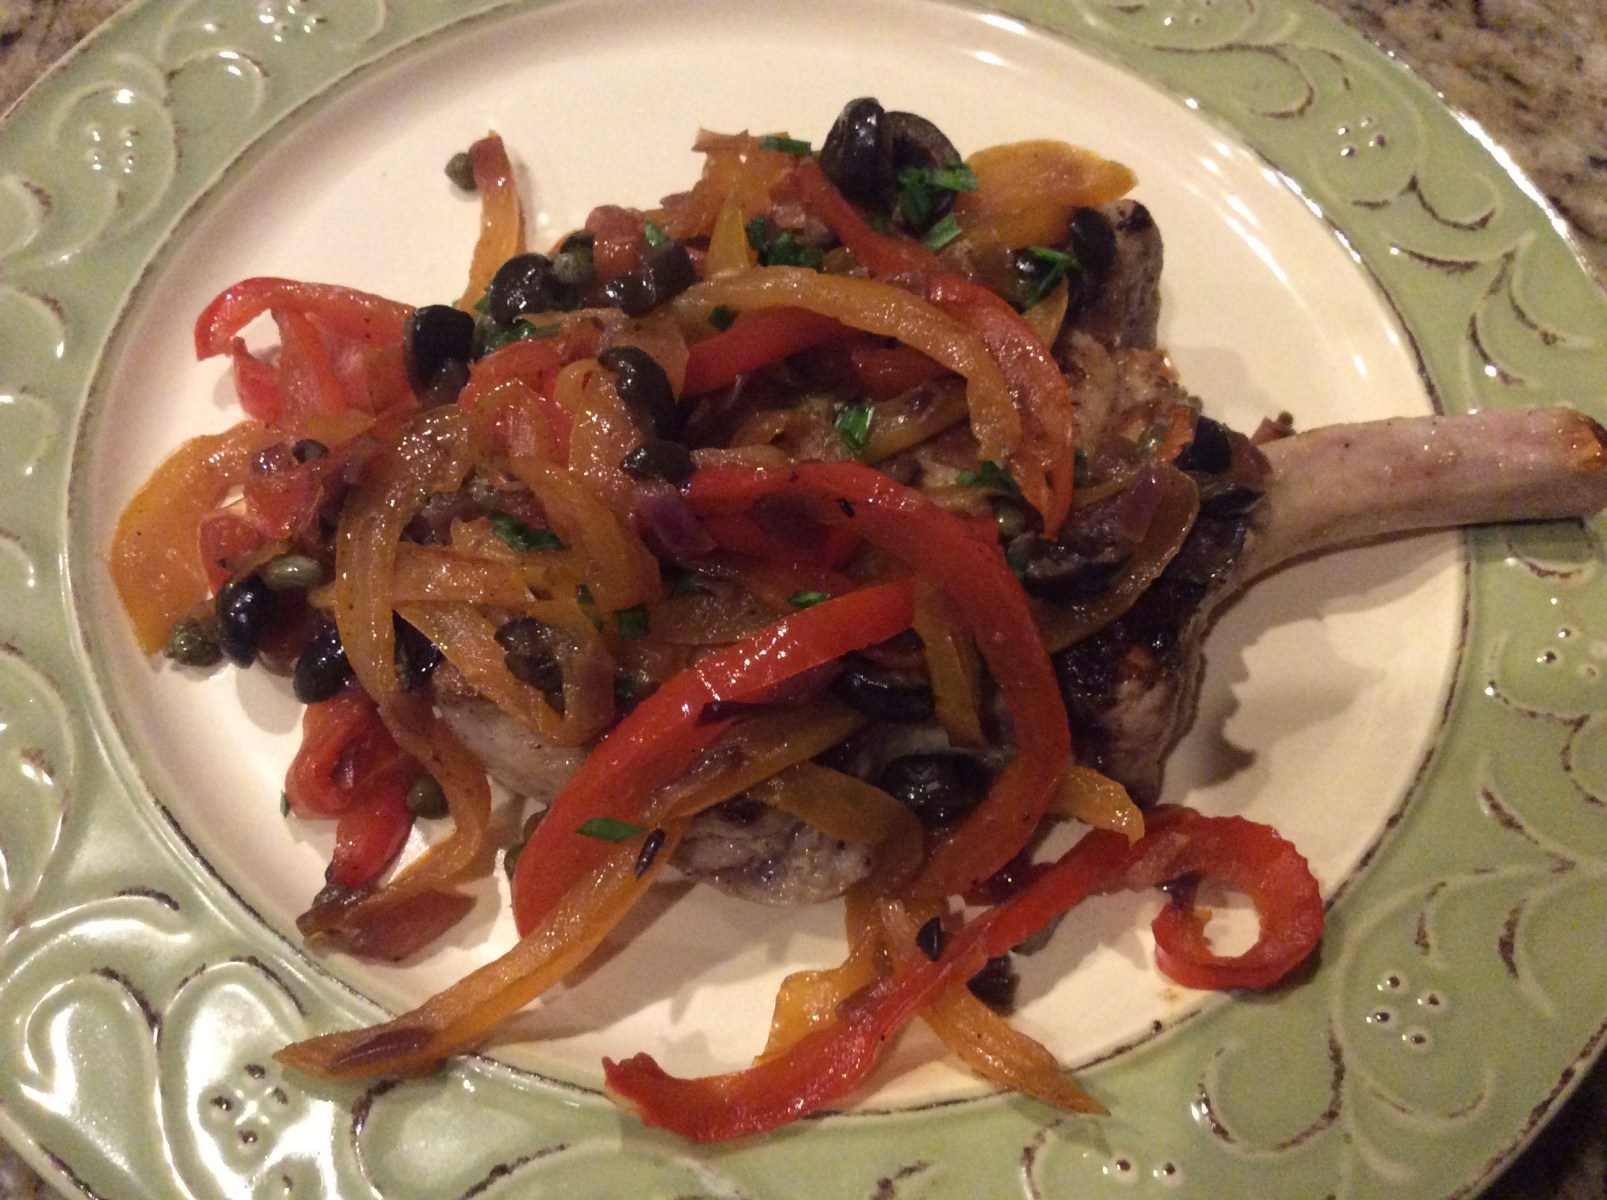
Pour the Pepper mixture into the pan and over the Chops and bring to a sizzling boil. Reduce the heat to medium-low and simmer for 10 minutes, basting and moving the Pepper mixture to warm it through. Transfer the Chops to a platter, stir the Scallions into the Pepper mixture, and spoon the Pepper mixture over the Chops.
The final product…beautiful!I served mine with roasted baby asparagus and potatoes but I think it would be even better served over a bed of mashed potatoes or polenta
Bottom Line: My chop was cooked perfectly (although a little on the salty side) and the vegetables were a wonderful compliment. Jeff preferred his chop a little more rare so if you have a strange one like I do living in your house, just remove that chop a little earlier. I will definitely make this again but I don’t think it was necessary to add the additional salt after removing the chops from the brine. Omit, that step and you have a very nice dish. Use Frenched Cut Pork Chops and you will impress anyone you serve! I am Chef Frankie and until next time…”Keep on Cooking!”
Note: If you just do a google search for the recipe, you will find several different variations including one that dredges the chops in flour. This, however, is the link to this week’s show. 🙂