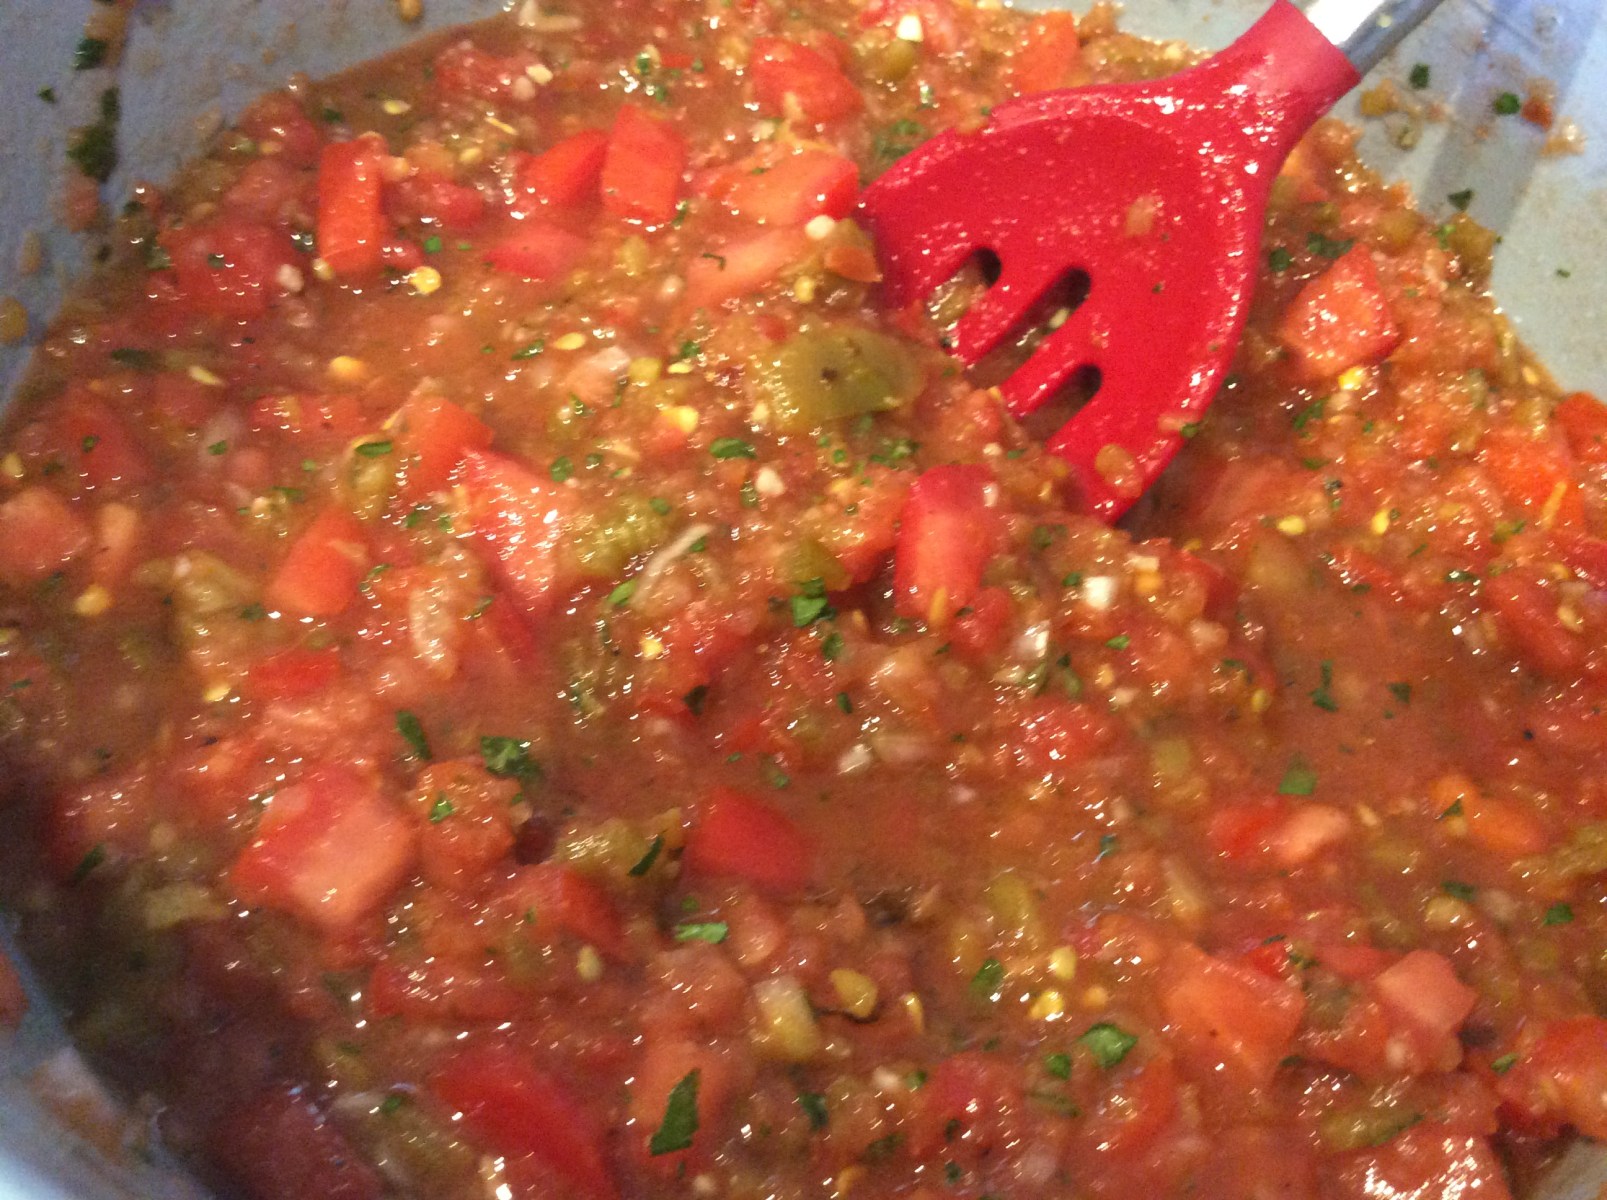
Last week, I posted my personal Tomato and Green Chili Salsa…So far, one reviewer has told me it is “Restaurant Quality”! It truly is a great recipe and one that I also like to enjoy in the winter months by canning it. However, when canning salsa rather than eating it fresh right away, there are a couple of extra steps you need to take so I wanted to share them with you today.
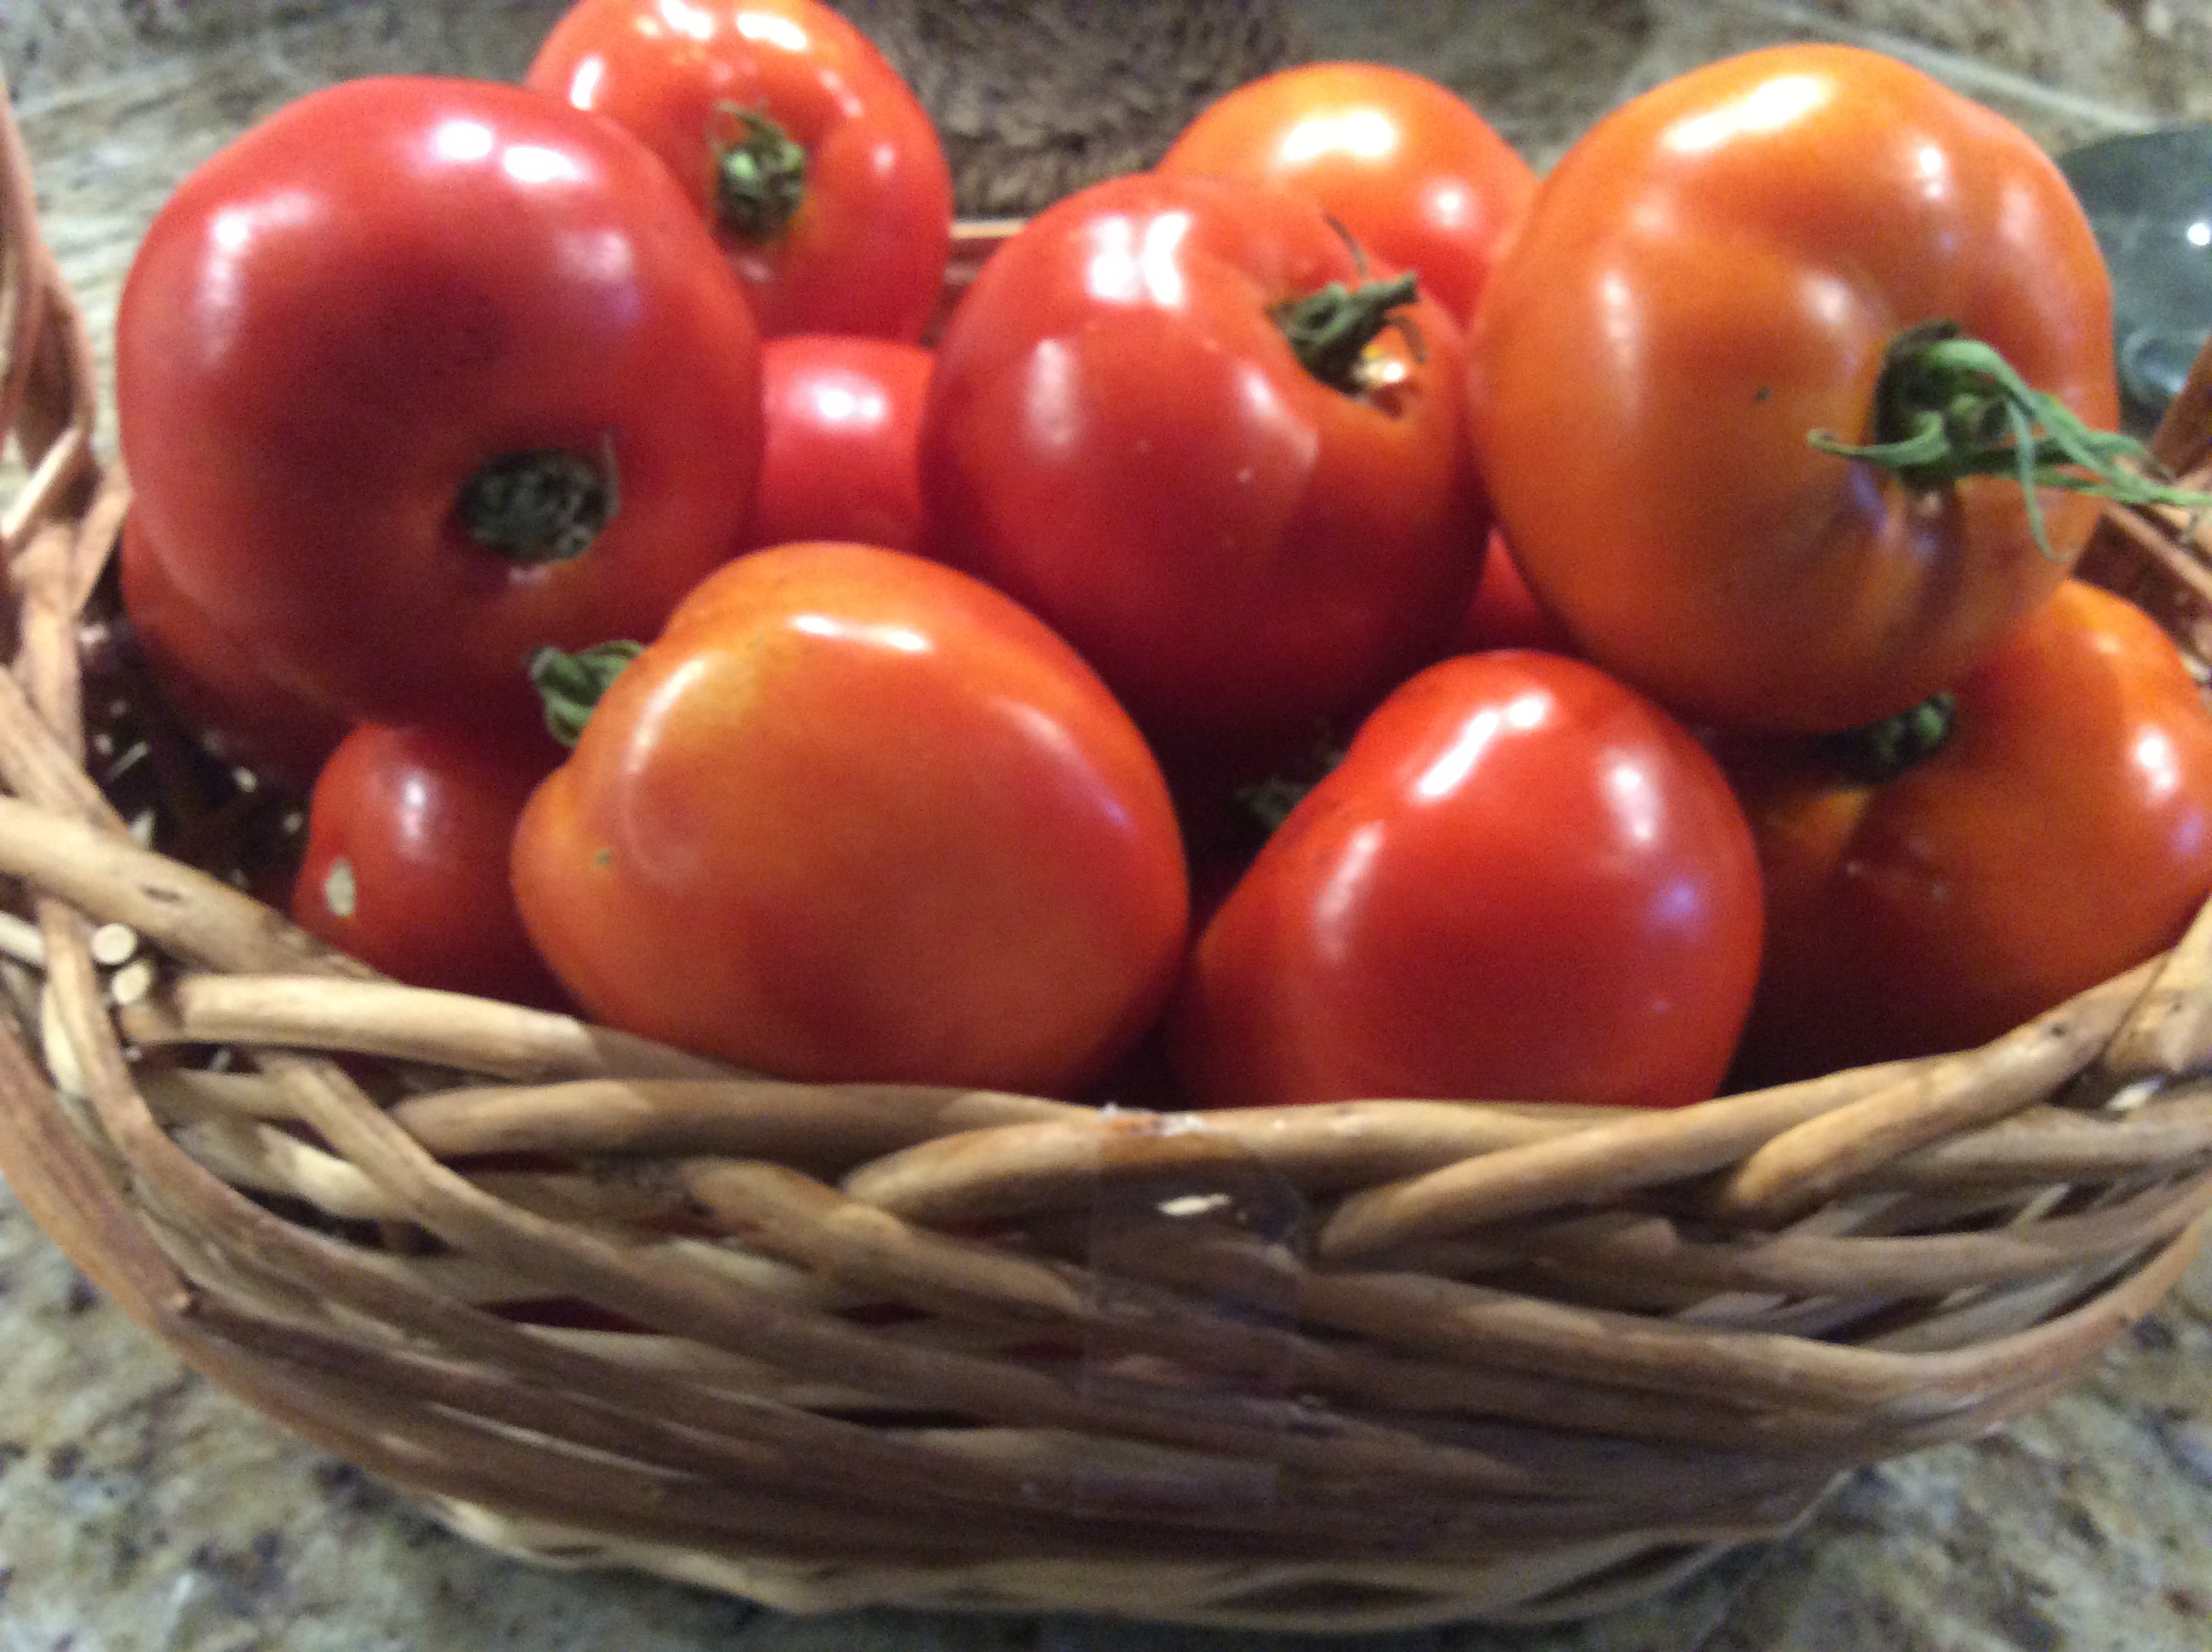
First, my original recipe calls for Roma tomatoes and that is what I generally prefer to use when canning salsa. That being said, my garden is plentiful with other types of tomatoes right now (currently Early Girls and Celebrity varieties) and these tomatoes are also delicious to use in canning. But unlike Roma tomatoes, they are far juicier and and aren’t packed with as much tomato pulp so it takes more tomatoes to get the same quantity. So for every 8-10 Roma tomatoes used in the recipe, you would need approximately 22-24 small-medium size tomatoes. Most importantly, if you aren’t using Romas, YOU MUST DRAIN THE JUICE or you will end up with a very runny salsa! (FYI: The juice is super delicious and I always keep it in the fridge to drink fresh or make into Bloody Mary’s.)
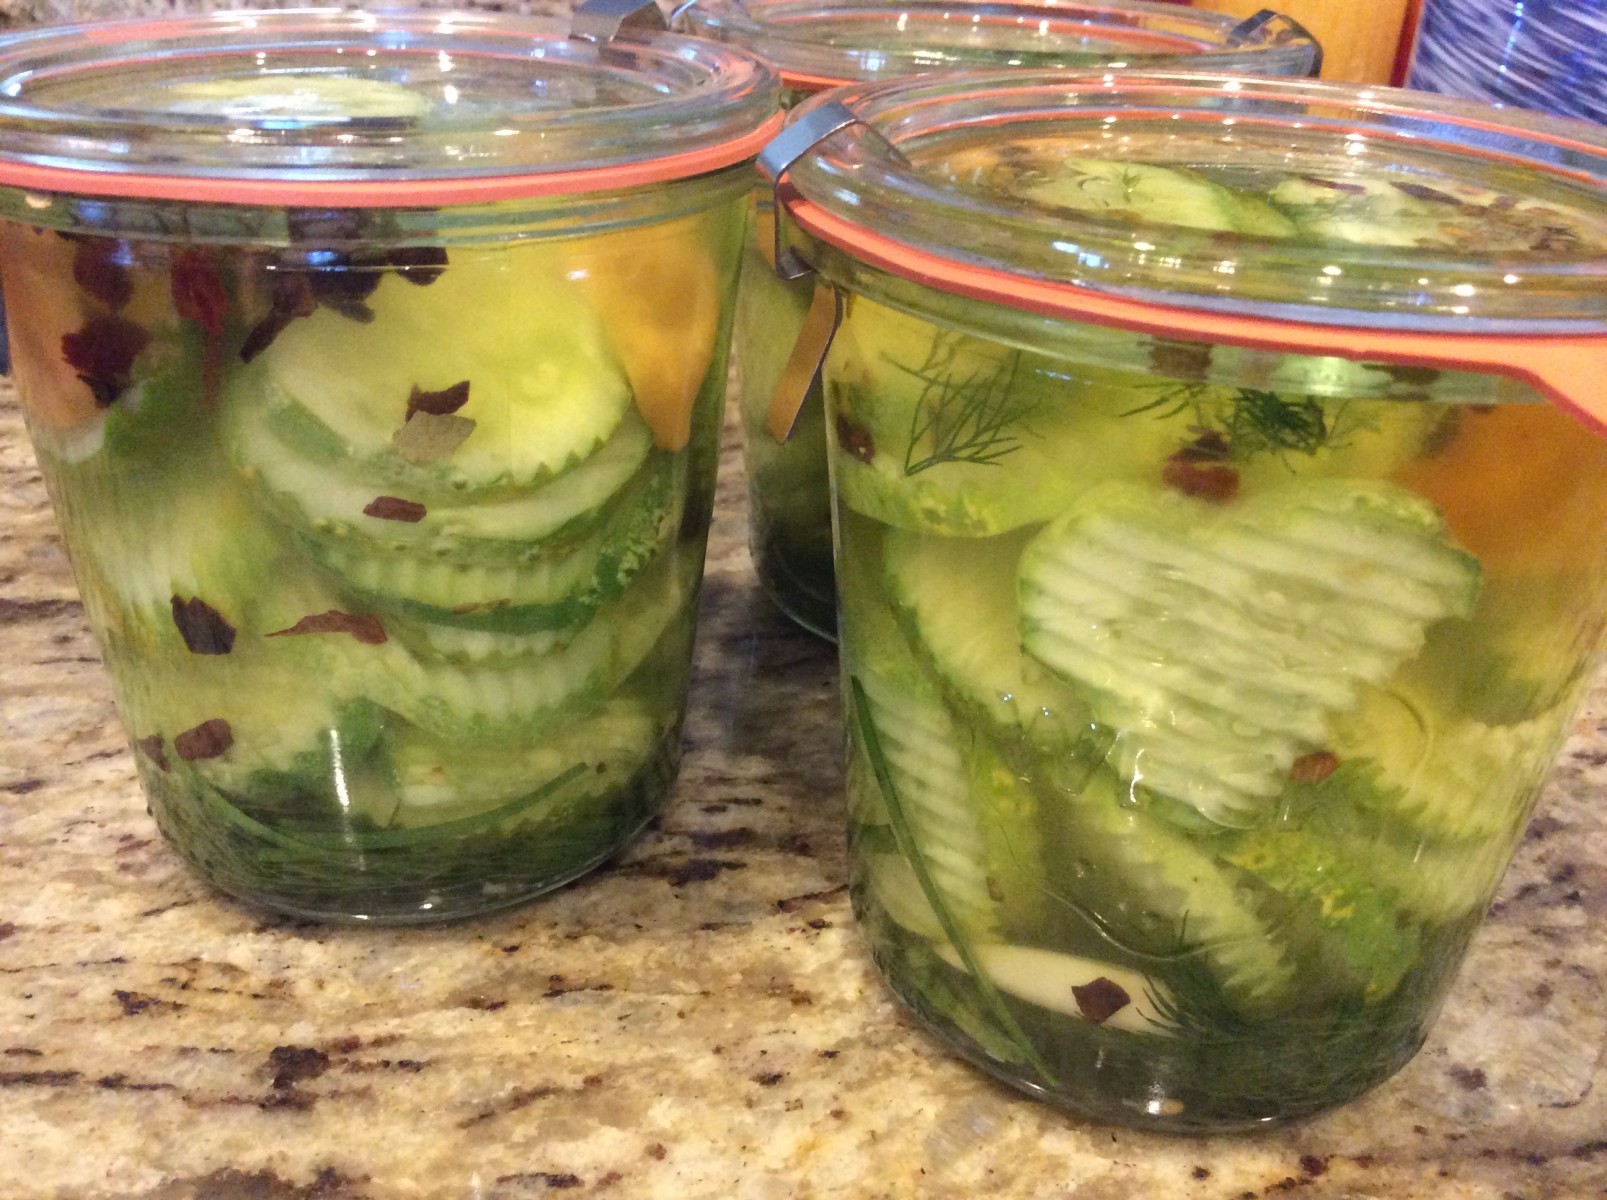
When canning any type of tomato recipe, you must remove the tomato skins because when heated from the processing step, the skins will fall off. It’s not a great textural taste to get a bite of slimy tomato skin! But removing the skins is soooo easy! First, place your tomatoes in a large pot of “gentle” boiling water. Leave them in for about a minute (or until you see the skin loosening).
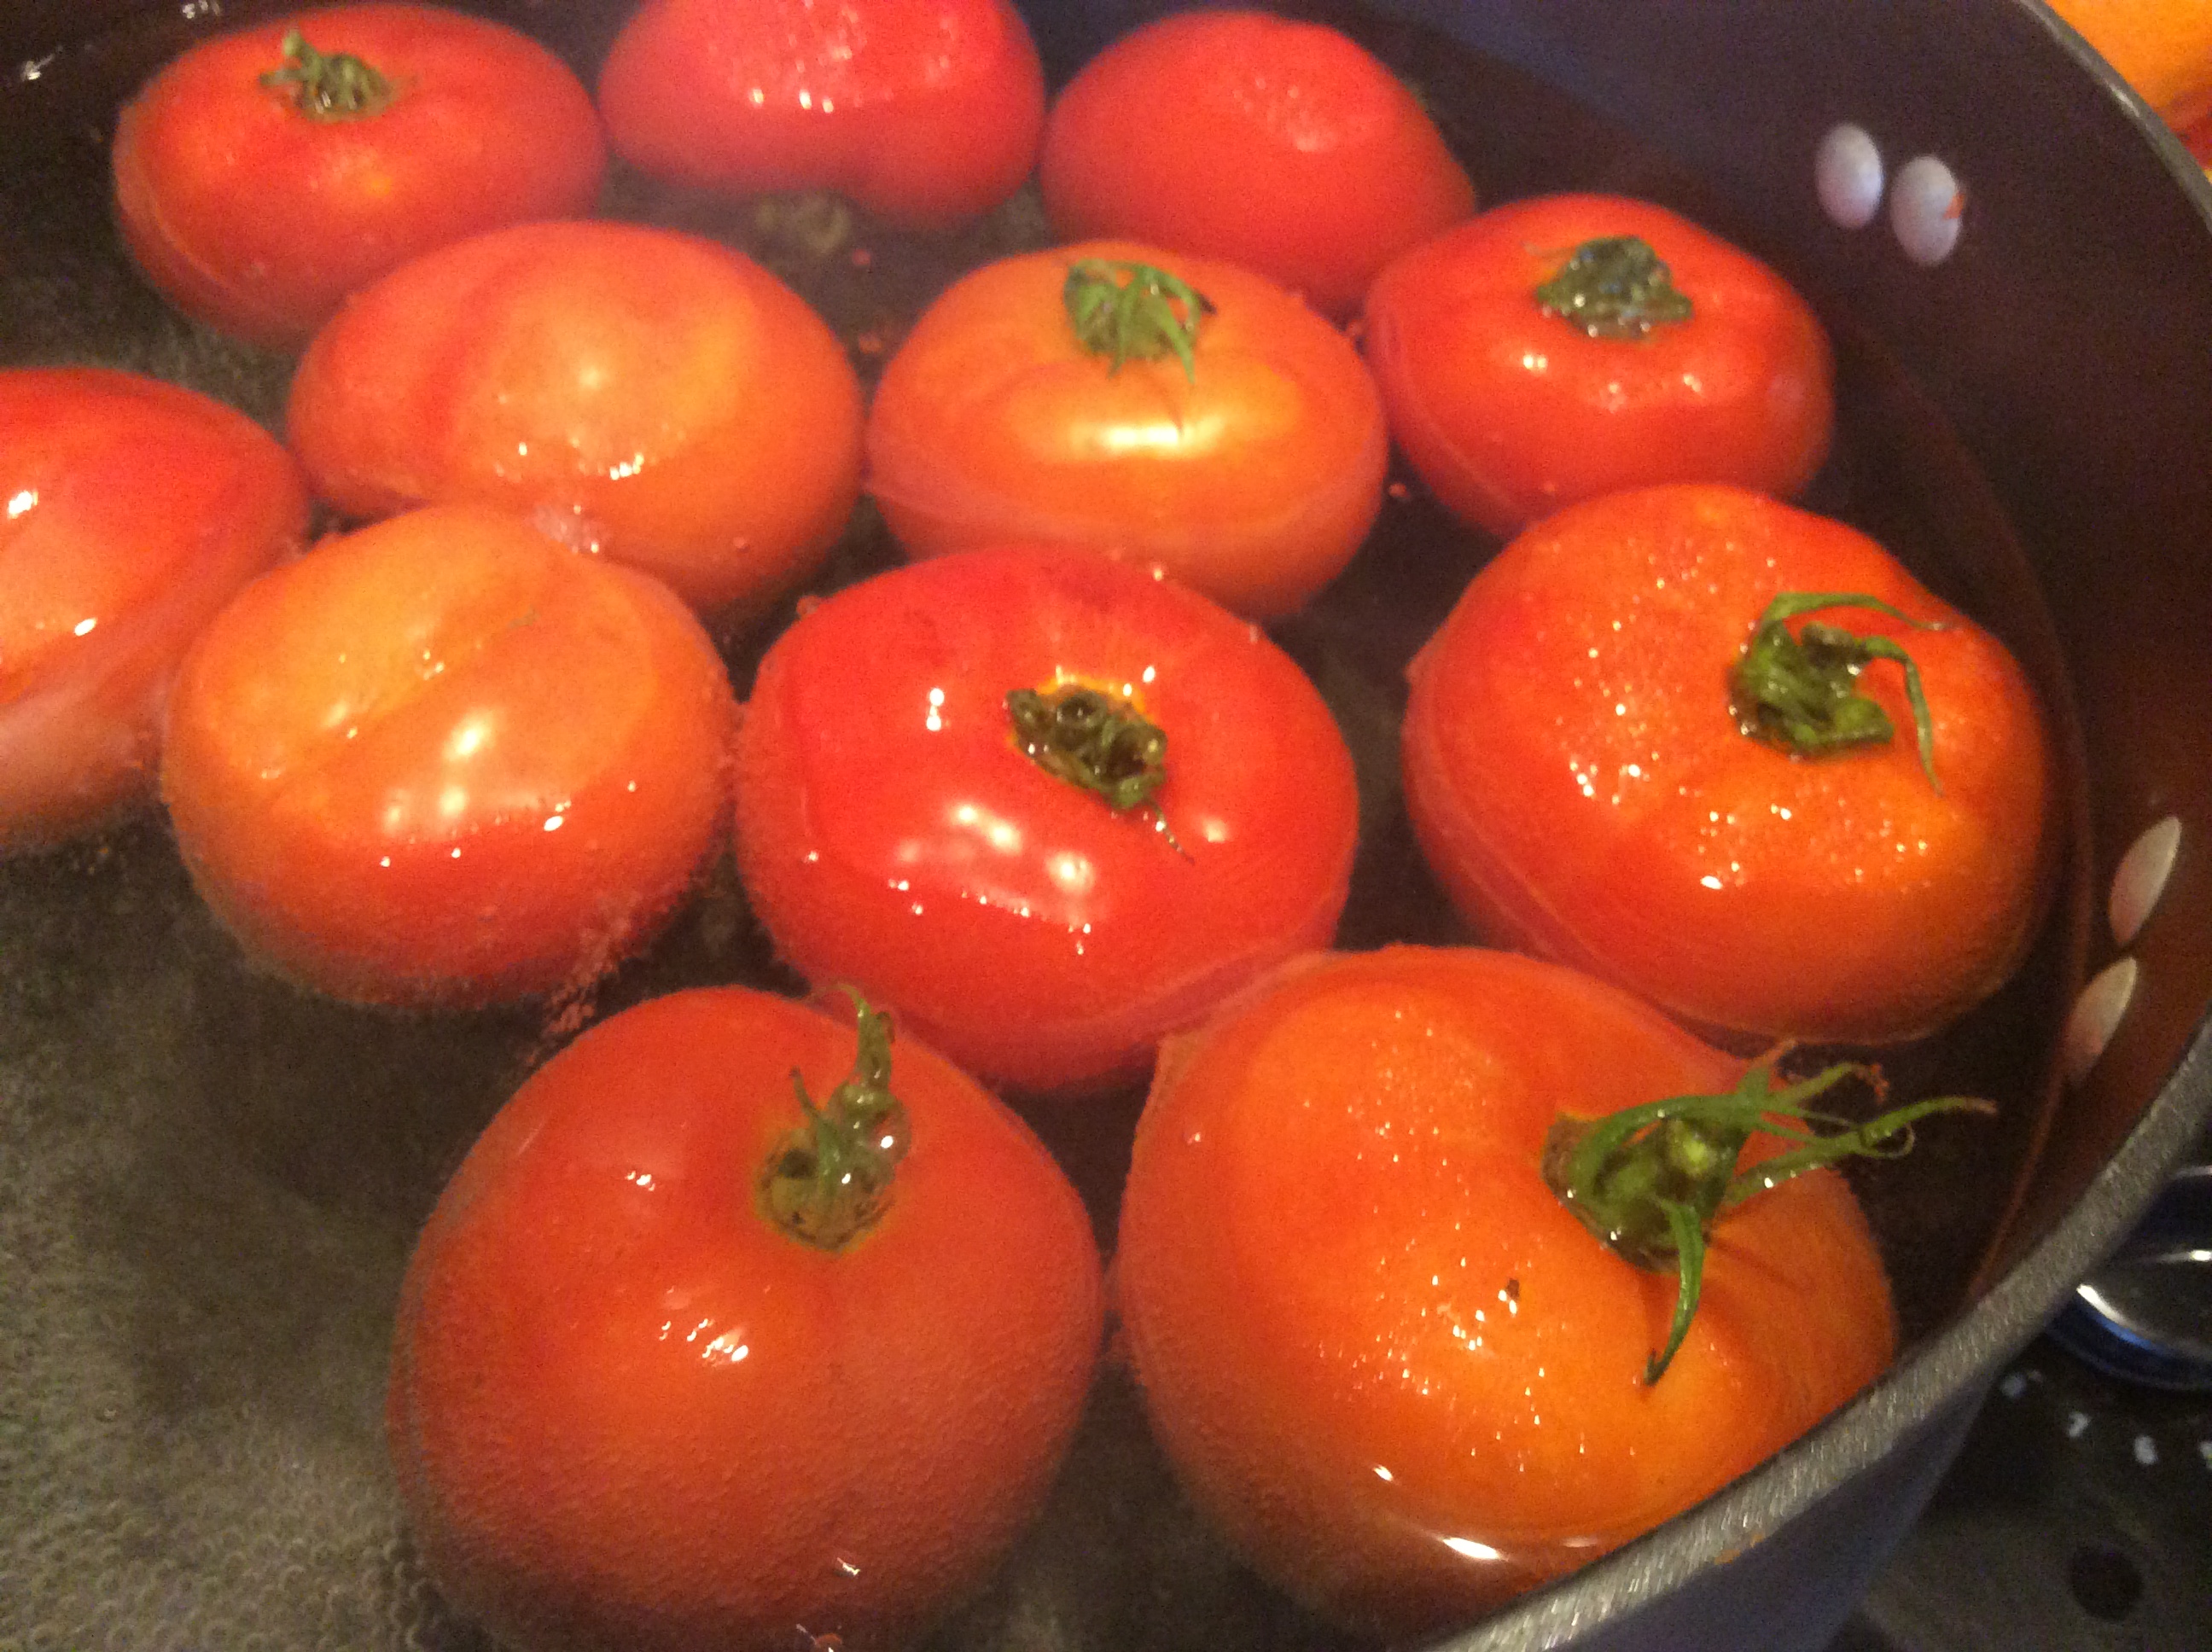
Next, take each tomato and put them in an ice-filled cold water bath for an additional minute or two.

The skins will slide right off!
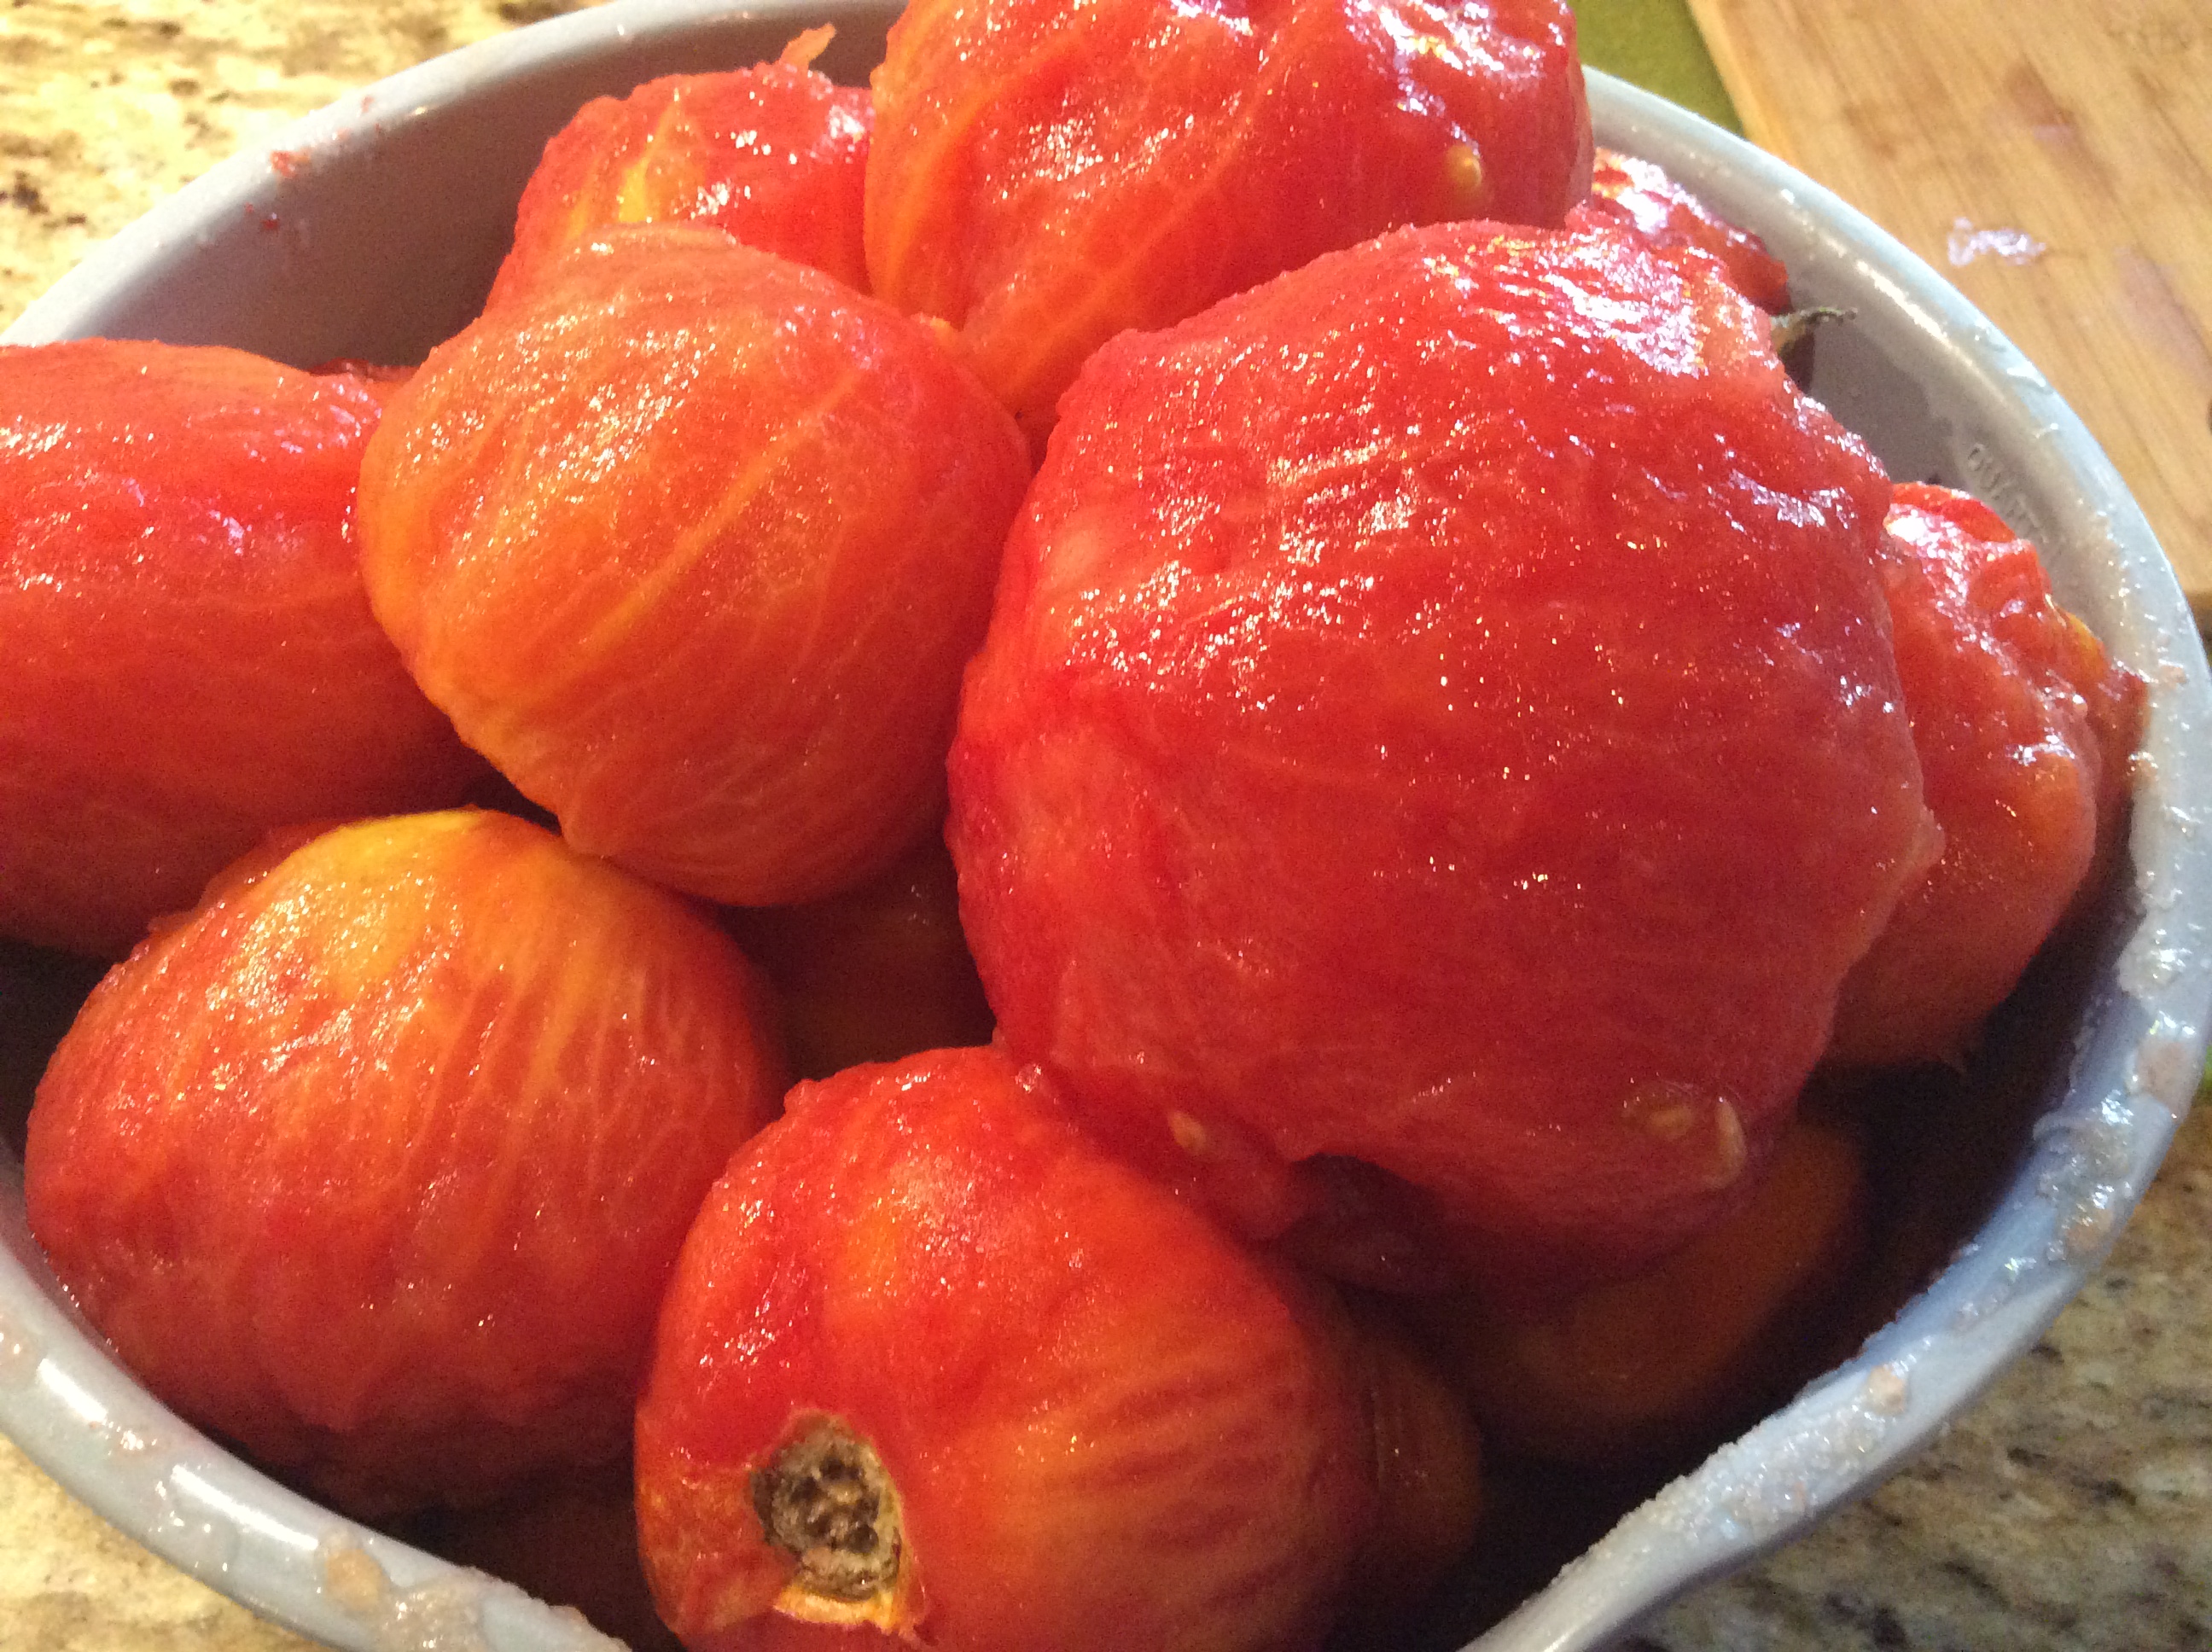
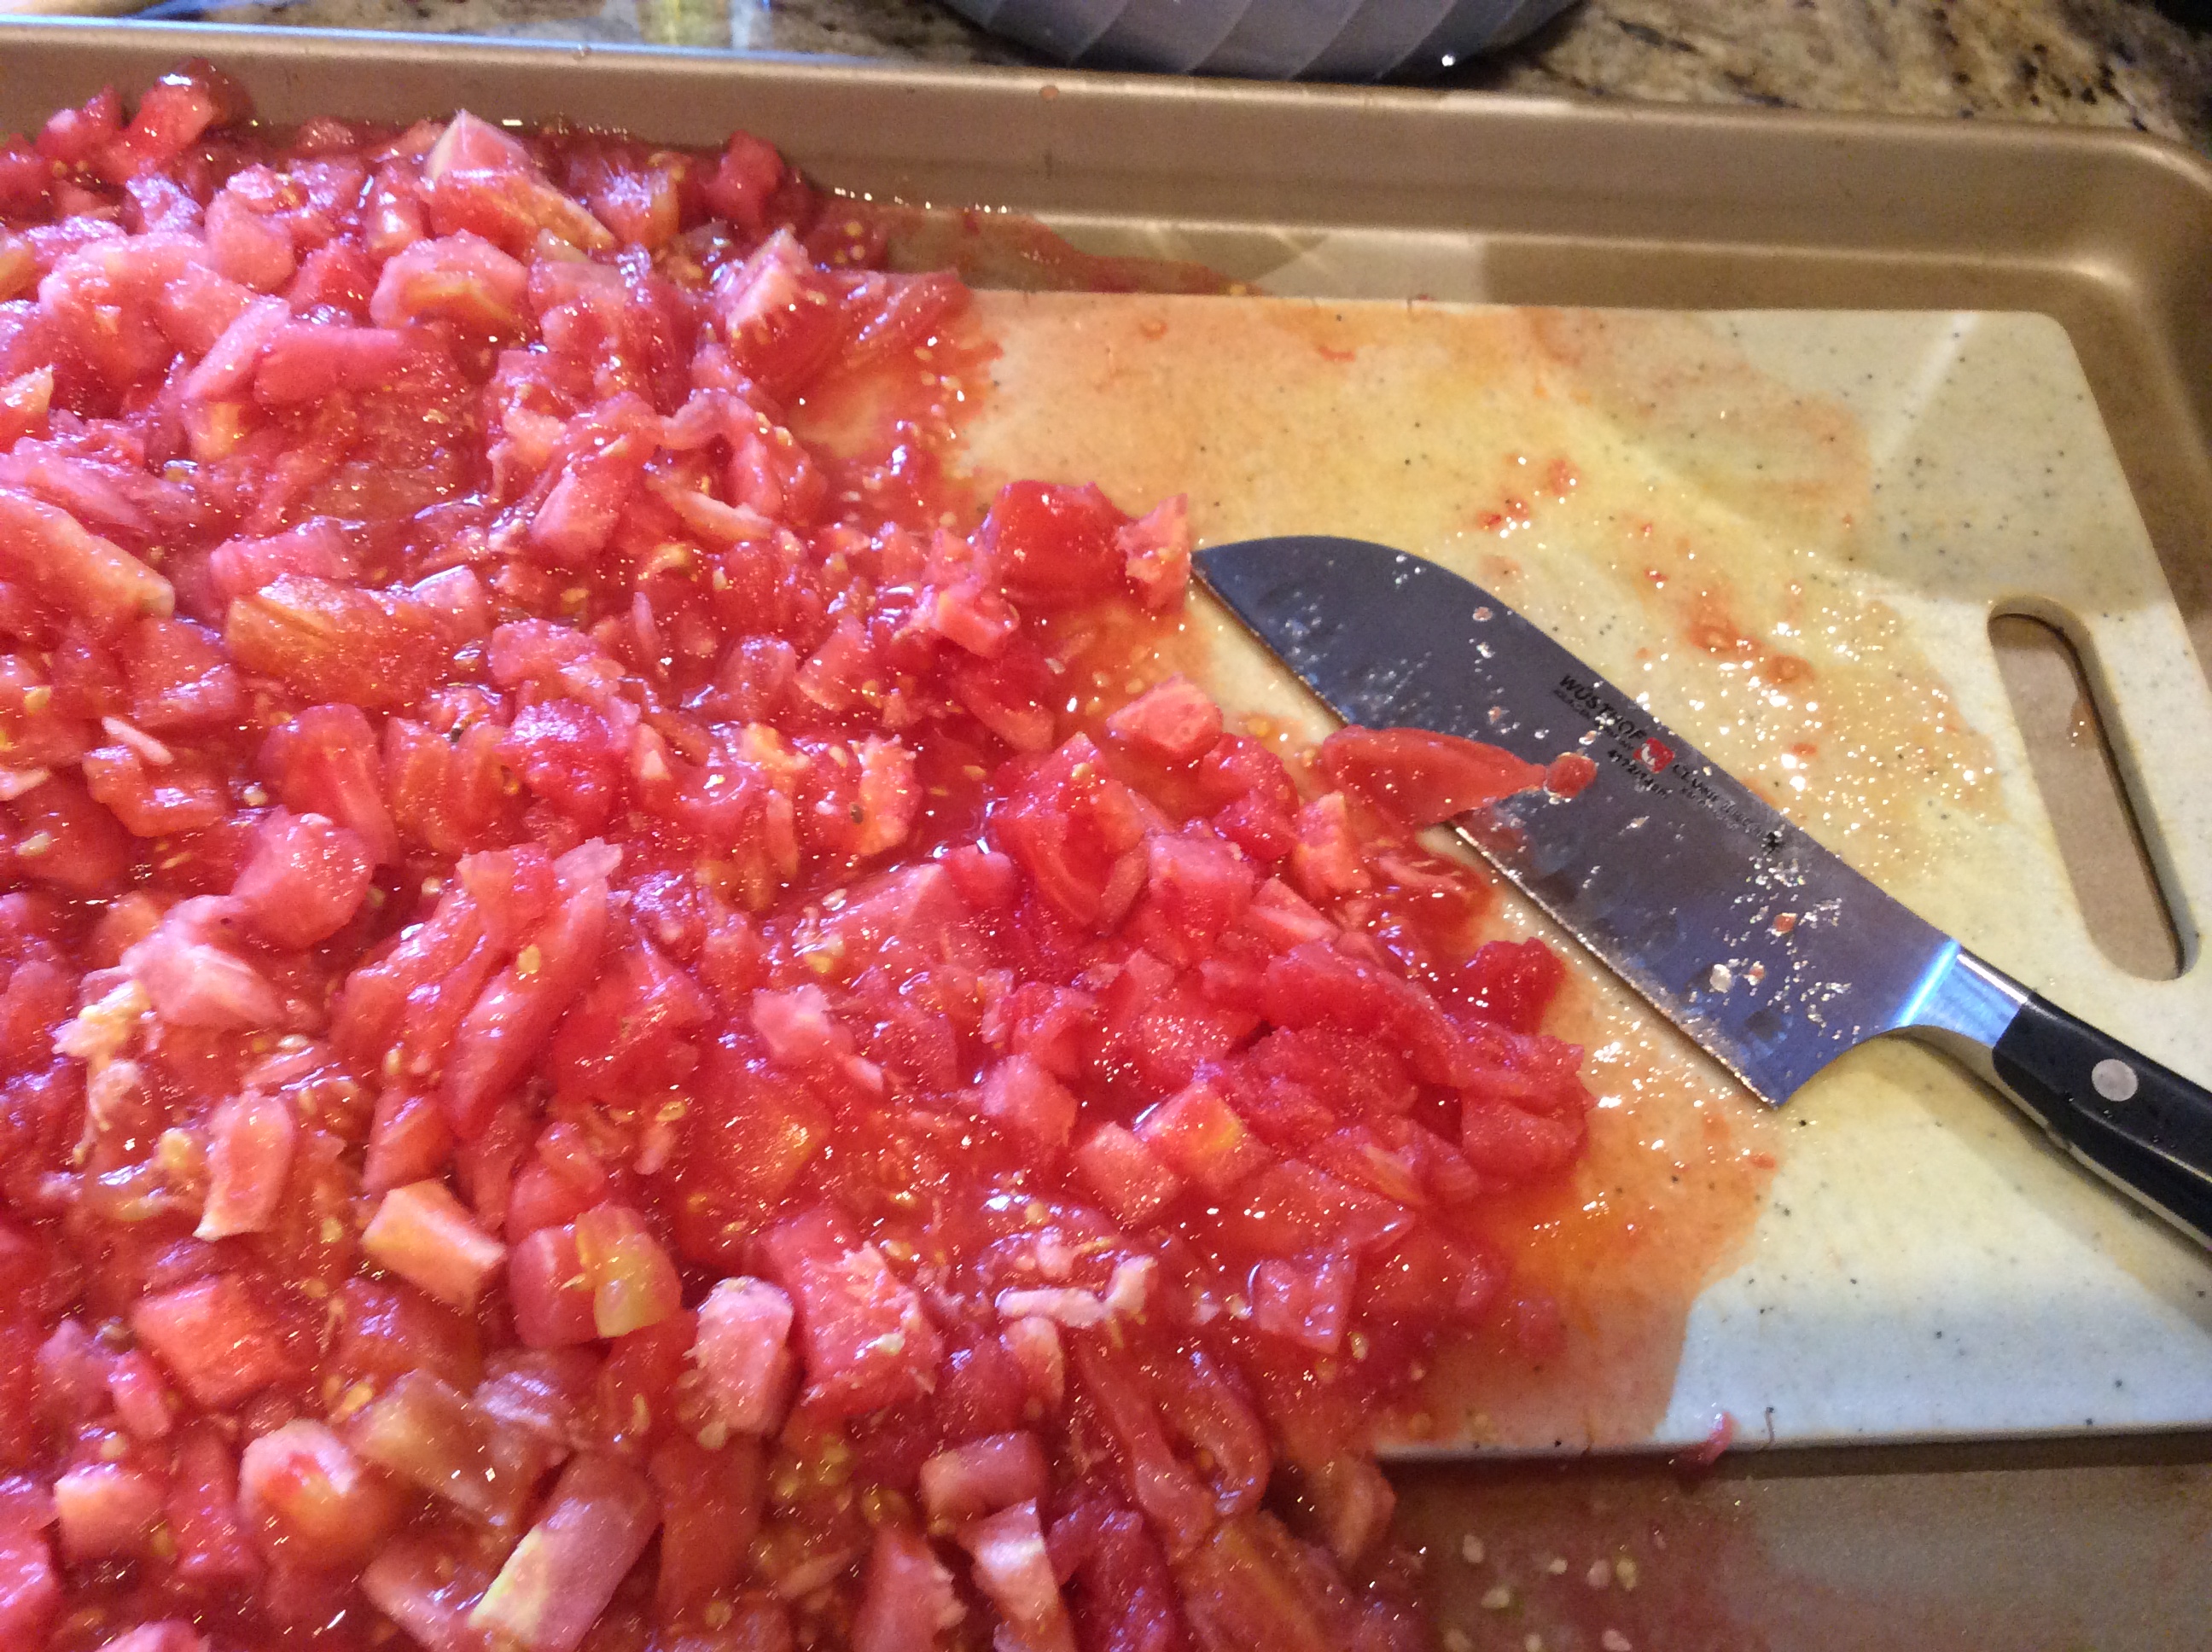
Now, all you need to do is core and chop your tomatoes, then drain in a colander reserving your juice for other uses.
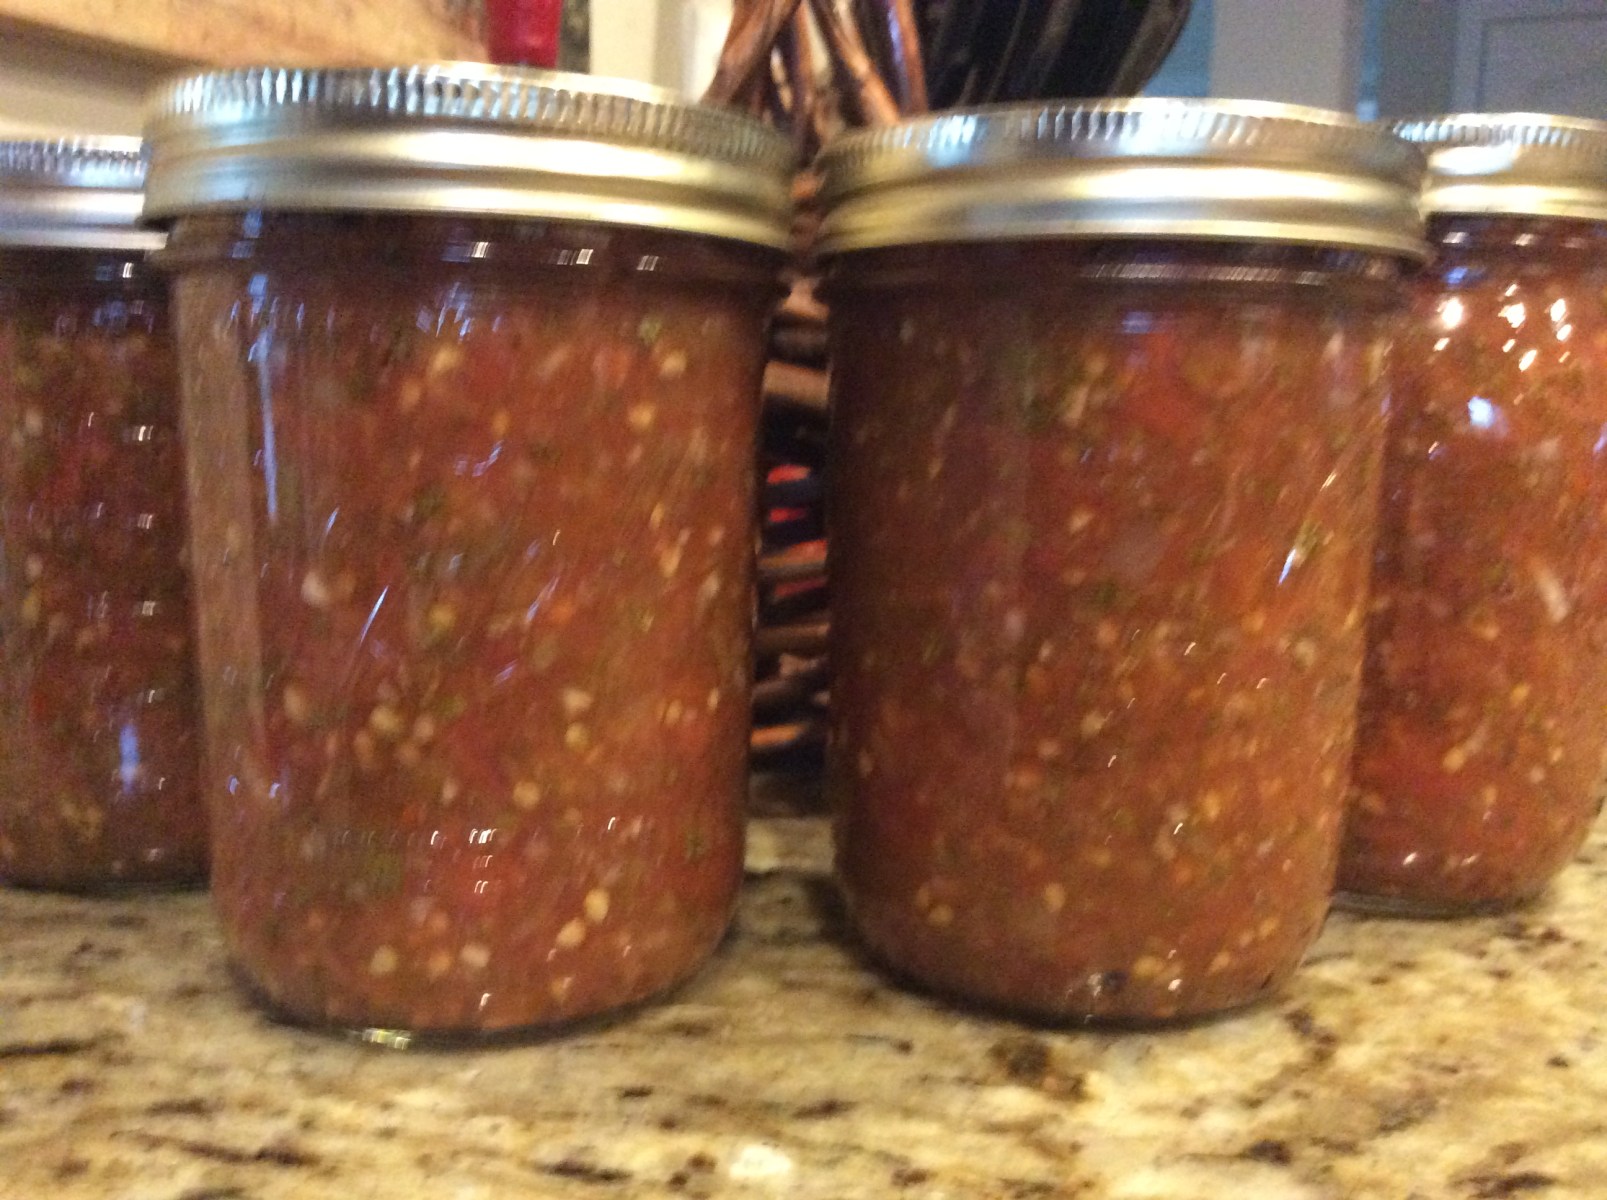
Make the salsa as directed in the recipe below. My recipe makes 4 pints so you can double, triple, whatever to make the amount you need. Heat your salsa either on the stove or microwave and then fill the jars with the heated sauce and secure with the lid. You must heat the sauce or it will take longer to process and your jars may not seal! Process in a hot water bath for 15 minutes!
Don’t be scared of using a hot water bath…It is so easy and there are some great websites out there giving you step-by-step instructions such as this one from Ball: http://www.freshpreserving.com/tools/waterbath-canning
Special Note: It is only safe to use a hot water bath for highly acidic foods/sauces/salsa. Adding vegetables like onions and peppers bring down the acidity level but my salsa recipe takes it back up with the addition of the lime juice so DON’T leave that out. When I can my own Italian Sauce, I use a pressure cooker because I don’t have that extra acidity added. I also use the pressure cooker for other vegetables like green beans.

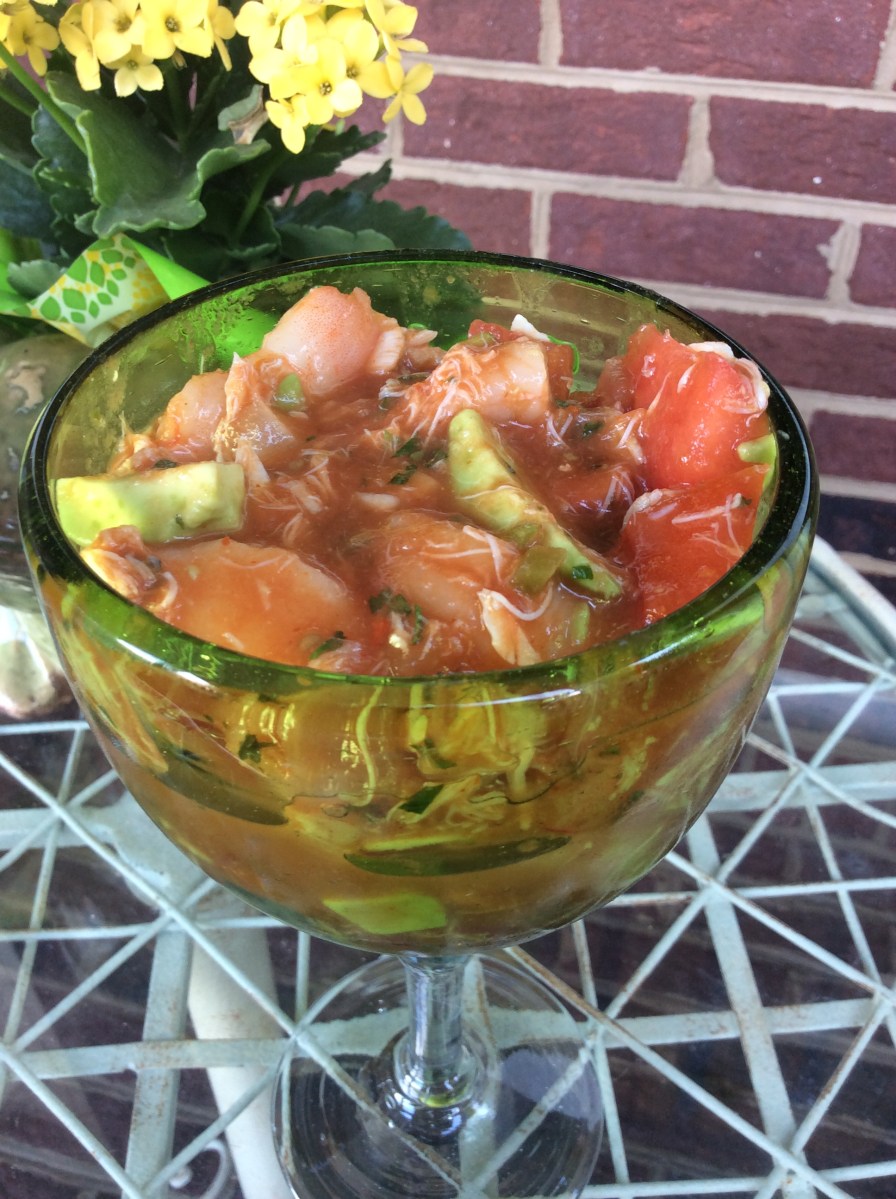
Every summer for years, I canned my own salsa recipe. It was amazing to open up a jar and serve it at a Fall tailgate along with my Mexican Pinwheels. (If you have been to a Pitt Tailgate Party, you know about those!) The main reason I canned my own recipe is that back then the versions you found in the store weren’t…well…FRESH! Also, they all contained tomato sauce which I don’t really care for in my salsa. I like my salsa to taste like the seasonal vegetables in it rather than taking on the flavor of the tomato sauce, so I created my own recipe and preserved it every year. It is somewhat of a legend in our household!

However, in recent years, more and more grocery stores carry fresh salsa in the refrigerated or produce section and they don’t even have that dreaded tomato sauce. So, I gradually stopped canning my recipe and would just “freshen up” the grocery store version up a bit by adding in some fresh spices.
Then, came the REQUEST! My son, Jarrod, loves salsa. I can’t even begin to tell you how much he eats in just a week! I never really thought he missed my version until he came to me last week and asked me to can some for him. He said that mine was the best he has ever tasted and that he really missed it!
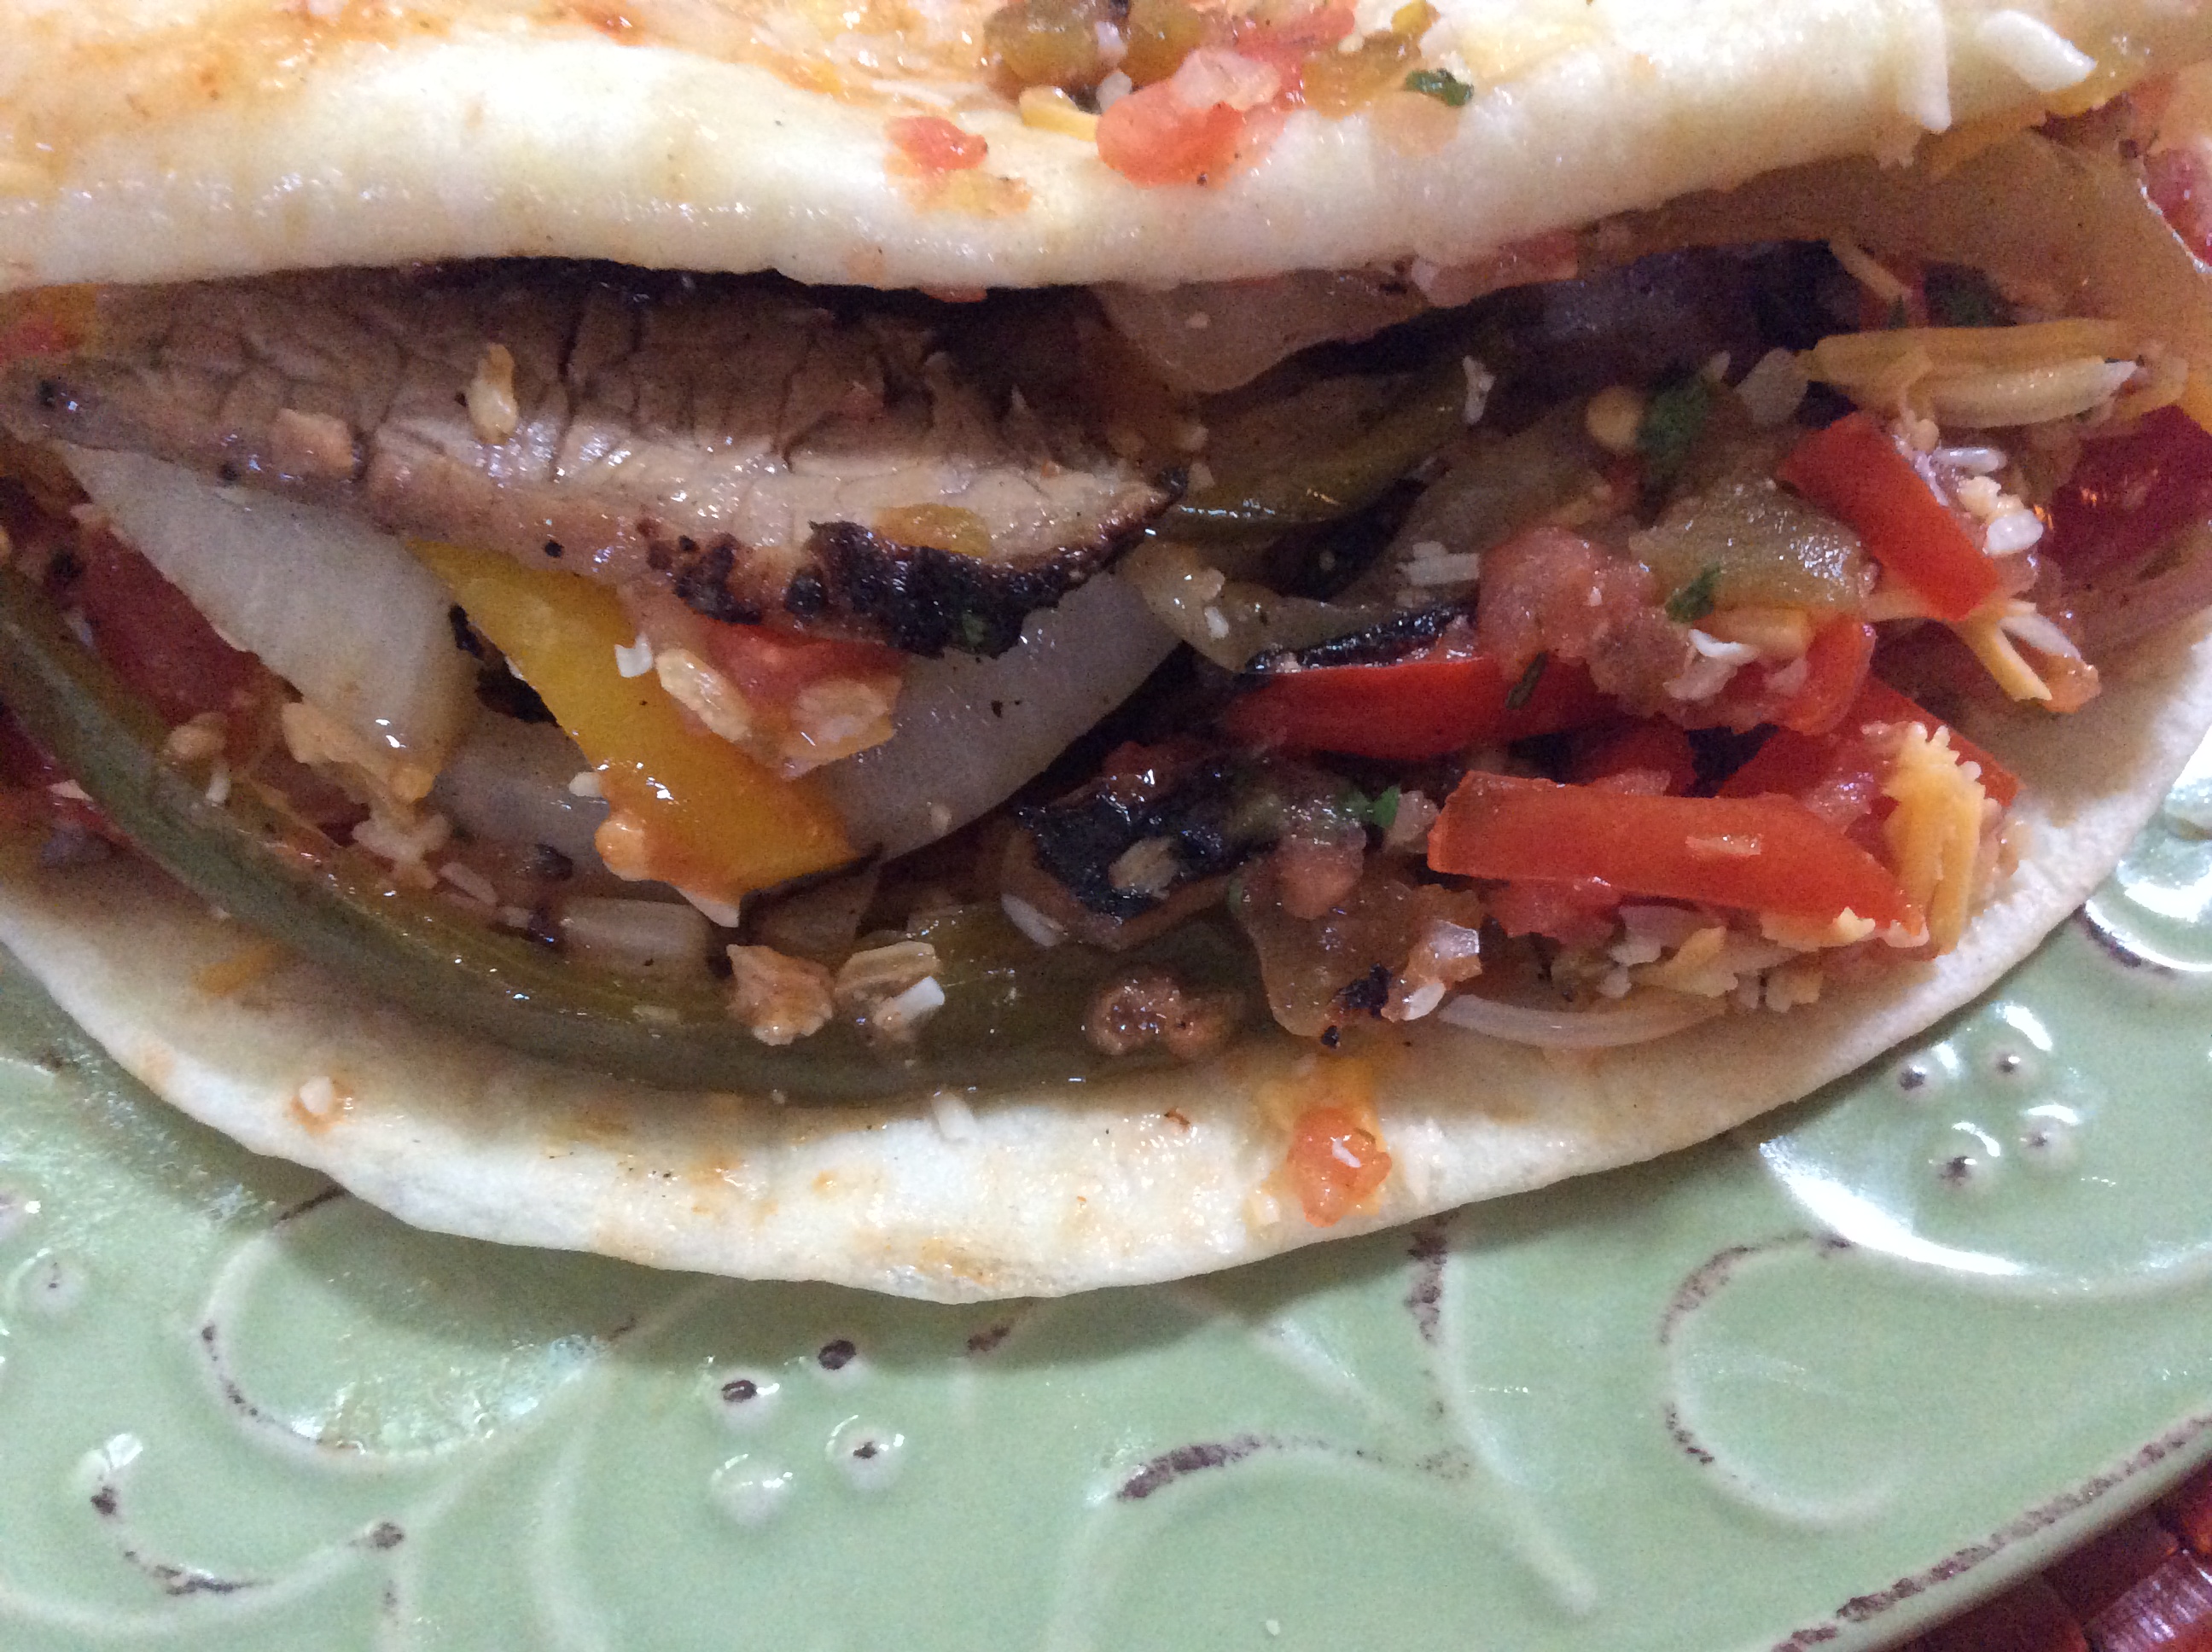
Before I made a huge batch, I wanted to test my recipe again to see if I needed to make any changes. We were planning on having steak fajitas that night so I thought this was the perfect time. I even made a little change that may be permanent! My normal recipe included a large can of chopped green chilis but when I was shopping in the international section, I found this beauty….Fire Roasted Green Chilis…YUM! It was a must try in my already amazing salsa!

The recipe below is for 4 pints which was enough for us to have for dinner and have some for Jarrod to taste-test while still leaving us some to snack on. (FYI…I gave it to Ashleigh to give to him and it was gone within 10 minutes!) I even got a text saying how much he enjoyed it. (I love cooking for my children!)
I will be canning this in quarts and pints within the next week so I will post the modifications for that large of a batch just in case you want to preserve some for your family. I know you are going to love it!
Chef Frankie’s Tomato & Green Chili Salsa
(Using Roma Tomatoes)
Ingredients

- 8 – 10 Roma tomatoes, chopped (or 22-24 small tomatoes, DRAINED!)
- 1/2 cup shallots, finely chopped
- 1/2 cup fire-roasted green chilis, chopped
- 1 clove garlic, minced
- 2 Tablespoons hot sauce (more or less depending on how spicy you like it)
- 1 Tablespoon of Sirracha (optional but again more or less depending on your spice tolerancy)
- Juice of 1 lime
- 1 tablespoon of Red Pepper Flakes
- 1 teaspoon each of Onion Powder and Garlic Powder
- Salt and Pepper to taste
- 1/2 cup cilantro, chopped
IMPORTANT: If you plan on canning your salsa, you must remove the skins! That isn’t necessary if you are eating it right away. 🙂
Directions
First, I salt my tomatoes with Kosher Salt while I chop the rest of the ingredients. I think this brings out their flavor a little more.

Next, I add the remaining ingredients EXCEPT for the Cilantro. Mix well.

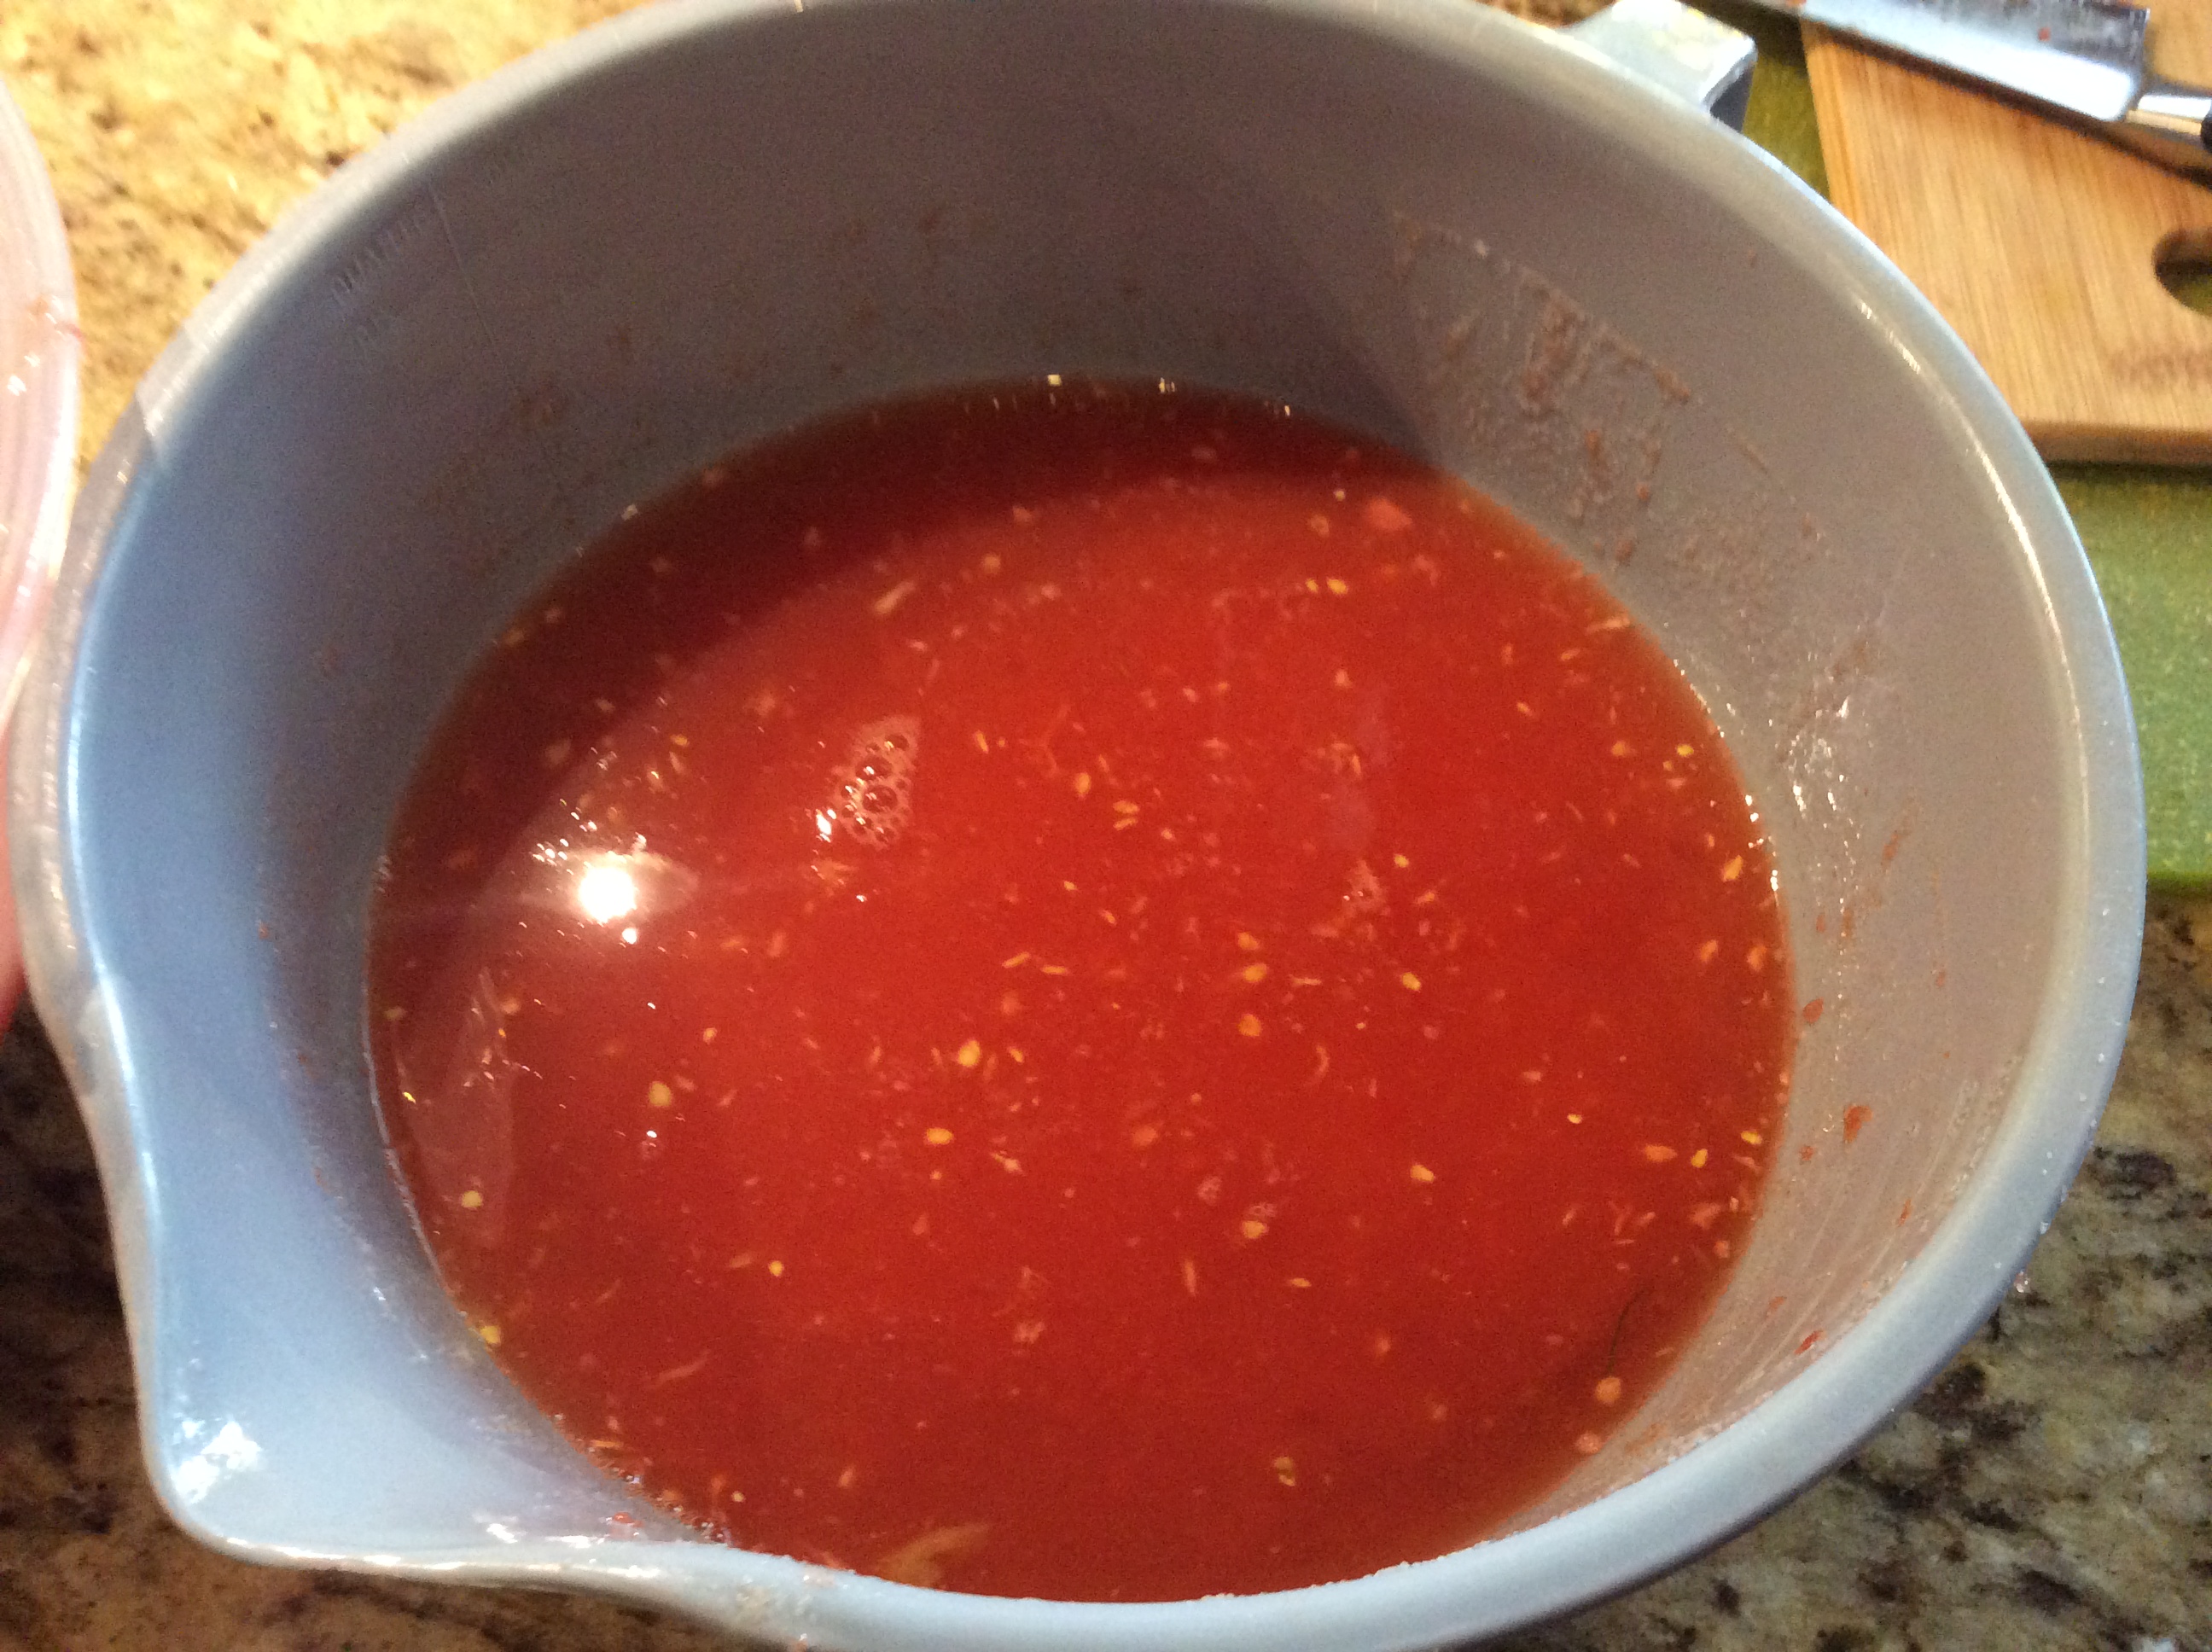
Take half of your mixture and pour into a blender. Add the Cilantro. The reason I only do half is so I still get veggie chunks while the puree keeps it from being runny. Adding the Cilantro at the blender stage and pureeing it with the mixture keeps it finely chopped and avoids someone who doesn’t care for Cilantro from getting a bigger piece.


Taste test it for salt and pepper needs knowing that the ingredients do need time to “cook” in the fridge before truly getting all the flavors melded together. Put in the fridge for at least 4-6 hours and get ready to enjoy!

Bottom Line:
I am so glad my son requested this because I had truly forgotten how good this recipe was and so different from most that you see in the store. I hope you will try this in your kitchen and let me know how it works! Until then, I am Chef Frankie Pitt, your personal recipe tester, and I hope you “Keep on Cookin”!