Living in Knoxville, Tennessee in the heart of Big Orange Country, Tailgating is a way of life! In fact, one of my first cookbooks (coming soon) will be some of my favorite tailgate treats! This past weekend the Tennessee Volunteers Football Team played (and lost) to one of our biggest nemesis..the Florida Gators. It was a beautiful, crisp fall morning and the stadium was stunning as the fans painted a checkerboard of Orange and White!
The Big Orange running through the “T” in an orange and white checkered Neyland Stadium!
While it was an absolutely spirited and gorgeous day, even with the eventual outcome, the kick-off time at noon was not ideal for having to create one of the biggest tailgates of the season since we had to leave by 8:00 am to get the best spot for our feast! So, considering we were having overnight guests as well, my portion of the menu needed to be made ahead as much as possible with little heating required. Since it was such a large tailgate and everyone was bringing various treats, I decided on a Breakfast Queso with Tortilla Chips that I could heat in the Crock Pot, Fried Gator that my hubby put in the deep fryer just before leaving, and BLT Roll-ups, which can be easily made the day before!
I have had many requests for the recipes for the Queso and Roll-ups and even planned to share BOTH with you on today’s blog. However, the Queso met its demise on the way to the game in Larry Schumacher’s truck so I have no pictures of my finished product! That means since we smelled it and didn’t get to eat it, I will be making it again very soon so stay tuned!
My BLT Roll-ups are the easiest thing in the world to make especially if you like BACON!…This recipe has a lot of it! It is the perfect snack for tailgates, brunch, or even in your child’s lunchbox. But, what I like most about it is that it can be made ahead which was exactly what I needed for this particular game. Here is how you do it…..
Mini BLT Roll-Ups
Ingredients
8 oz. cream cheese (I prefer onion and chive flavored)
1/2 cup of Mayonnaise
6 roma tomatoes, seeded and chopped
2 lbs. bacon, cooked and crumbled
2 cups of shredded Mexican cheese
1 pckg. shredded romaine lettuce
1 large package of Jumbo Flour Tortillas
Directions
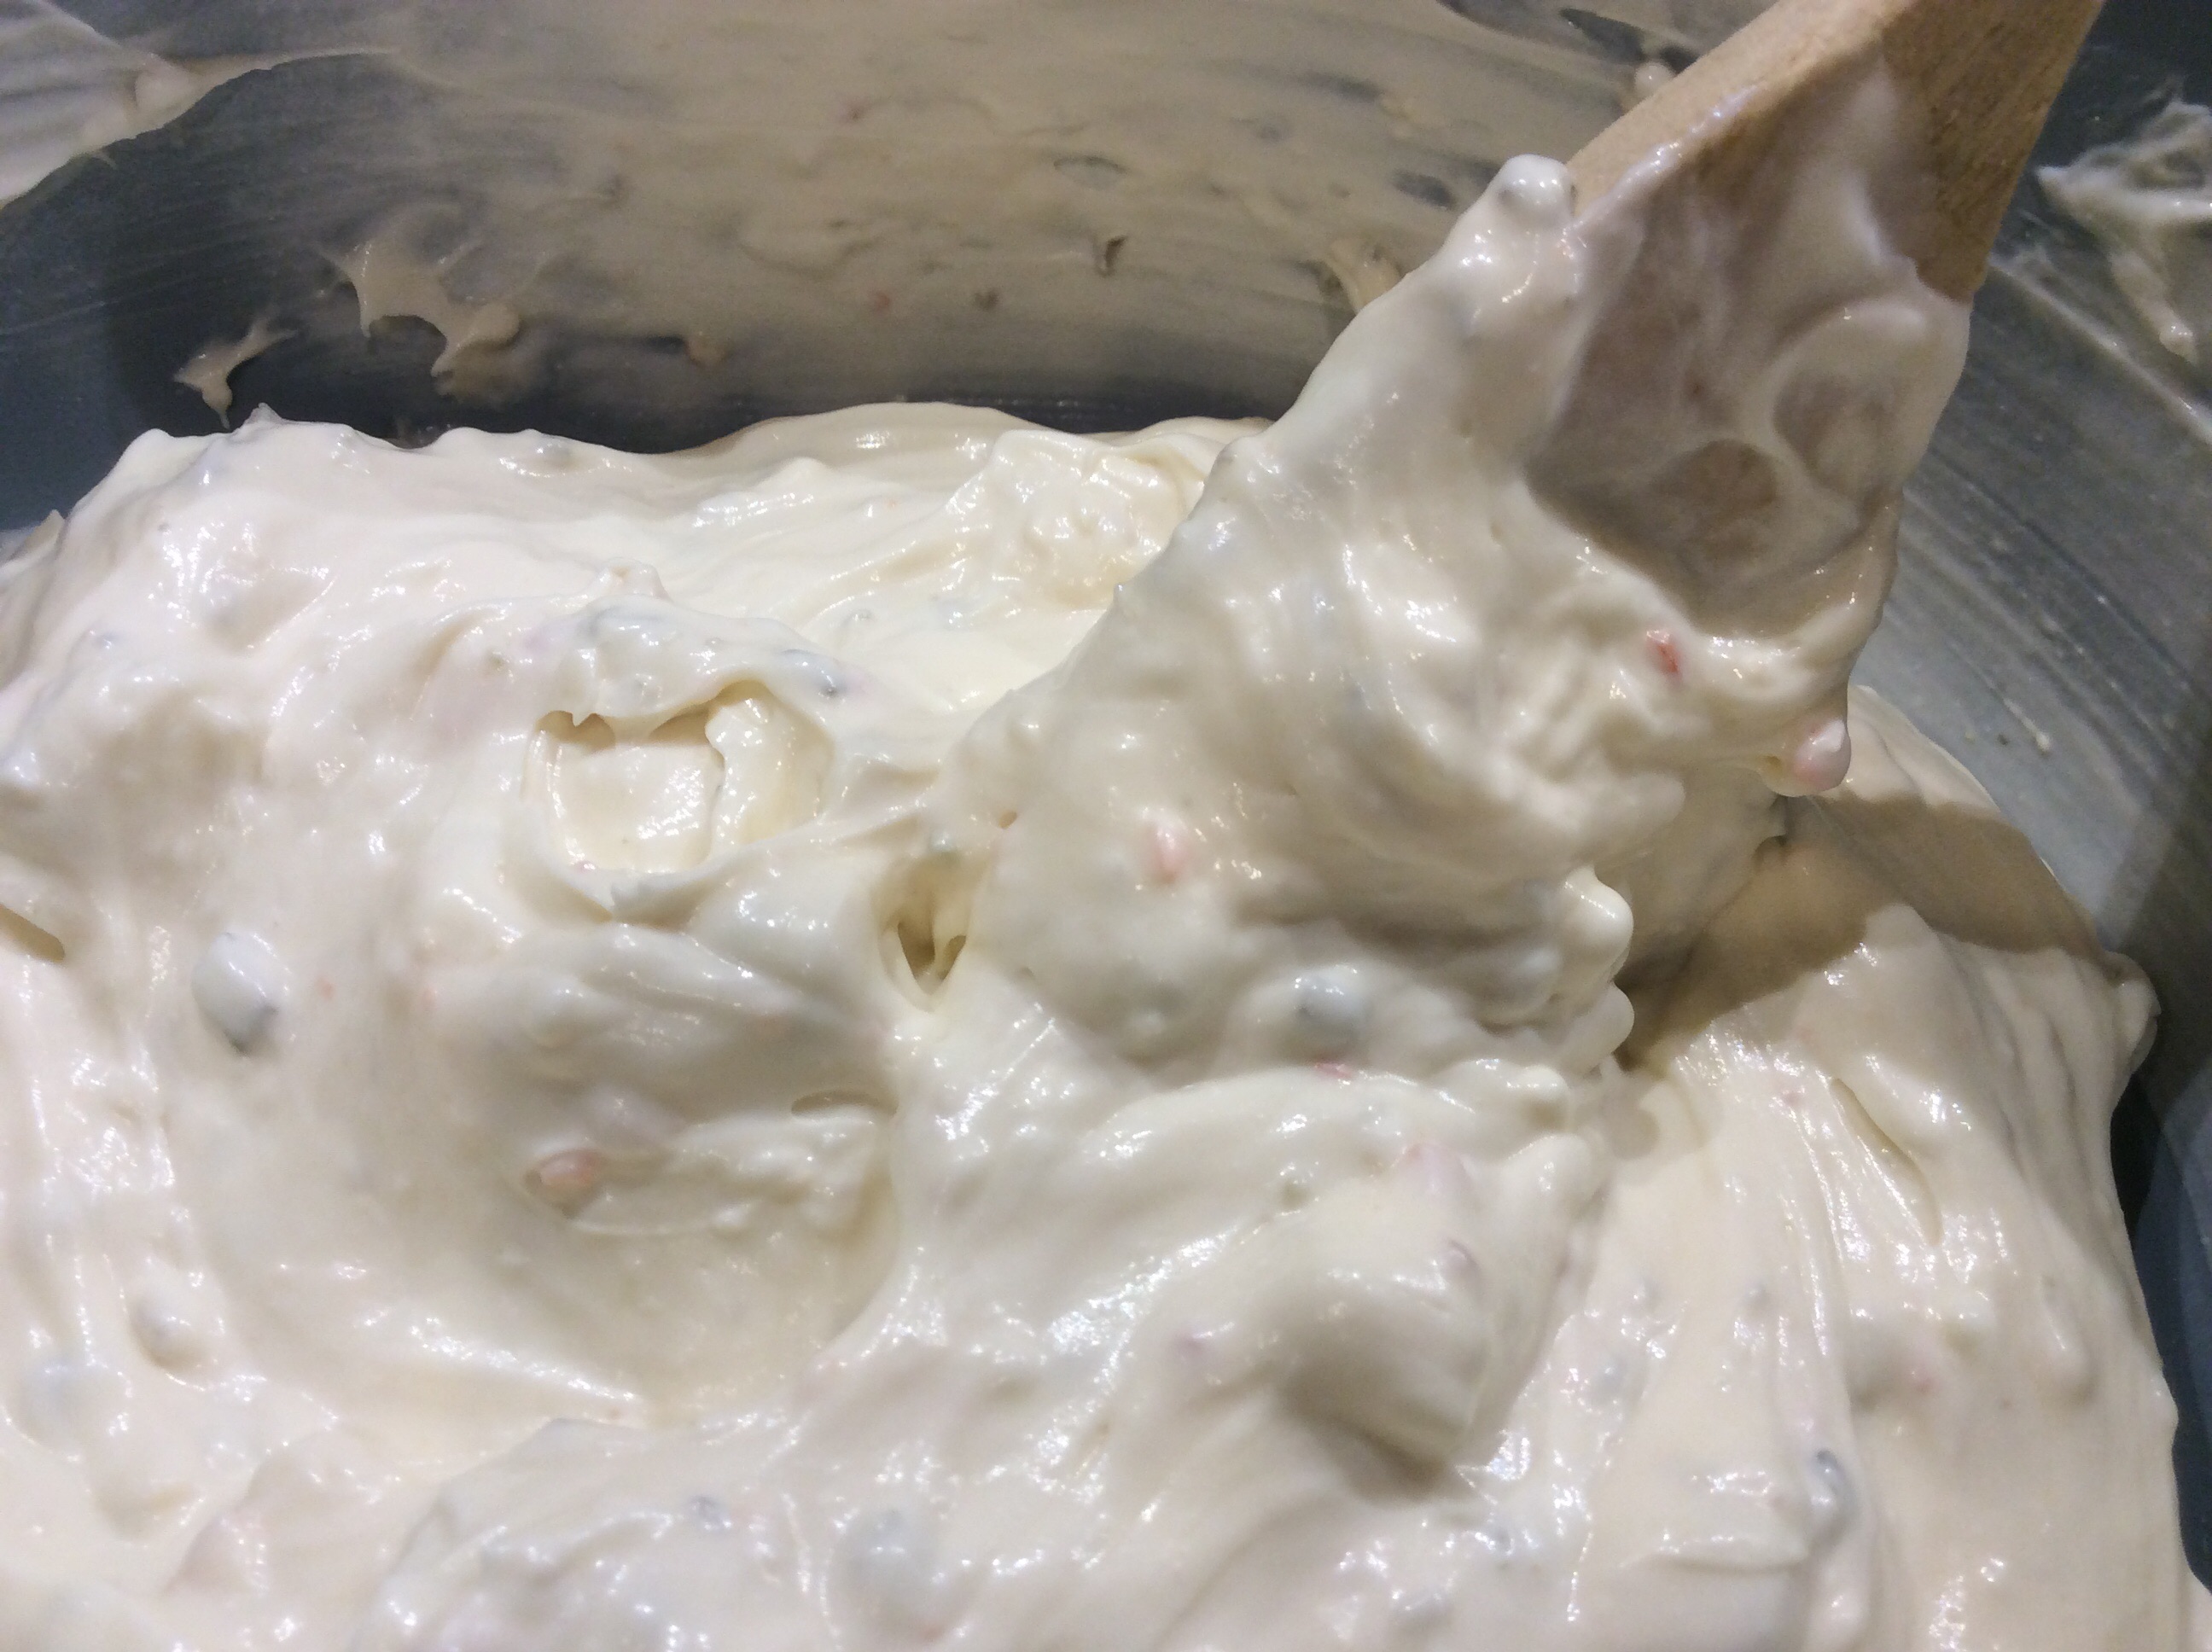
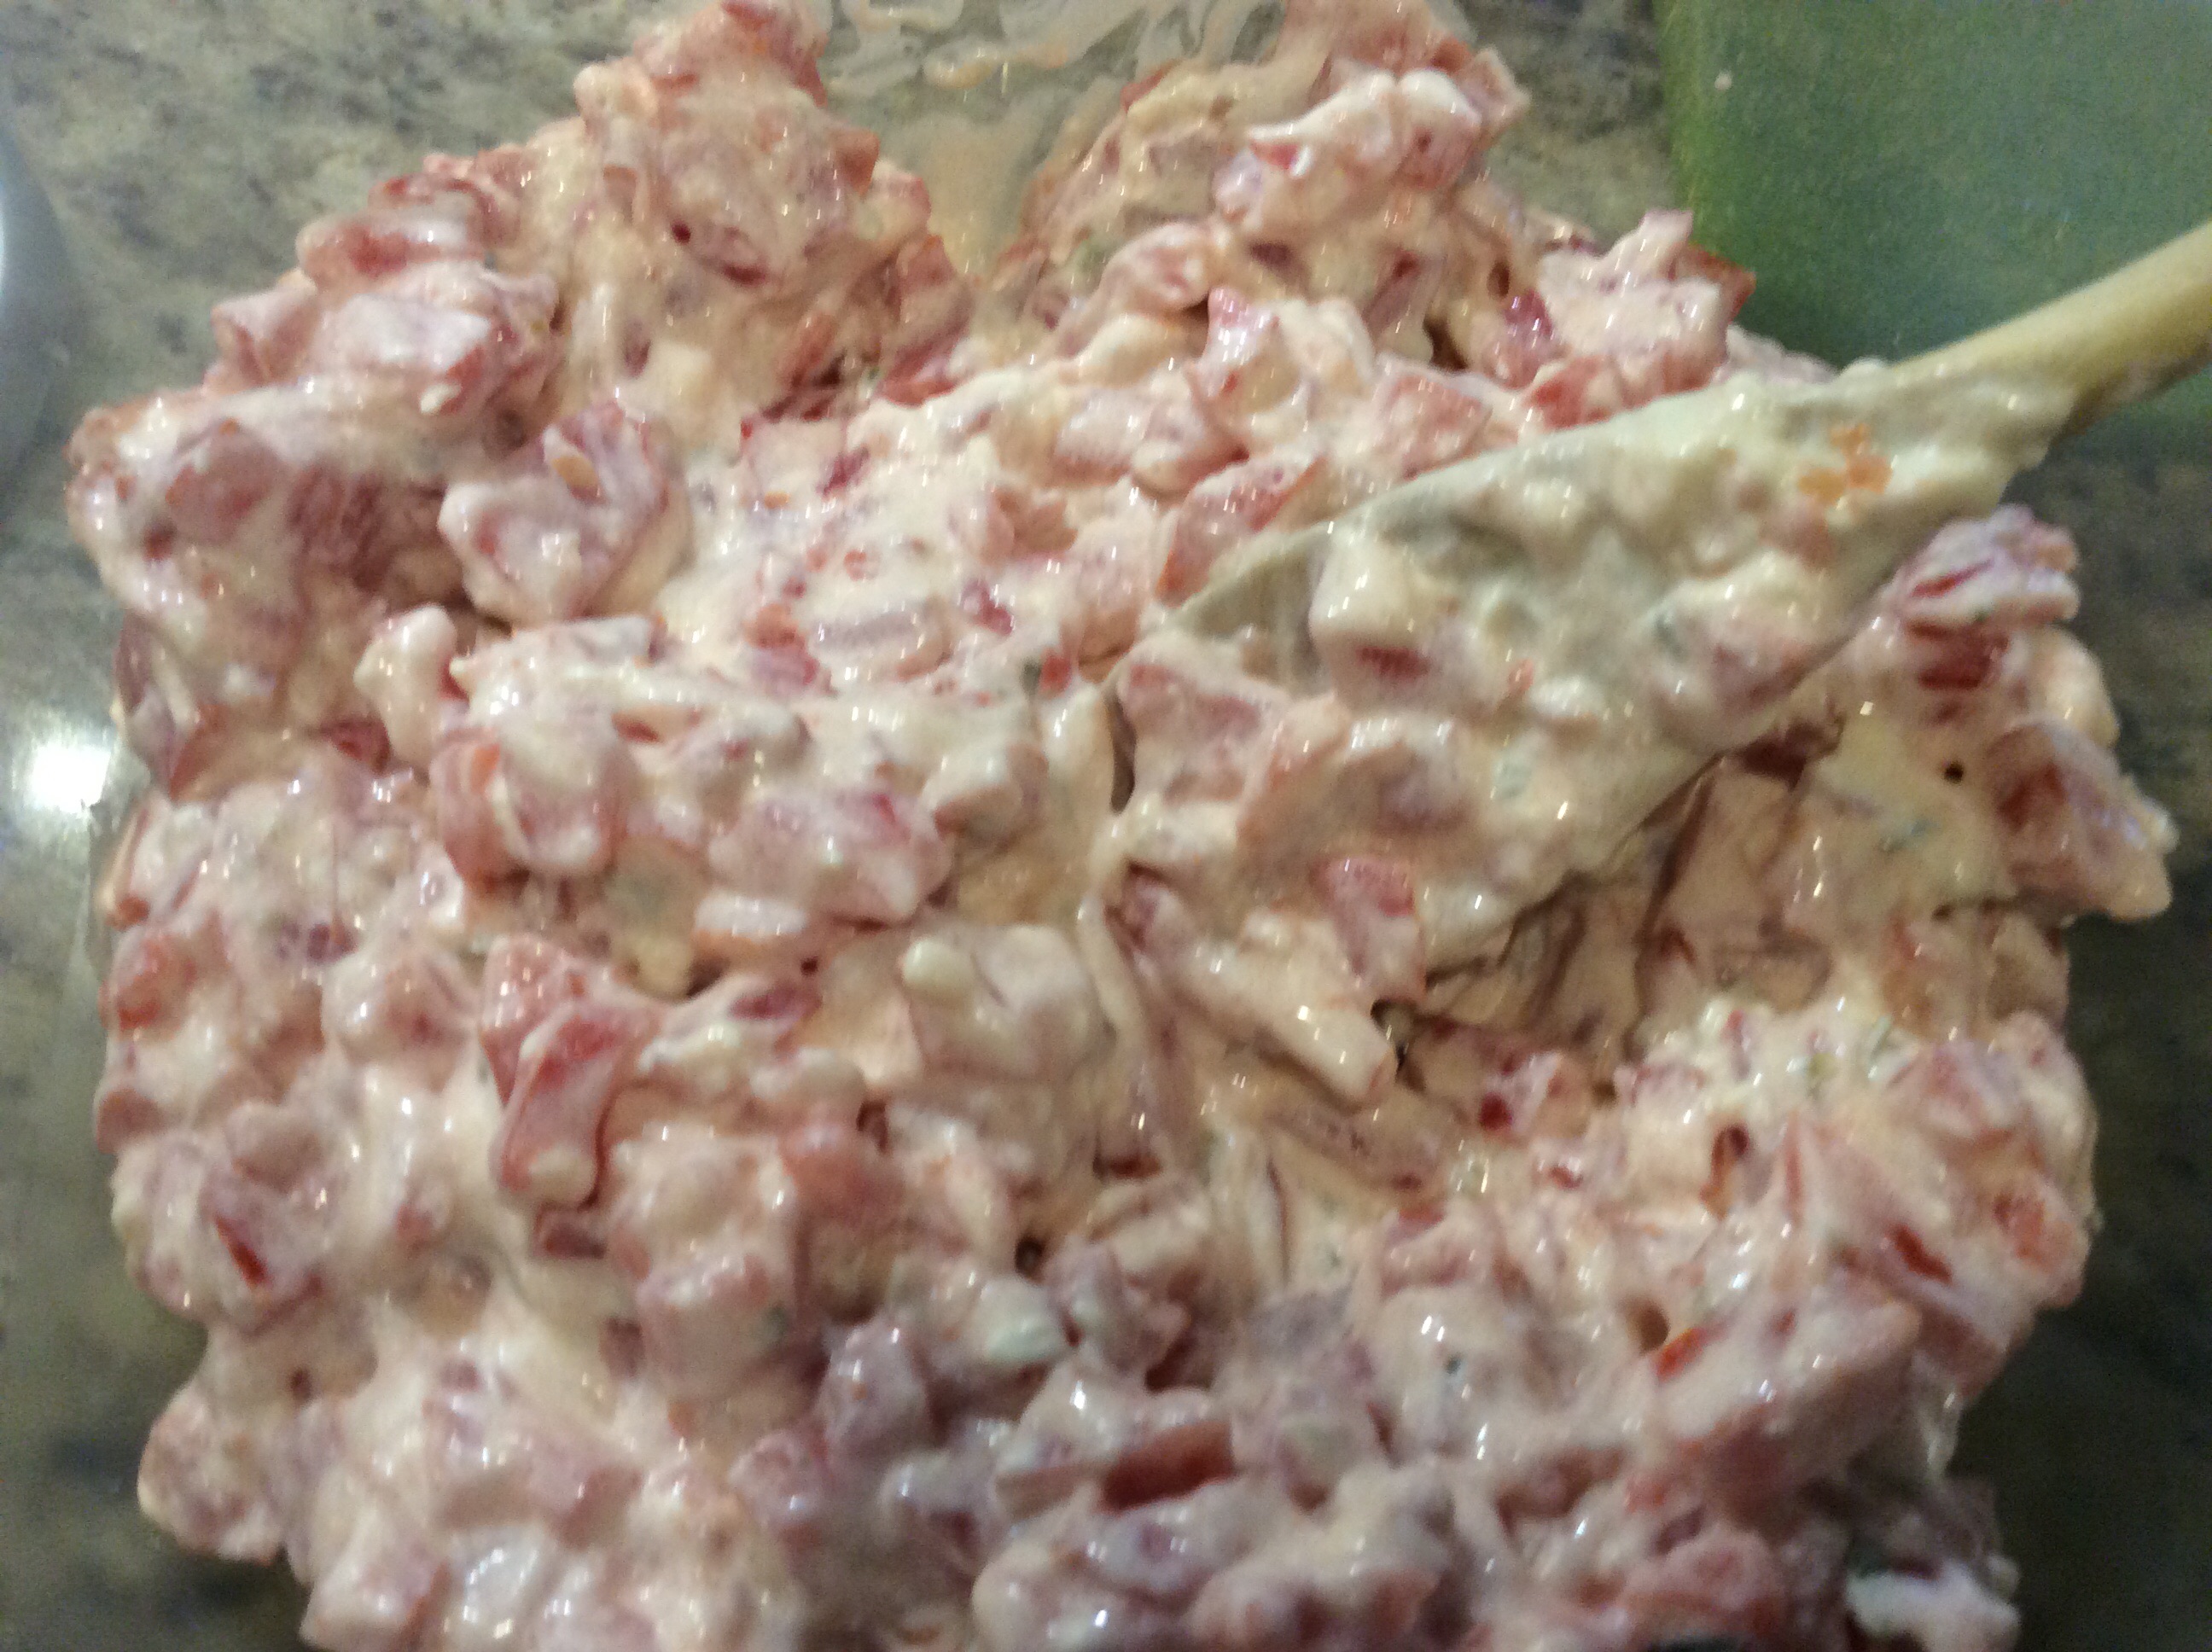
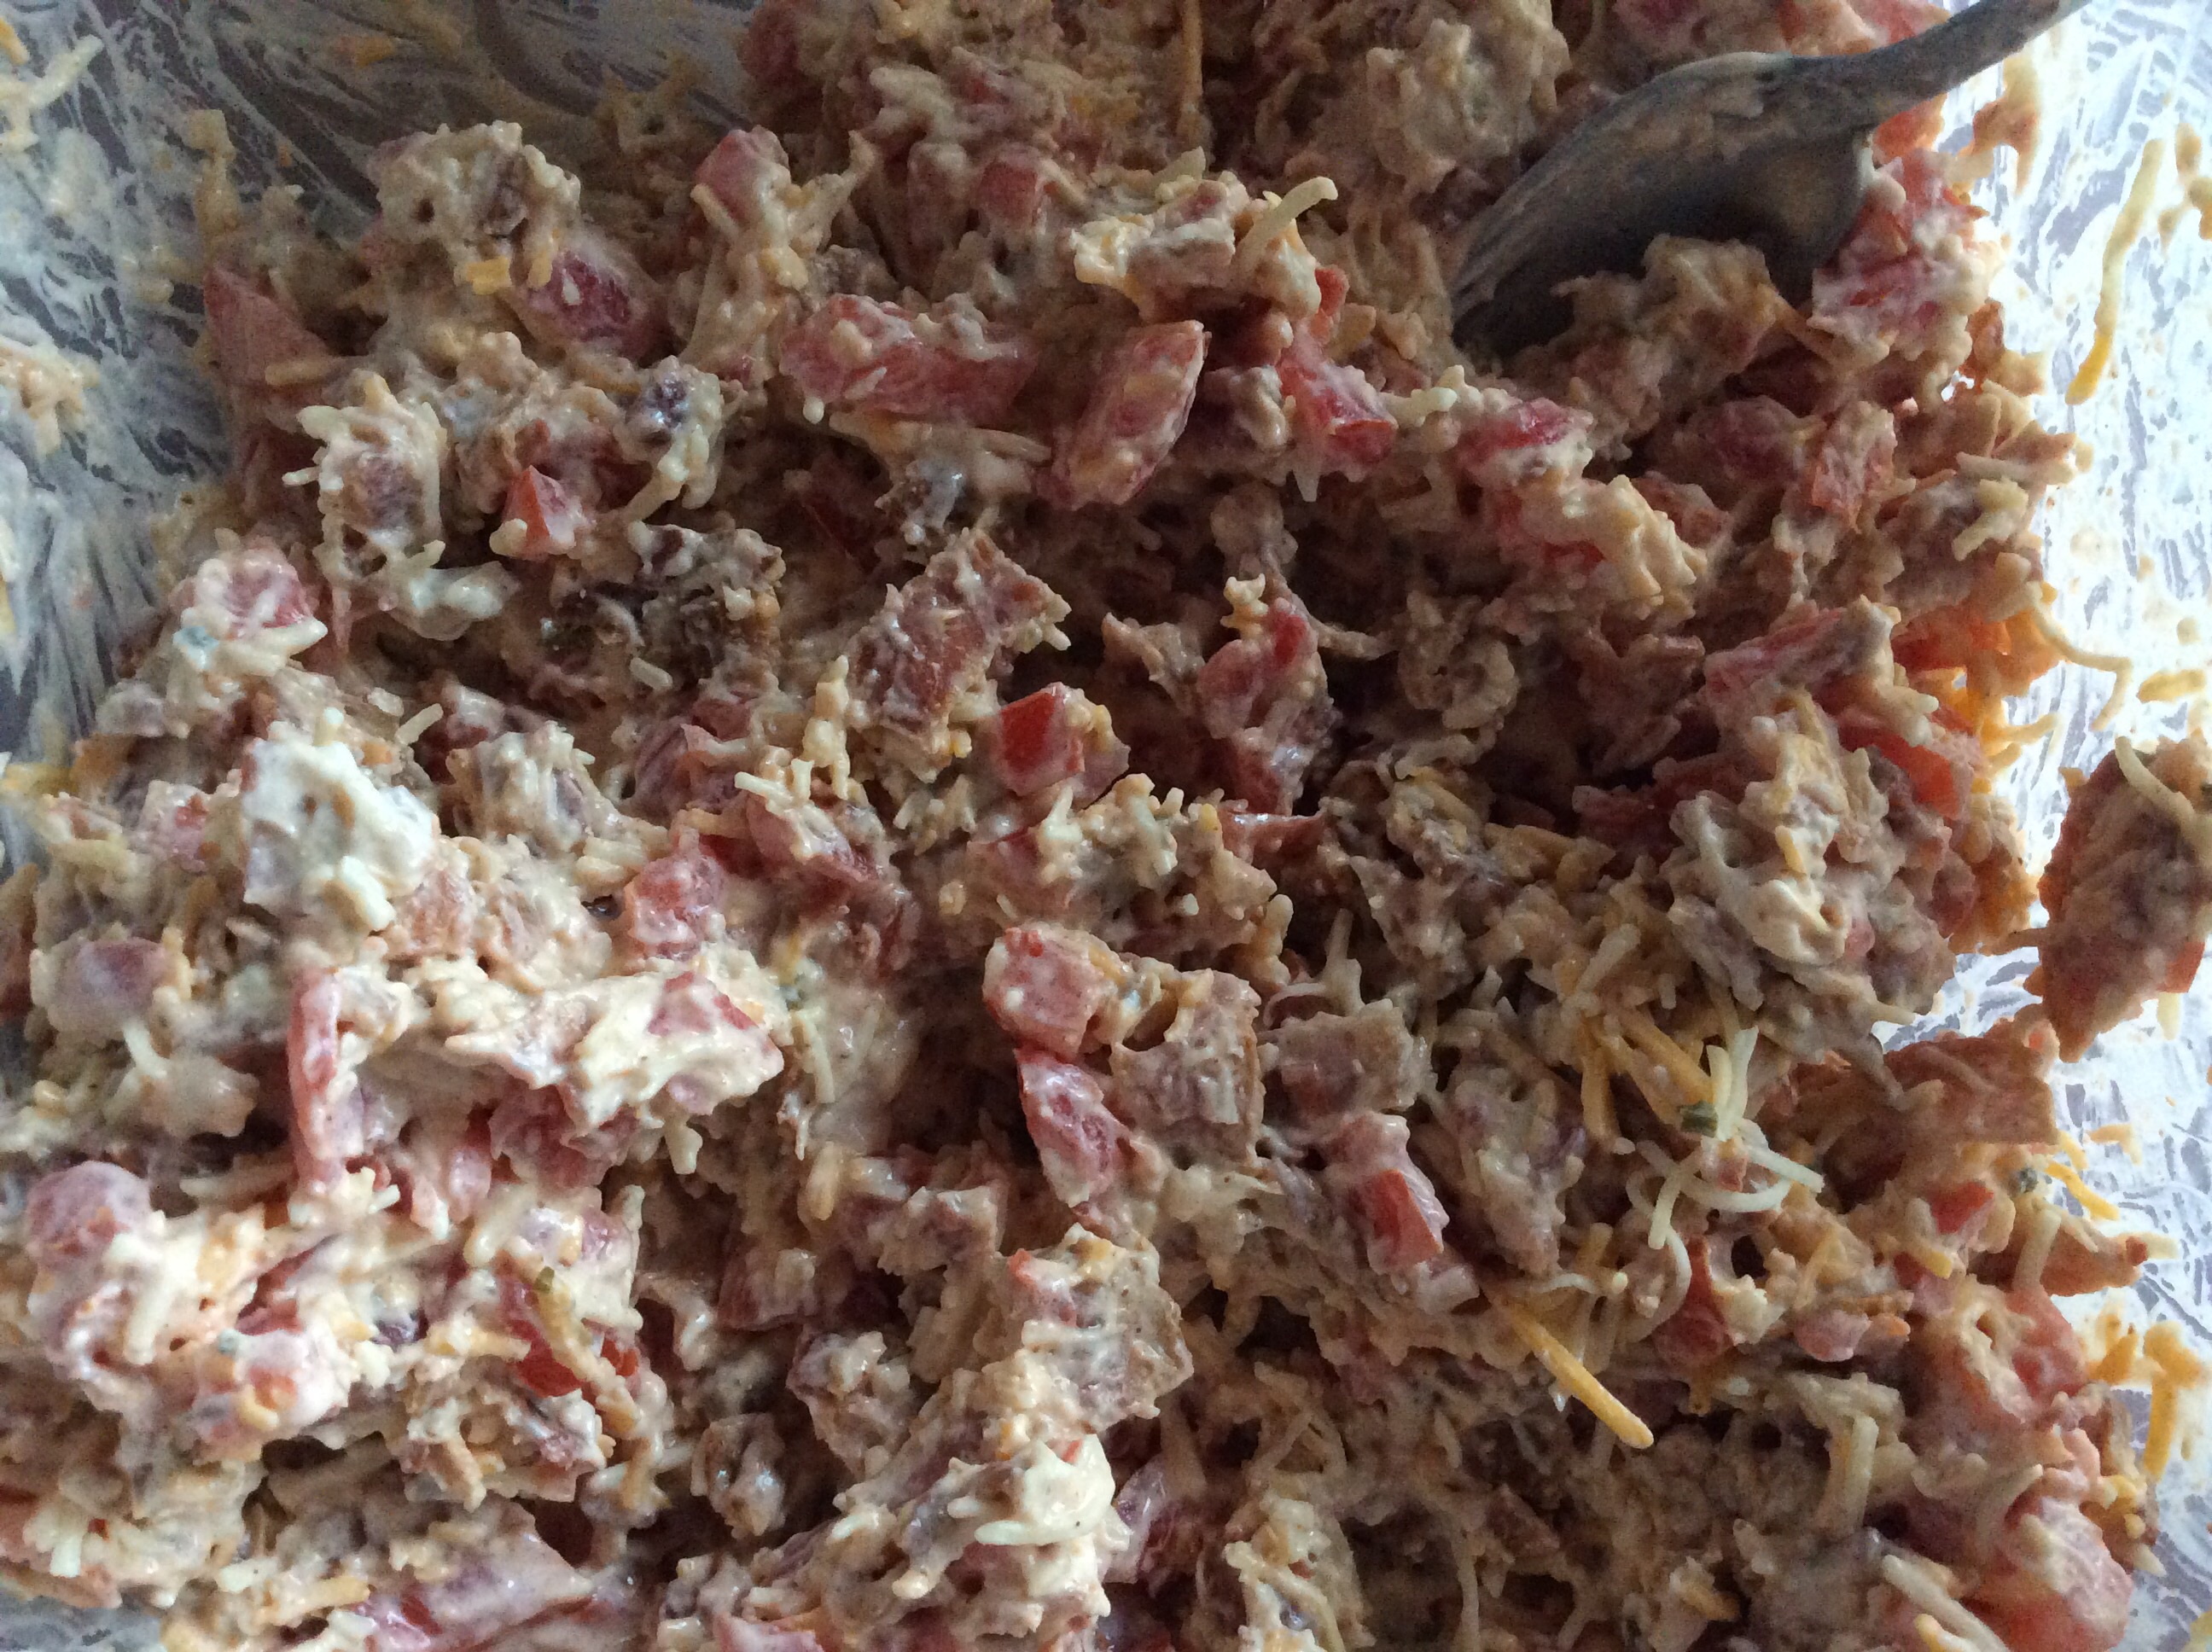
Mix together the cream cheese and mayo.Add in the tomato and combine well.Add in the bacon and cheese…your mixture is ready to go!Spread a 3-4 tablespoons of the cream cheese mixture evenly over the tortillas and top with the lettuce….Roll up tightly pressing your fingers so mixture is evenly distributedRoll-Ups ready to be covered with plastic wrap and refrigerated for at least an hour or up to 12 hours.With a serrated knife, cut into diagonal slices and you have a beautiful presentation!
Bottom Line: You will be the hit of your tailgate if you bring these scrumptious Mini BLT Roll-Ups! Guests love that they can just swing by the table and have a delicious bite! Add a little hot sauce to spice it up a bit if you like or cut into larger wedges for more of main dish at breakfast with some fruit. You can’t go wrong with this recipe…it works everytime! Let me know what you think and “Keep on Tailgating…!”
My beautiful family a few weeks ago at the Vol’s first home game!
“In cooking, as in all the arts, simplicity is the sign of perfection.”…..Curnonsky. This quote is unusual for a man who was such a lover of French cuisine but simple foods were his passion. These days with so many new neat gadgets for the kitchen and all the different exotic seasonings that are now available, sometimes you can lose simplicity in your own cooking. For that reason, this blog will be just that: Simple. There aren’t a lot of pictures or words just a solid no-fail recipe!
My Lemon Roasted Chicken and Potato recipe has stood the test of time in my kitchen as well as clients I cook for because of its simplicity. The ingredients are always available and never go out out of style. Yes, you can change it up and make it a little different as I often do by adding in one of today’s current trendy foods, Kale, but in the end, I always go back to the original dish. It is comforting any time of the year!
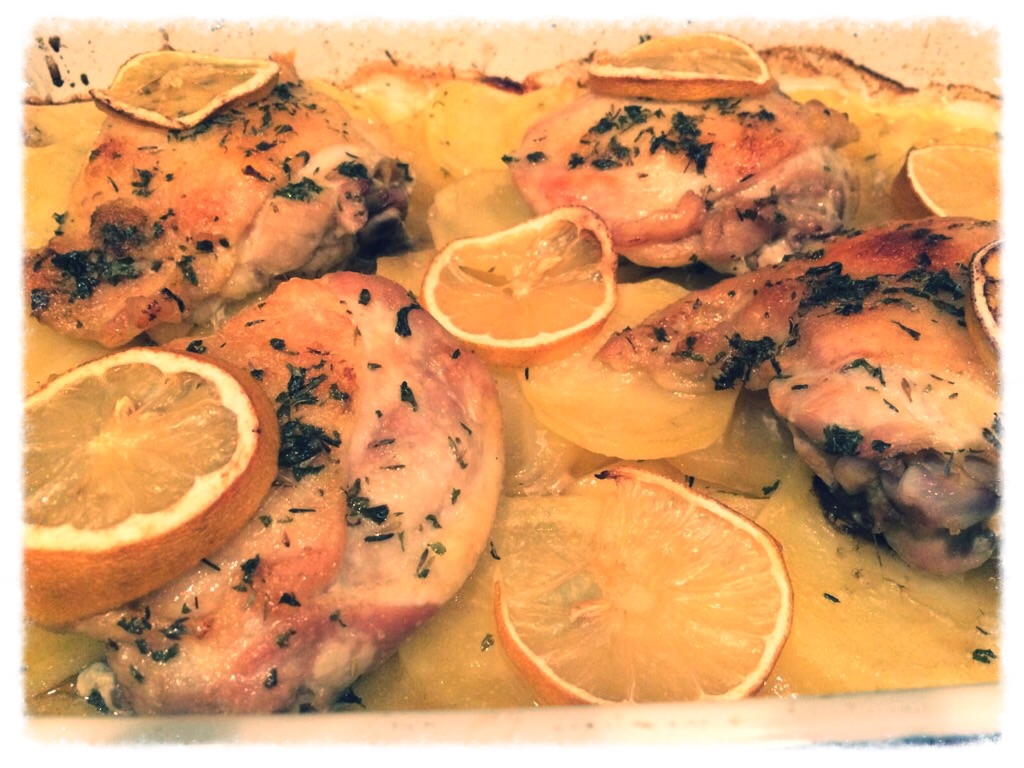
Chef Frankie’s Lemon Roasted Chicken and Potatoes
Lemon Roasted Chicken and Potatoes
Ingredients
4-5 medium Yukon Gold potatoes, peeled and sliced 1/4 inch thick
1 medium onion, thinly sliced
1/4 cup extra-virgin olive oil
Salt and freshly ground pepper
1/2 tsp each of the following dried herbs (thyme, garlic powder, onion, powder, and parsley)
4 bone-in chicken thighs
1 lemon, sliced
Note: In the pictures depicted below, I did not use the onion to make it more kid-friendly for two toddlers, but obviously I definitely think it is best with the onion!
Directions
Set your oven rack to the top 1/3 of the oven and preheat the oven to 450°.
In a small bowl, mix together the olive oil, salt, pepper, and the remaining herbs. (You may need more olive oil depending on the size of your chicken thighs and the amount of potatoes….just adjust your herbs accordingly….again this is simple not rocket science so don’t stress!)
Brush the chicken thighs on both sides with the olive oil mixture then in a large roasting pan, toss the potatoes and onion with the remaining olive mixture. Spread the potatoes and onion evenly in the pan and place the chicken thighs on top of the potatoes. Finally, take your lemon slices and place them over your chicken and potatoes for extra flavor.
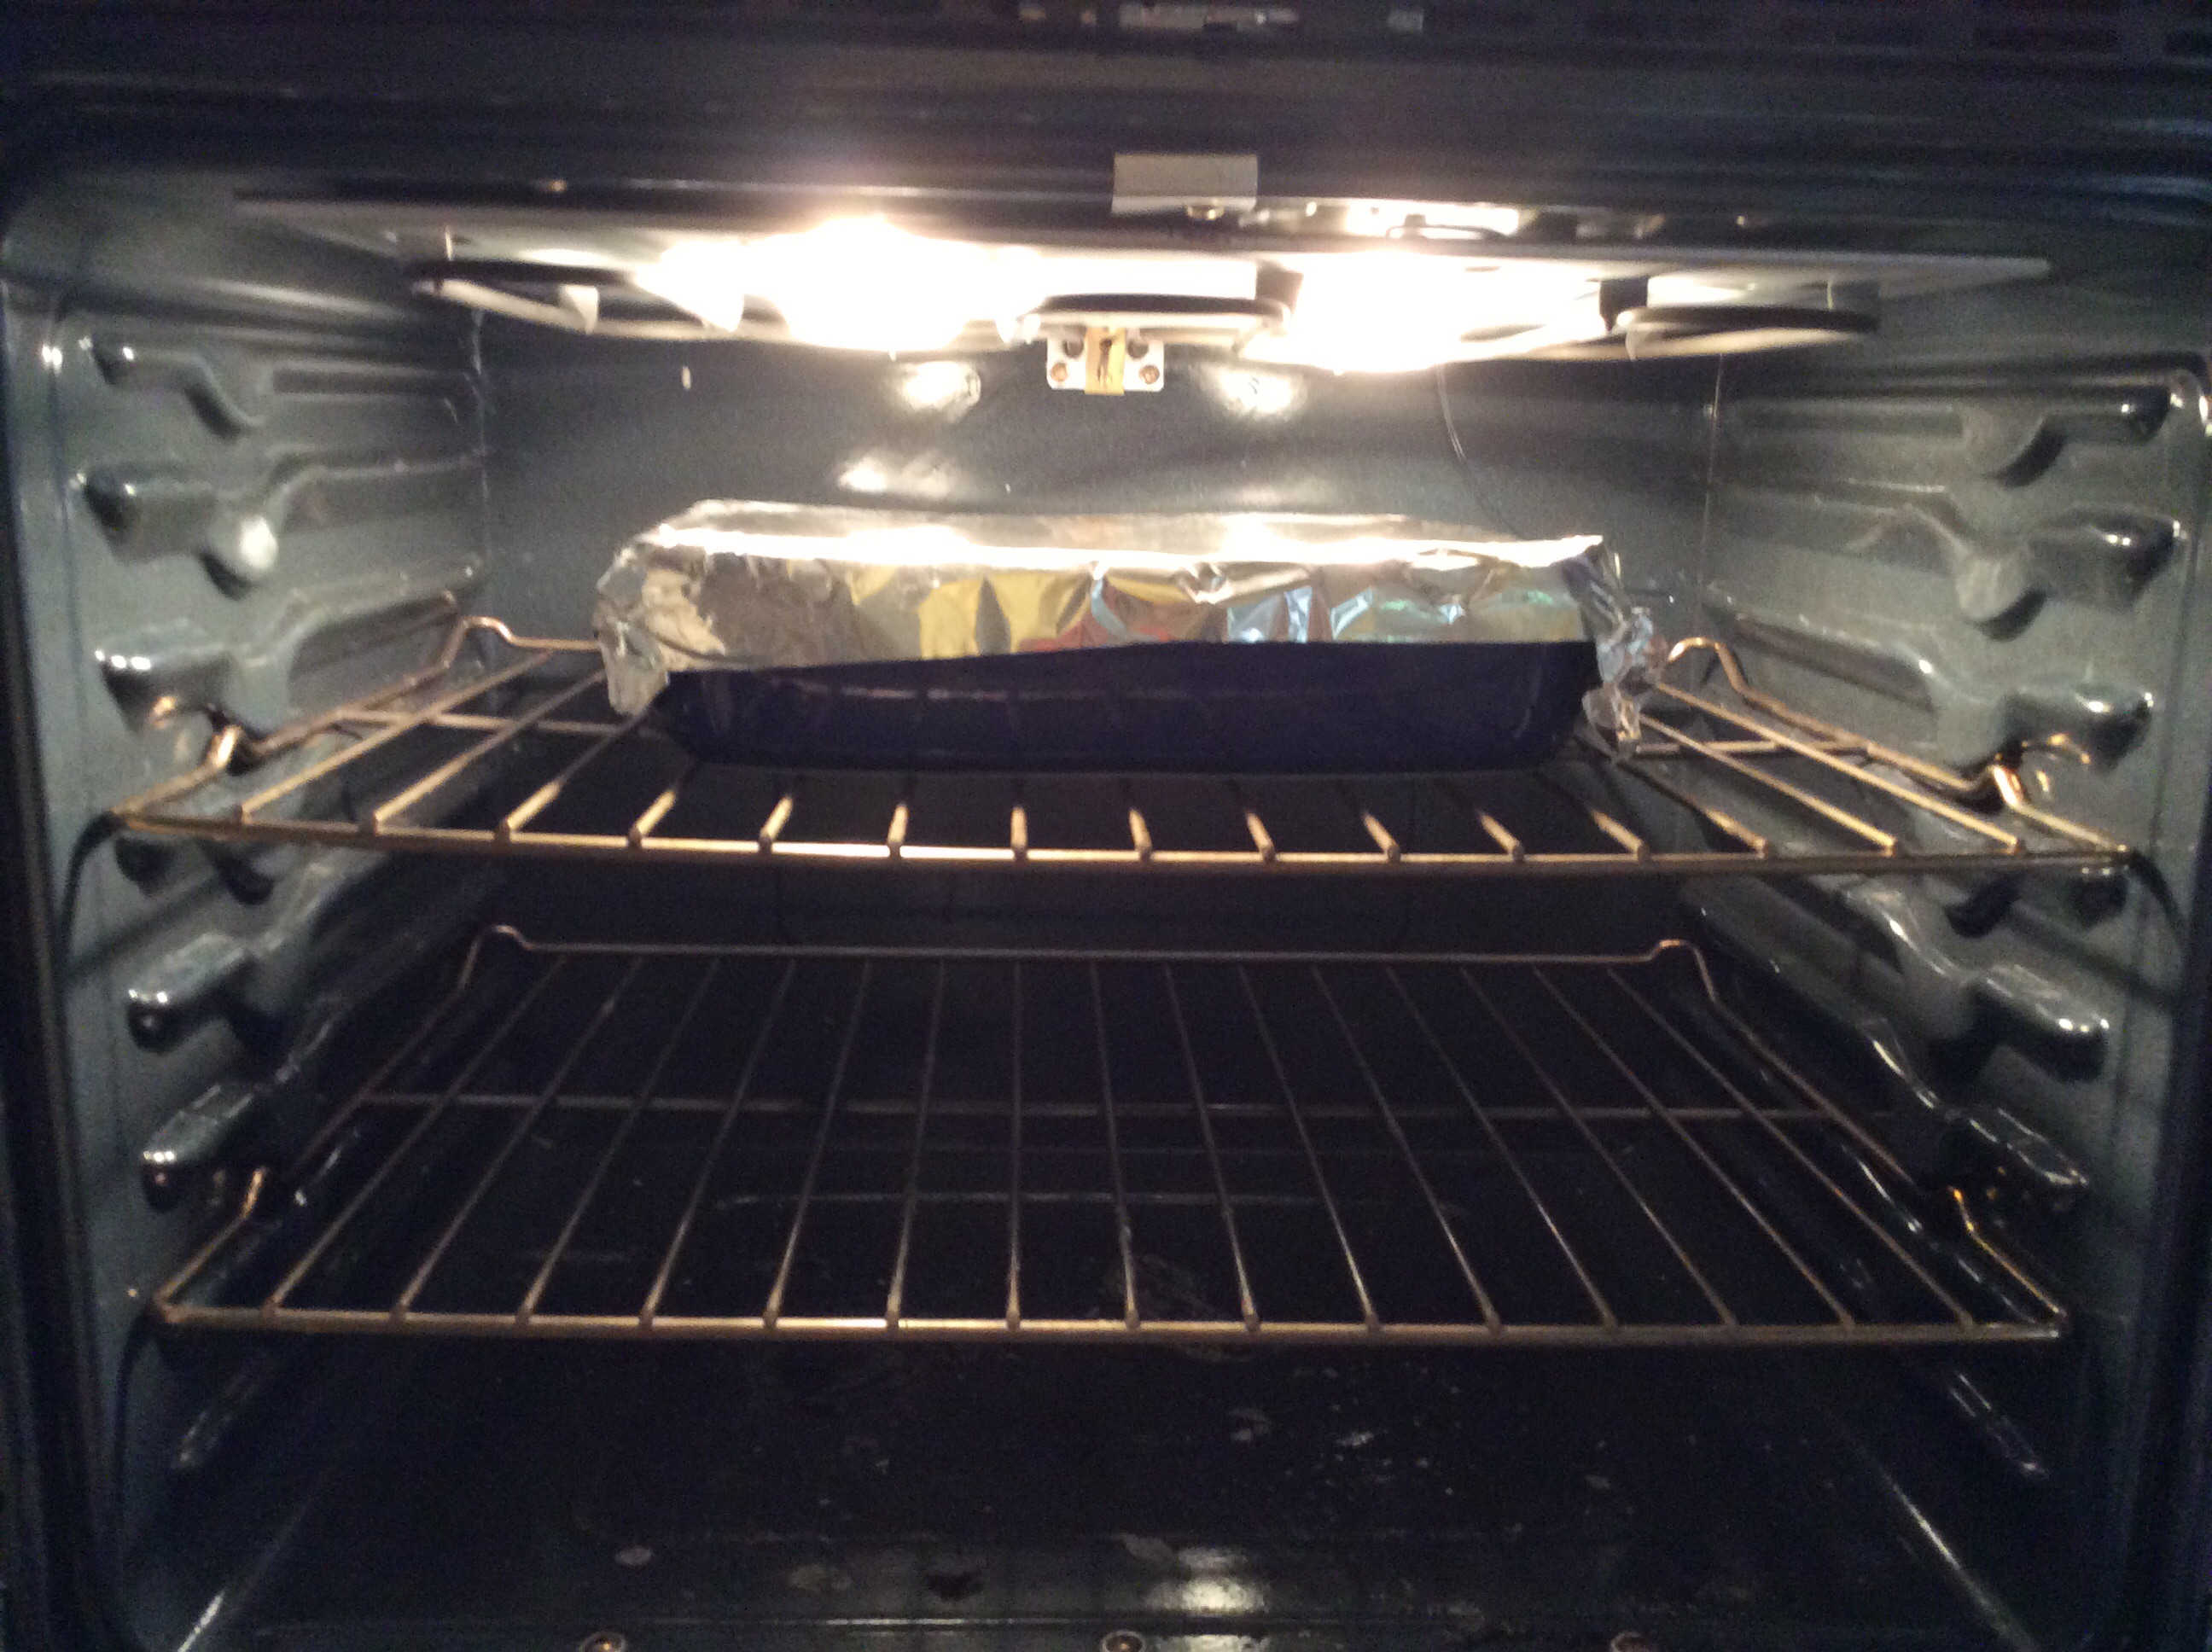
Getting ready to go in the oven
Cover the pan with foil. Roast the chicken in the upper third of the oven for 20 minutes.
It is very important that you have your oven rack set to the top third
Remove the foil and roast for 30 minutes longer, until the chicken is cooked through and the vegetables are tender. Bon Appetit!
Bottom Line: I know this will become one of your family’s favorite recipes and it is so simple that if you have children out there interested in cooking, it is easy for them to make this for you. Obviously, depending on their age, you may have to do some of the potato preparation. It was the first meal Ashleigh ever made for me at her house! Try it in your kitchen and let me know how you like it! I am Chef Frankie and until next time, “Keep on Cooking with Simplicity”!
Today, I am launching a new category in my blog called “A Few of My Favorite Things” where I share my favorite personal cooking products as well as new items I have tested in the grocery or unique finds for the kitchen, such as today’s post.
Just a little background on me, a few years ago, I started a part-time personal chef business called fresh flavors by frankie. What started out as part-time hobby turned into a full-time venture and I quickly realized that I would rather focus more of my time doing what I love best…cooking and writing! Now, I have the best of both worlds as I am a part-time personal chef/nanny for two days a week and a a newbie blogger…my perfect world!
My main focus in my cooking is to use the freshest flavors possible (duh)…hence the name, fresh flavors by frankie.
Some of my favorite fresh herbs from the garden….a must for any chef!
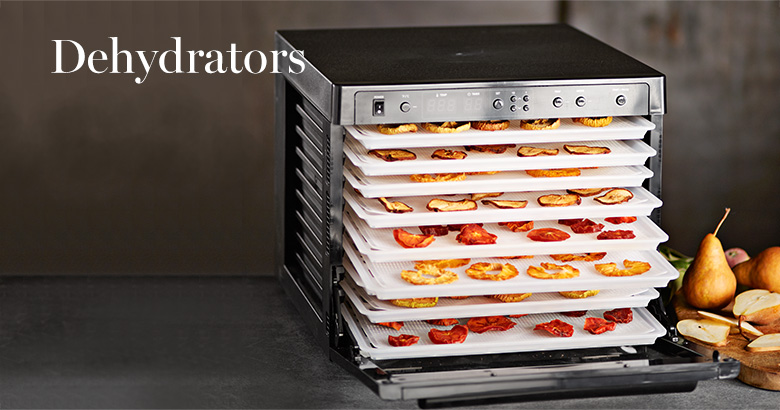
In my quest, I constantly can fruits, vegetables, sauces, jellies, pickles..you name it…I can (or freeze) it! But it wasn’t until my daughter, Ashleigh’s first garden went out of control this summer, did I realize that we needed another way to preserve. Yes, we canned her vegetables as well as my own this summer, but what we realized we were missing out on is preserving our herbs. And then came my new favorite thing….The Dehydrator!
Dehydrator from Williams Sonoma
Now, don’t be scared when you see this monstrous contraption, it is so easy to use and even better, they come in all different sizes and prices to fit your needs. We got ours at Williams Sonoma because we had several gift cards but you can find great deals online through Amazon and other online sites. You will be AMAZED at what you can do with a dehydrator! (Note: Kelli and Aaron Barnett – stay off these sites because you are getting one for Christmas!…I’m not spoiling the surprise because you already knew..ha, ha)
Now, just like my blogging experience, I am definitely still a newbie at dehydration and so far, I have only done a few things but will branch out even more soon. Here are just a few things Jeff and I have done so far:
Herbs/Spices: You can’t imagine how fresh the flavor and aroma is compared to the dehydrated spices you buy at the grocery!
A variety of of herbs and spices!
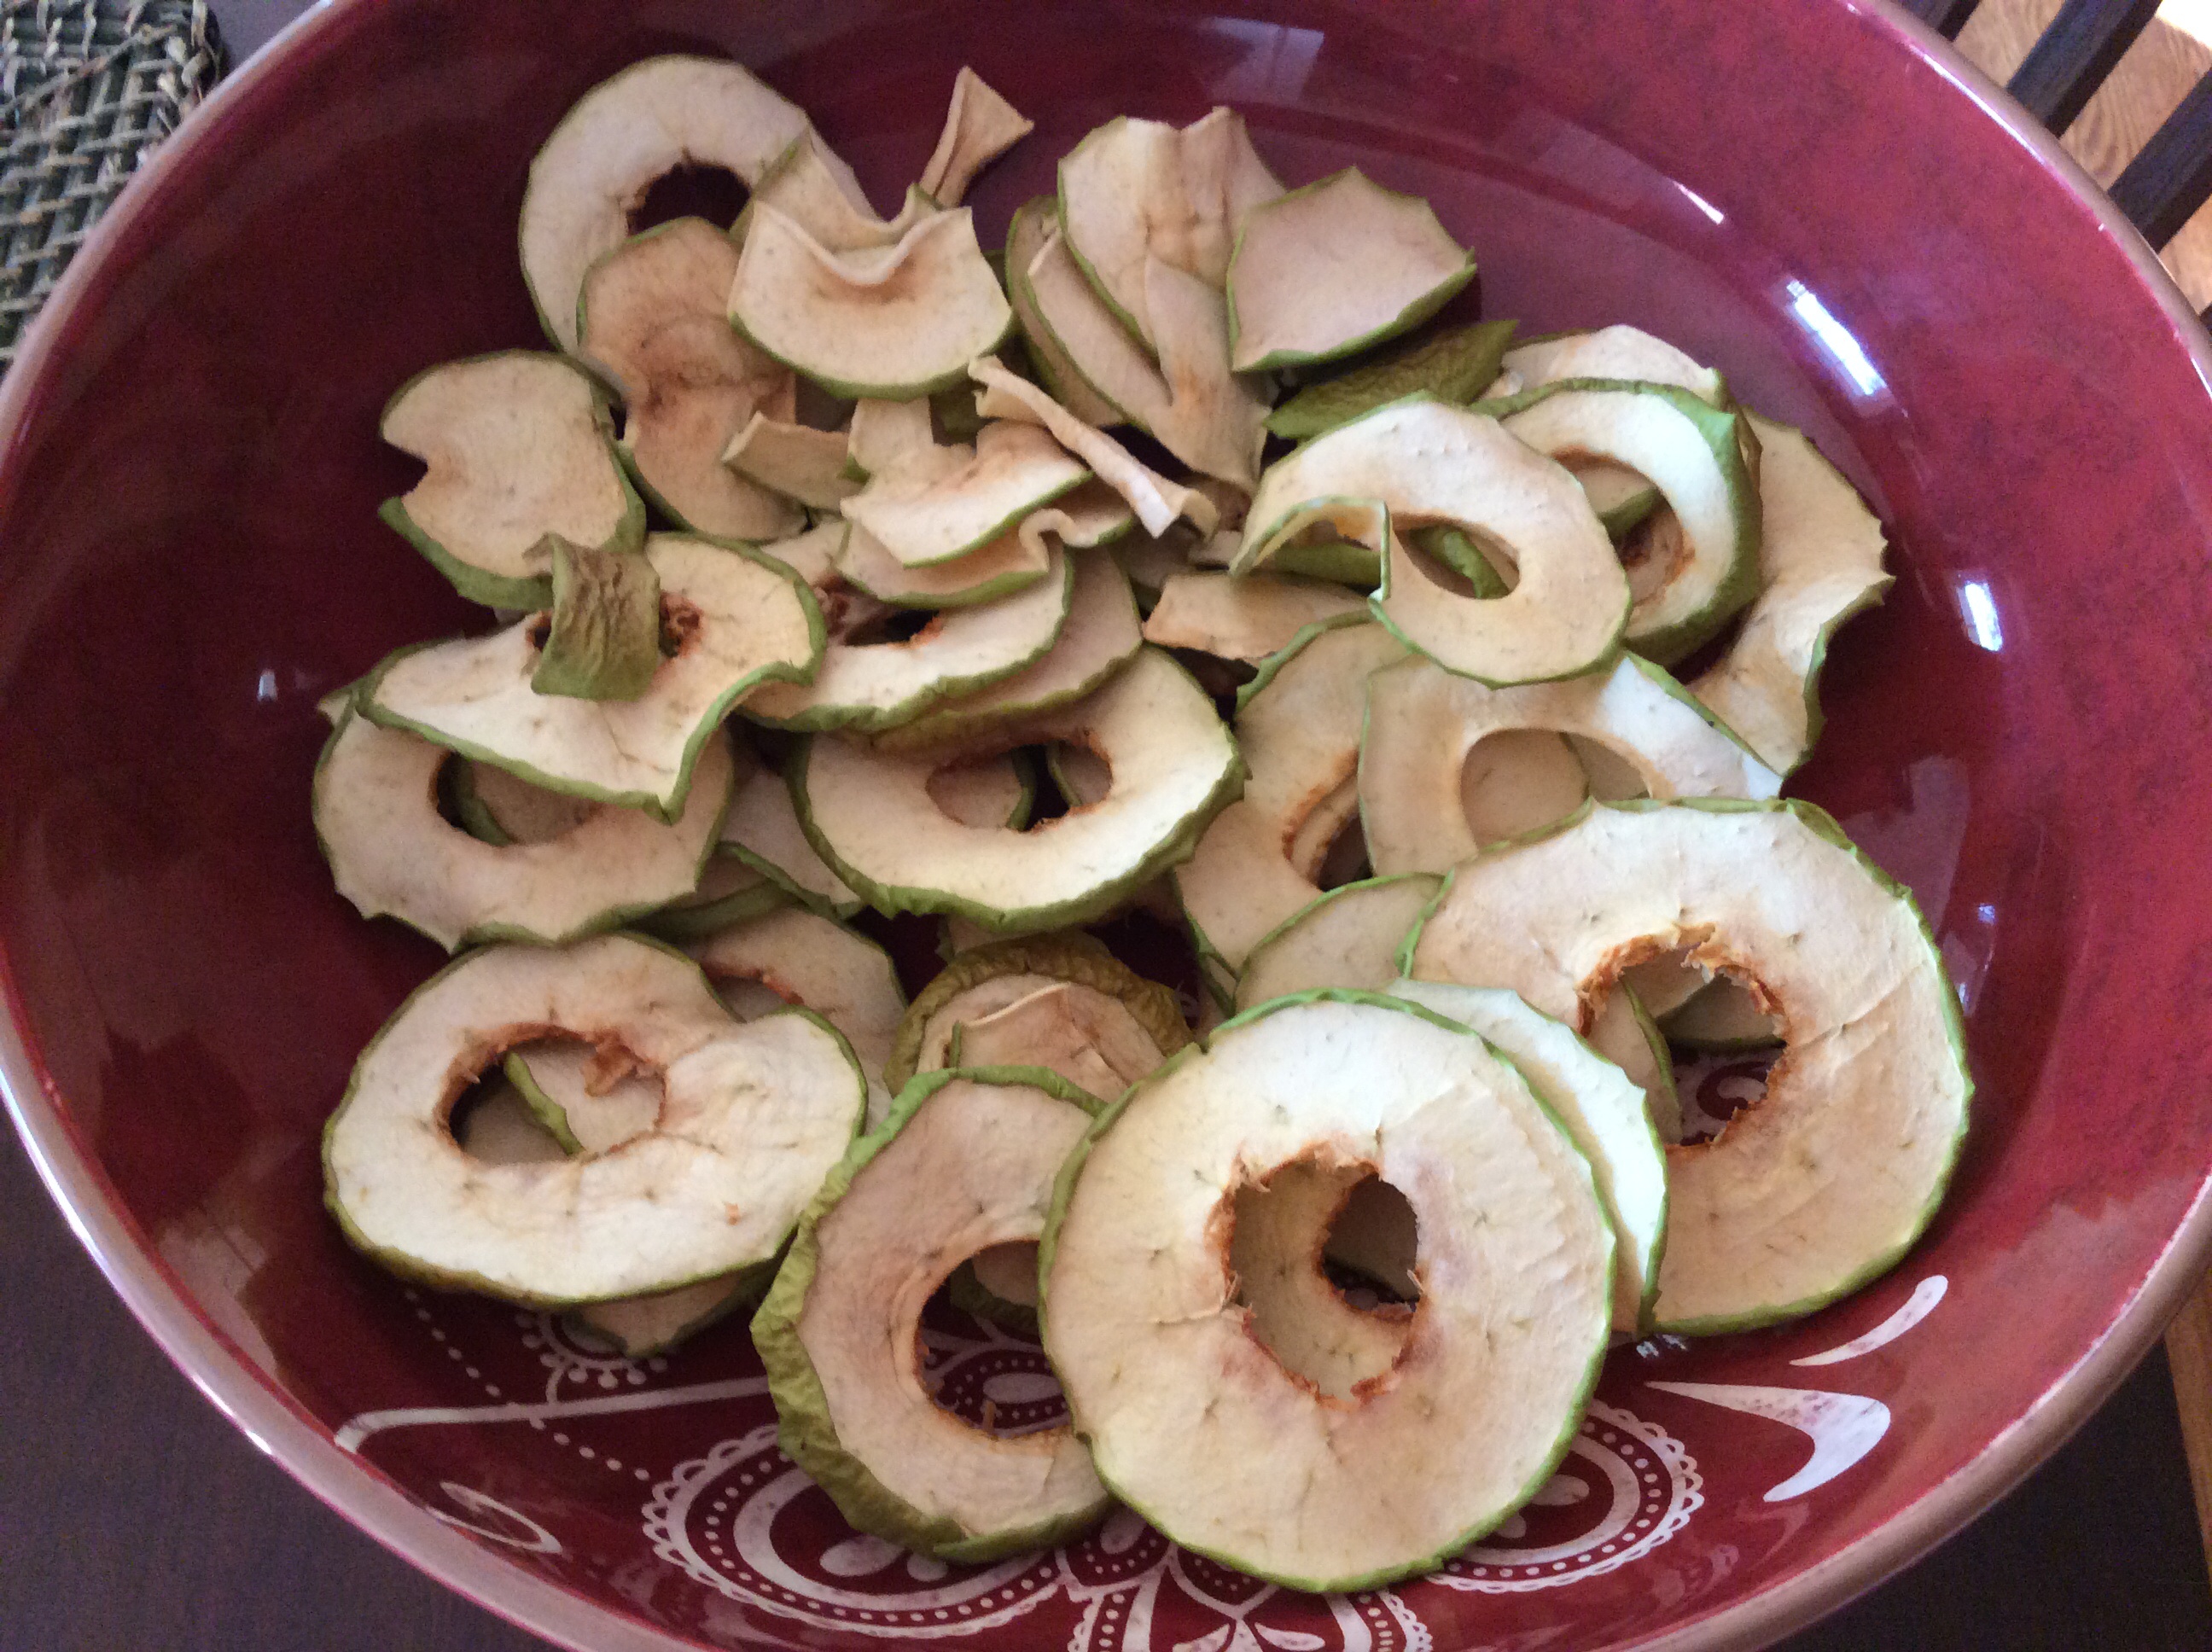
Fruits: Our first fruit dehydration project was apple chips! We did them plain using Granny Smith apples but there are endless ways to use various fruits and seasonings to create all kinds of culinary delights!
My apple chips…I eat these like potato chips…so much healthier!
Bottom Line: You will be so glad to add this product to your kitchen (or laundry room, where mine is…ha, ha). Not only does it give our family wonderful summer flavors throughout the year, but it also saves us money when we can just dehydrate vegetables or fruits that we won’t use before they go bad! If you currently, use a dehydrator, I would love you to share some of your recipes here for me to try. If you don’t have one, this is a MUST for the food lover! I am Chef Frankie and until next time…”Keep on Preserving”!
Leftovers….Sometimes they are even better the second time around than the first time you eat them! However, it is always nice to be able to use them in a different way so you can get two different meals out of one recipe. That was my inspiration for my Chicken and Vegetable Stuffed Poblanos!
Chicken and Vegetable Stuffed Poblanos
The poblanos are coming out of the garden like crazy right now and I needed to find a way to use them. As it so happened, I had a little bit of leftover Chicken and Vegetable Bake I had made a few days before. If you missed this recipe on my last post, here is the link:
And then it hit me….why not chop the leftovers up and put it into some roasted poblanos? Seemed like a great idea! Right? Let’s see how it actually worked out….
Chicken and Vegetable Stuffed Poblanos
Ingredients
2 Shallots, chopped
1/2 Jalapeno, chopped
1 tsp Olive Oil
4 large Poblanos
2-3 cups of leftover Chicken and Vegetable Bake, chopped up
1 cup Mexican Cheese, shredded
Directions
Preheat oven to 350 degrees.
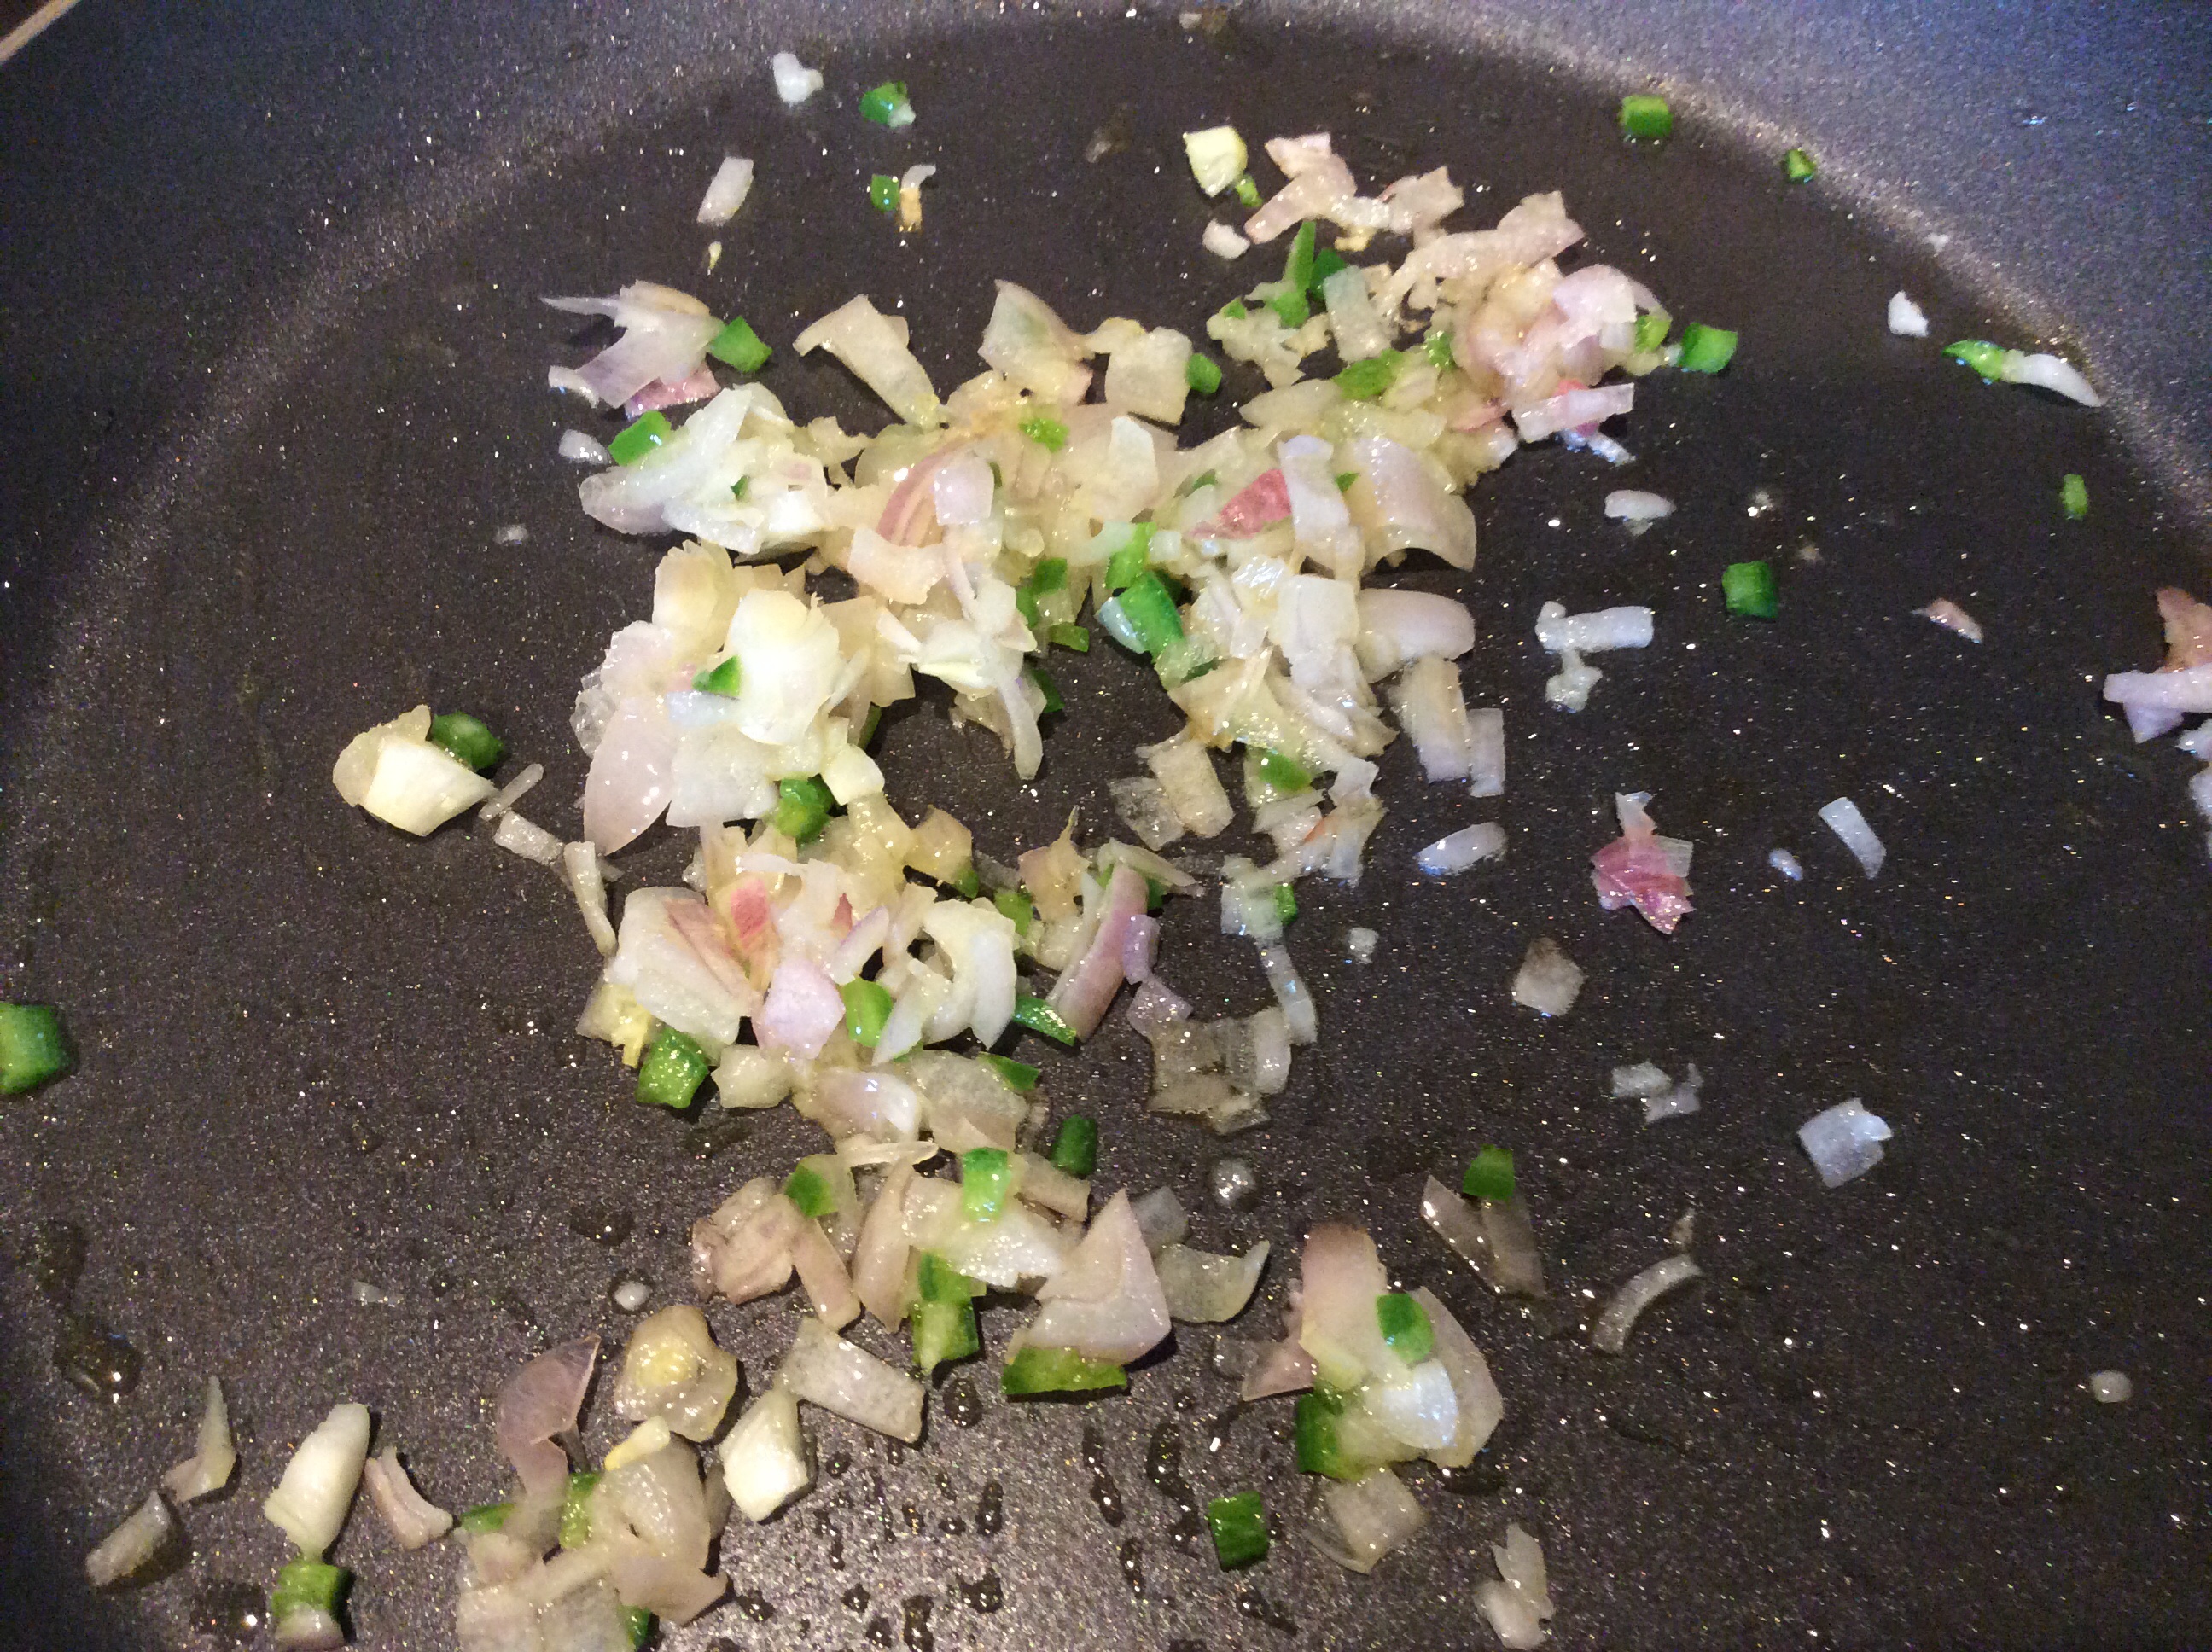
Heat olive oil in a large saucepan. Add in shallots and jalapeno; saute on low heat for about 10 minutes.
Sauteing shallots and jalapenos
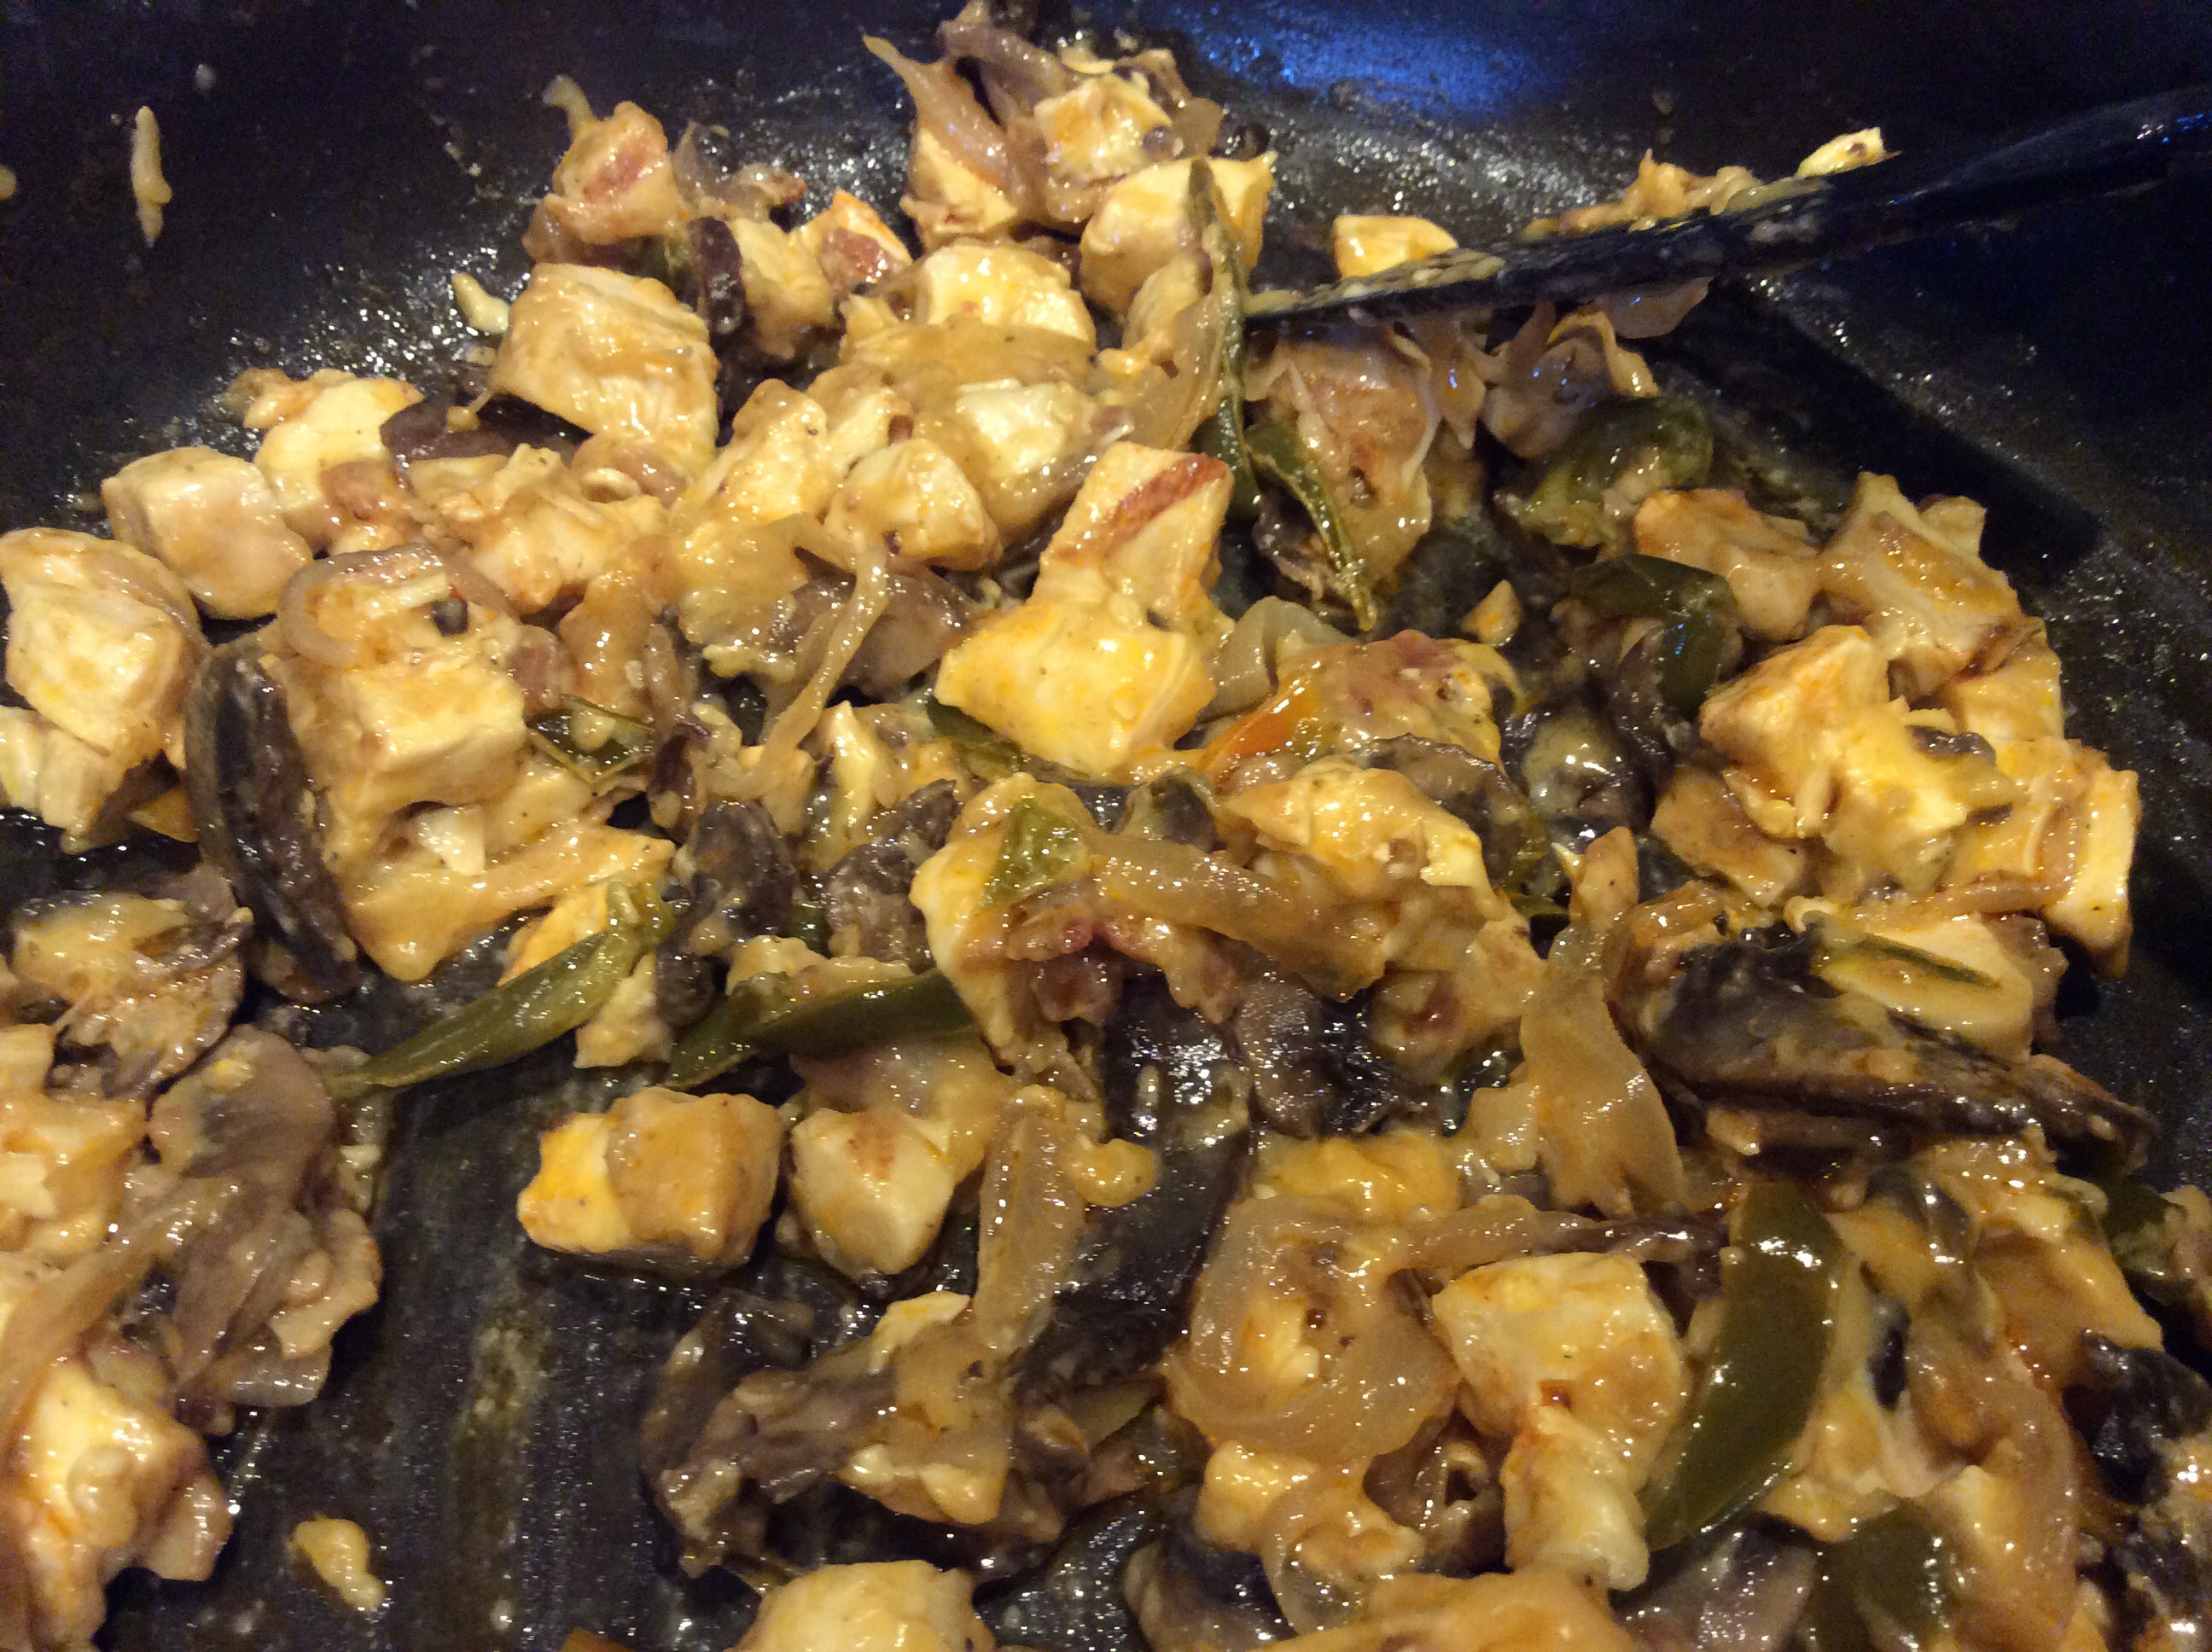
Add in leftover chicken and vegetables and reheat on low while you work on your poblanos.
Chicken mixture added into the saute pan
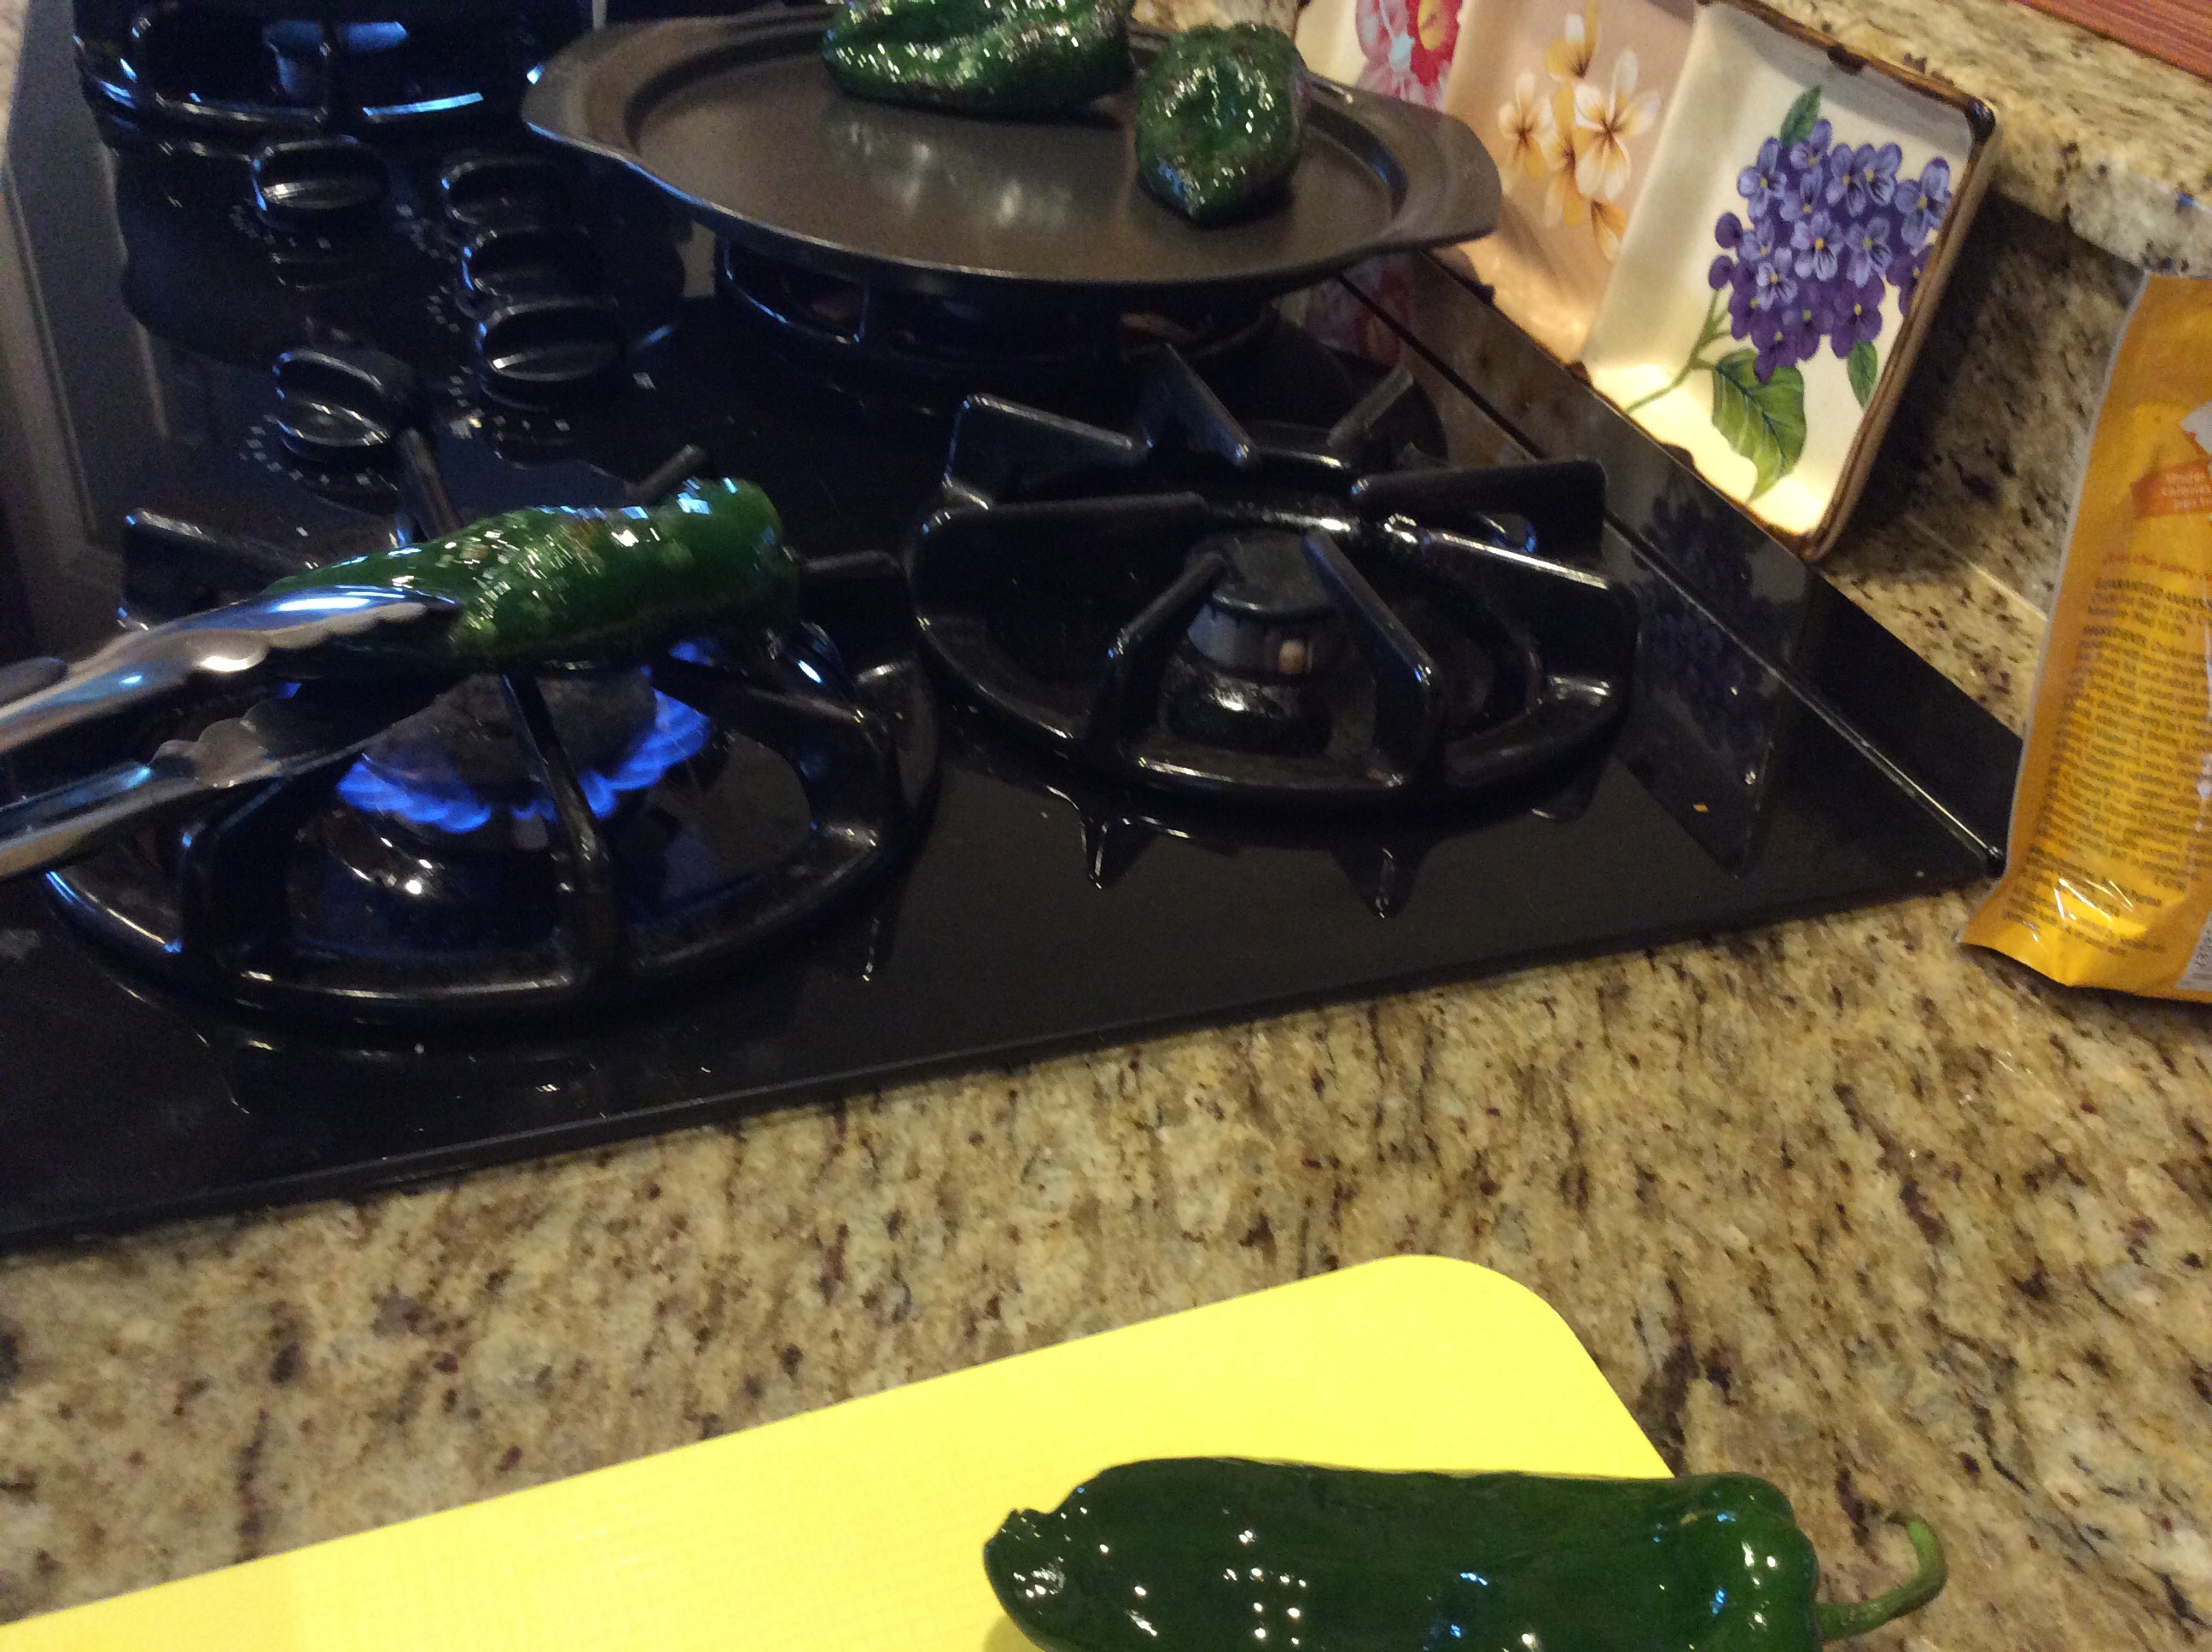
Now, poblano skins can become very bitter when cooked so it is best if you roast them so the skins will easily peel off. There are two easy ways to do this. First, if you have a gas stove, you can just do it right over the fire on the stove top as shown here:
Roasting poblanos over the fire source
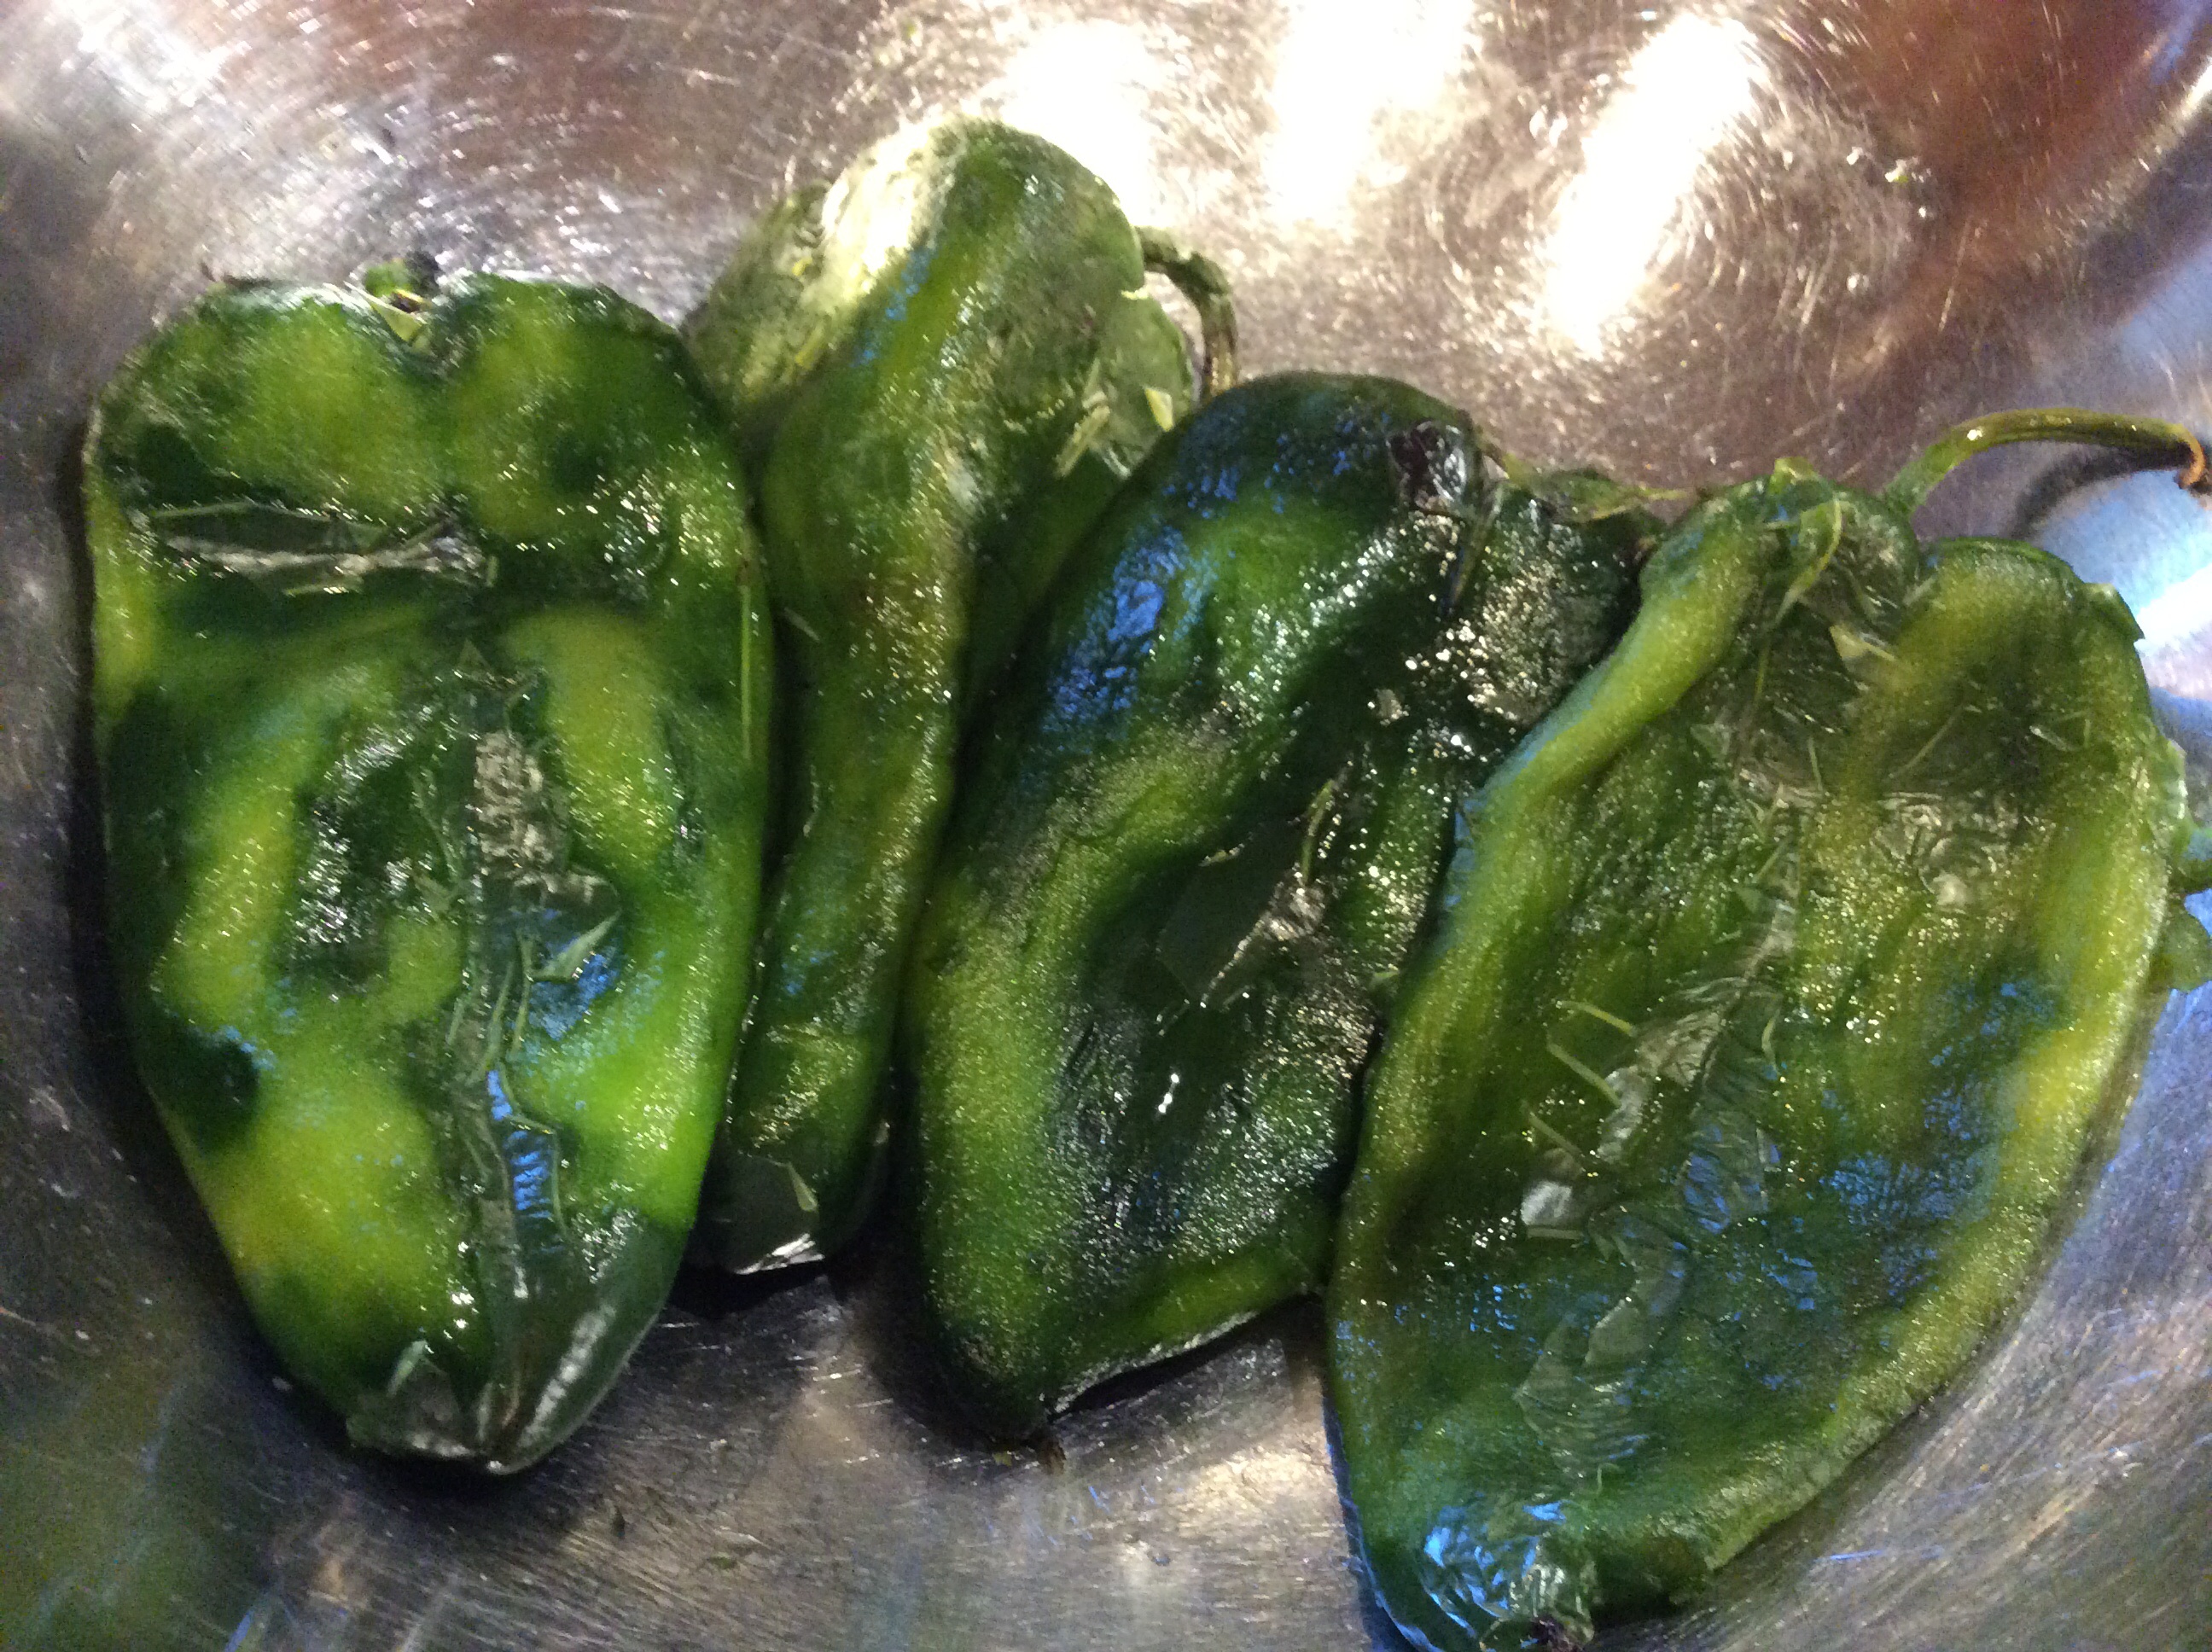
Or, you can just roast them in the oven on high heat turning them often . Either method is very easy and will take those bitter skins right off!
Bitter poblano skins have been removed
Next, make a long slit down the length of one side of each poblano and gently remove all the seeds. I usually run a trickle of water on the inside so I get all of those tiny seeds out. If you do this, make sure to let your poblanos rest on a paper towel to remove excess moisture for at least 5 minutes.
Now they have been split open and seeded
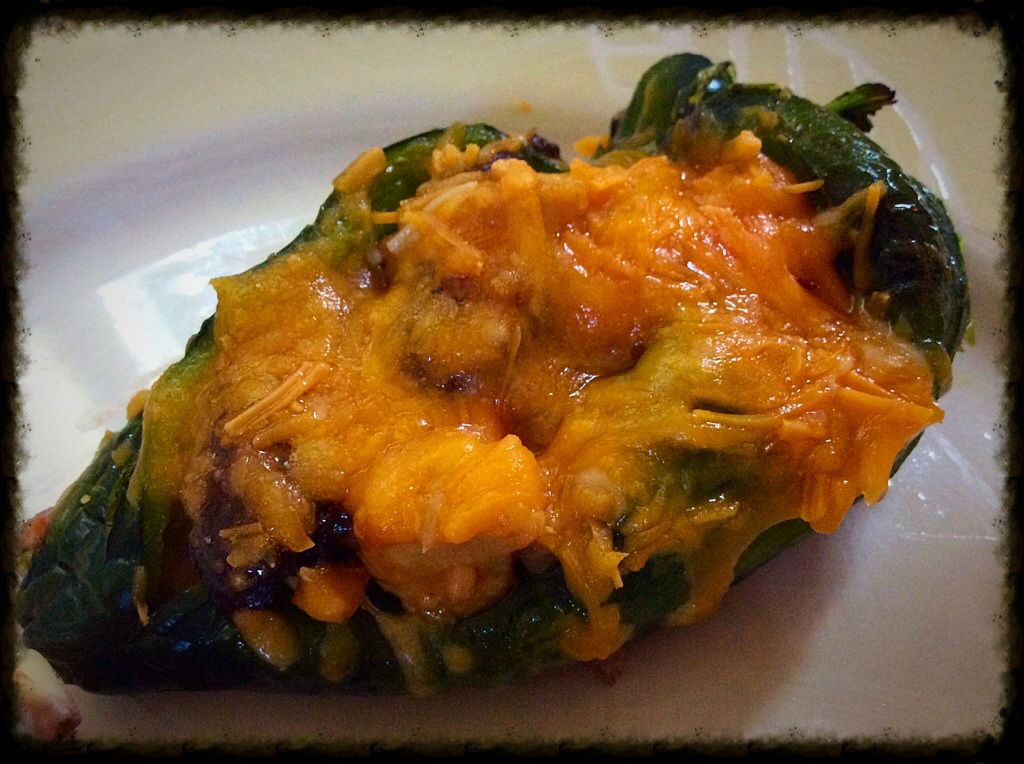
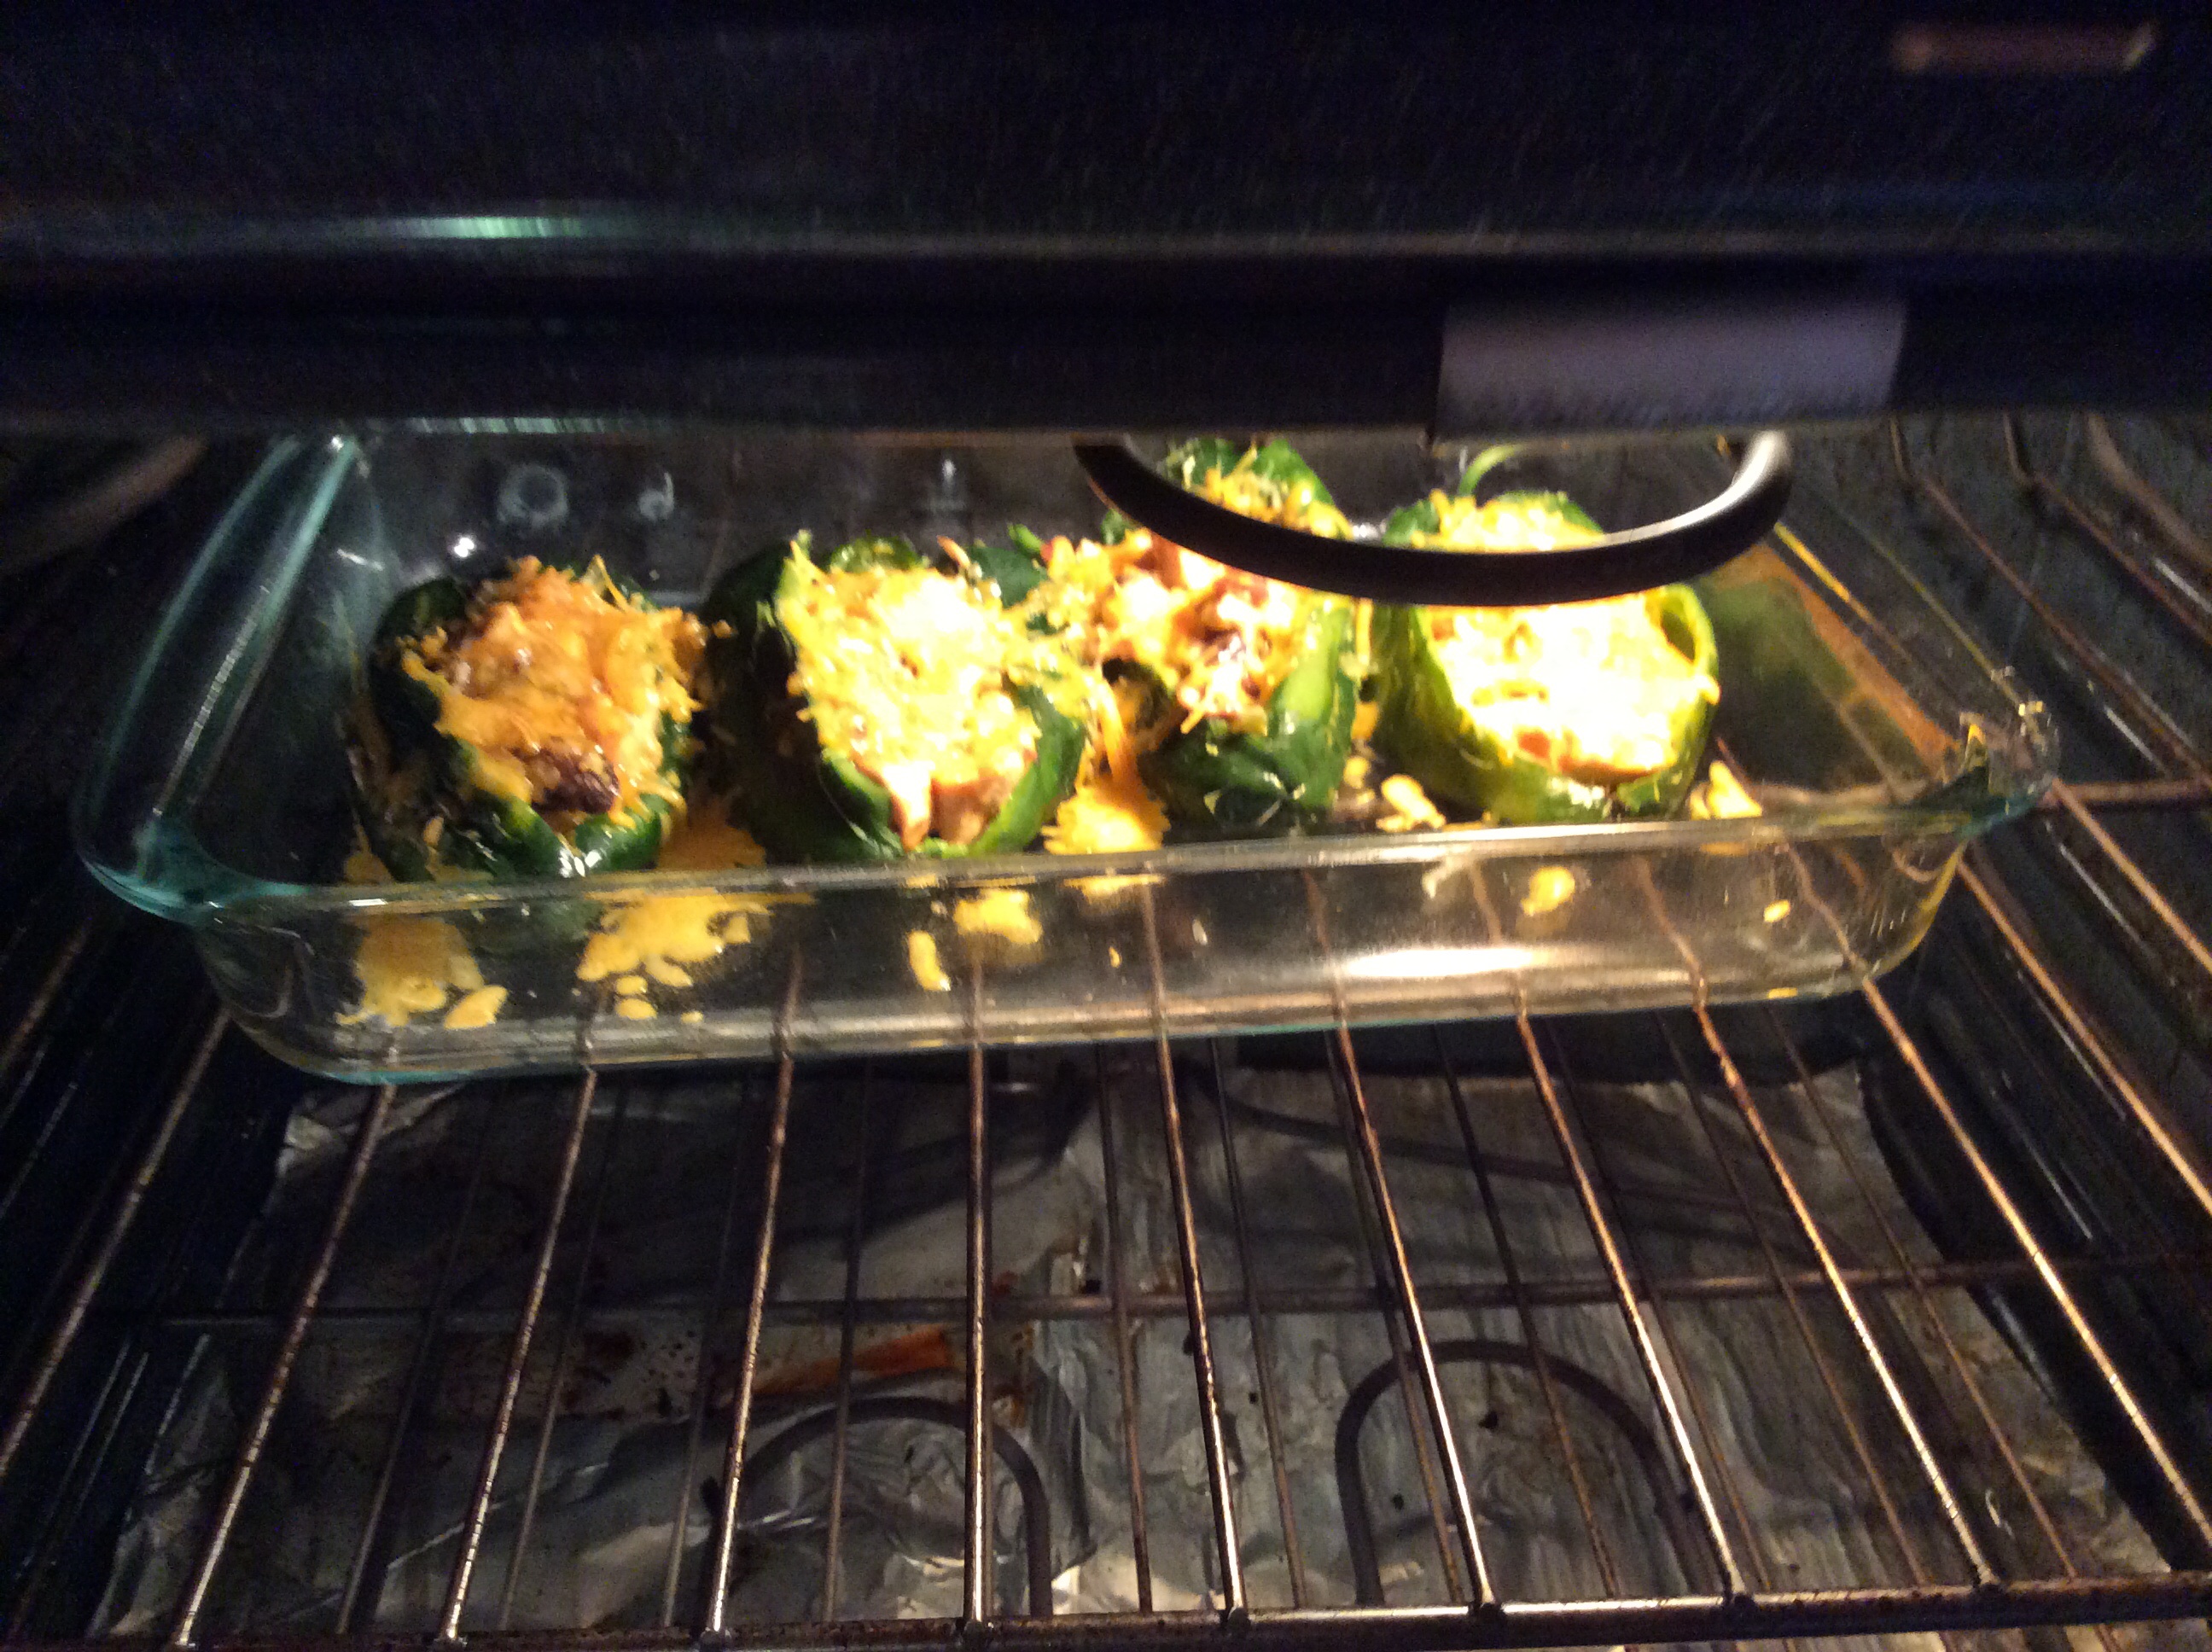
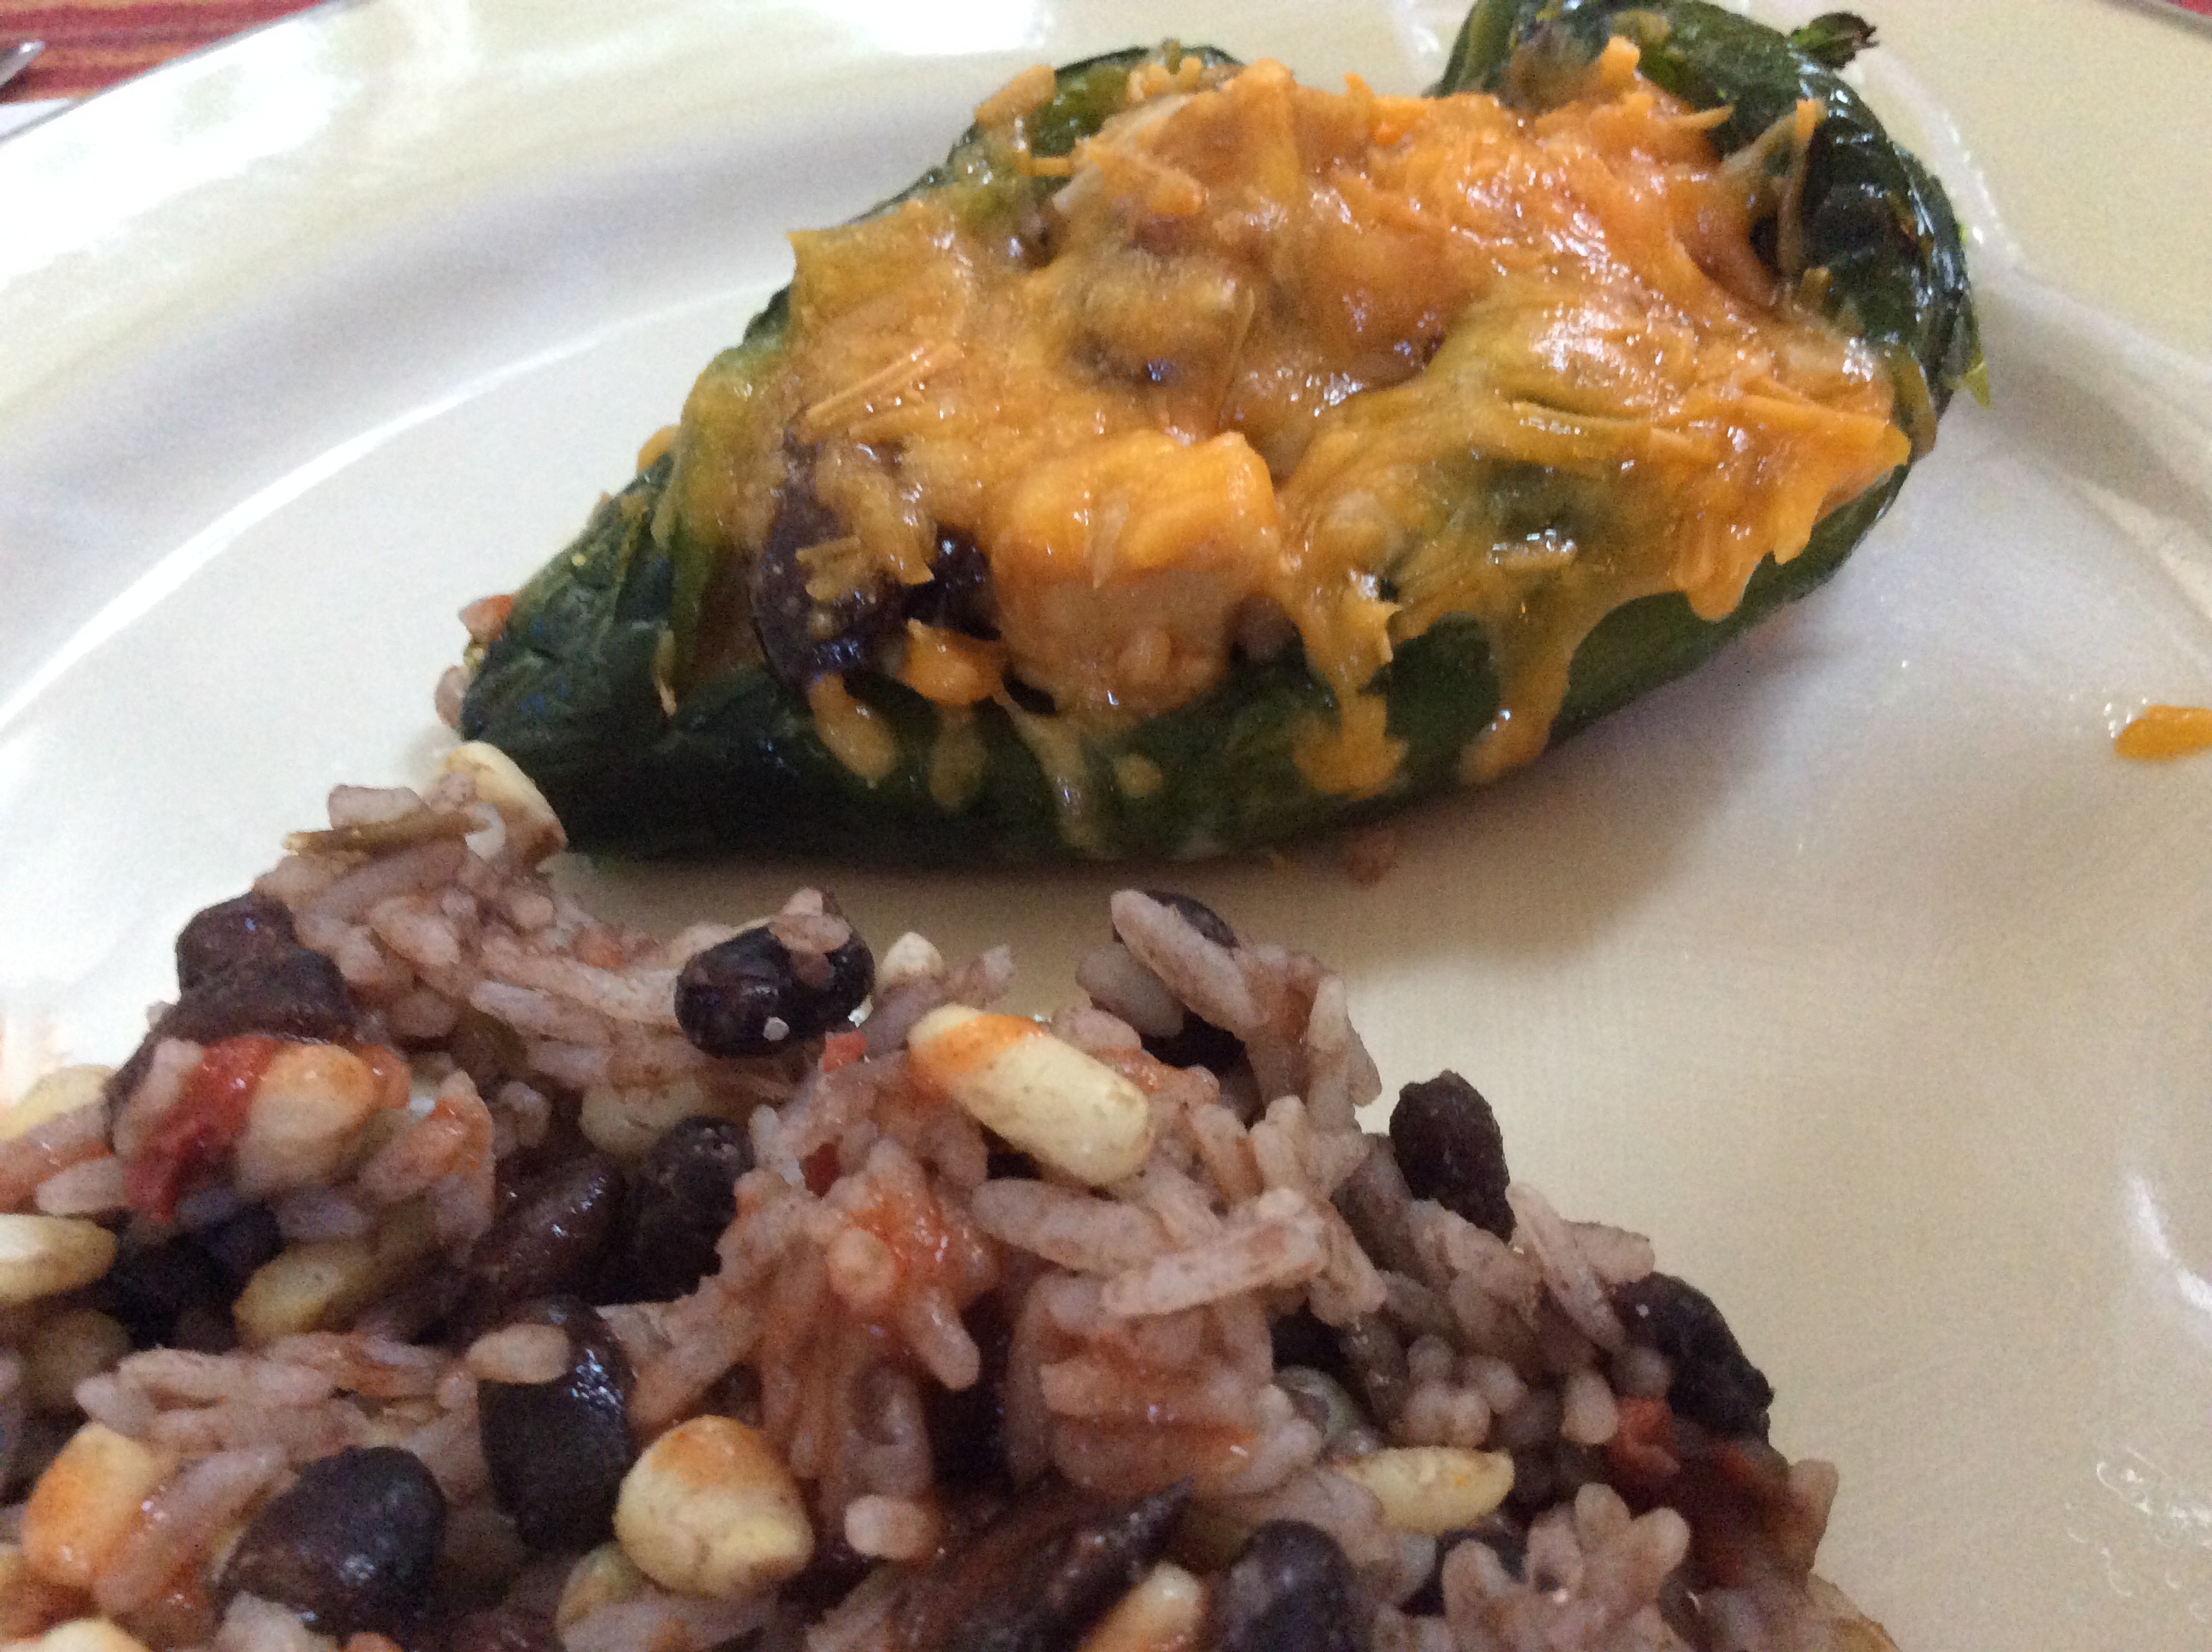
Let the stuffing commence! Simply take your reheated chicken and vegetable mixture and fill those poblanos up. Spray an oven-safe dish with cooking spray and place poblanos inside with filling facing up. Sprinkle with cheese and pop into the oven for about 15 minutes.
Into the oven they go!Served alongside a bed of Black Beans & Rice
Bottom Line: We loved it! It gave me a great feeling of knowing I had come up with such a great dish and didn’t waste any of my leftover food. I am certain there are more leftovers that could be used to go right into these tasty poblanos! Please try this in your kitchen and share what leftover fillings you used…Until then, I’m Chef Frankie telling you to Keep on Cookin’!
Often the week days are just too darn busy to think about being in the kitchen and cooking a hot meal for the family. You may be tempted just to order a greasy pizza or run through a drive thru on the way home. However, this chicken recipe will change all that for you because it comes together quickly, it is extremely economical, and the family will love it! Even better, it is very kid-friendly with just a few adjustments!
Chicken and Vegetable Bake
My Chicken And Vegetable Bake all came to fruition one day when I didn’t feel like running to the grocery store but wanted something more than just take-out. After scrounging around in my kitchen, I found that I had some onions, a green pepper from the garden, and some mushrooms. I also found some chicken cutlets in the freezer and I thought for sure I could do something with this! What I call Chef Frankie’s Chicken and Vegetable Bake was born!
Ingredients
12 oz. boneless chicken cutlets or tenders
1/4 cup mayonnaise
1/4 cup mustard (I prefer Dijon)
6 pieces bacon, chopped
1 green bell pepper, cut into strips
1 medium onion, cut into strips
1 clove garlic, chopped
8 oz. mushrooms, sliced
1 tsp oregano
1 tsp onion powder
Kosher Salt and Black Pepper, to taste
2 – 3 cups shredded cheese
Olive Oil
Directions
Preheat oven to 350 degrees.
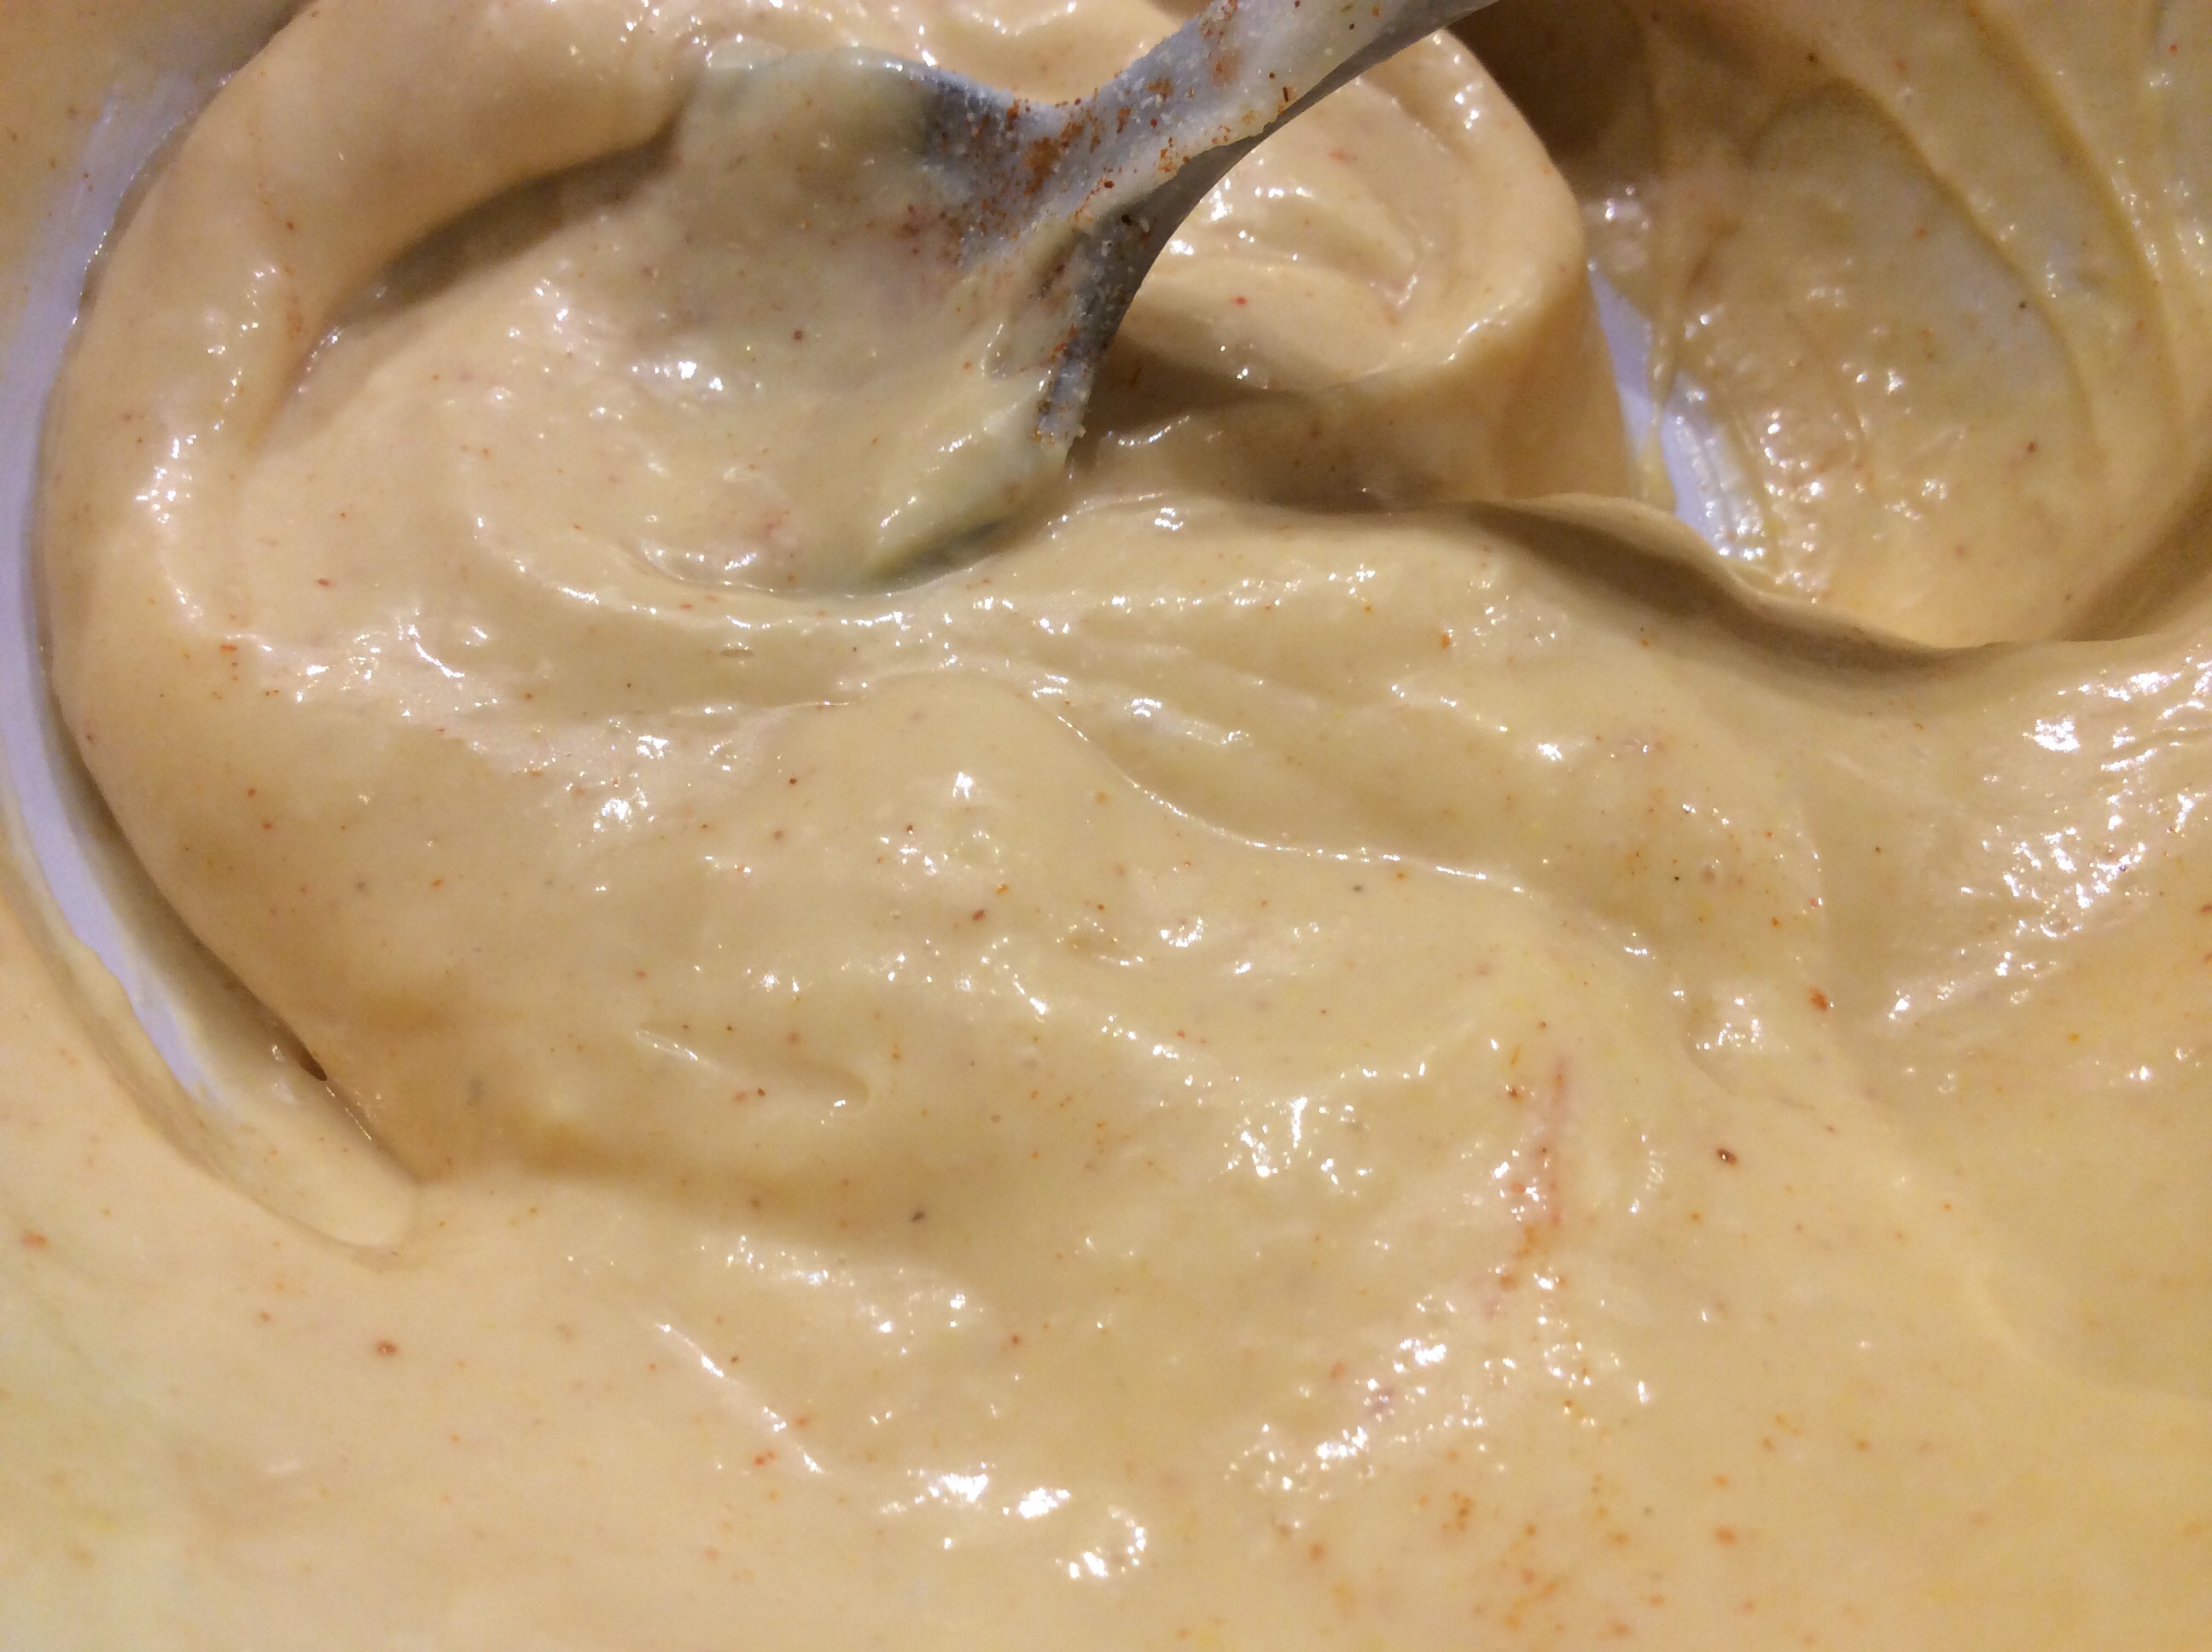
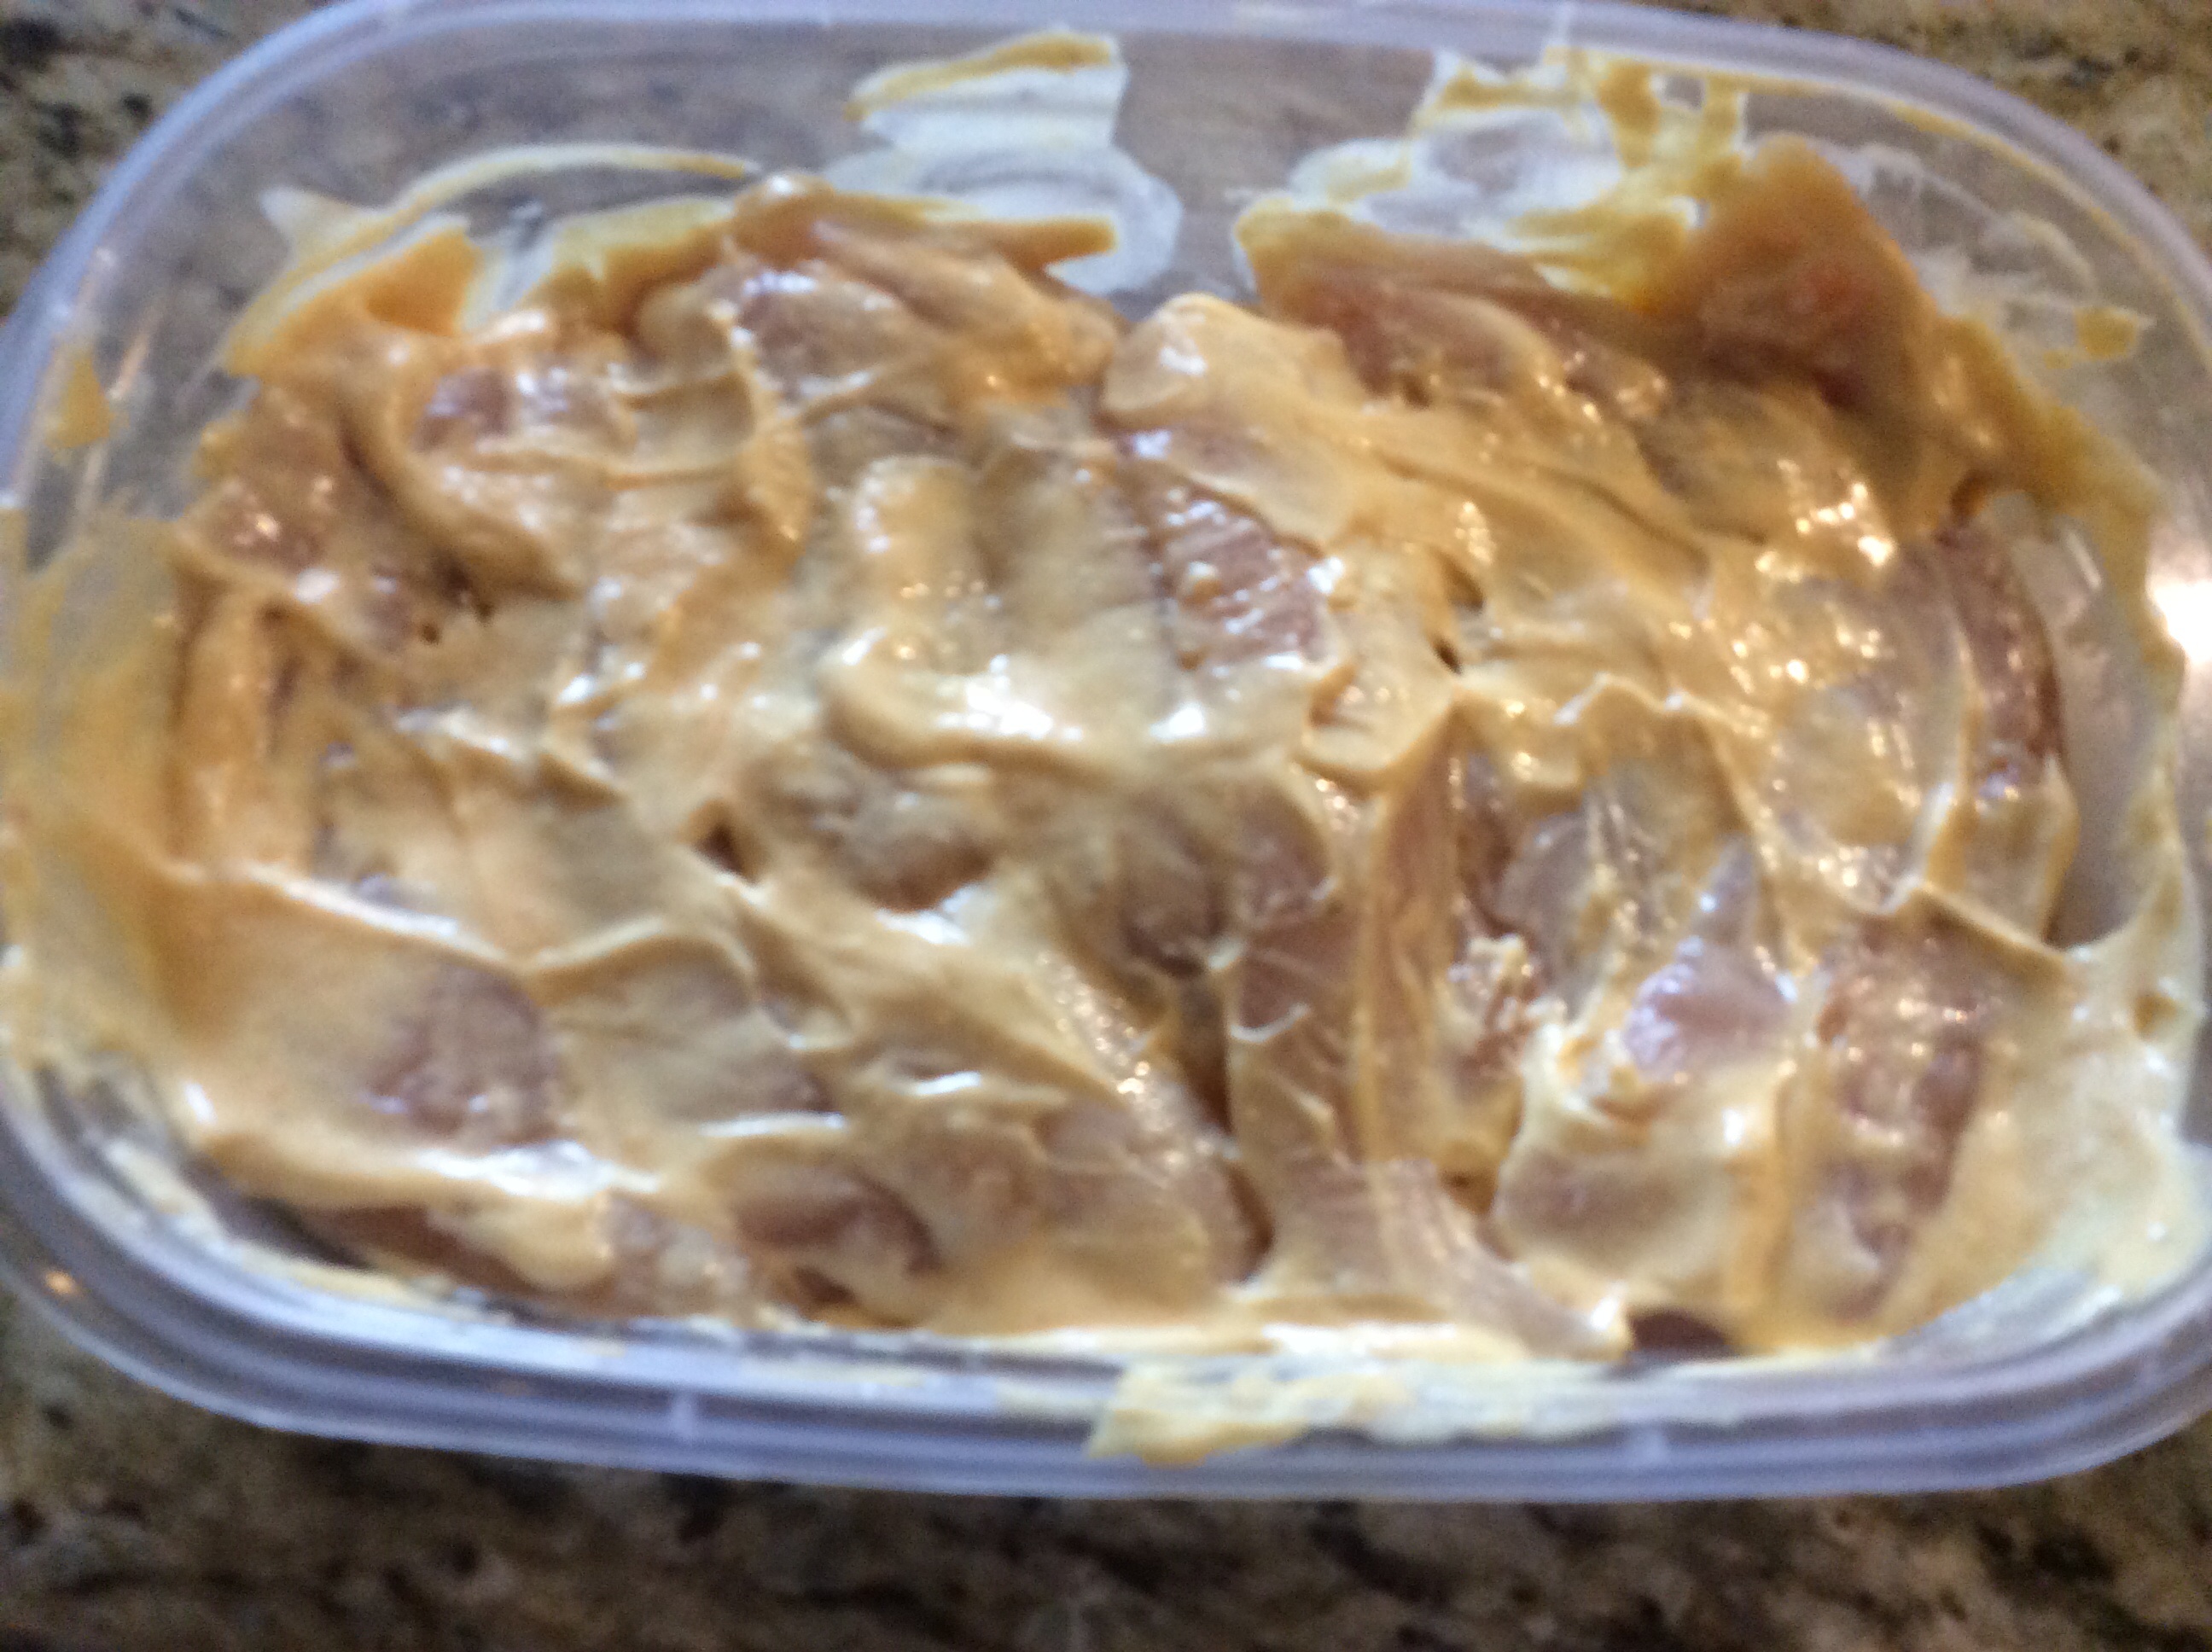
Combine mustard and mayo to create a marinade sauce
Spread marinade over chicken and refrigerate for at least 30 minutes
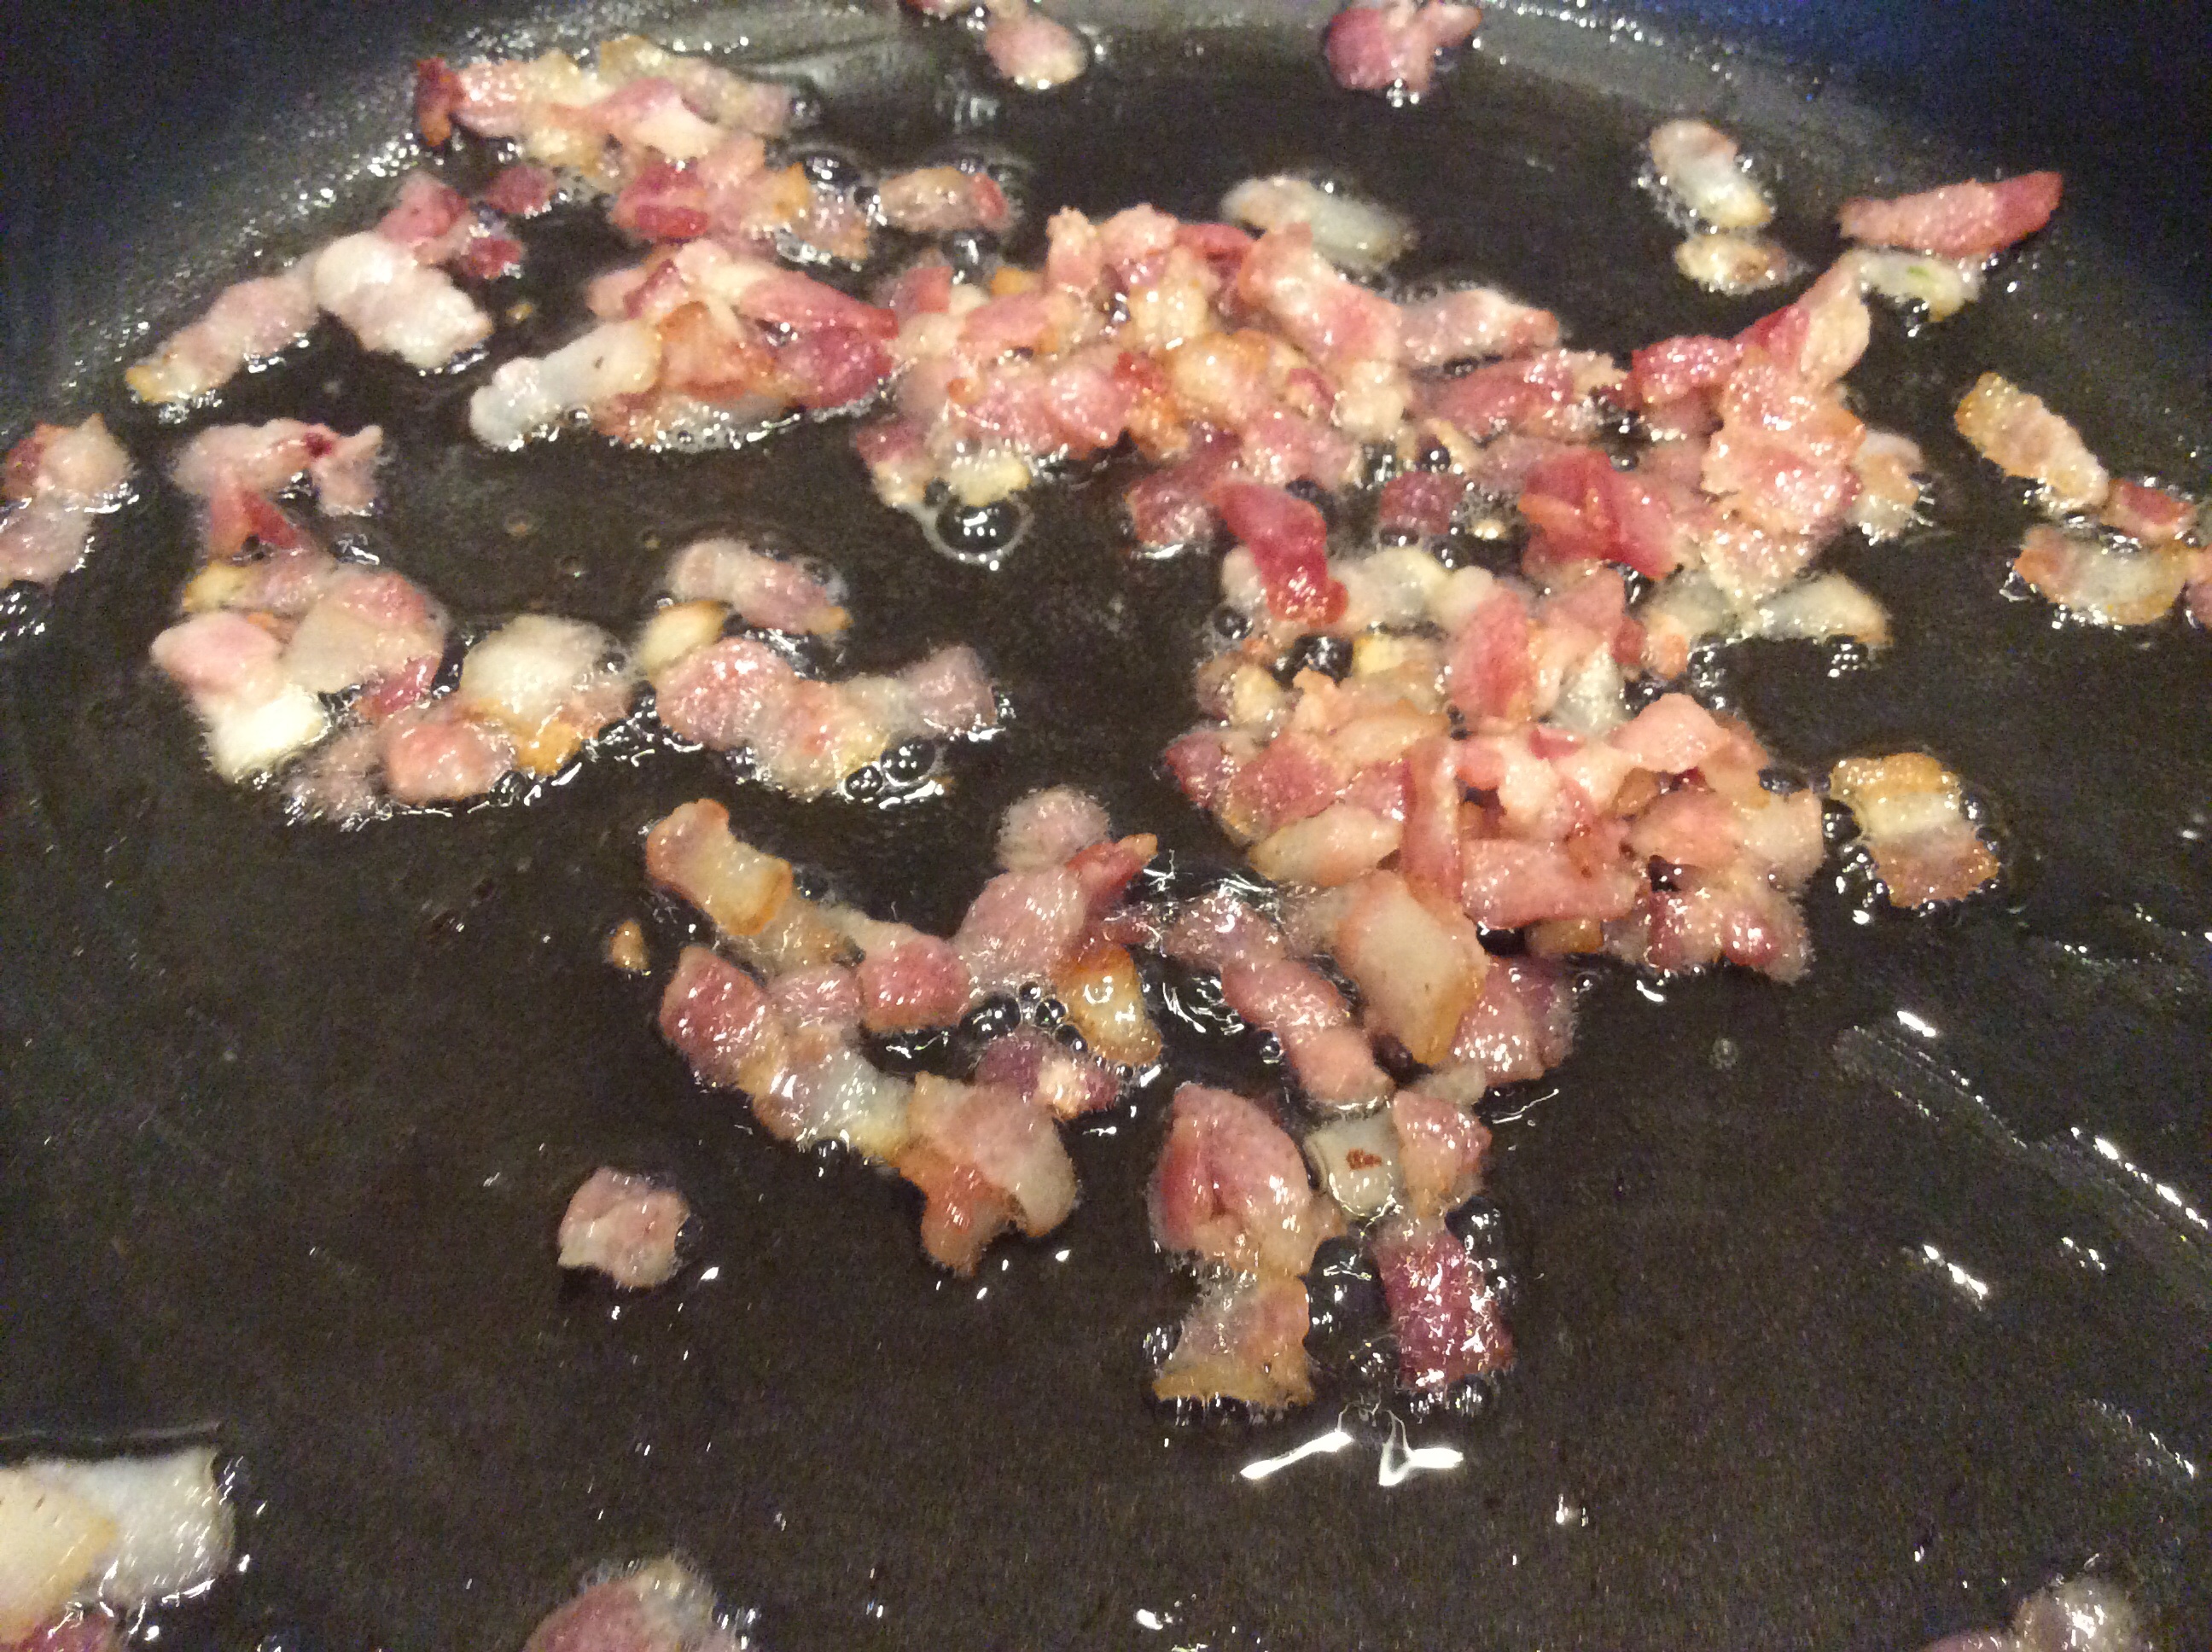
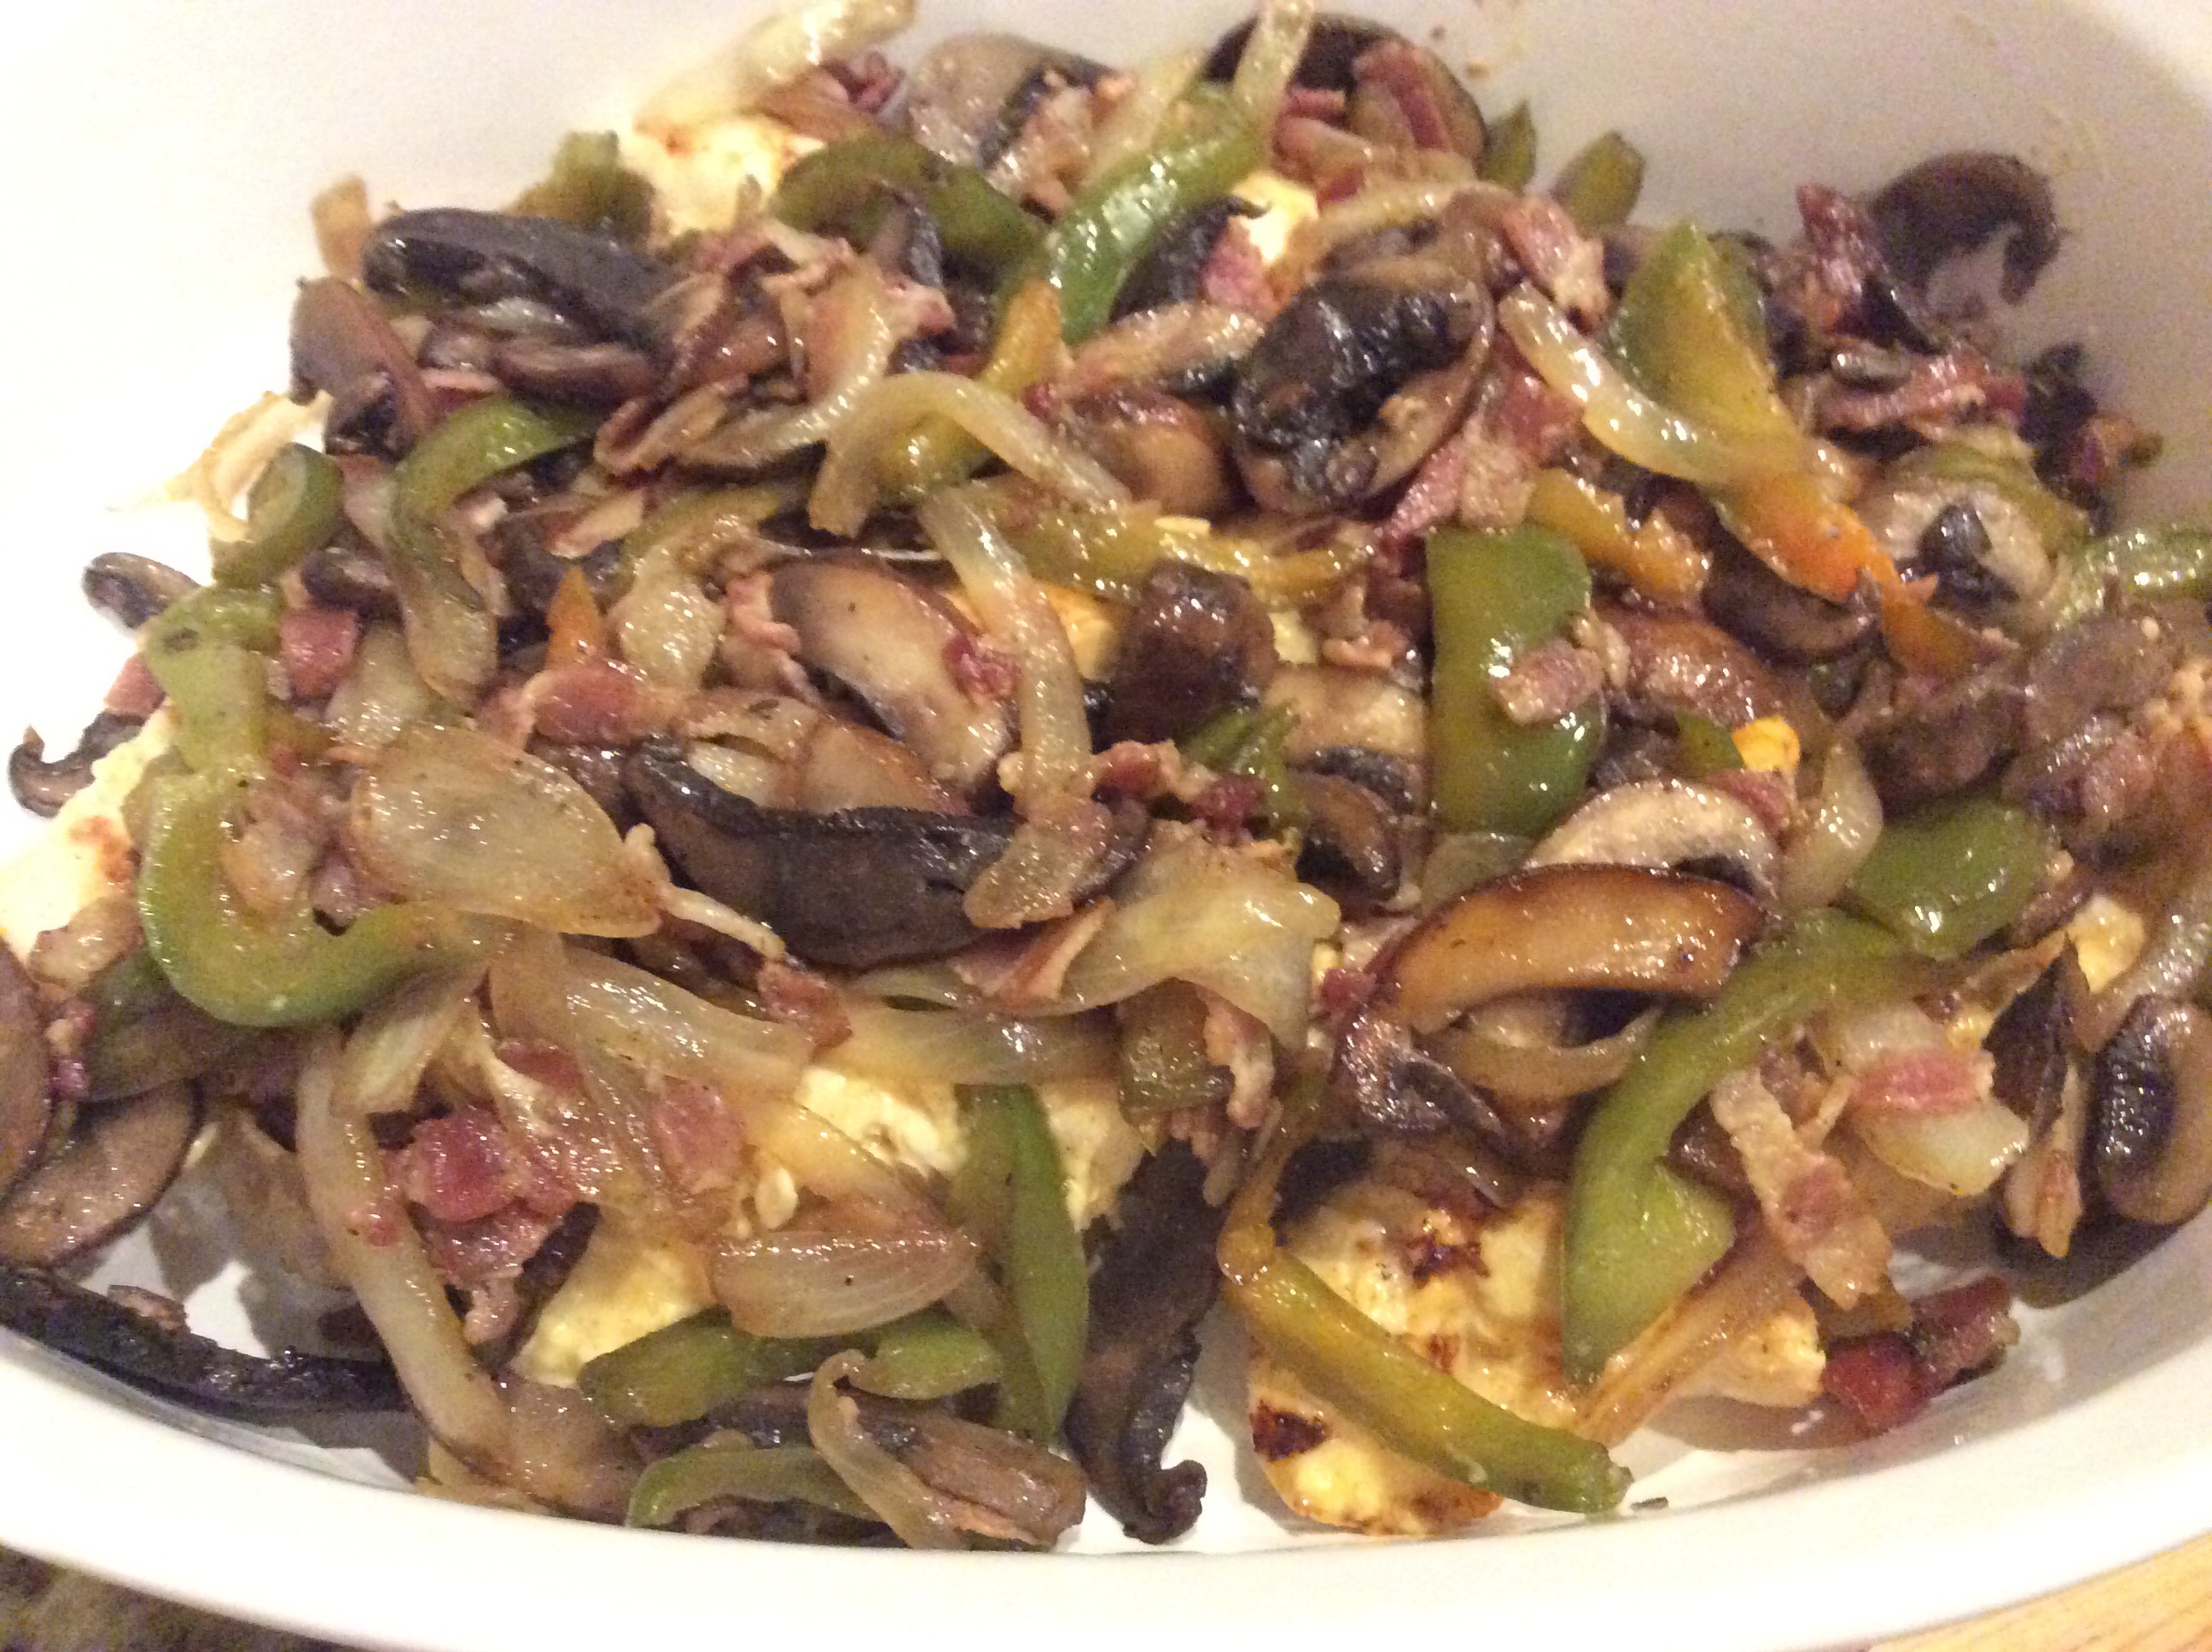
In a large sauté pan, sauté bacon until tender.
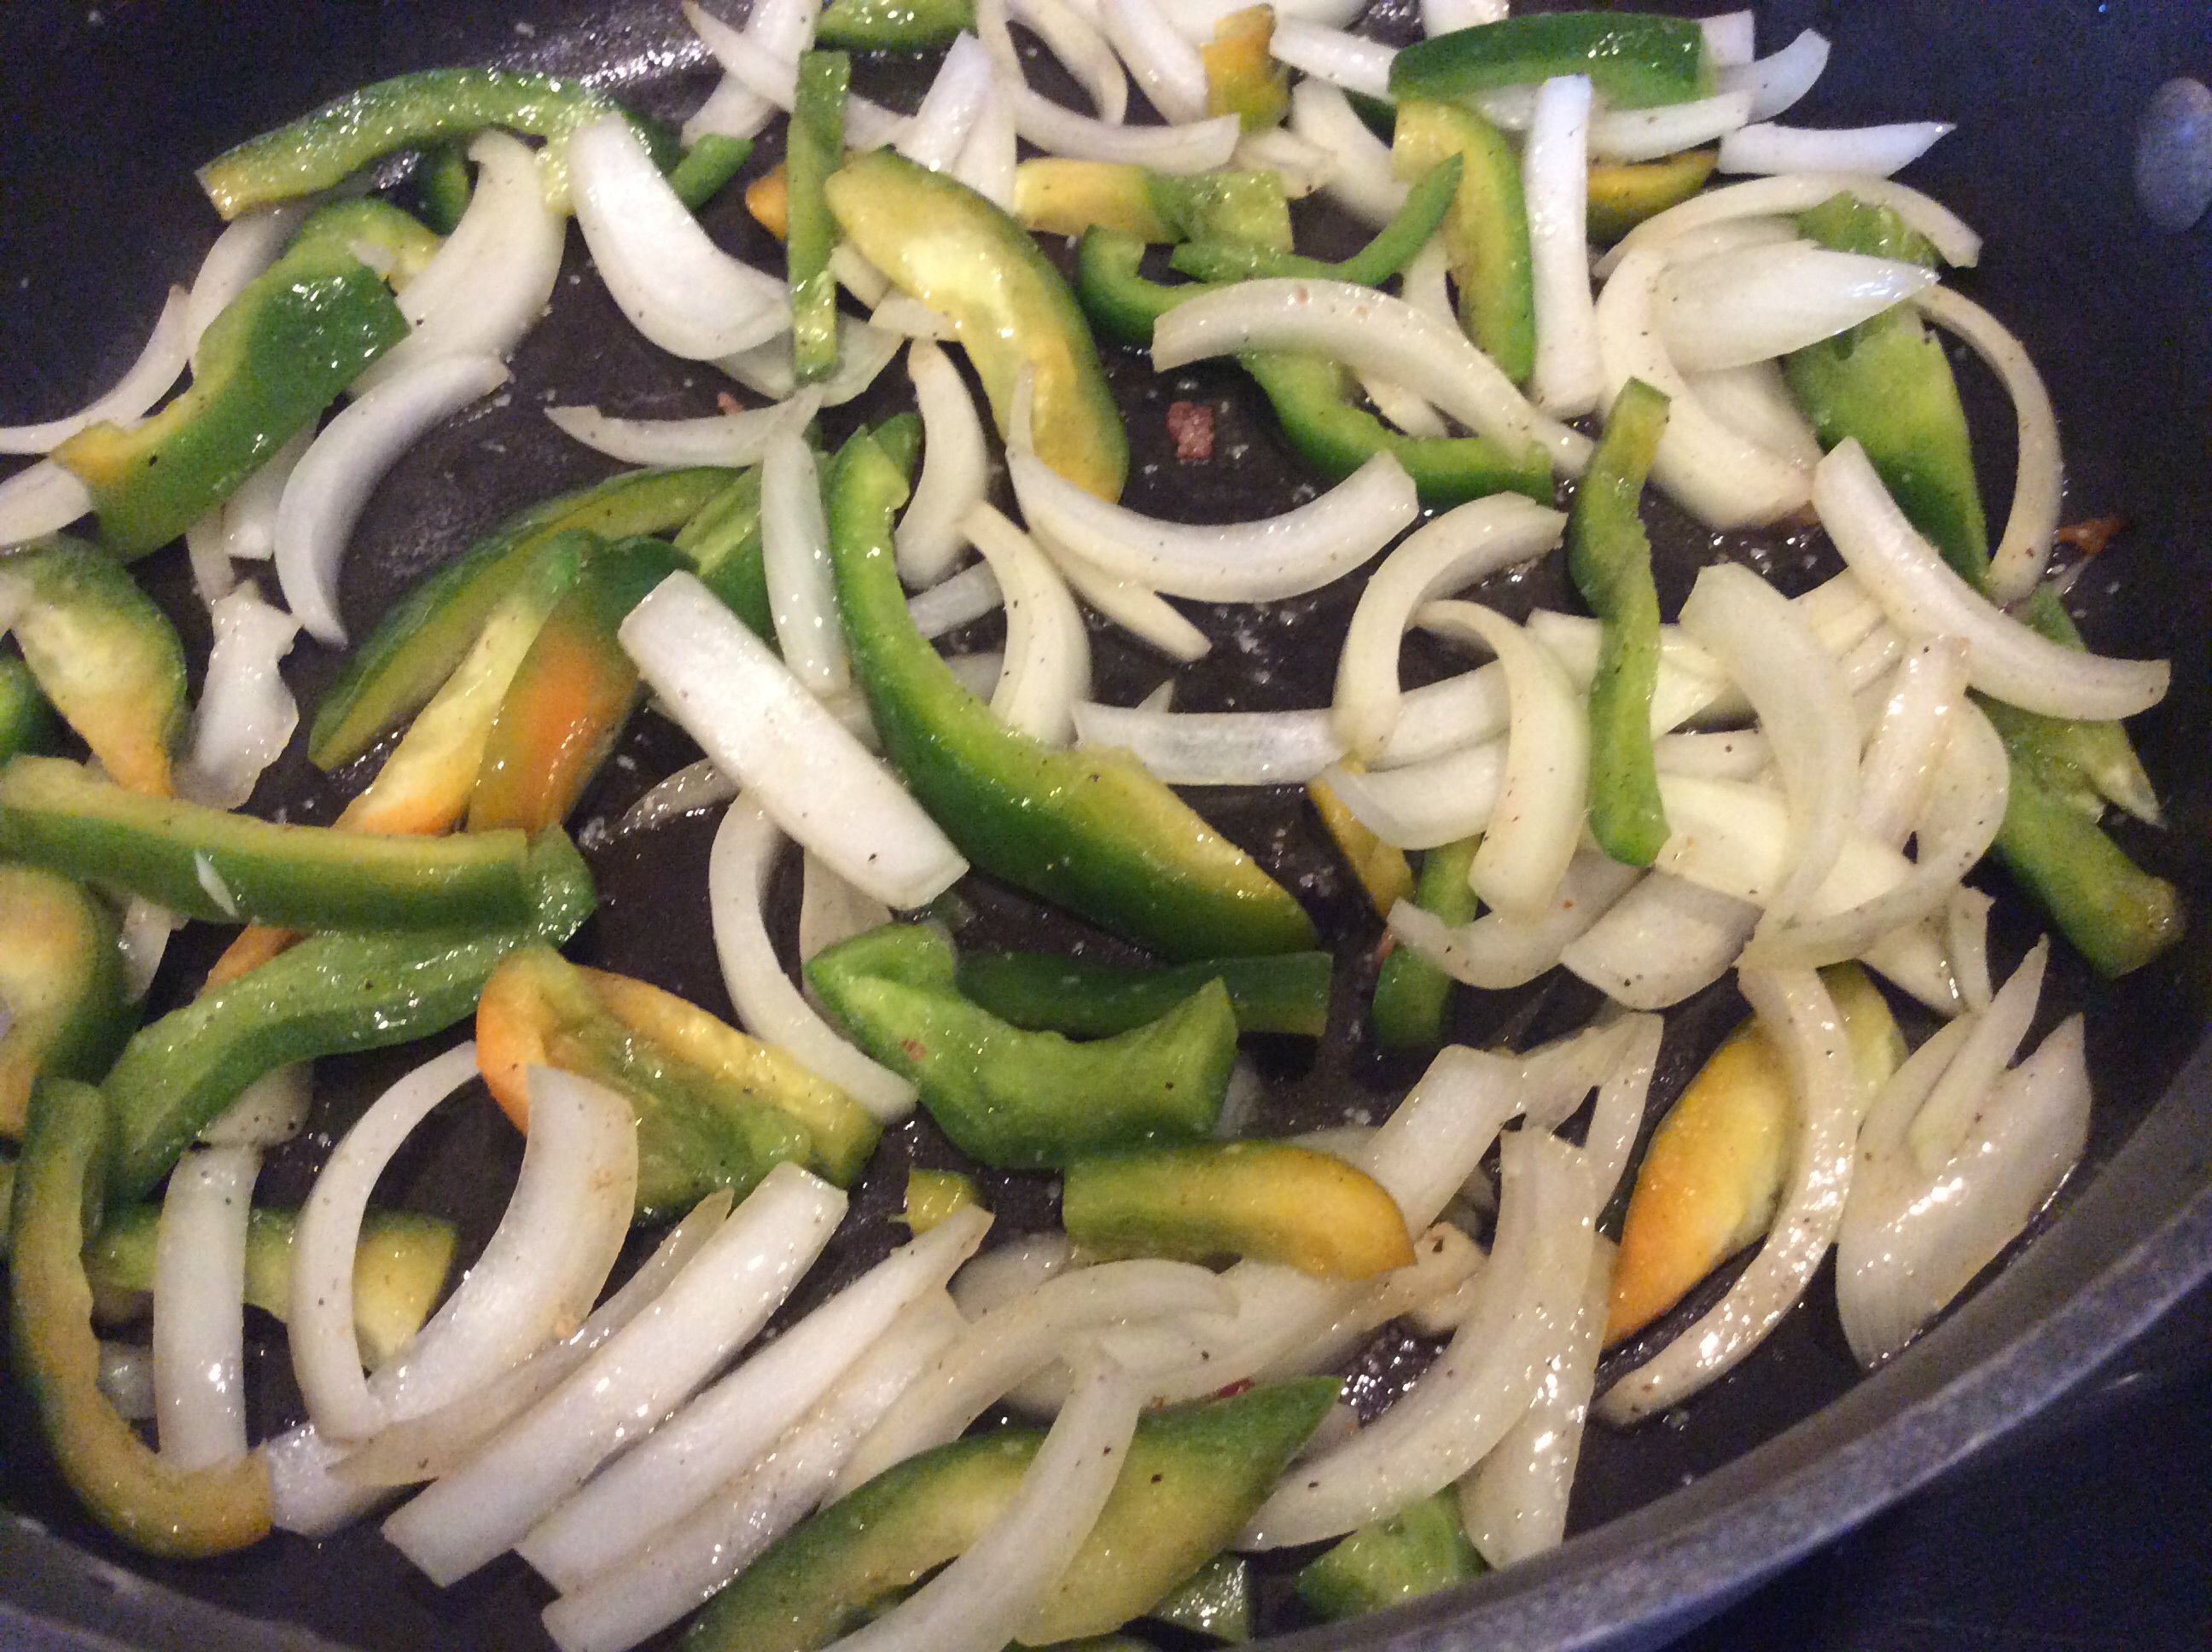
Add peppers, onions, and garlic to sauté pan
Add in mushrooms and remaining seasonings into the pan
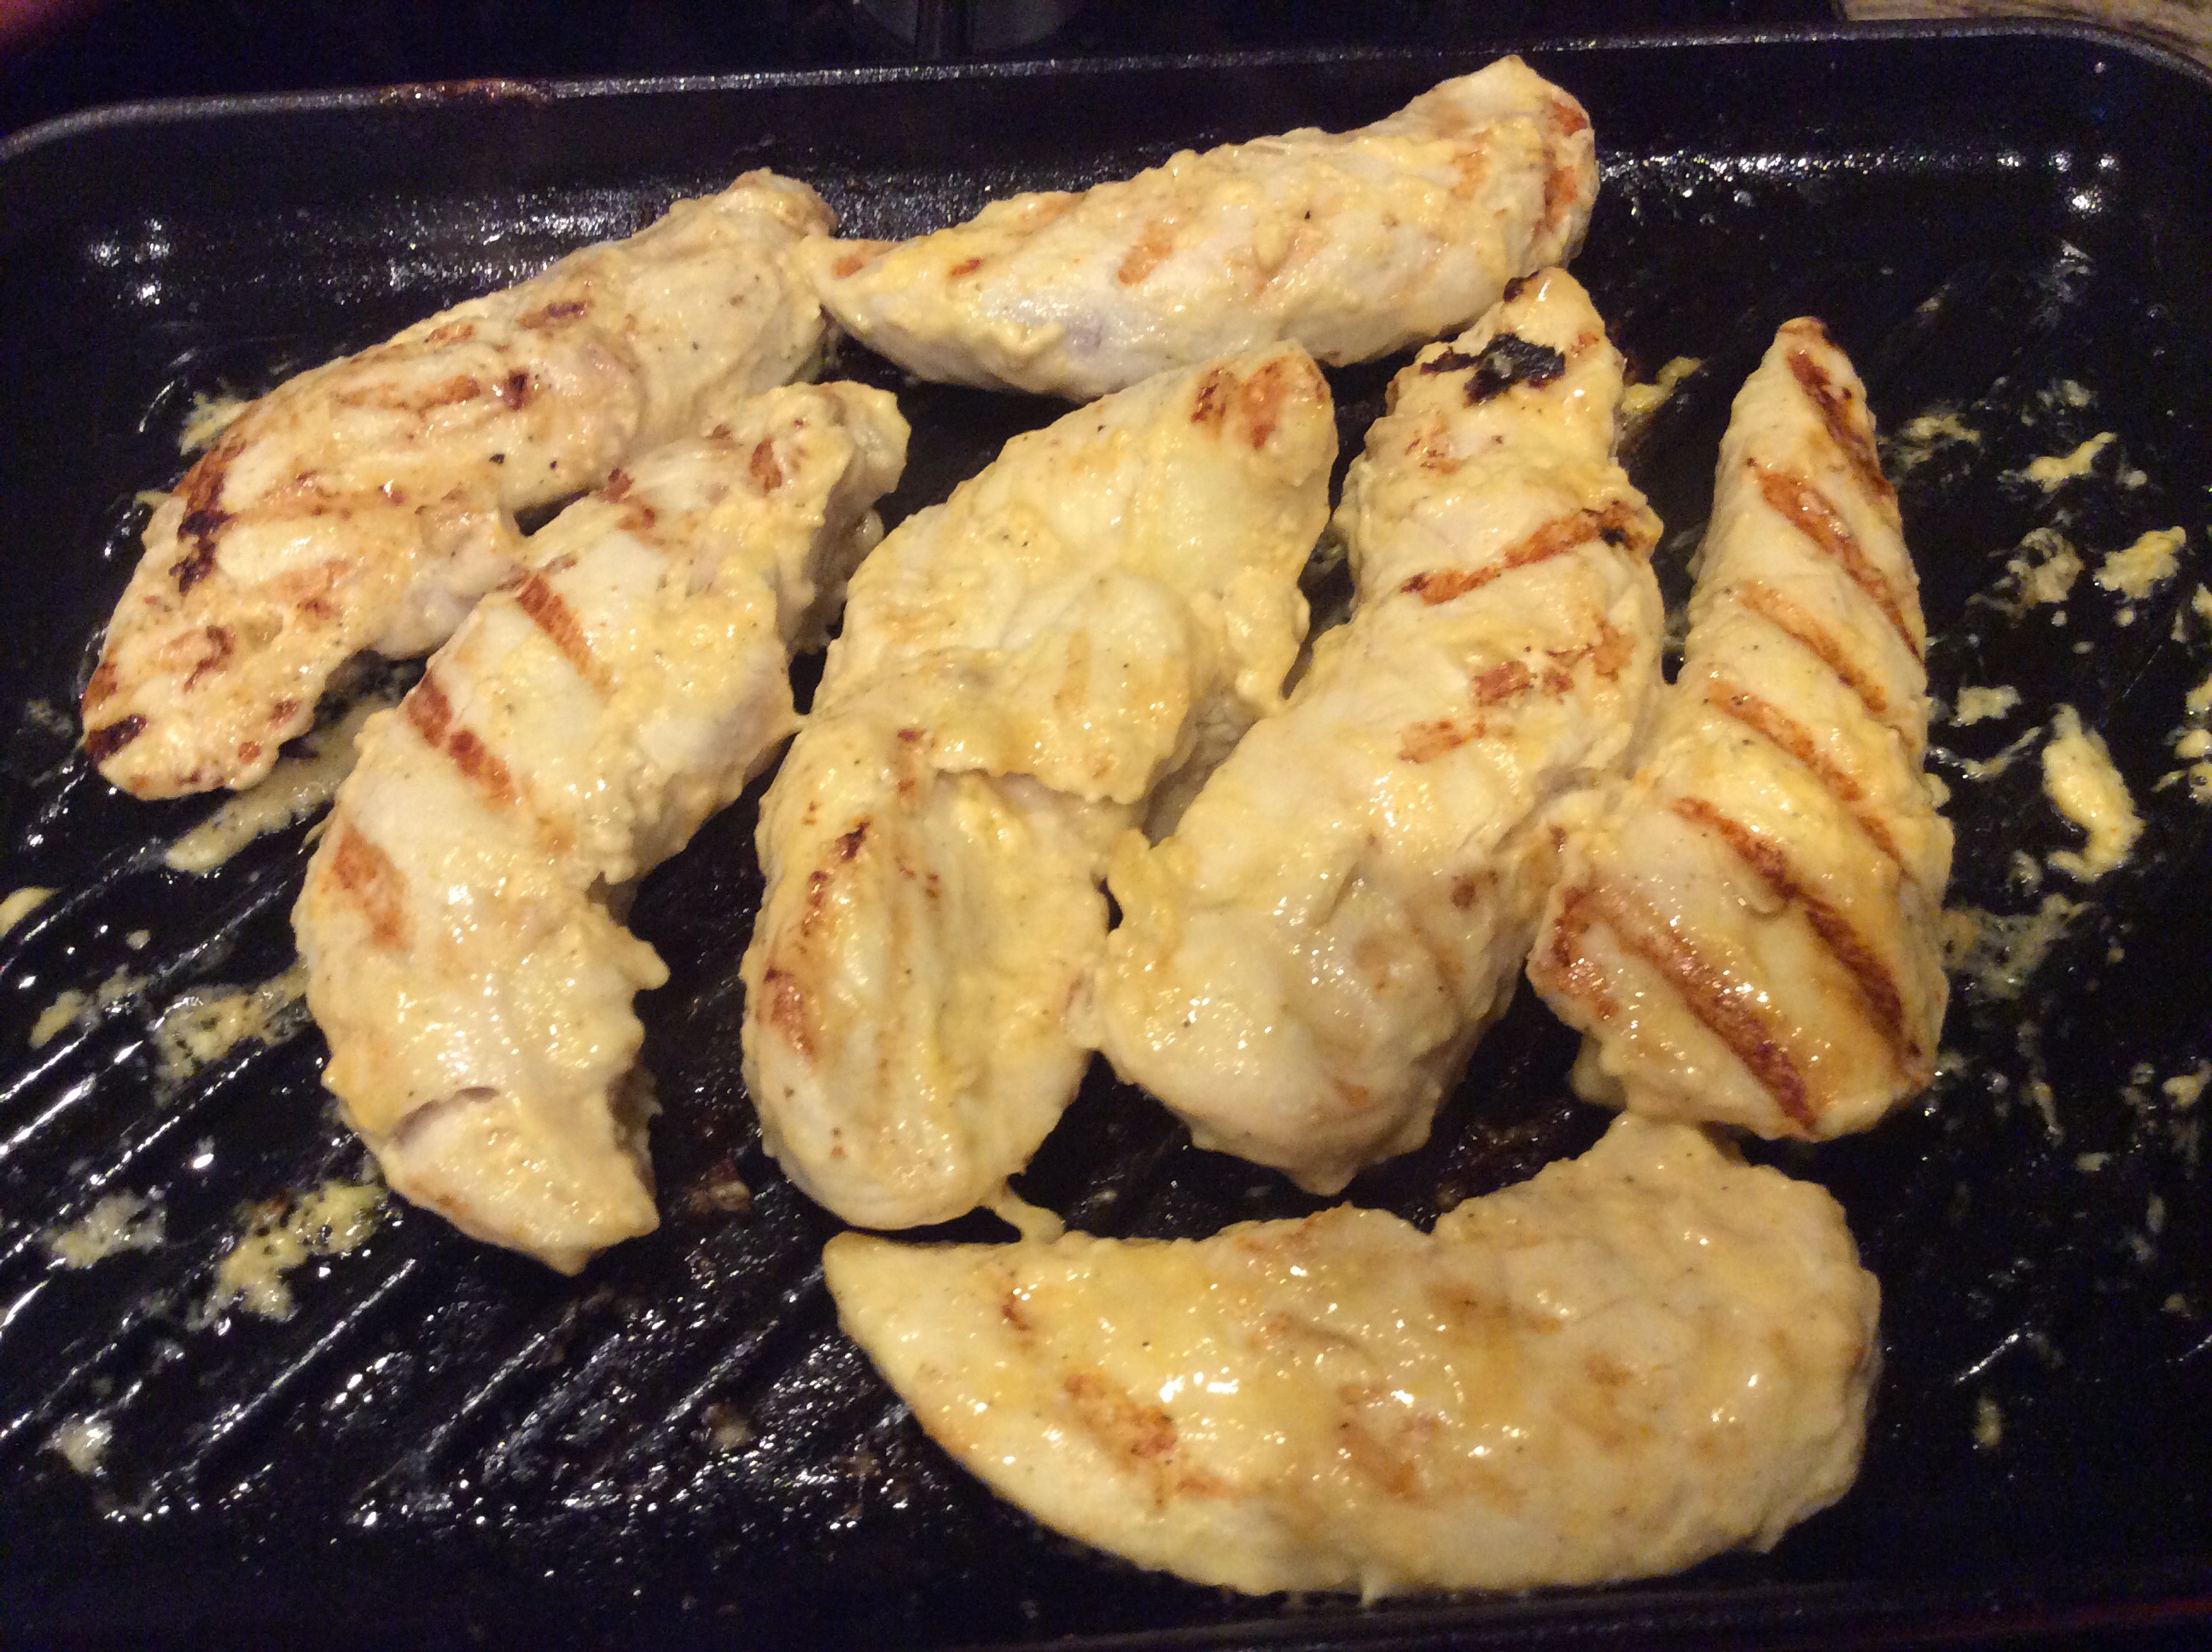
Heat olive oil on an indoor grill pan (or just throw it onto your outside grill).
Remove the chicken from the refrigerator and sear the on both sides. Just sear it; DO NOT cook it through.
Grease a casserole dish with cooking spray.
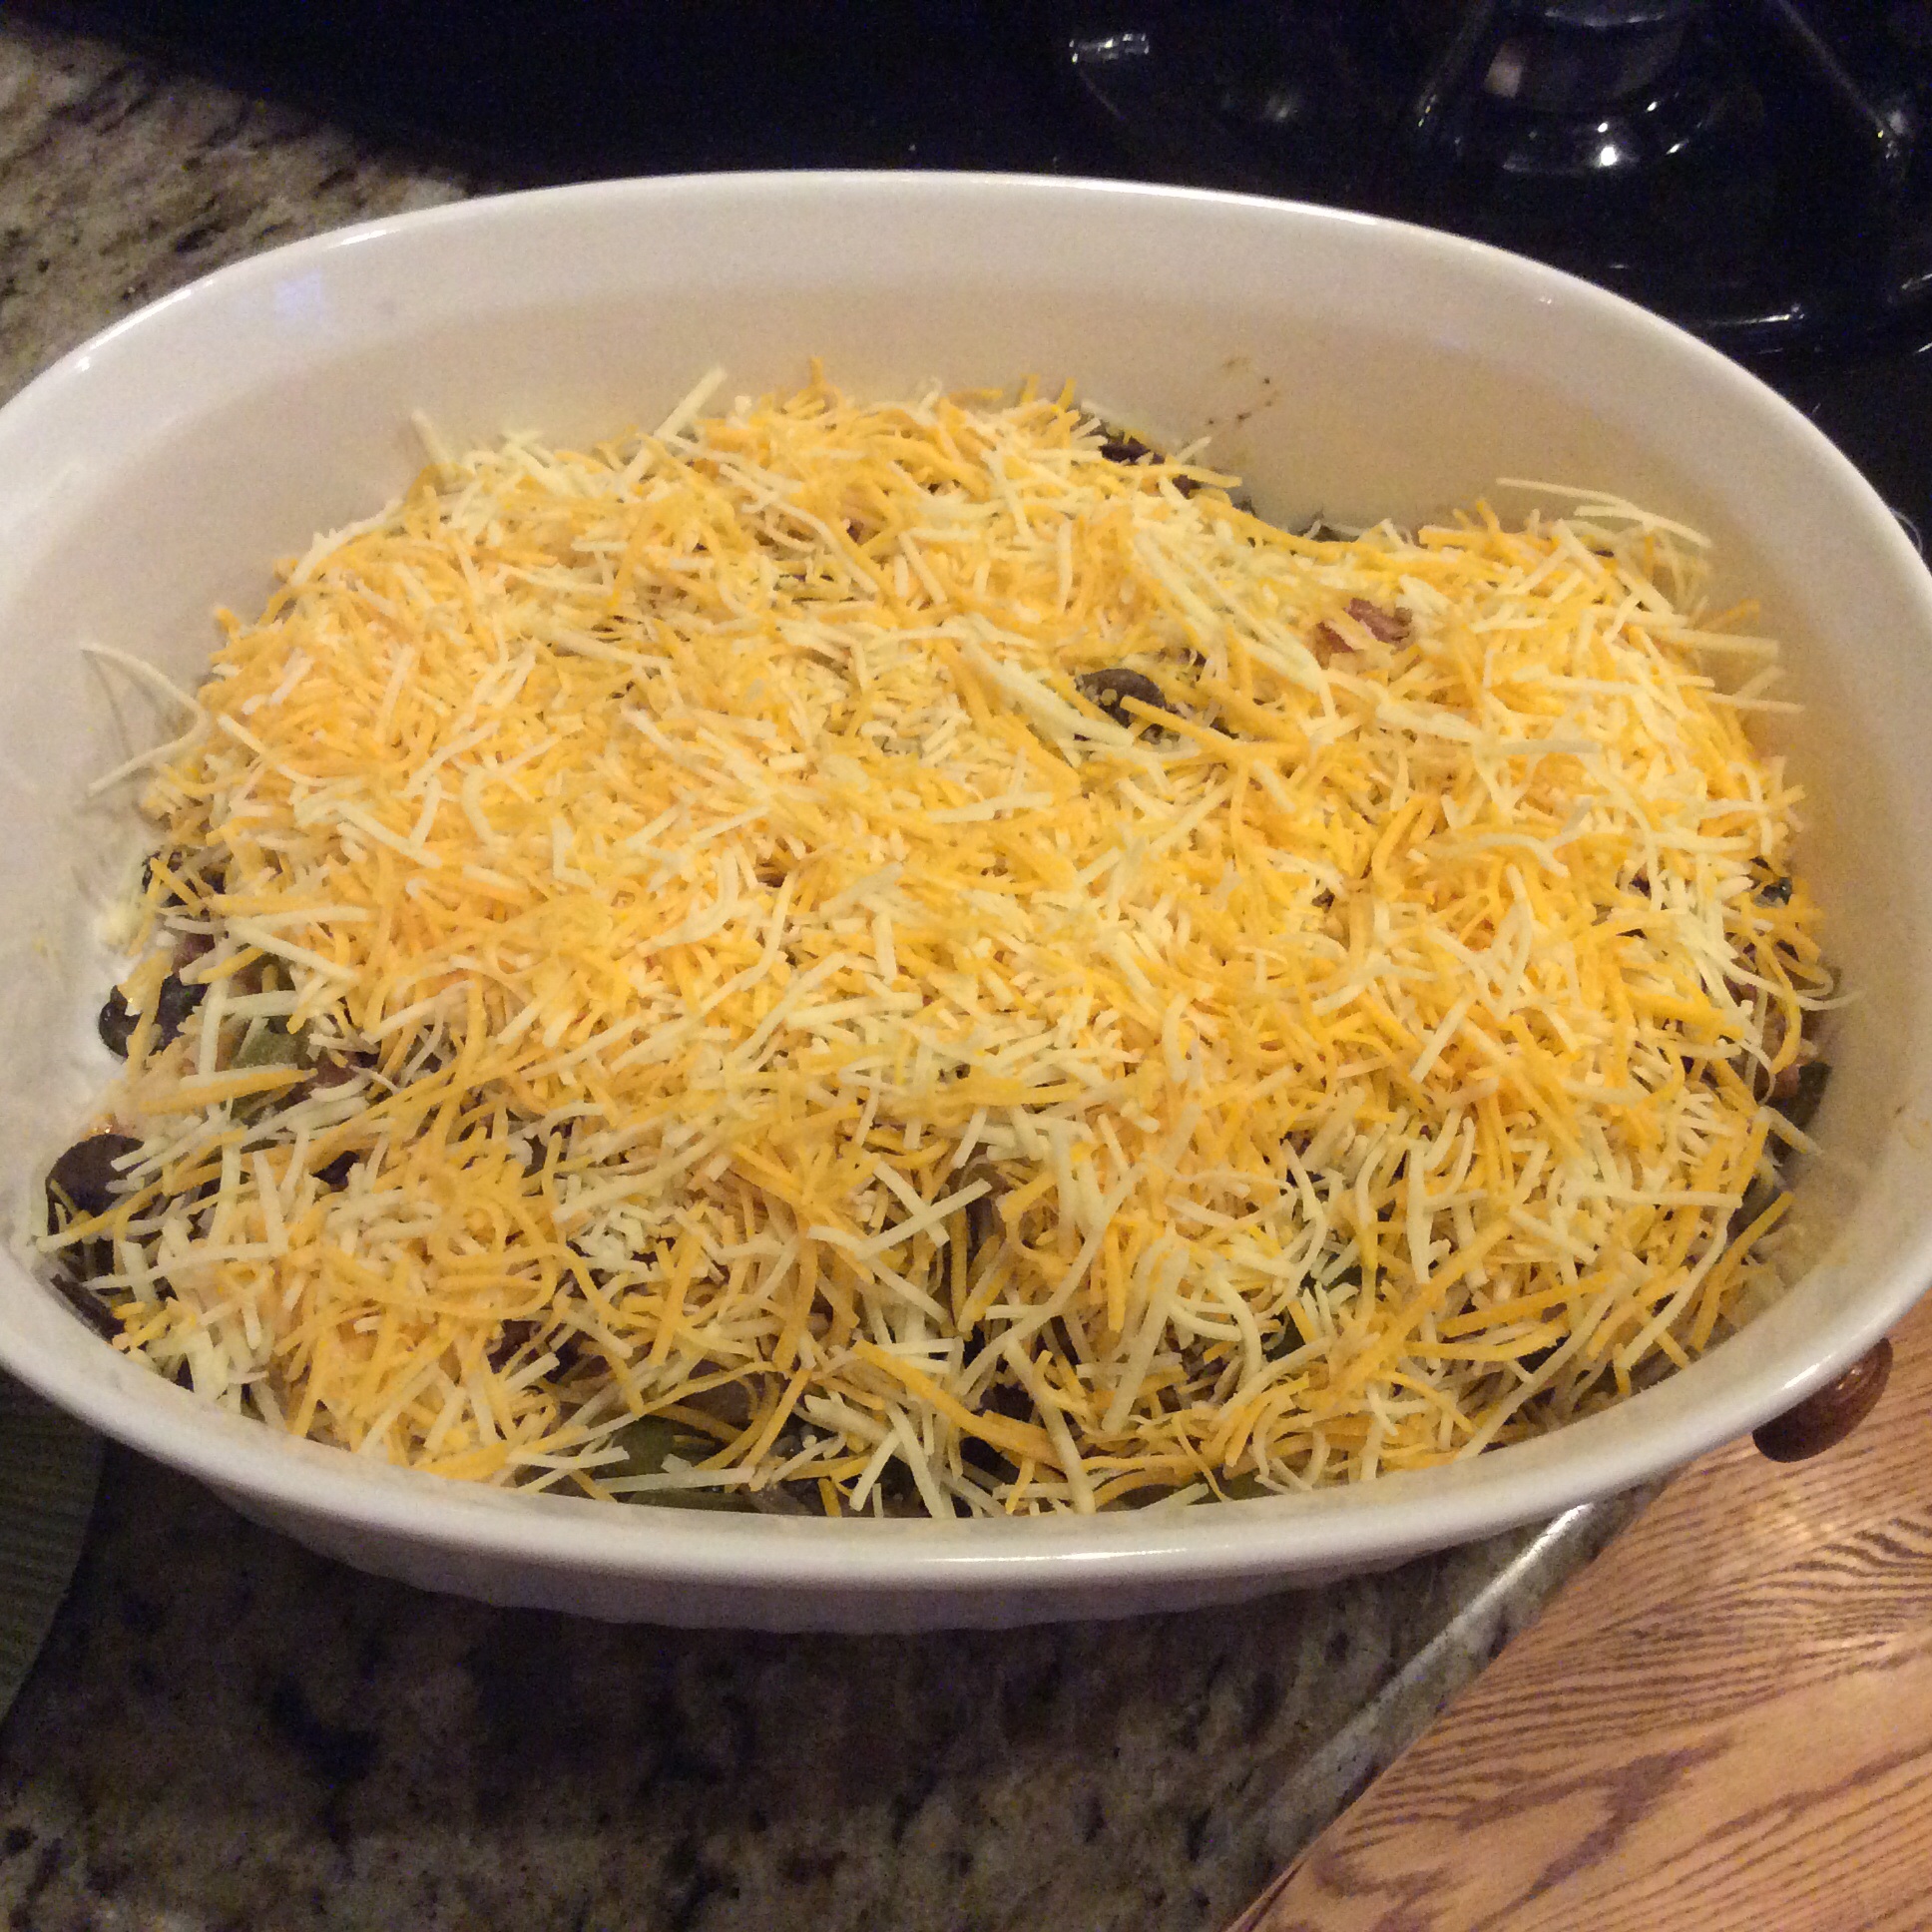
Place chicken in the bottom of the casserole dish. Next, cover with the sautéed vegetables.
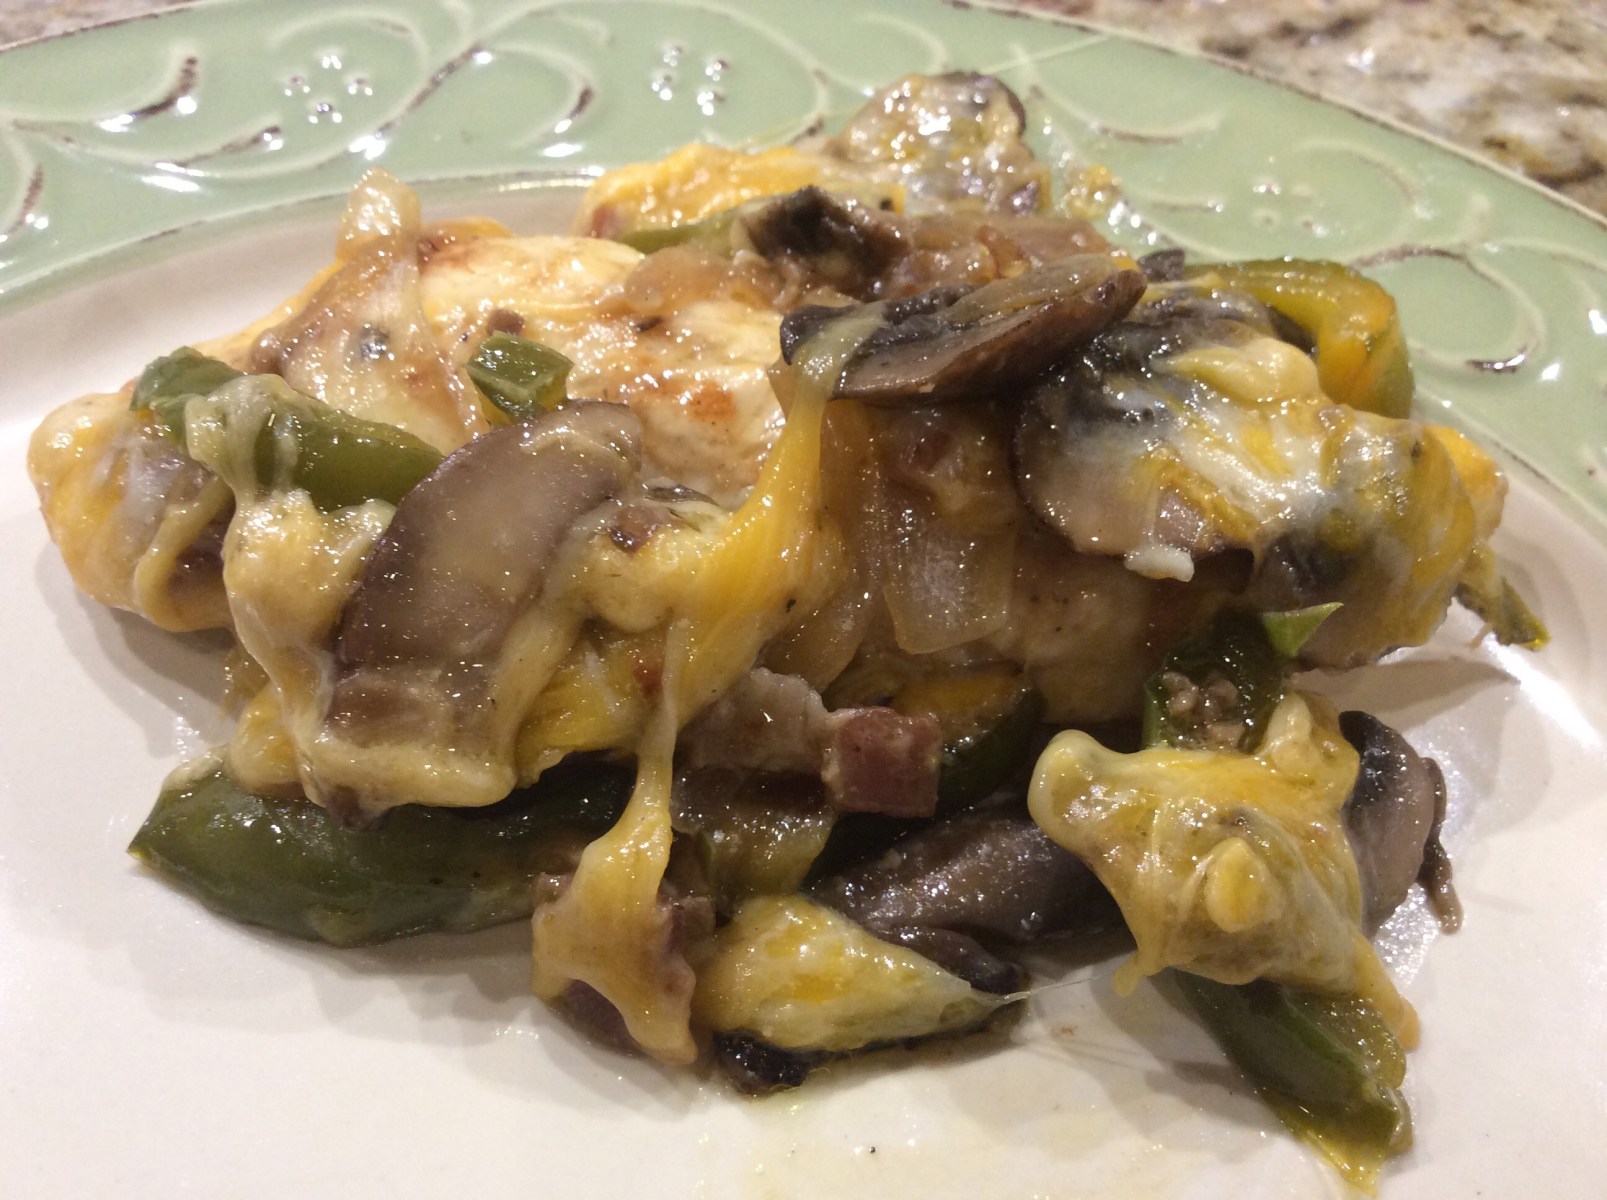
Top with the shredded cheese and bake for 15 – 20 minutes or until chicken is cooked through
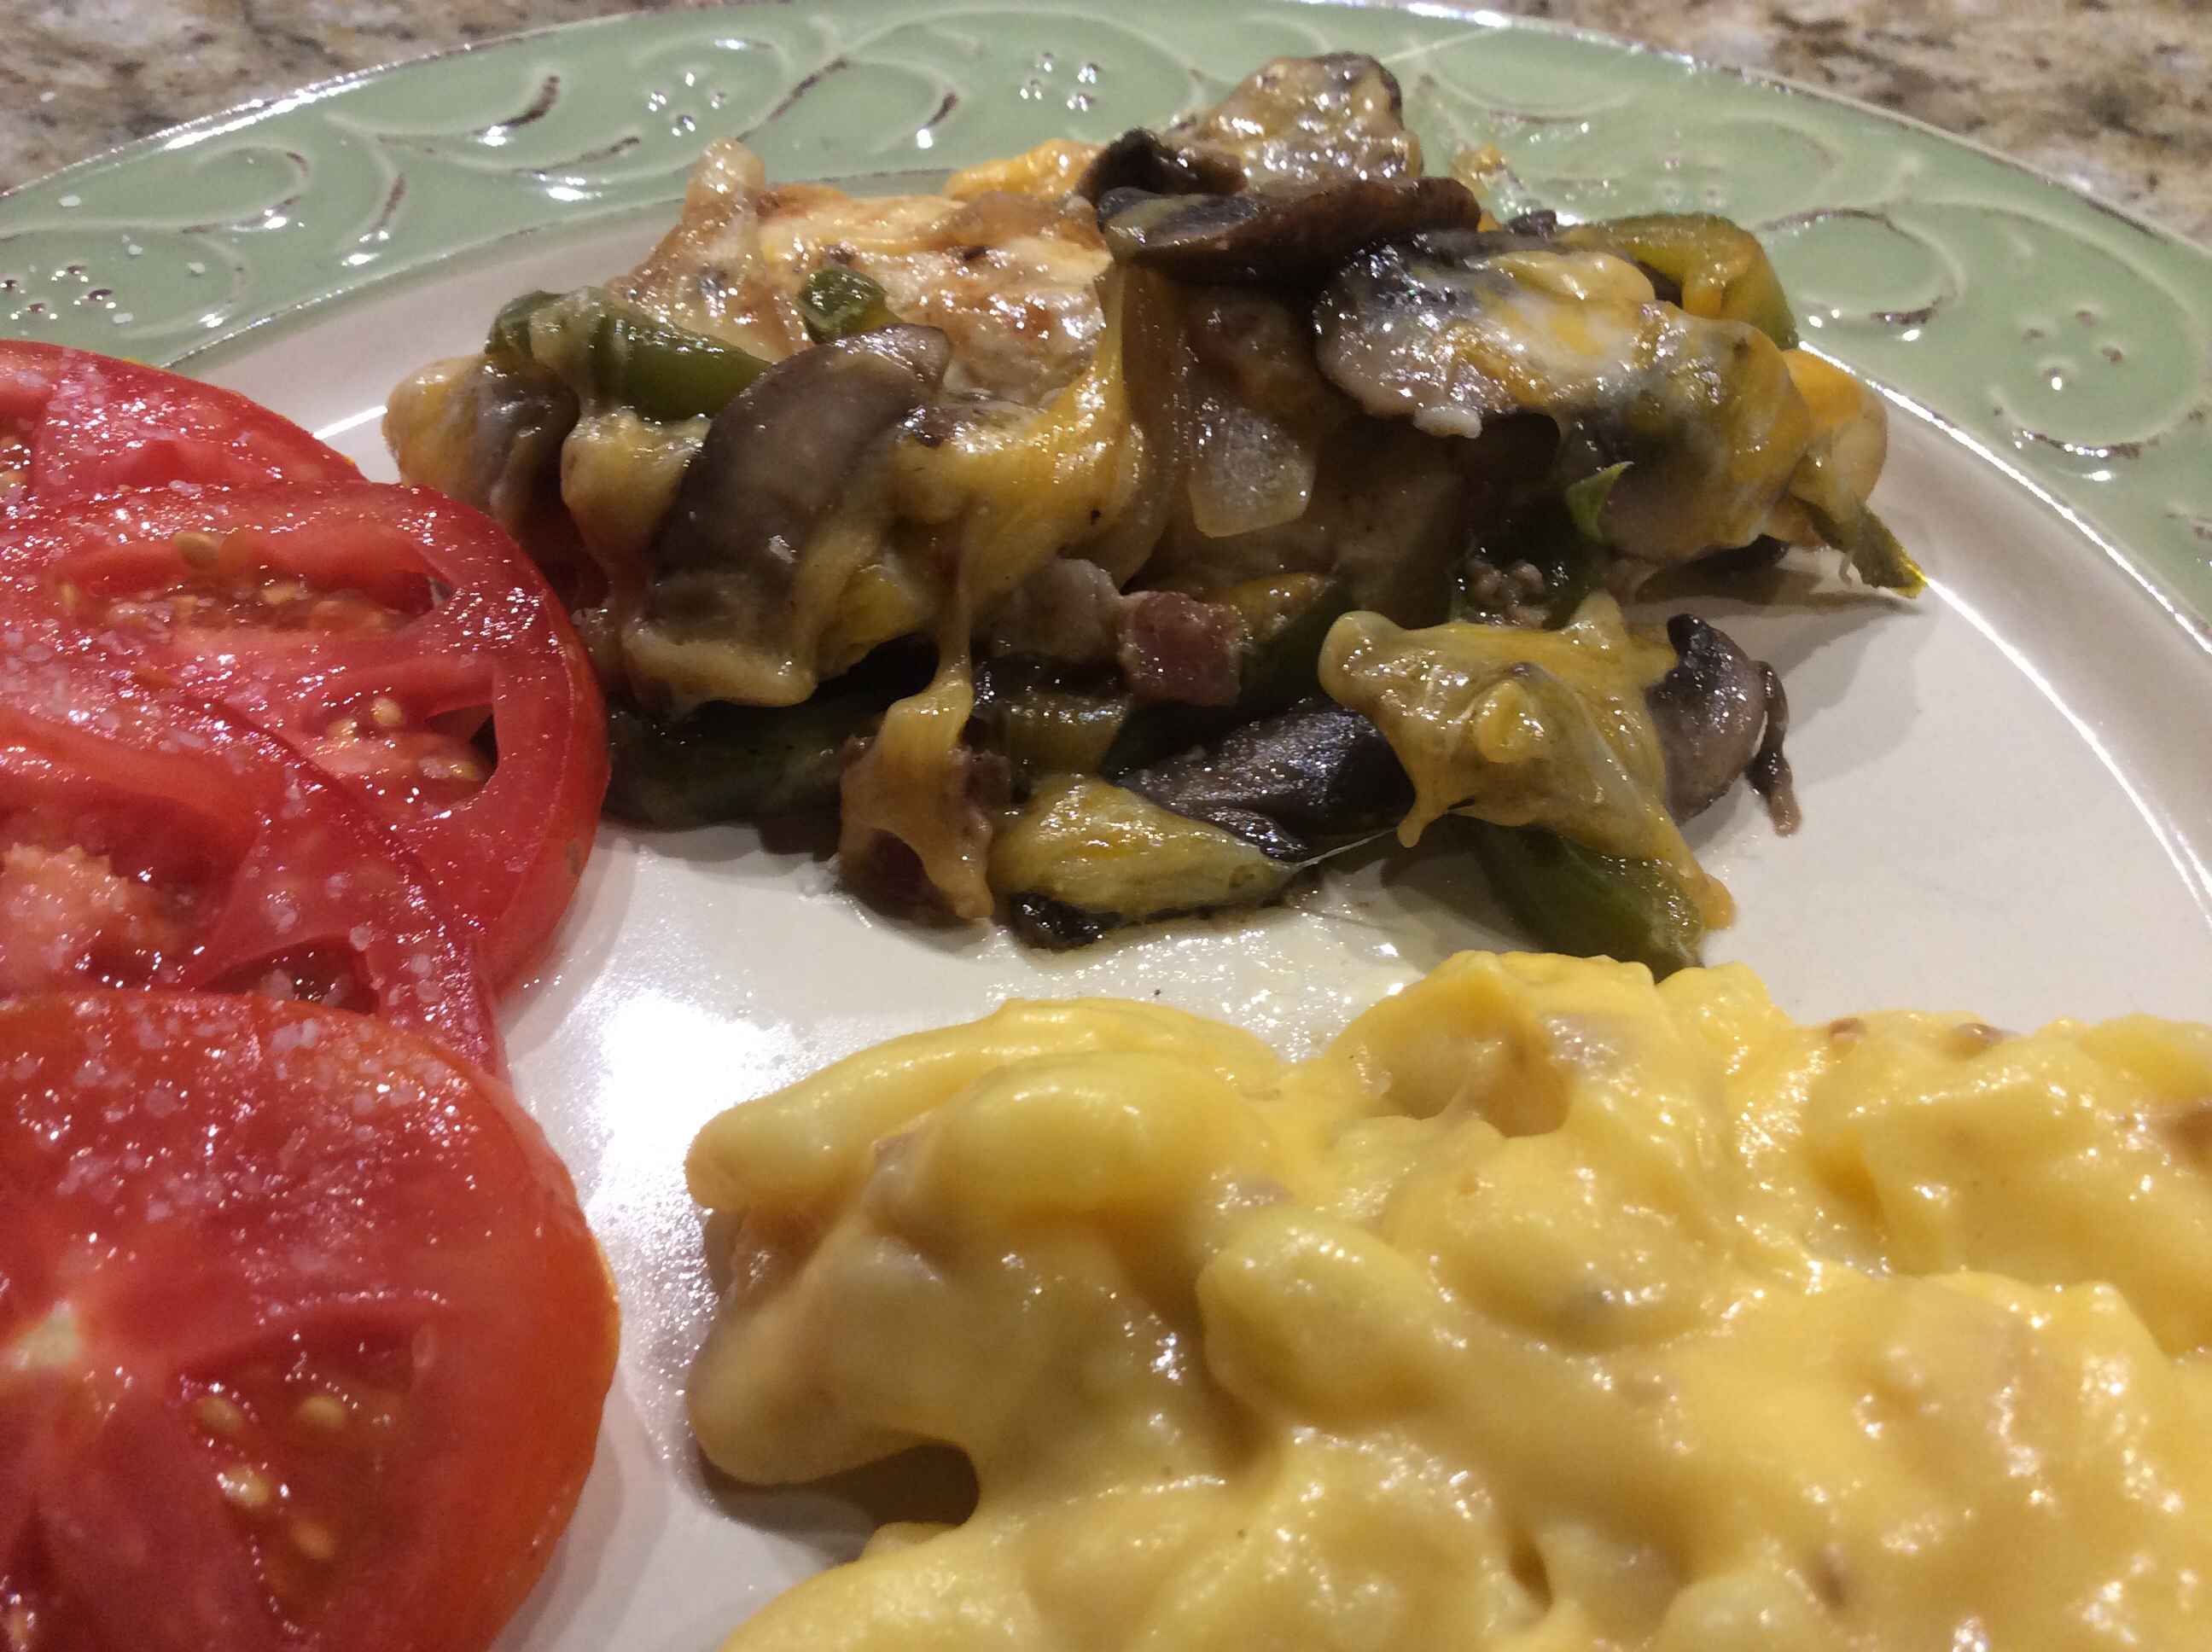
Baked to Cheesy Gooey perfection!Spoon onto your plate and serve with your favorite side dishes!
Bottom Line: This is super delicious and perfect for the week night! To make it even more kid-friendly, you can easily omit the peppers and onions and add in their favorite vegetables. Nothing gourmet here but a very satisfying meal that your family will love! Try it in your kitchen and let me know what you think. Until then, Keep On Cookin’!
I confess…I am not the biggest pork fan especially pork tenderloin or pork chops. I just find that no matter how you cook them, you end up with a dry and tasteless cut of meat. My husband, Jeff, however is a huge fan and truly believes his chops are always awesome. (Not!…but I praise him anyway 🙂 Still, I continually try to find a recipe that will at least appease me enough to have them more than once a month because he loves them so much. Then…..along came Serious Eats and their recipe for Perfect Pan Seared Pork Chops. Could this be the one???
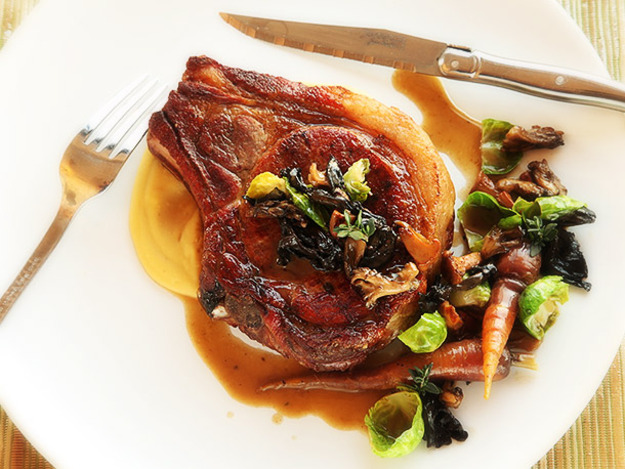
Perfect Pan Seared Pork Chops by Serious Eats
Serious Eats is one of my all-time favorite culinary websites because not only does it have some great recipes, it also gives interesting information on techniques and the food culture in general so I had to give this recipe a try.
Now, in the culinary world there has always been a debate on brining vs. seasoning when it comes to certain cuts of meat, especially pork. Two famous chefs who stand on different sides of this topic are Michael Symon and Mario Batali. Chef Batali is a strong believer in brining in a salt water solution as is my husband. However, Michael Symon prefers seasoning the meat and refrigerating for 24 hours before cooking. This recipe follows Symon’s way of thinking and my husband was quite dismayed at the thought of me going against his technique. Did it work? Read on to find out!
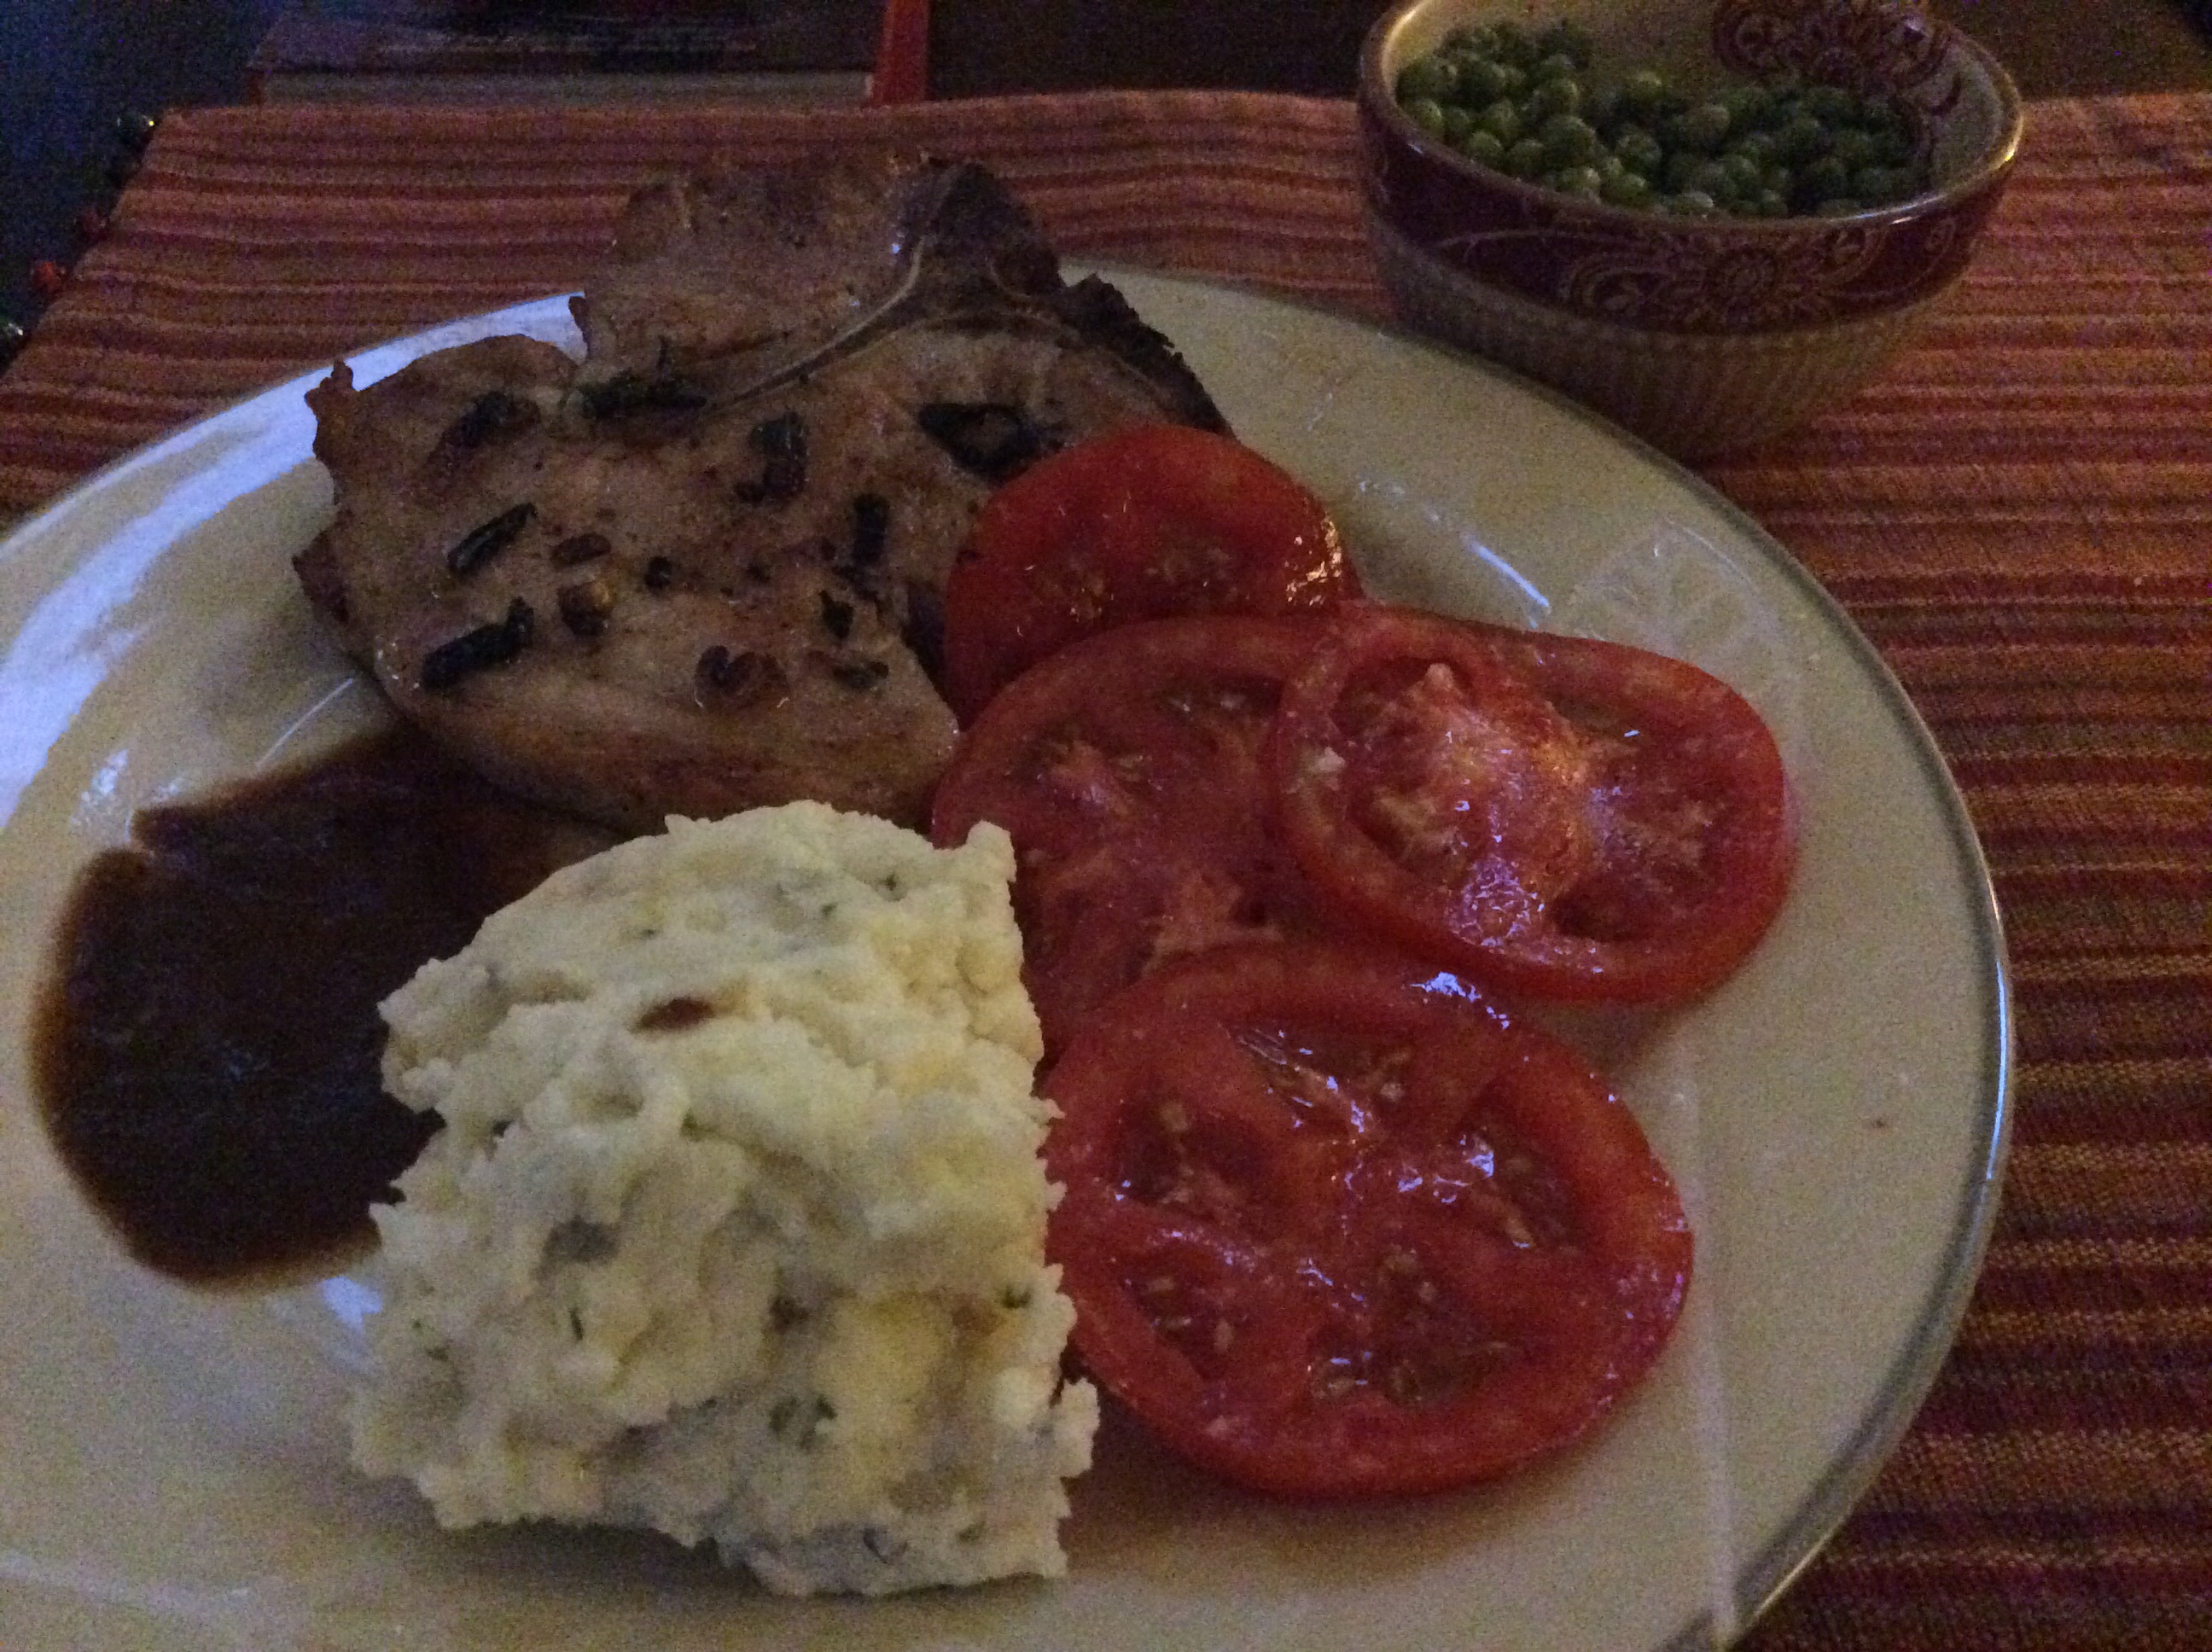
I knew on the get go that my dish would not turn out as pretty as the one pictured simply because my side dishes were very hearty. We had been at the beach for 2 weeks and I must be one of the few people who loses weight on vacation (I walk on the beach so much and eat a lot of fresh seafood and vegetables), and I was starving! Wait until you see my plate! Note: I have since regained the two pounds I had lost probably from the size of my plate from this meal :-)! But my focus was on the chops not the asthetics….I just wanted a hearty southern meal!
Perfect Pan Seared Pork Chops
Note: For once, I followed this recipe exactly as it was written
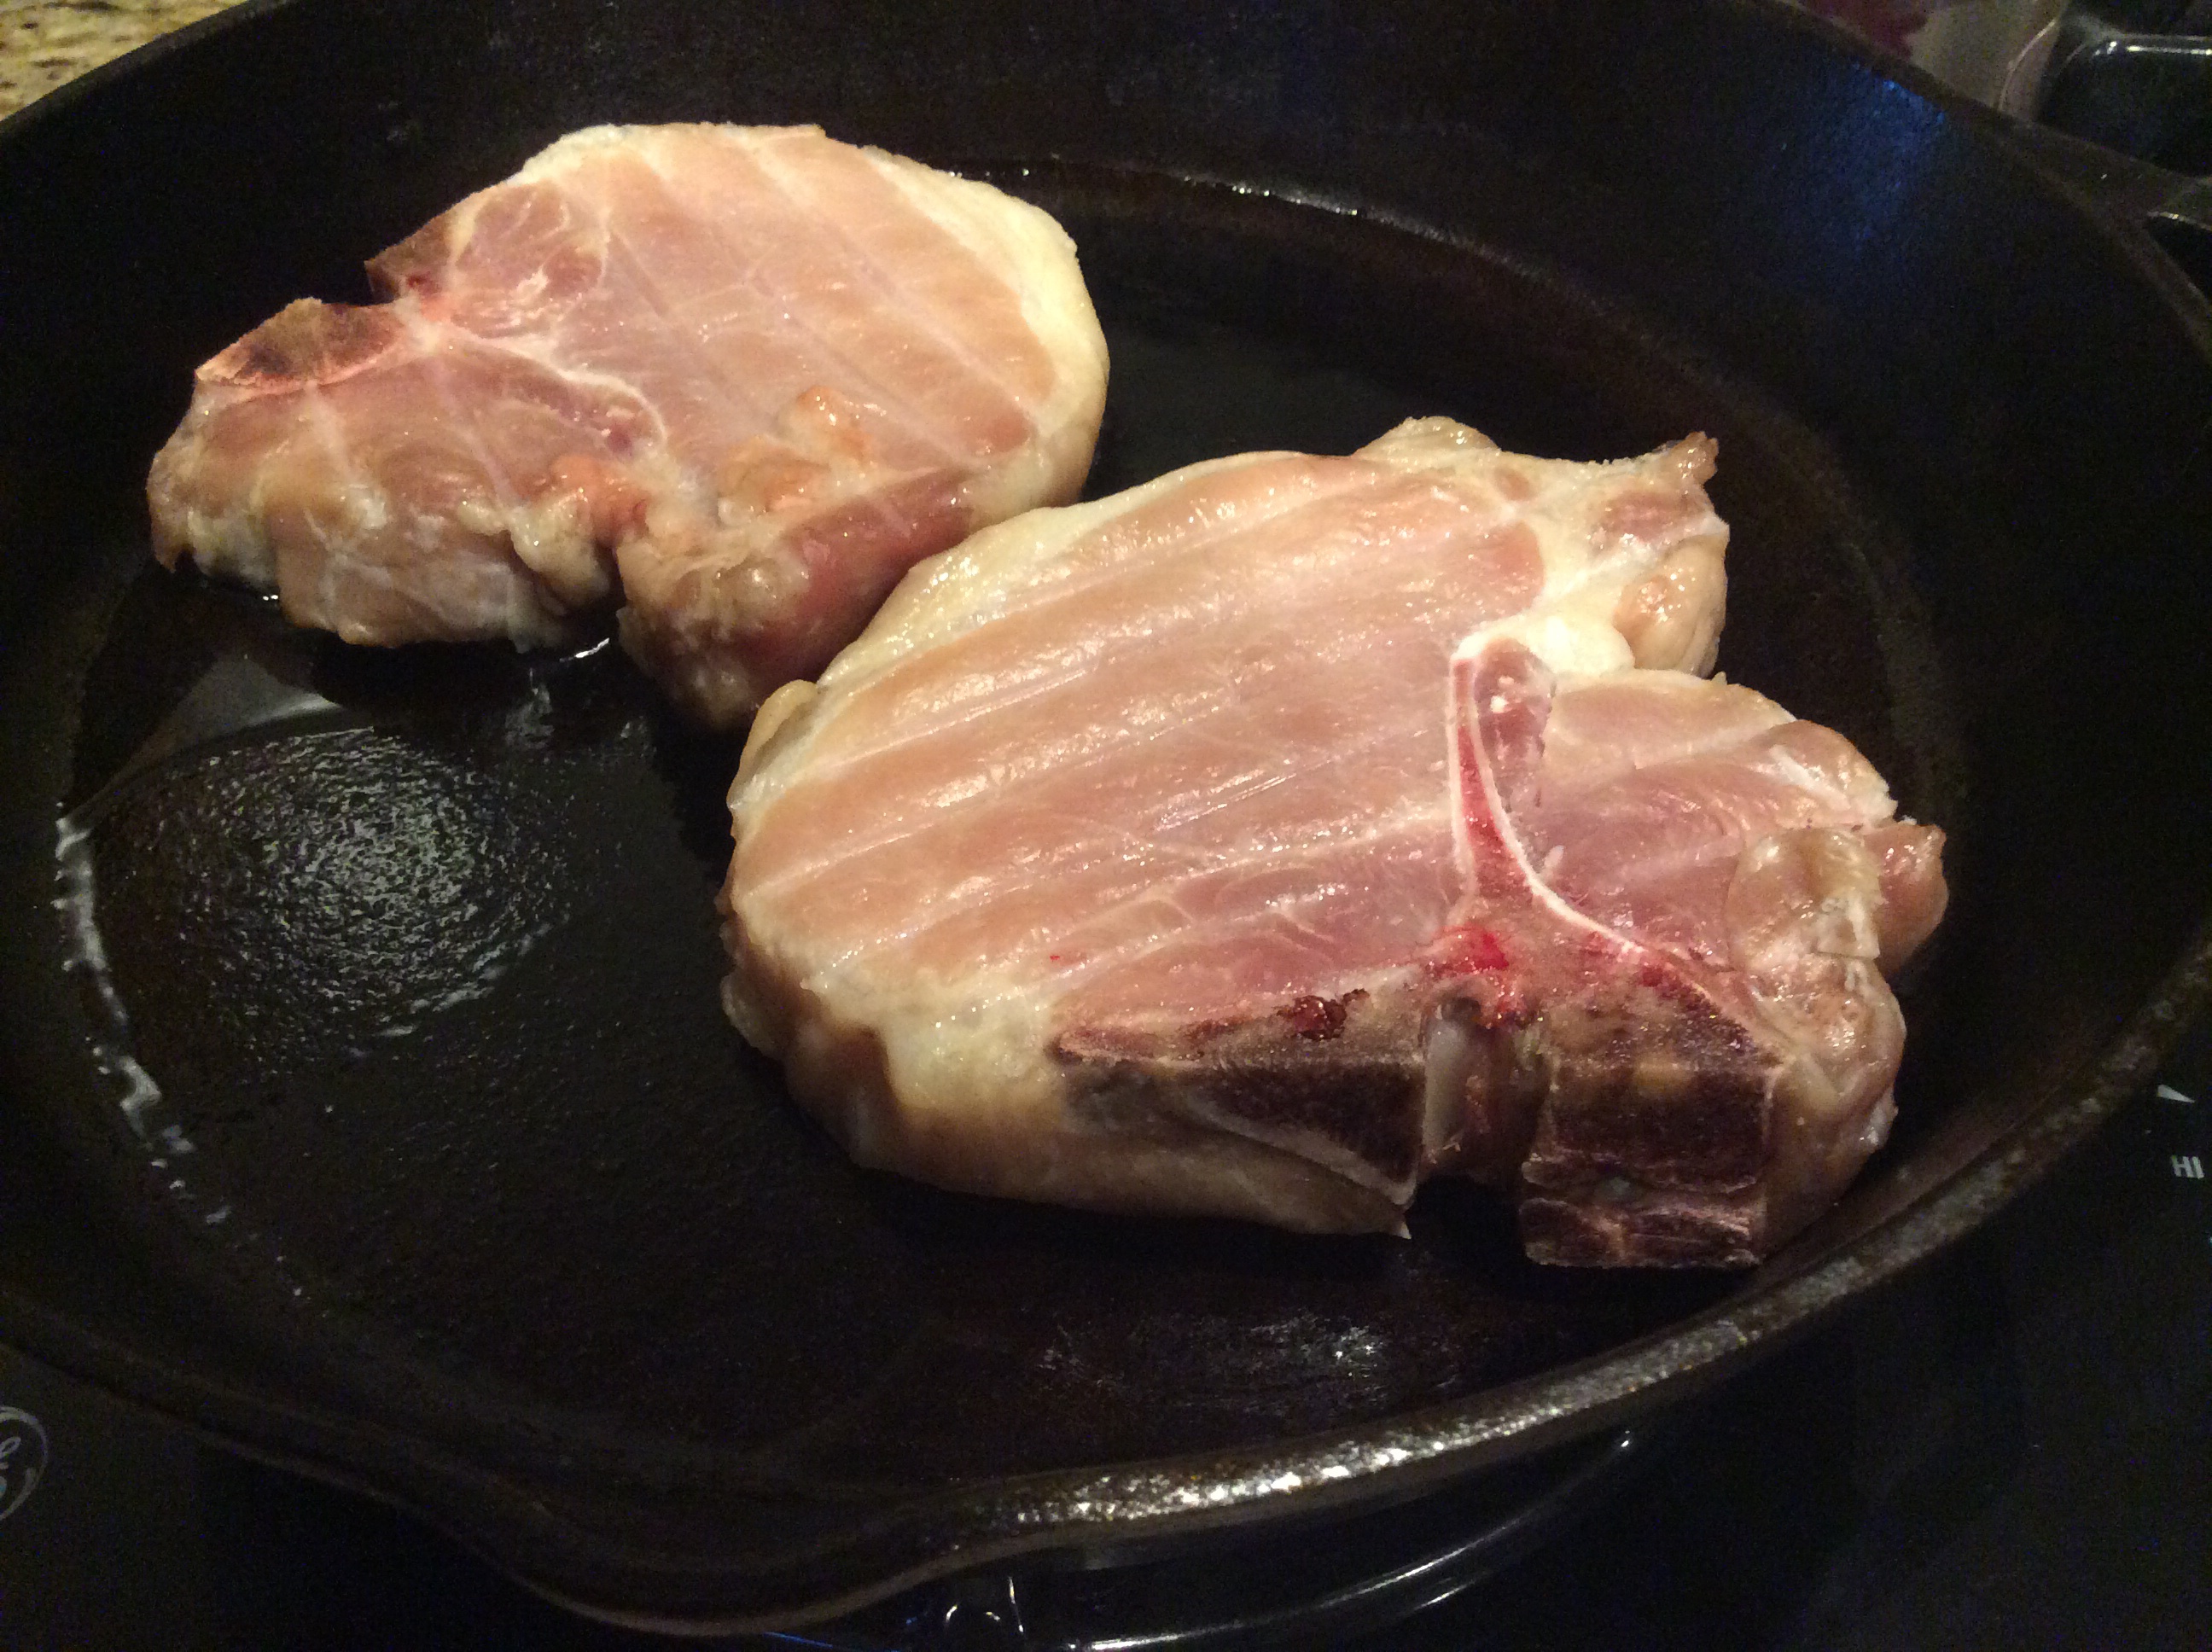
Pat pork chops dry with a paper towel. Combine salt and sugar in a small bowl. Season pork chops generously on all sides with salt/sugar mixture. Transfer to a wire rack set in a rimmed baking sheet and refrigerate, uncovered, at least 8 hours and up to 24.
The next day, preheat oven to 250°F. Place baking sheet with pork chops in oven.
Chops have been seasoned with a salt/sugar seasoning for 24 hours, refrigerated, brought to room temperature, and now going into oven
Cook until an instant read thermometer inserted into the center of the chops registers 100 to 110°F on for medium-rare, about 30 minutes, or 110 to 120°F for medium, about 35 minutes. To prevent overcooking, start checking temperature 5 to 10 minutes before suggested time. Remove from oven.
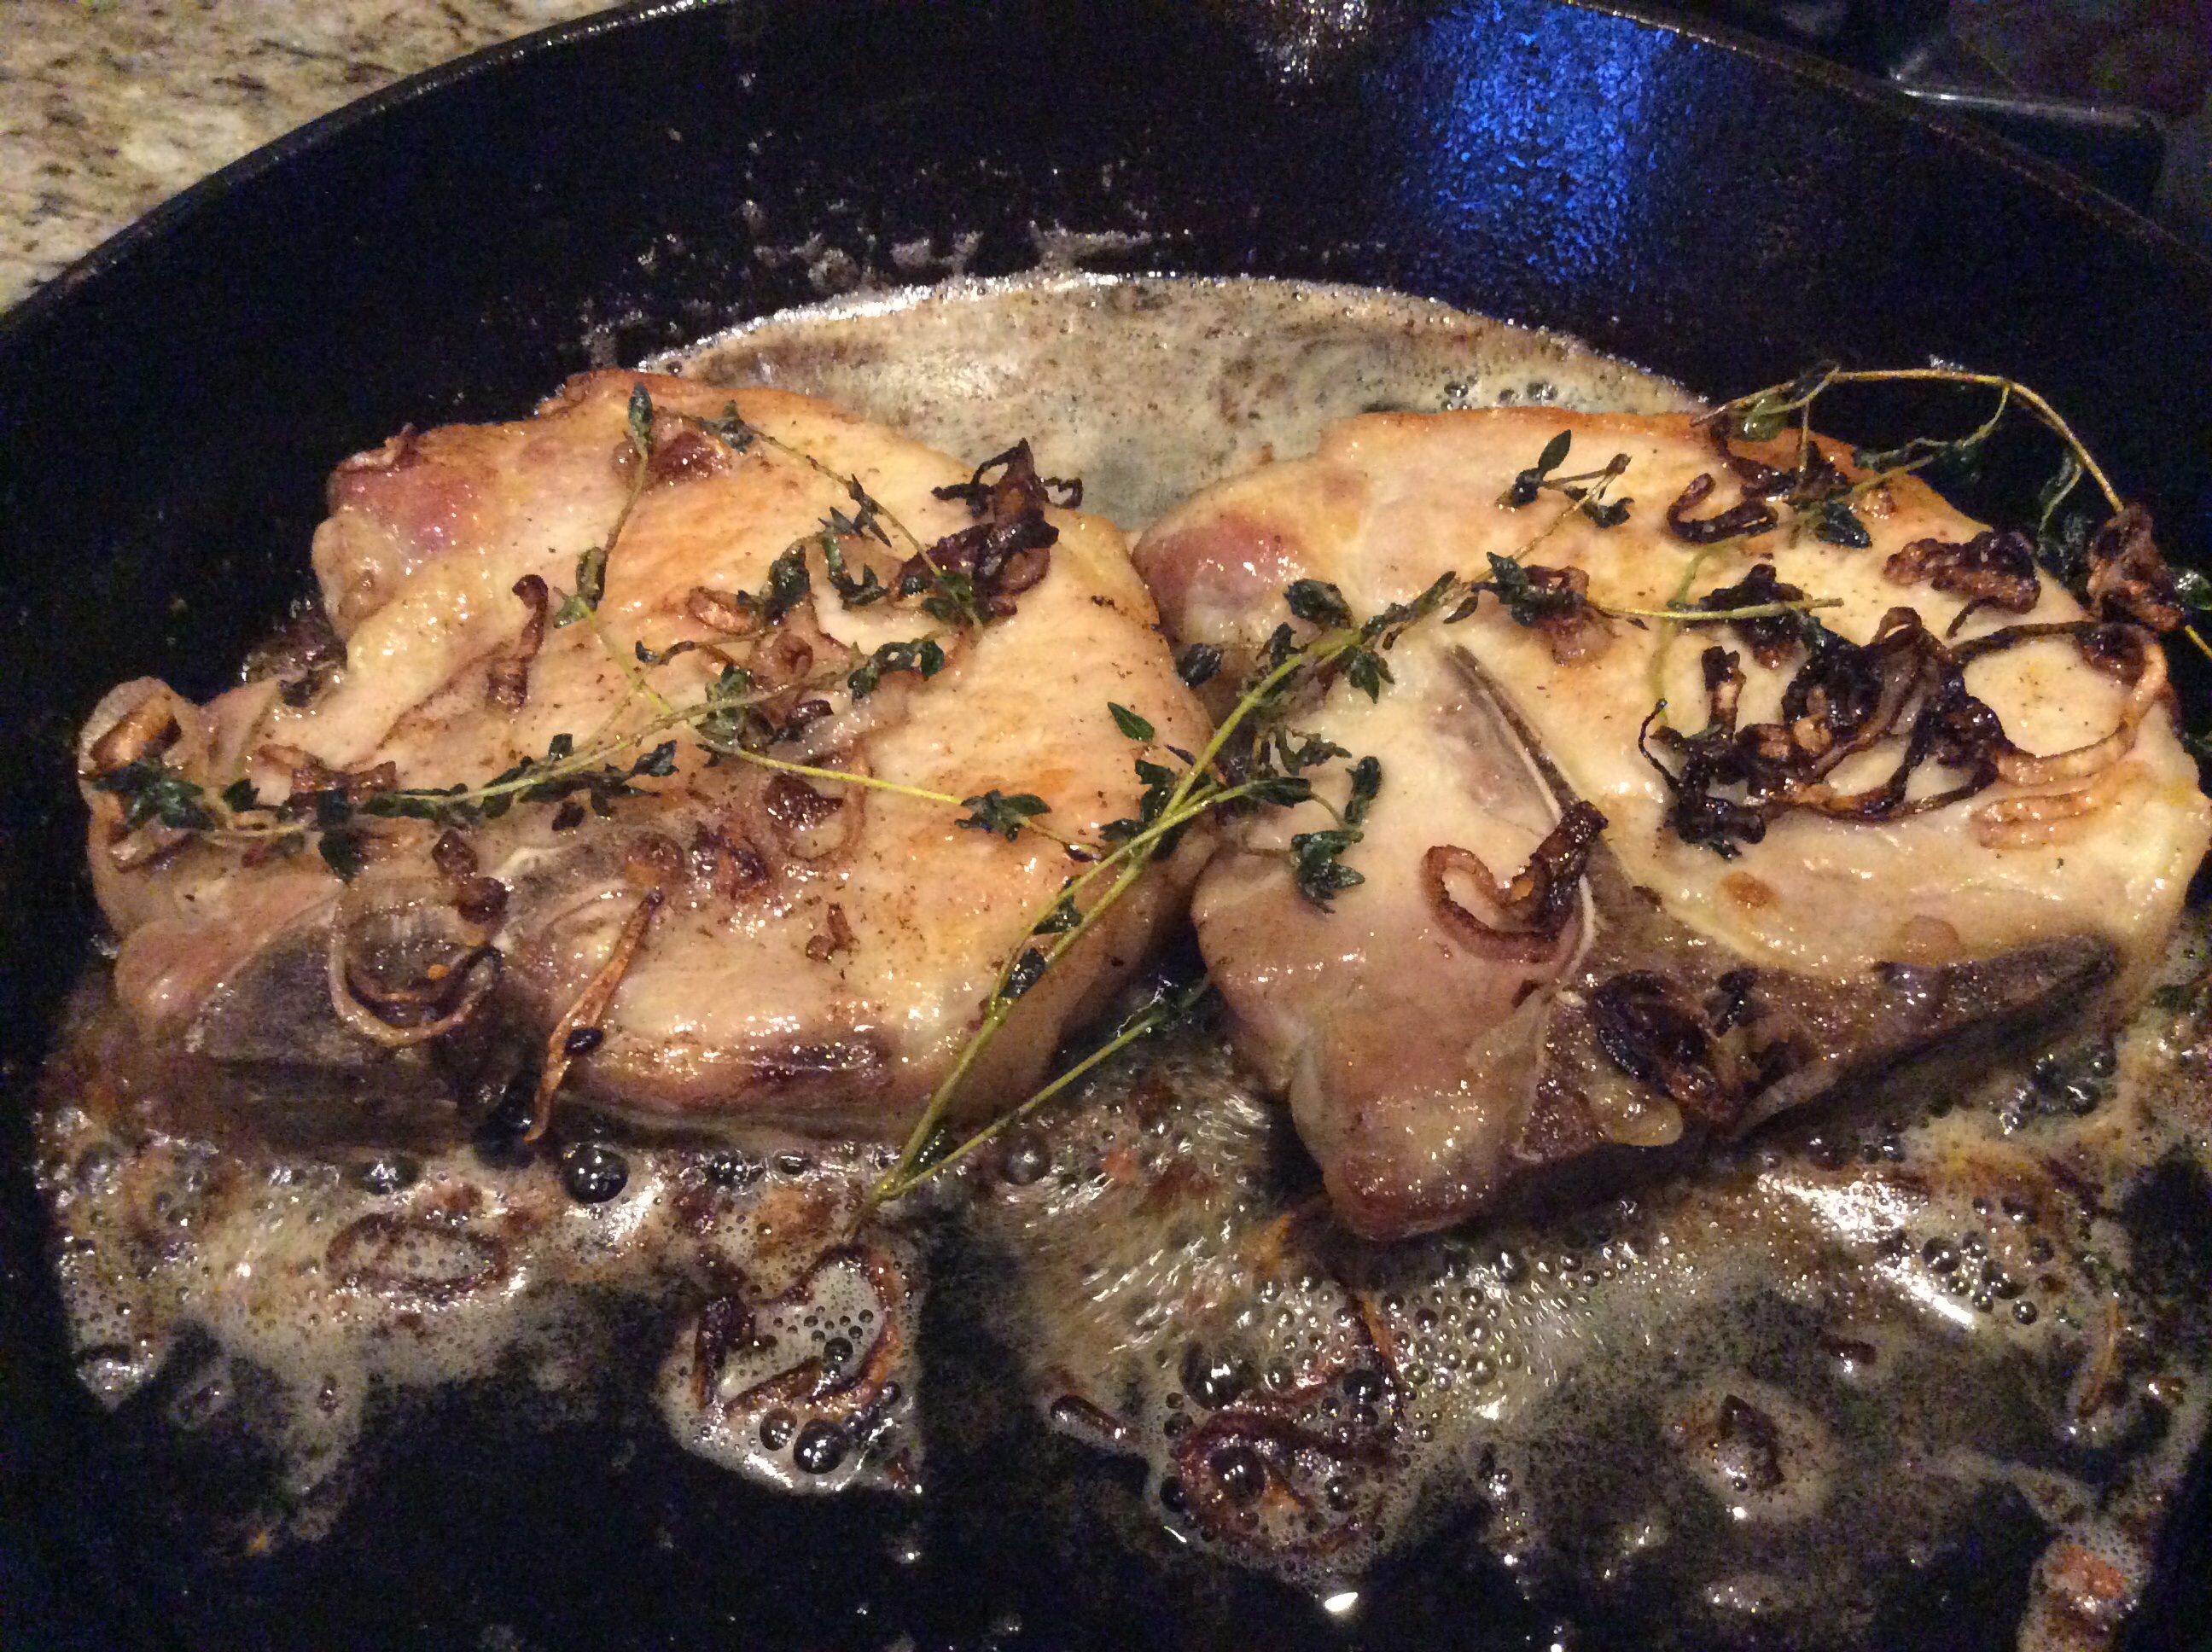
Heat oil in a large stainless steel or cast iron skillet over high heat heat until smoking. Place pork chops in skillet and cook, turning occasionally, until starting to brown, about 1 1/2 minutes.
Chops removed from oven to brown in the skilletTurned to brown the other sideButter, Shallots, and Thyme will be our next step
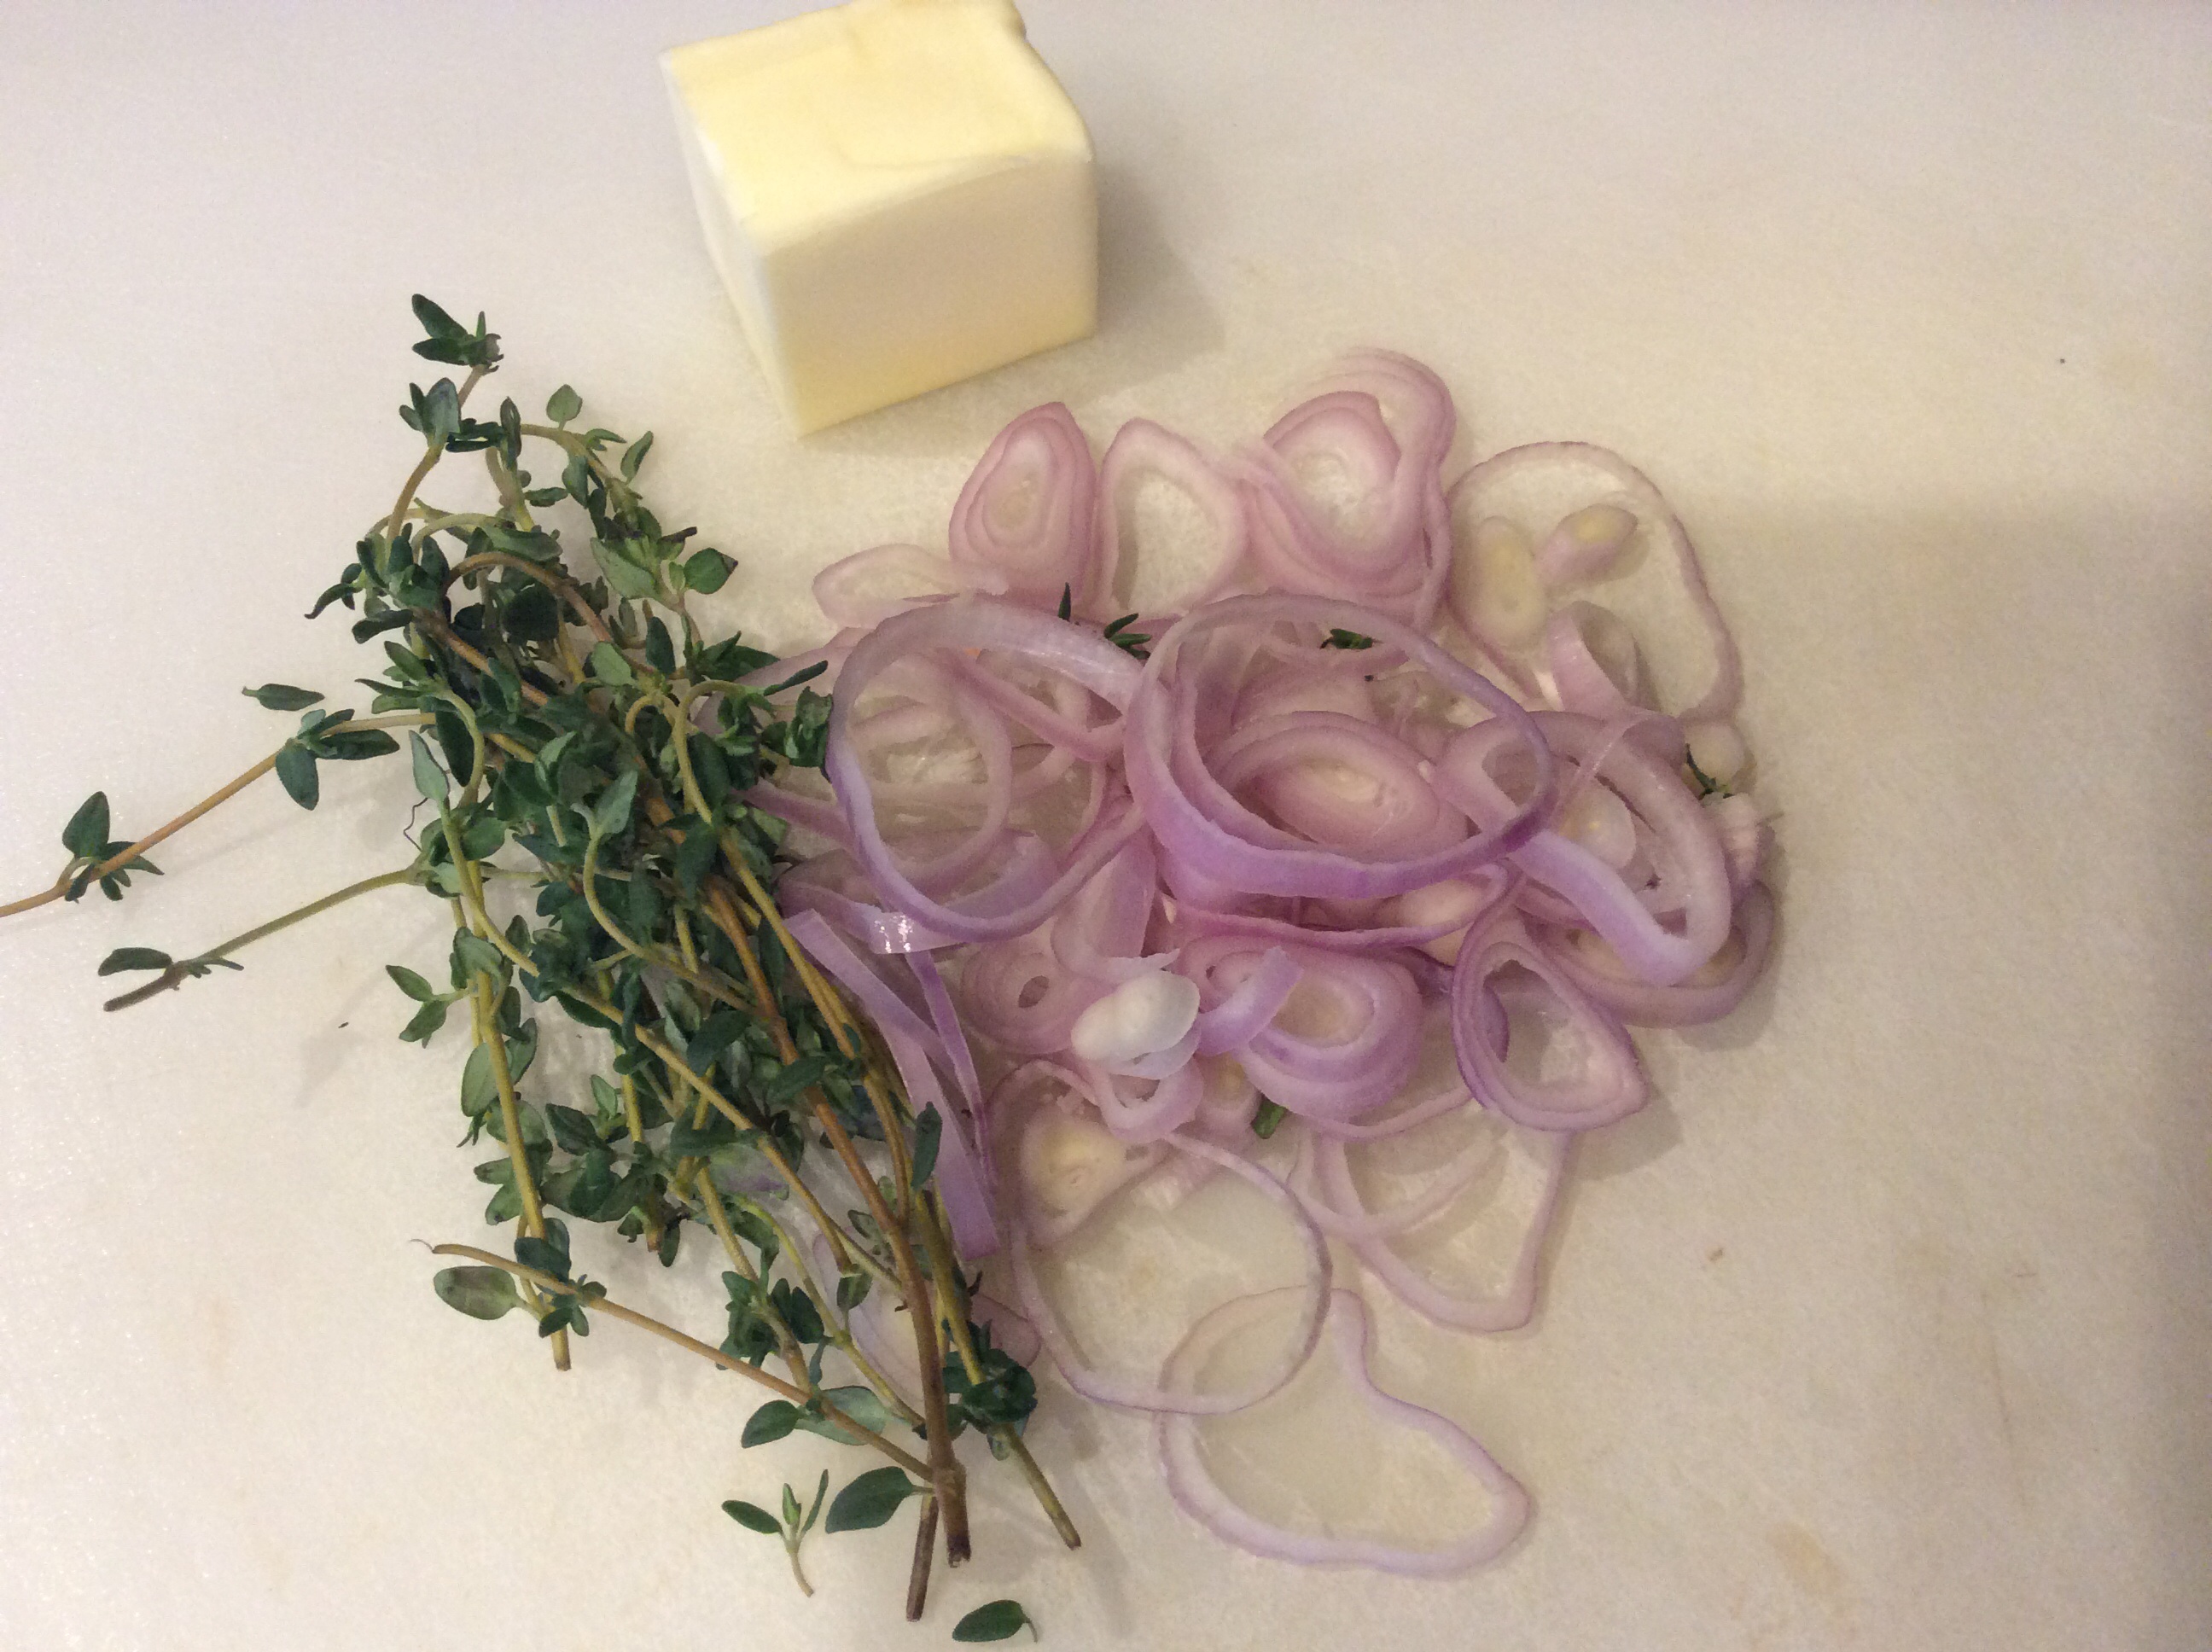
Add butter, shallots, and thyme to skillet.
Butter, Shallots and Thyme (my favorite cooking herb) going in
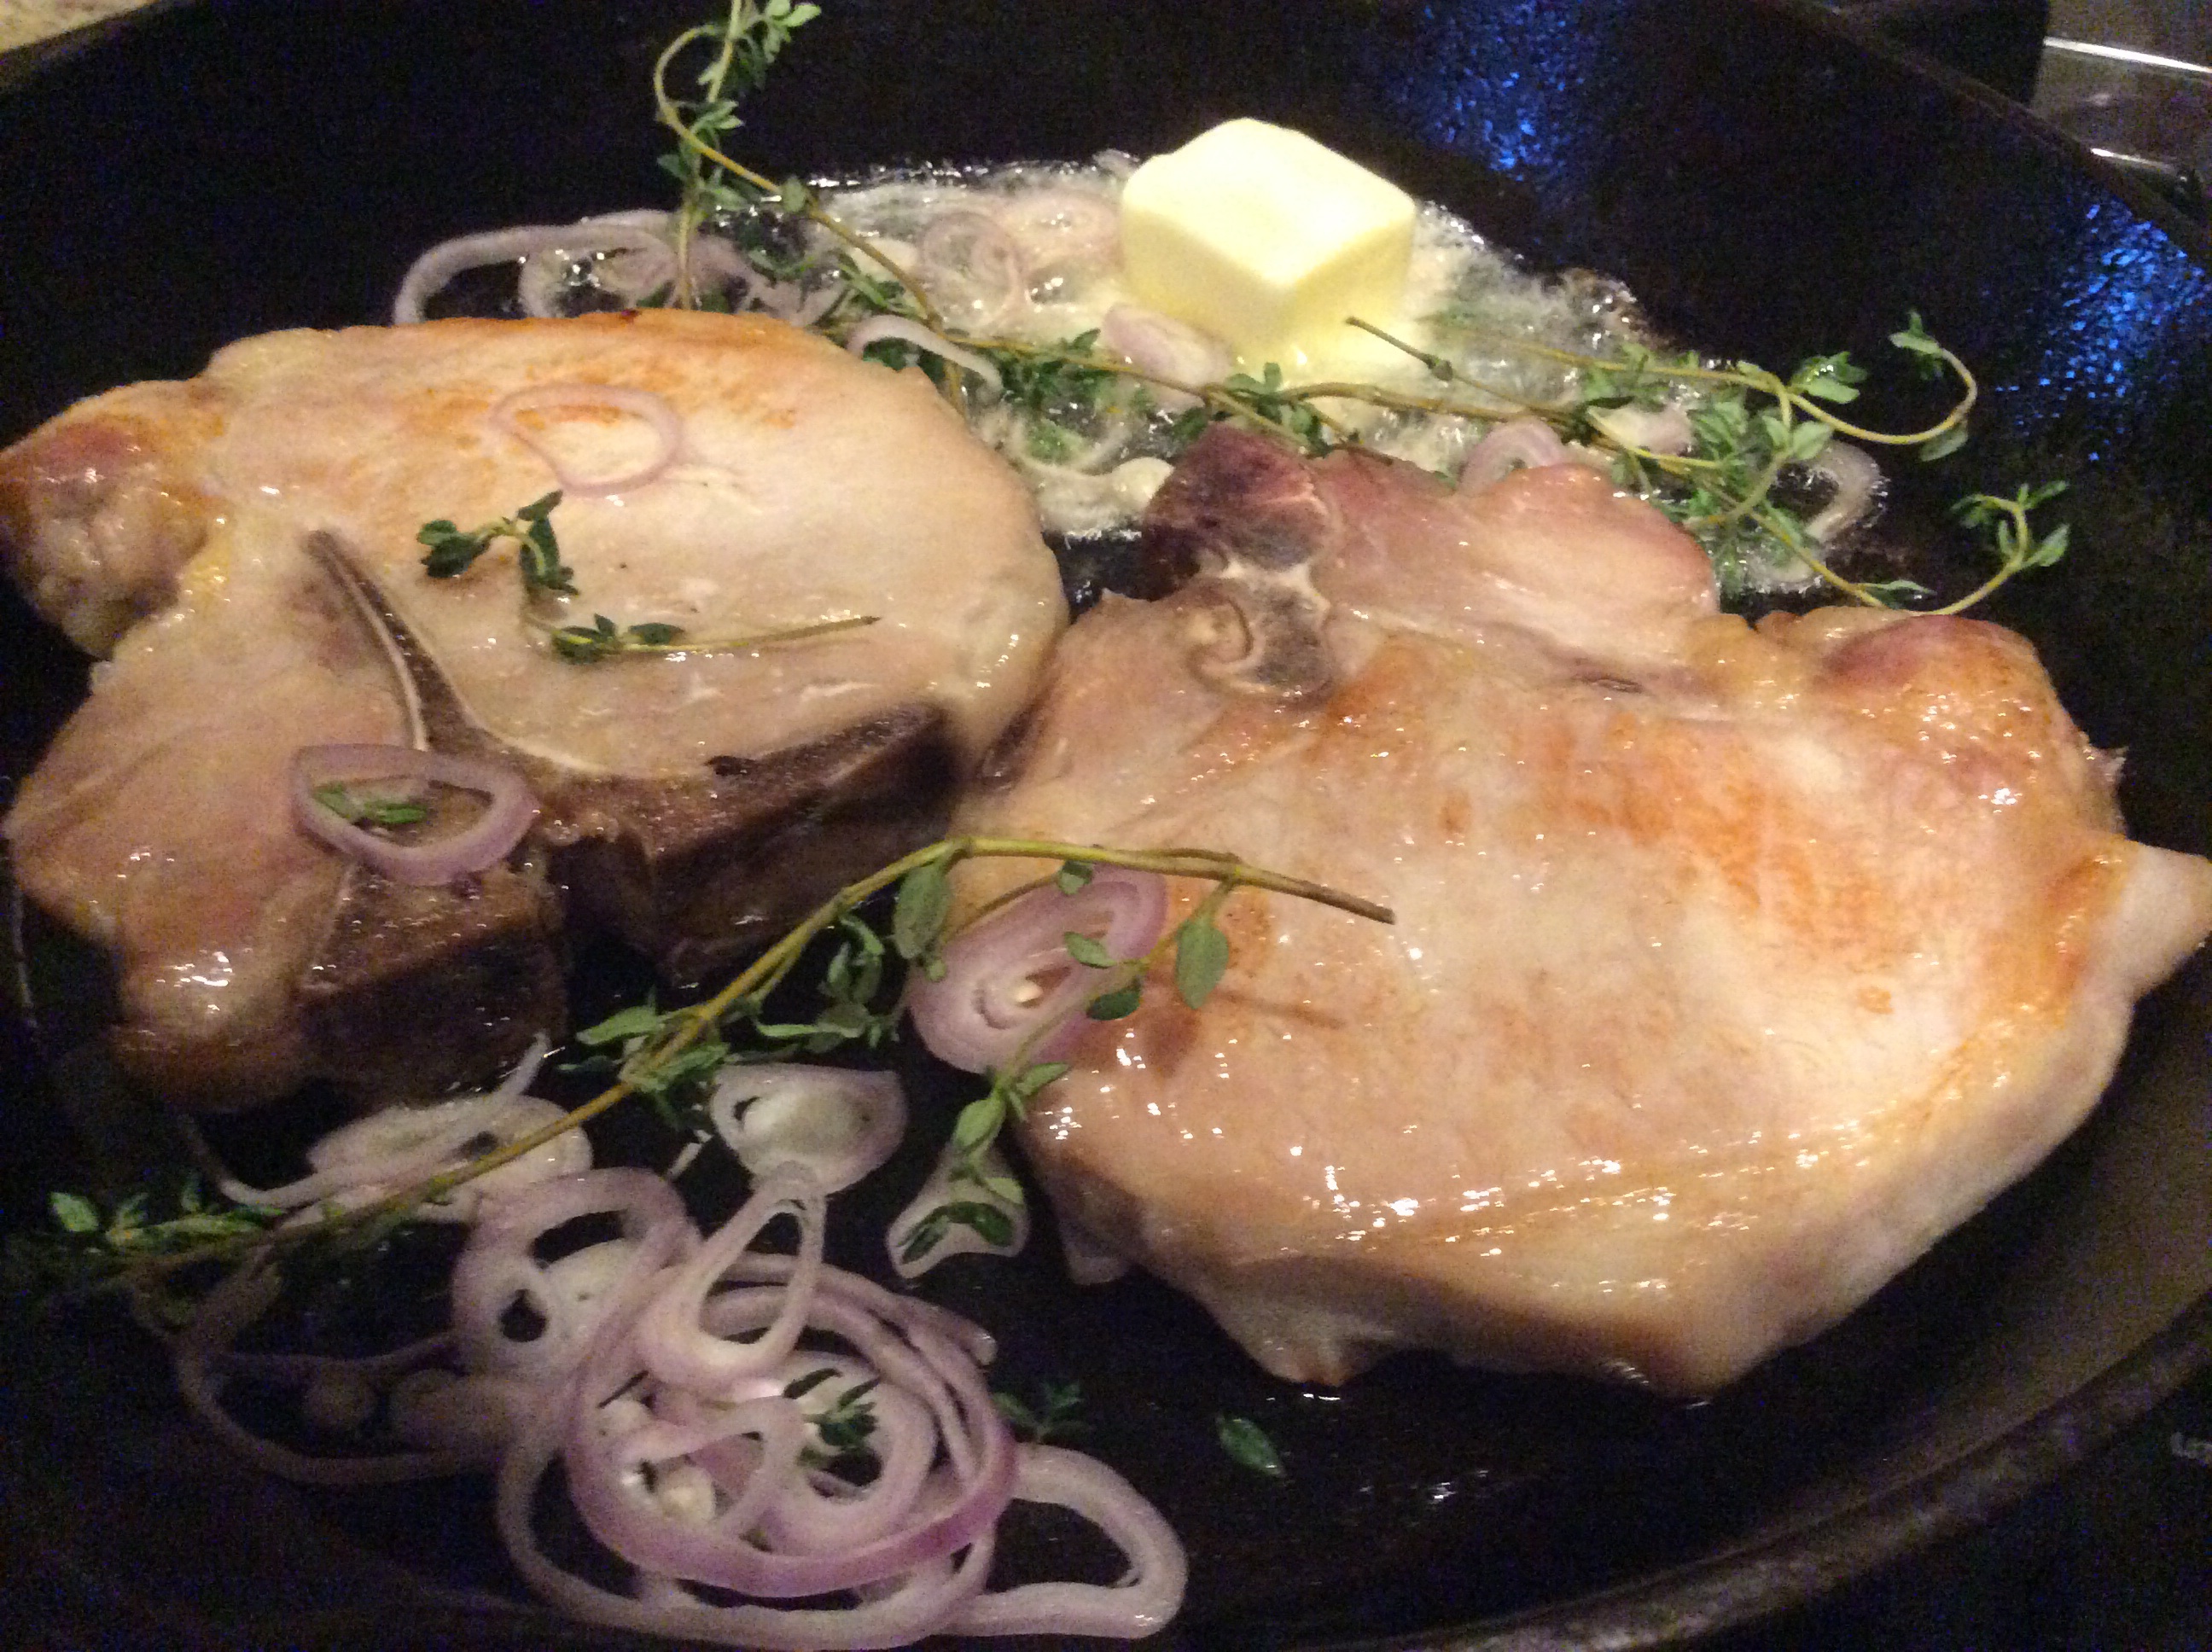
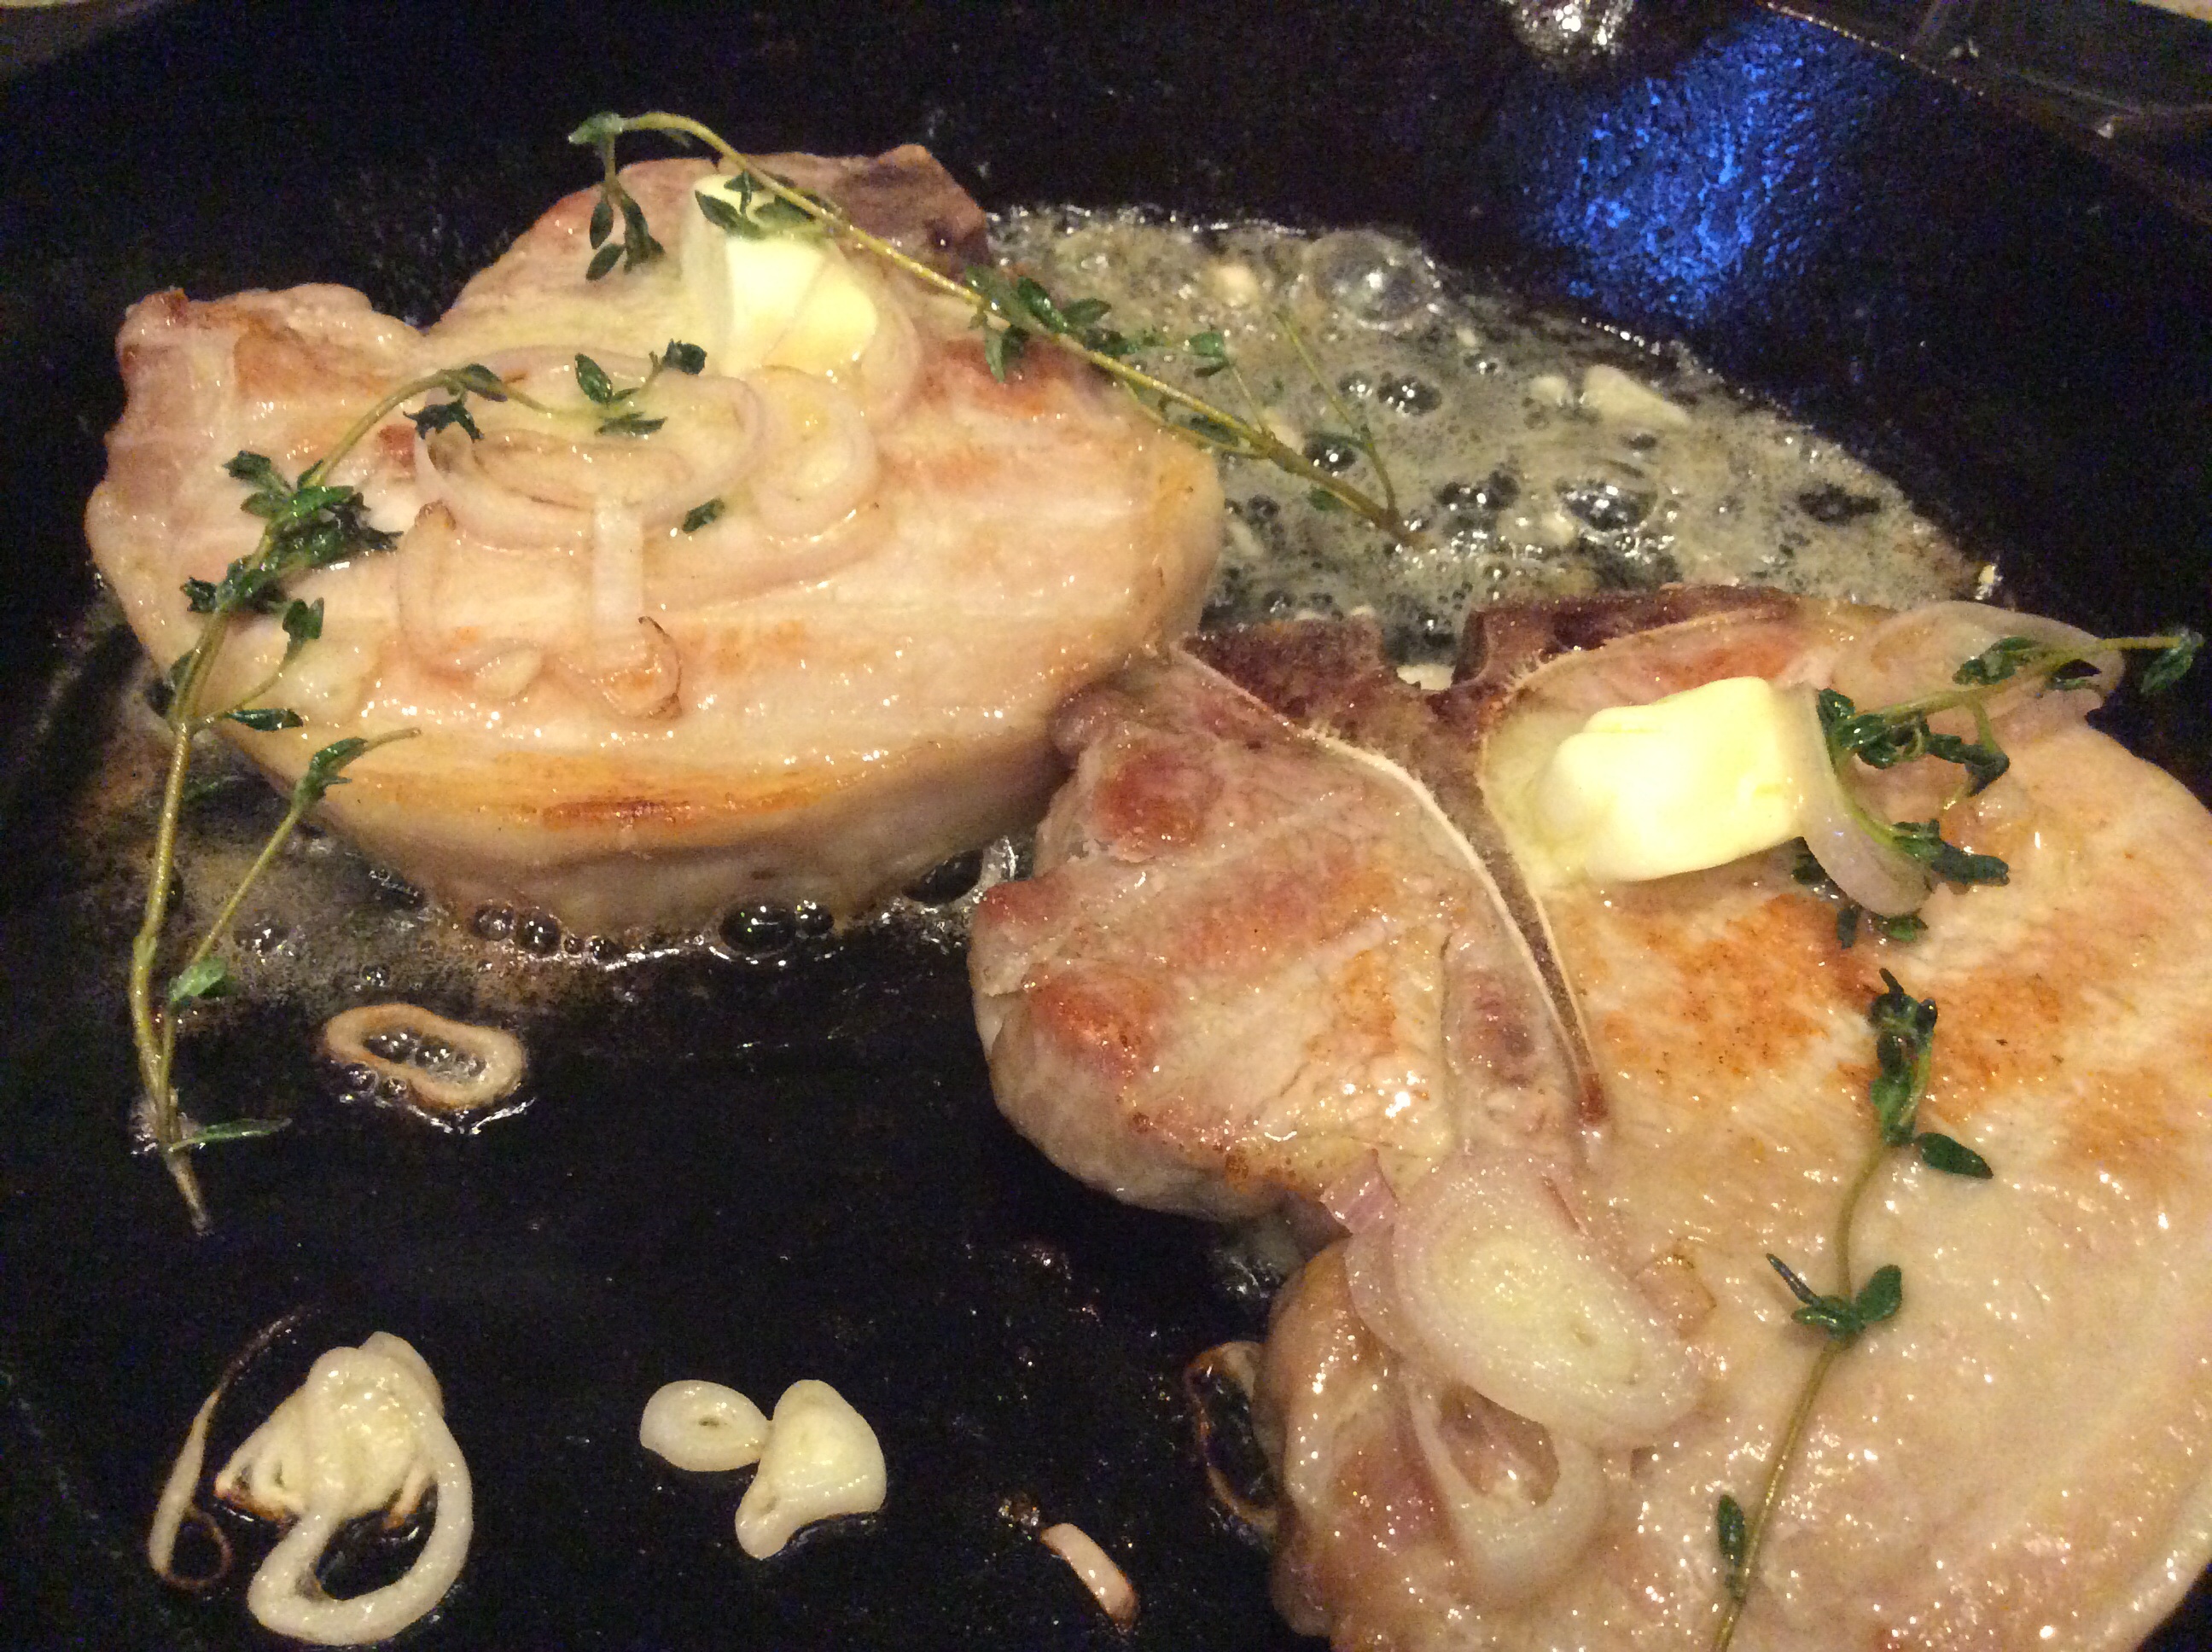
Continue cooking, spooning shallots and thyme on top of chops and basting with butter until golden brown on both sides and well-crusted, about 2 minutes longer.
Basting chops with pan sauce
Stack pork chops with tongs, hold them on their sides, and sear the fat caps on the edges until crisp, about a minute.
Stacking chops to get all sides seared
Remove pan from heat, transfer chops to a clean rack set in a rimmed baking sheet, and let rest for 3 to 5 minutess
Ready to come out of pan
Just before serving, reheat dripping in pan until smoking. Pour hot drippings over chops. They should sizzle and crisp a bit. Serve immediately.
My ridiculously full plate! Yes, my eyes were much bigger than my tummy!
Bottom Line: Now the good news first…Juiciest and most flavorful chop I have ever had and I actually am looking forward to trying it again! Bad news…The cast iron skillet had to be very hot to get that perfect sear on the chop which was….well, perfect! However, it made the shallots burn and left the pork with a very bitter taste. Next time, I plan on putting thyme bundles over the chops when they are baking then searing the chops in butter. I will make a shallot gravy while the chops are resting….the perfect remedy to an excellent cooking method!
It is that time of the summer harvest season when the tomatoes are causing their vines to droop, heavy with the green and red fruit. Sometimes it’s hard to find new ways to use these delicious, juicy delights but why not use them in a way that you can enjoy them when fresh tomatoes aren’t so plentiful……during those late fall and winter months. Jeff and I have always canned our homemade Italian Sauce but we were looking for something a little different to have from time to time. Problem solved when my eye was drawn to the Better Homes & Gardens “Canning” Magazine on the shelf at the grocery. I knew I would find some great new preserving recipes in their latest publication!
Canning, Preserving, Freezing, and Drying from Better Homes and Gardens…On Display until August 18th so get your copy soon!
Now before we look at the actual recipe, I want to give you a little tomato tutorial that will come in handy when preparing this sauce. The first ingredient is 12 pounds of fresh ripe tomatoes, peeled (it makes 6 pints). Peeling the tomatoes is very easy with this simple process.
Bring a large pot of water to a boil. Fill a bowl with ice and water and set it next to the stove. Working in batches, drop several tomatoes into the boiling water.
Starting the peeling process by dropping the tomatoes into the boiling water
Watch for their skins to start to wrinkle and split, 45 to 60 seconds, then scoop them out with a slotted spoon and transfer them to the ice water bath.
They love their ice water bath…the skins are already starting to come off
Once cooled, transfer the tomatoes to a large plastic container. Continue working in batches until all the tomatoes have been poached. Use your fingers or a paring knife to peel back the tomato skins.
tomatoes ready to peelPerfectly Peeled Tomato
Next, to finish the tomatoes for the recipe, core the tomato and then chop into small pieces.
Core tomatoChop tomatoes
Now, this next hint is not part of the recipe but I have now made it twice and learned that is a little trick to get just the perfect thickness to the sauce. The first time I made the recipe, I followed it exactly. It took quite longer than the recipe stated for my sauce to thicken and I figured out the problem. I had too much juice! The next time I made this, I drained the tomatoes from their juice and reserved it so I could add it back in if needed. It was the perfect solution because I had excellent thickening results the second time!
Spicy Garlic Marinara
Ingredients
12 pounds ripe tomatoes, peeled, chopped, and drained (reserve your juice)
1/3 cup minced garlic
3 to 4 fresh red cayenne chili peppers, finely chopped
3 tablespoons of sugar
3 tablespoons of kosher salt
2 cups lightly packed fresh basil leaves, snipped
1/2 snipped fresh Italian parsley
6 tablespoons lemon juice (only needed if you are canning)
Directions
Place tomatoes into a 8-10 quart stainless-steel, enamel, or nonstick heavy pot.
Tomatoes go into the stainless steel pot..Note, I made a double batch for 12 pints
Stir in garlic, chili peppers, sugar, and salt.
Add remaining ingredientsStir
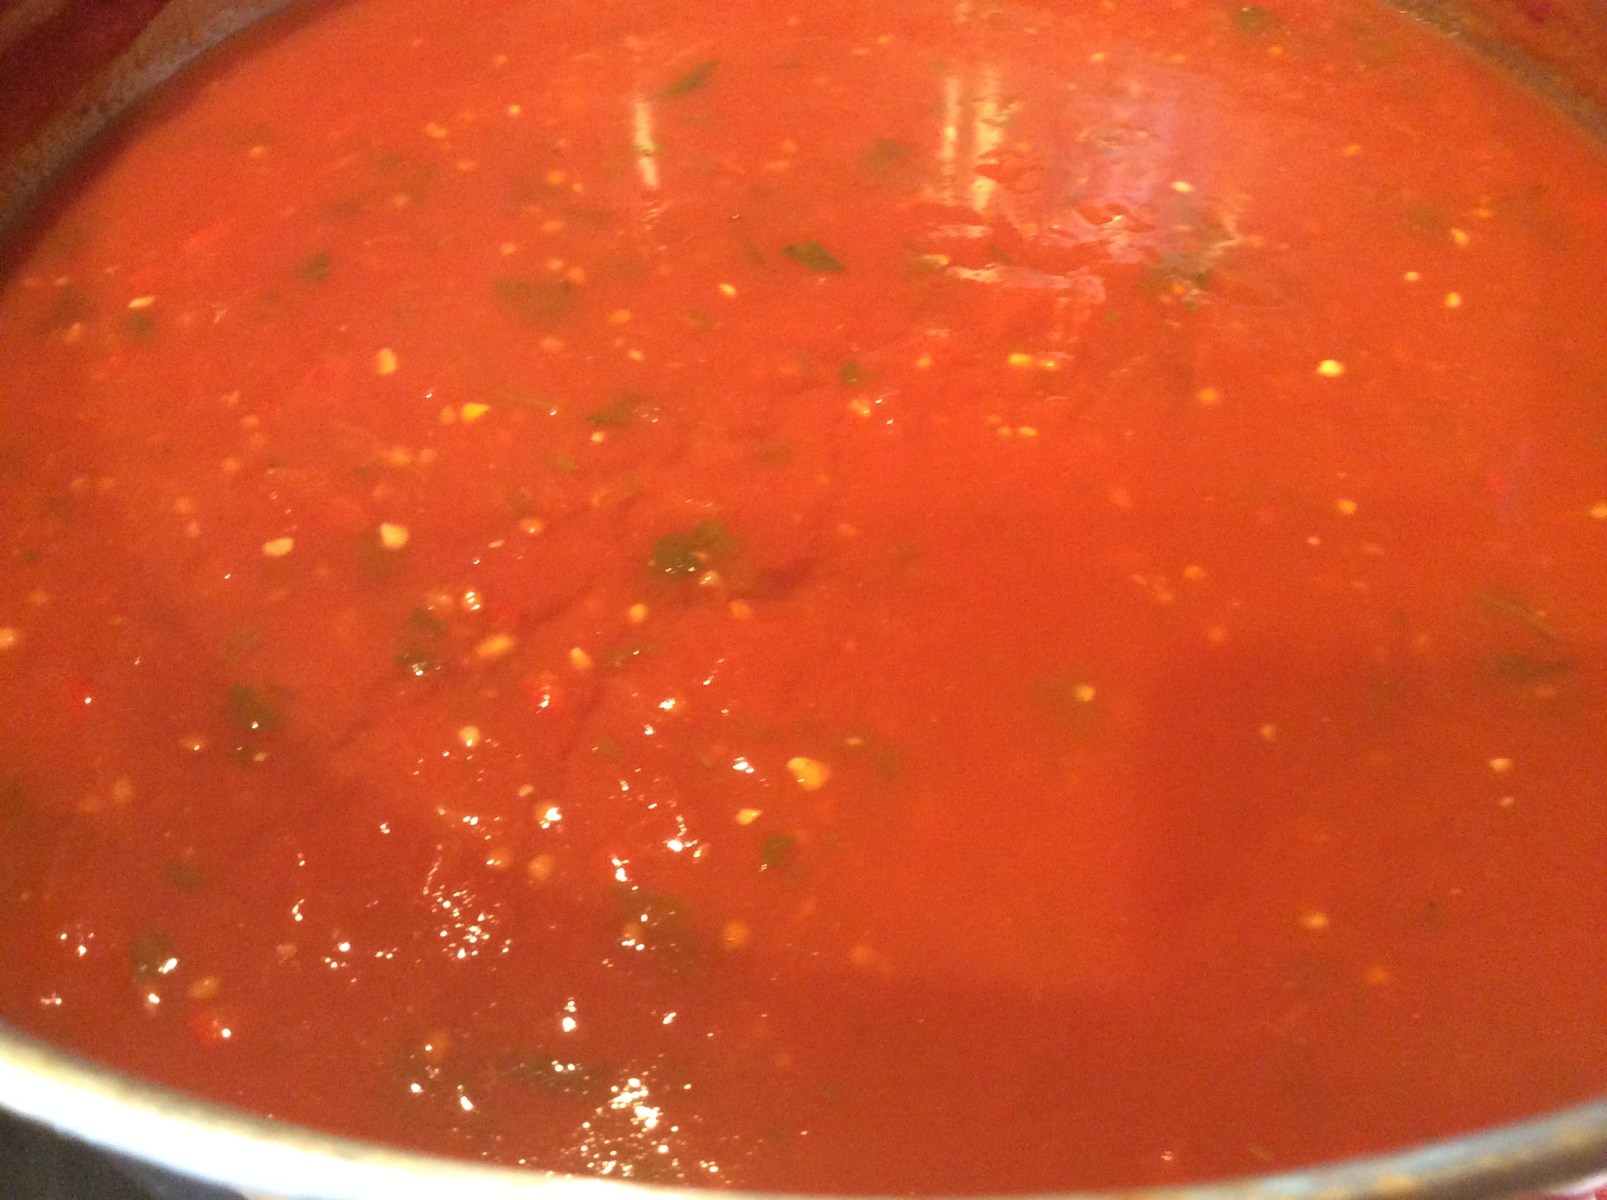
Bring to a boil, stirring frequently; reduce heat. Simmer, uncovered, for 1 1/4 – 1 1/2 hours or until mixture reaches desired consistency.
Bring to a boilSimmerAfter simmering a couple of hours on the stove, the sauce is perfectly thickened
If Canning:
Spoon 1 tablespoon of lemon juice into each of six hot sterilized pint canning jars.
Lemon Juice into pints for canning
Ladle hot sauce into jars with lemon juice, leaving a 1/2-inch headspace.
Ladle sauce into jars
Wipe jar rims; adjust lids and screw bands. Process filled jars in a boiling-water canner for 35 minutes (start timing when water returns to boiling).
Put enough water into your canner that your pints will be completely submerged in water (about an inch over the top of the pint)Although this is a pressure canner, I am using it as a water bath..the lid is just sitting loosely on top to keep the water at a boil during the processing
Remove jars from canner; cool on wire racks.
My beautiful pints!
If Freezing;
Cool sauce completely and pour cooled sauce into jars. Wipe jar rims; adjust lids and screw bands.
Bottom Line: We loved this recipe! I was expecting it to be spicier but it was actually just perfectly tangy so even if you aren’t fond of heat, I would definitely still use the cayenne peppers. I plan on using this sauce for not only pasta marinara, but chicken parmesan as well! It has so many different uses! Let me know if you try this recipe in your kitchen and until next time…”Keep on Cookin’!”
“Tomato Pie??!!??” That is the response I got from the grocery clerk when I answered his question about what kind of pie I was making as he was ringing up my frozen pie crusts. He had never heard of it before and honestly, other than seeing a recipe or two in magazines over the years, I really wasn’t that knowledgeable about it either. That is until last weekend and where else, but Facebook!
Tomato Pie from Simply Recipes
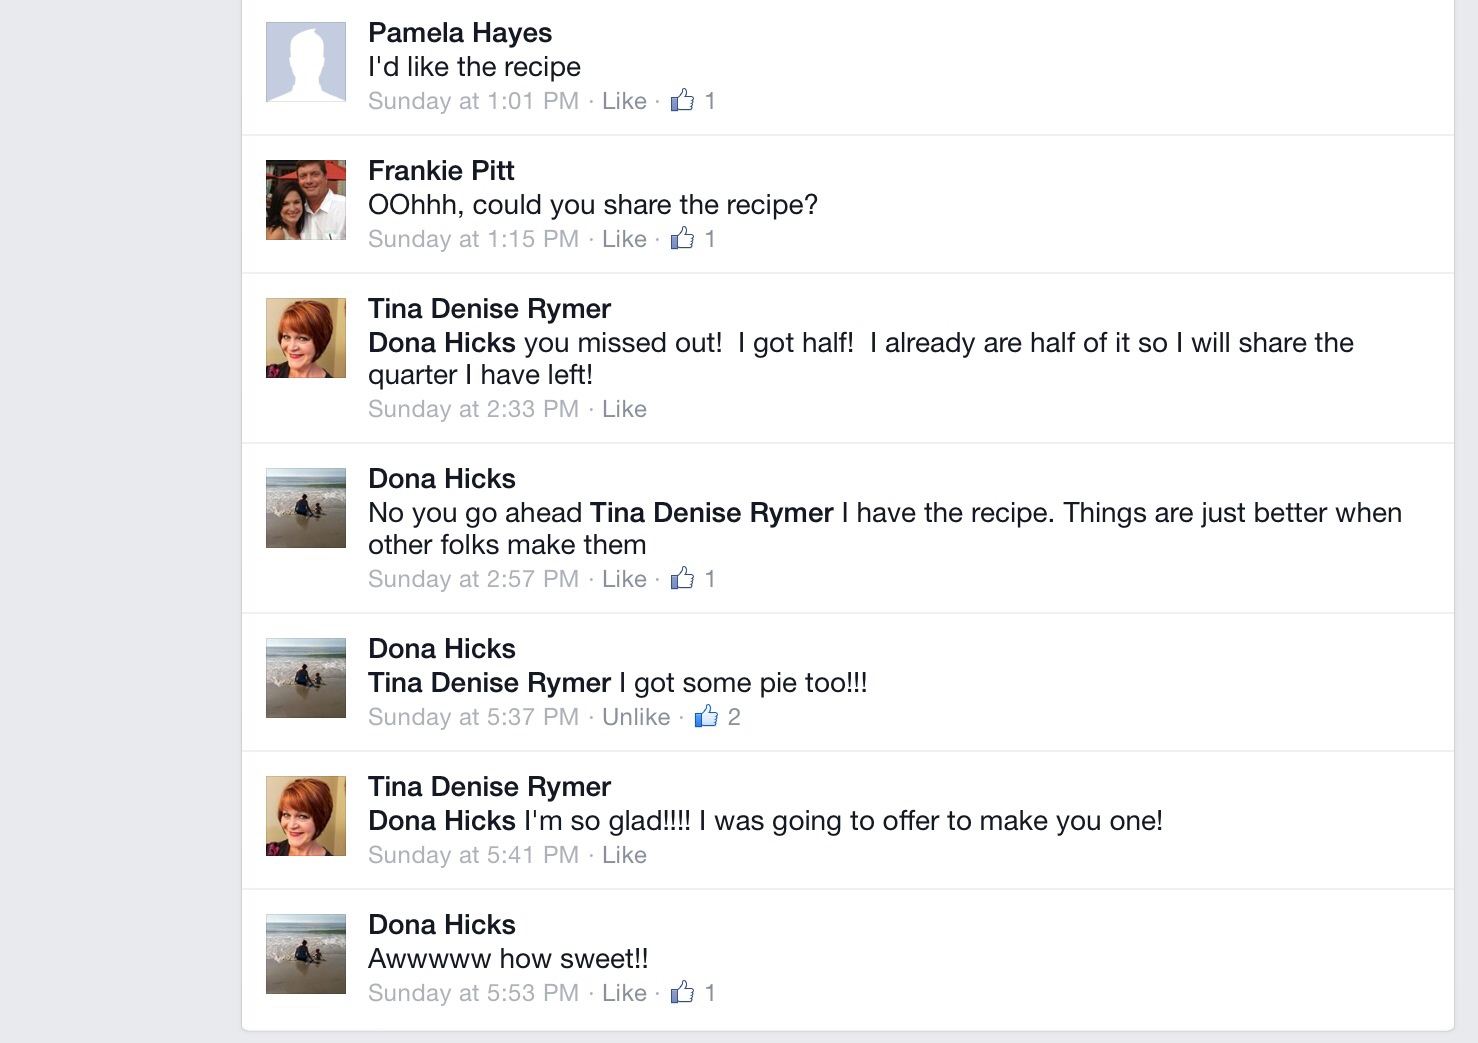
Facebook has allowed me to reconnect with friends that I haven’t seen in years and especially those in high school. One of my old high school buddies, Tina Rymer, posted about a craving she was having for Cook’s Grocery Store’s Tomato Pie. Apparently, she had gone to Cook’s several times to pick up this unusual treat and they were always out so she posted on facebook that she was going to have to make one herself.
Now, I am originally from Polk County, Tennessee home of the great Ocoee River and don’t get back often but Tina and a bunch of old friends still live in the area. It is a very small, rural area and everyone knows everyone. Upon hearing about Tina’s Tomato Pie dilemma, another high school buddy, Carole Hicks, offered to just make her one and bring it to her! Wow! That is some true Southern Hospitality!
The facebook post that started it all!
Now, I was intrigued by all this talk of Tomato Pie since I have a major tomato obsession, to say the least. I asked for the recipe and it was promptly shared with me! Here is the rest of the message and as you can see, Tina wasn’t the only one that was a recipient of Carol’s Tomato Pie! I love it!
The second half of the Facebook message
Now before I get to the actual Tomato Pie recipe, I wanted to share something very heartwarming about Tina. She makes huge sacrifices every day because her son, Keegan, has served our country in Iraq and Afghanistan. I can’t begin to imagine the worry and stress she has had. During this time, he gave his mom two beautiful grandsons and a wonderful daughter-in-law. Recently, he was honored in a program called Troop Rewards who sent him and his wife on a lovely vacation in Key West. Sometimes, I think we forget how much sacrifice every day families go through and I wanted to personally thank, US Army Sergeant Keegan Rogers and his family for their service and sacrifice.
US Sgt. Keegan Rogers and his wife Lauren on their Key West trip sponsored by Troop Rewards
Now for the Tomato Pie! The recipe that Tina sent me was from another blog called Simply Recipes by Elise Bauer. Her blog is beautiful and you can tell that she is quite the professional. As a new blogger of only 5 months, I have high hopes that one day my blog will be as wonderfully developed.
As you know, I always like to add my own tweaks to any recipe but I didn’t do much to this one other than sauteing my onions and adding a little mustard brushed on to the pie crust after baking to add a little extra punch of flavor. I also used my favorite hot sauce, Crystal Hot Sauce, instead of Frank’s hot sauce but you really can use anything. This is my “slightly tweaked” version.
Southern Tomato Pie
1 9-inch pie shell (I used frozen but Elise has a recipe for a homemade crust on her blog)
1/2 yellow, chopped and sauteed (The saute is optional; I just prefer my onions that way)
3-4 tomatoes, cut in half horizontally, squeezed to remove excess juice, roughly chopped, to yield approximately 3 cups chopped tomatoes
1/4 cup sliced basil (about 8 leaves)*
2 cups grated cheese (combination of sharp cheddar and Monterey Jack, or Gruyere or Mozarella)
3/4 cup mayonnaise
1 teaspoon (or more to taste) of Crystal Hot Sauce (or Tabasco)
Salt and freshly ground black pepper
*To slice basil, chiffonade them by stacking the leaves on top of each other, roll them up like a cigar, starting at one end slice the “cigar” crosswise in thin slices.
Preheat oven to 350°F. Follow package directions for baking pie crust…your goal is to achieve a light golden brown color.
My frozen pie crust of choice…mine was thawedPie crust baking in the oven at 350 degrees…mine took about 12 minutes to get to the desired color
Squeeze as much moisture as you can out of the chopped tomatoes, using either paper towels, a clean dish towel, or a potato ricer.
After squeezing the excess moisture from, my tomatoes, I drained them with a strainerThen I spread them out on a paper towel to absorb even more of the moisture
After removing the pie from the oven, I added some extra punch by brushing on Dijon Mustard on the bottom and sides of the crust.
Mustard brushed on the bottom and sides
Next. spread your onions on the bottom of the pie crust.
Onions spread onto crust
Spread the chopped tomatoes over the onions. I added some salt and pepper here.
The tomatoes go next
Sprinkle the sliced basil over the tomatoes.
Now for the basil….This is really looking pretty!
In a medium bowl, mix together the grated cheese, mayonnaise, Tabasco, a sprinkling of salt and freshly ground black pepper. The mixture should be the consistency of a gooey snow ball. Spread the cheese mixture over the tomatoes.
I just used a packaged blend of Italian cheeses..Cheese Mixture is the final step
Place in oven and bake until browned and bubbly, around 30-40 minutes. I think you need an internal temperature of about 150 degrees. This can also easily be made ahead, just make sure you bring it to room temperature before baking and it may need a few additional minutes of baking.
Pie Baking in the oven
If your pie browns too much on top, before it reaches the desired temperature in the middle, just place a loose piece of foil over it.
Trying to keep that crust pretty while the inside is heatingOut of the oven…look at that yummy cheese topping!
Tomato Pie is served!
Layers of yummy!
You truly could serve this as a meatless main dish with a side salad or use it as a side dish like we did!
My husband’s plate…Tomato Pie, Country Ham, and 2 Poached Eggs!
Bottom Line: On the first bite, you feel a burst of savory, tomato and cheese flavors! Delicious! This was so easy to make and I will be making it again and again and again! I may even switch it up by adding some hot peppers to my onion mixture and even try different cheeses. I LOVED THIS! Thank you, Simply Recipes, thank you Carole Hicks, and thank you, Tina Rymer!
Recently, I was looking for a quick and easy recipe for a busy week day. I was in the mood for shrimp but still wanted a variety of veggies so I went through some old recipes and found one I made years ago from Cooking Light Magazine. In the margin, I had written notes about what I would change the next time I made it. I never keep recipes if I they aren’t worth making again so I knew I must have liked this recipe well enough. So, now was my chance to give it another try using my updates. I wasn’t even sure I was going to blog about this recipe but then I ran into a good friend and former colleague, Lisa Beeler, while at the grocery store and she seemed very interested in trying it, so Lisa….this is for you!
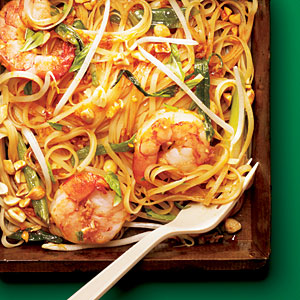
Shrimp Pad Thai from Cooking Light Magazine/2011
The great thing about this recipe is you can pretty much use any kind of noodle so I found something new that day in Publix and thought it would work great! “Thai Rice Stir-Fry Noodles” by KAME. It was easy and microwavable so that would save me even more time. Obviously, if you can’t find these any type of rice noodles will do…just follow package directions to prepare.
Thai Rice Stir-Fry Noodles by KAME…I used both pouches
Based on my notes, my biggest concern about the recipe was that it was a little too sweet so instead of the original two tablespoons of brown sugar, I cut it down to just one. I also noted that it needed a lot more shrimp and veggies because there was just two many noodles and I wanted more texture.
On the topic of the vegetables, you can truly switch this up which I was definitely going to do. I was looking for some baby bok choy to put in the recipe but they were out so I bought some baby brussel sprouts and they worked out really well. I also added some fresh jalapeno to my veggies to give it a little punch. The recipe didn’t call for the veggies to be stir-fryed but my notes indicated that was a must..so here we go! My version of Shrimp Pad Thai with some assistance from Cooking Light….:-)
Ingredients
8 ounces uncooked flat rice noodles (pad Thai noodles), or Thai Rice Stir-Fry Noodles (use the whole package)
1 tablespoons dark brown sugar
2 tablespoons lower-sodium soy sauce
1 1/2 tablespoons fish sauce
1 1/2 tablespoons fresh lime juice
1 tablespoon Sriracha or chili garlic sauce
3 tablespoons canola oil
1 cup (2-inch) green onion pieces
2 cups fresh bean sprouts
1 cup shredded brussel sprouts, or chopped baby bok choy (you truly could substitute anything you like here)
1/2 peeled and seeded jalapeno, cut into slivers
1 lb. peeled and deveined large shrimp
5 garlic cloves, minced
1/4 cup chopped unsalted dry-roasted peanuts (I didn’t use these…just don’t like them personally in my dishes)
3 tablespoons thinly sliced fresh basil
Directions
Cook noodles according to package directions; drain.
On my noodles since they were microwavable, I just put them in the wok and added a little water and they were ready in minutes. Remove from wok after and set aside
Combine sugar and next 4 ingredients (through Sriracha) in a small bowl.
Preparing the Thai Sauce
Heat a large skillet or wok over medium-high heat. Add oil to pan; swirl to coat. Add shrimp, and garlic; stir-fry 2 minutes or until shrimp is almost done. DO NOT OVERCOOK! Remove from pan and set aside.
Shrimp and Garlic in the WokRemove Shrimp from pan and set aside
Add veggies to wok along with 2 Tablespoons of the Thai Sauce.
Veggies in the Wok
Stir-fry until slightly wilted but still crunchy (about 5 minutes).
Veggies almost ready!
Add cooked noodles; toss to combine.
Add the shrimp.
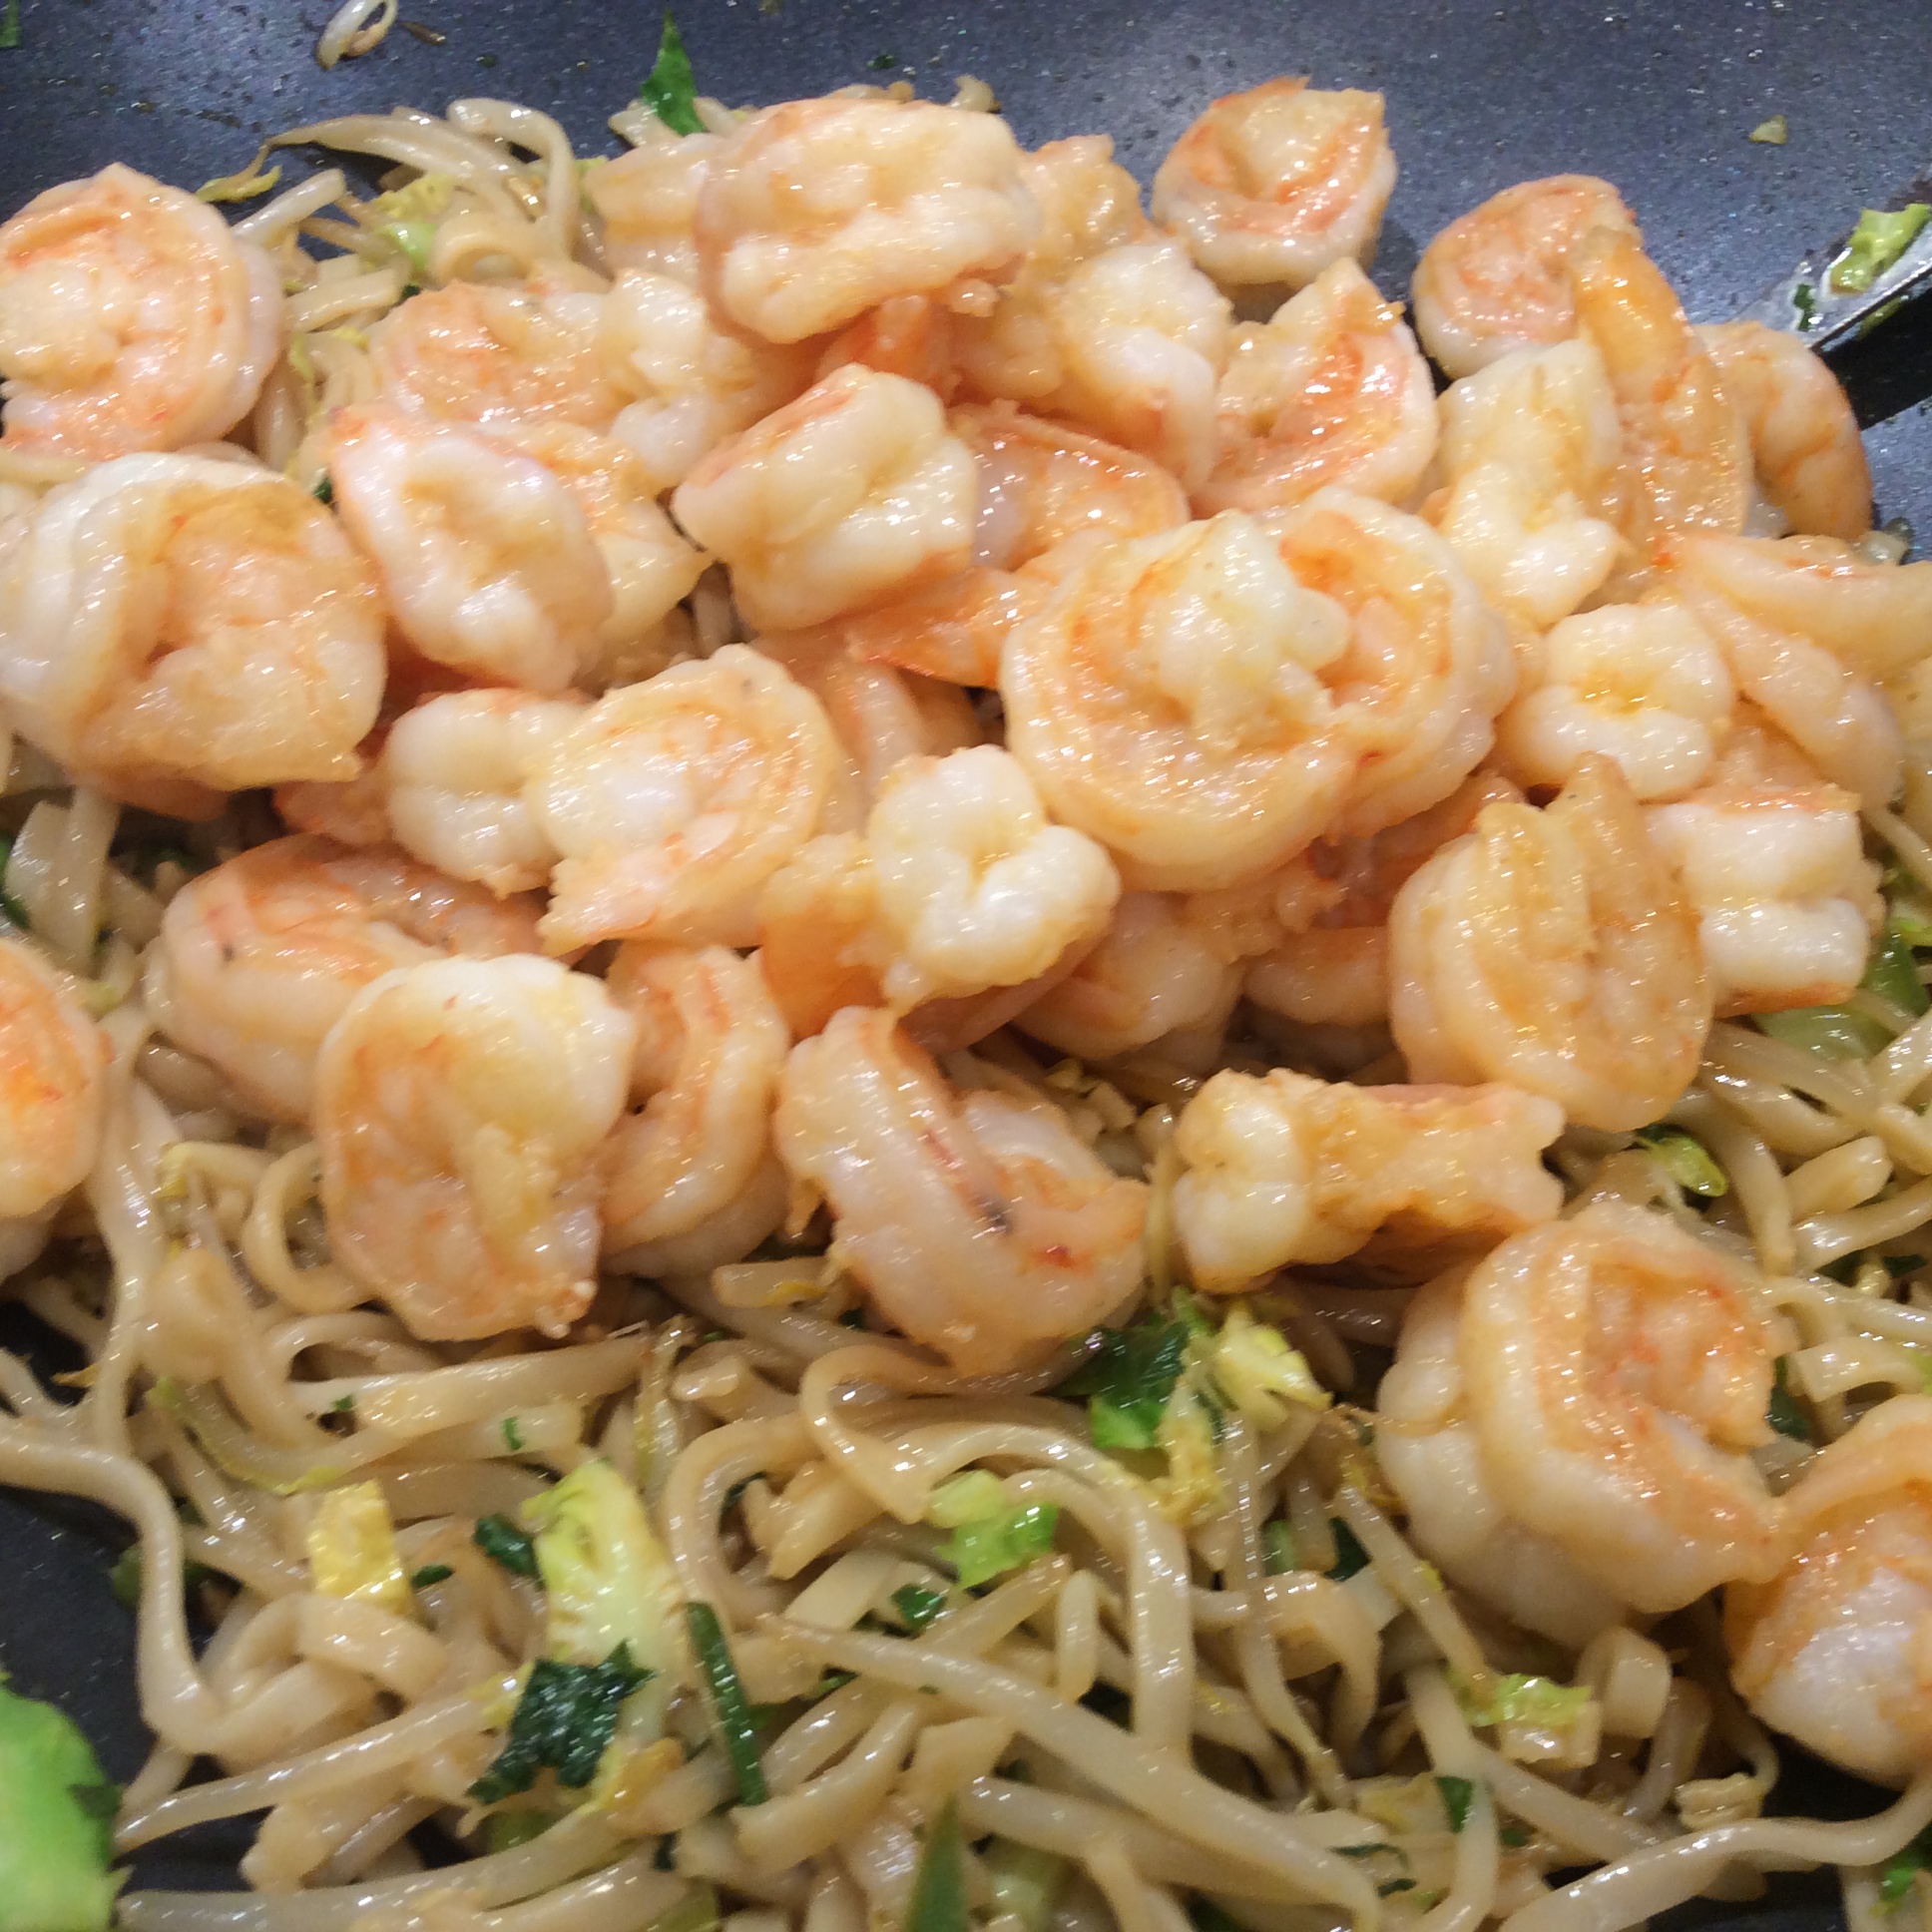
And finally, stir in remaining sauce; cook 1 minute, stirring constantly to combine.
All ingredients are stirred together and cooked an additional minute
Sprinkle with Basil leaves and serve along with your favorite egg roll! Dinner is served!
Chef Frankie’s version of Shrimp Pad Thai
Bottom Line: This recipe is so easy to put together on a week night! I just picked up the egg rolls from the hot bar at Publix but you could use frozen or have some fun by making your own! If you don’t like spice, substitute the sriracha for chili sauce and you will love it! I won’t wait so long now to make this again! I hope that you will try this recipe in your kitchen and your family will think you have slaved all day but we know the real secret! “Keep on Cooking”
On a warm summer day, there is nothing like biting into a juicy, buttery piece of corn on the cob and that is usually my favorite way to eat corn. However, sometimes we like to take it to another level…one that is creamy, buttery, and oh, yes…BACONY! (That word is acceptable in Southern Kitchens!). The dish I am referring to is Southern Fried Corn!
Chef Jeff’s Southern Fried Corn
Now, I am not the only chef in the family…my husband often wants the kitchen all to himself and most of the time ends up using his favorite piece of cookware…the Cast Iron Skillet…AND usually with his favorite cookbook, The Lodge Cast Iron Cookbook from which he has prepared many delicious entrees and side dishes including his take on their recipe for fried corn.
Jeff’s favorite cookbook
As usual, in the Pitt family, we put our own spin on different recipes as is the case with an already very good recipe from this fantastic cookbook. The recipe that we are featuring today is our version but the original can be found in The Lodge Cast Iron Cookbook (2012-2nd Edition). Our version uses onions for some extra flavor and jalapenos for a little color and heat but if you are “heat-challenged”, sweet green peppers can be substituted and you will still be left with the same color profile.
The hardest part about this dish is cutting the corn off the cob and “milking” it but it is actually one of my favorite things about the recipe because it brings back memories of Jeff’s sweet grandmother, Jewell Shelton.
Jeff milking the corn
She was actually the one who taught me this technique after I first married Jeff. Grandmother was quite the chef herself and passed down many recipes to her three daughters, Janice (my sweet mother-in-law), Joyce, and Betty Joan. In fact, a couple of Christmases ago, the sisters all got together and put all her recipes, handwritten, in a cookbook for all of us to have one in our kitchen. It is one of my greatest treasures and I know she smiles every time she sees Jeff (she called him a “little stinker”) and I spending time together in the kitchen!
Titled “Mother’s Recipes”..includes Grandmother’s recipes in her own handwriting
Oddly enough, her recipe for Fried Corn isn’t included in the cookbook but that is probably because it was something she didn’t need to write down. It was old habit and she kept this one in her head. I think we all have a few of those kinds of recipes. So, in our quest to recreate her recipe, we came upon the one in the Lodge Cookbook and adapted it from there. I know you will enjoy it as much as we do!
Chef Jeff’s Fried Corn
Ingredients
6 large ears fresh corn (yellow or white), husked removed
3 strips of bacon, chopped (you may need to make more if you have bacon snatchers in your kitchen)
3 tablespoons of reserved bacon drippings
1 jalapeno, seeded and diced
1/4 cup onion, chopped
1 tablespoon all-purpose flour
1 tablespoon sugar
1 cup water
1/2 cup half & half
3 tablespoons butter
Salt and Pepper, to taste
Directions
Cut the kernels off the cobs. Milk them by running the knife over the cob after the kernels have been removed to get as much as “milk juice” as possible.
Cutting kernels off the cobMilking the cob
Fry the bacon, and remove from pan. Reserve 3 tablespoons of the bacon drippings. (Note: We have bacon snatchers in our house so Jeff always makes more bacon than he needs!)
Bacon fryingBacon removed from pan ready to be snatched!
Add the onion and peppers to the bacon drippings and saute on low heat until softened (about 3-4 minutes).
Peppers and Onions softening
In a medium bowl, combine the corn, sugar, and water. Now this next step is a little trick we learned for keeping your flour smooth when adding it into other ingredients. Simply combine the milk and flour in a small tupperware bowl. Put the lid on the bowl and shake until completely mixed! You will have no clumps! Add the corn mixture and flour/milk mixture into the hot onion/pepper mixture in the skillet.
Corn mixture going into the pan
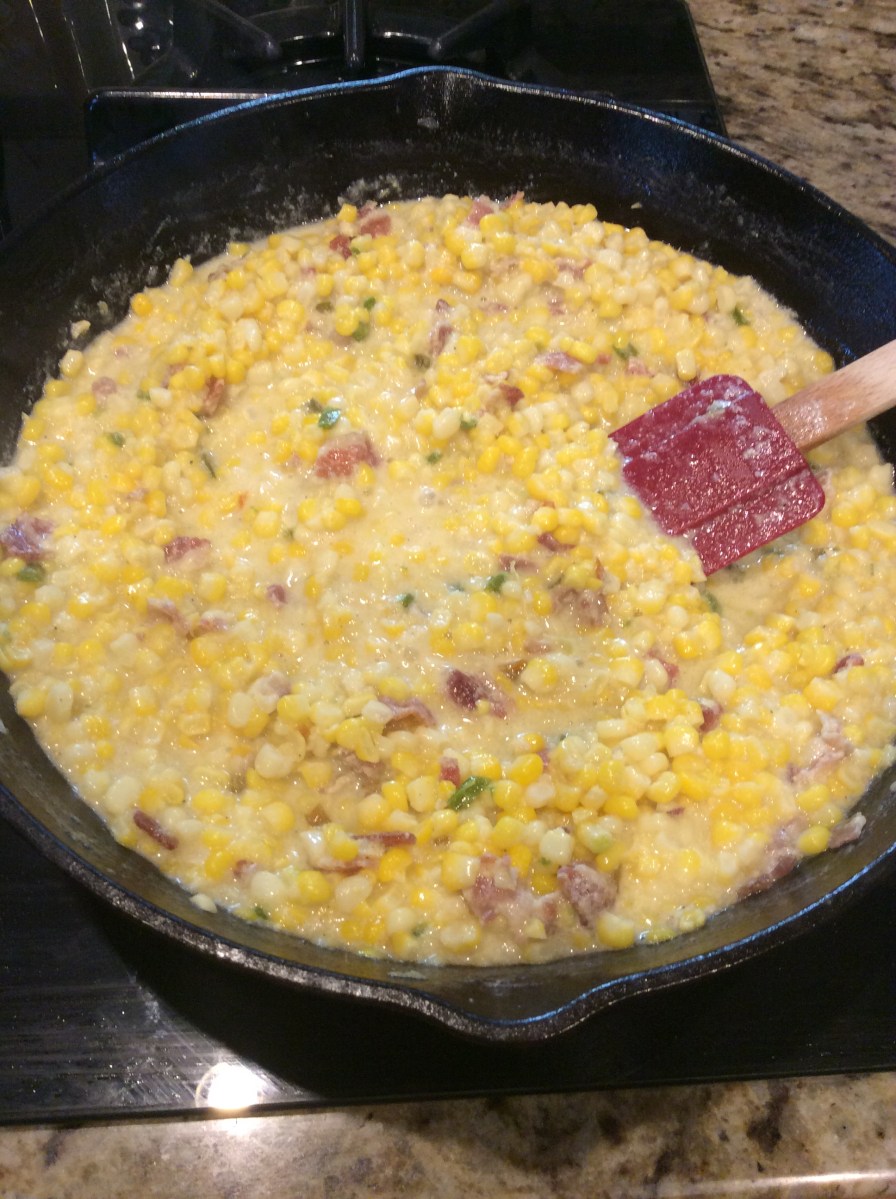
When the mixture is hot, add the butter, bacon and season with salt and pepper to taste.
Butter, Bacon, and Seasoning added
Stir until the butter is melted and mixed in. Make sure to keep stirring…especially at the end! Cook on low heat until the corn is tender (30-40 minutes).
Ready to Serve!
Bottom Line: This is a great dish to serve with almost anything! Earlier this summer, we served it to Memom (our nickname for Jeff’s mom) along with crab cakes and she loved it! She immediately wanted the recipe and called Jeff to tell us that she has already made it several times and it is a hit in her house, too! On Friday night we just served it with burgers and again, it was the perfect side dish.
Burgers with a side of fried corn and green beans!
I can’t wait for you to try this recipe with your family and hopefully create some great memories just as we have! “Keep on Cooking”!